Some older Custom Domains A domain you own and connect to your CloudCannon Organization, so visitors reach your Site at your own address instead of its Testing Domain. You buy the domain from a domain registrar, connect it to your Organization, then add it to your Sites. A DNS Provider option where CloudCannon manages the DNS records of your Custom Domain. CloudCannon adds the records each Subdomain needs, and the TXT records for your SSL Certificates, for you. To use it, you replace the nameservers at your domain registrar with CloudCannon's nameservers.Custom Domain
CloudCannon DNS
Moving doesn't change anything for visitors straight away. Your website and email keep using the legacy CloudCannon DNS until you update the nameservers A server involved in the DNS lookup process. The word "nameserver" typically refers to the authoritative nameserver, which manages all the DNS records for a particular domain name. Almost all domains rely on multiple authoritative nameservers for redundancy. To use CloudCannon DNS, you set CloudCannon's nameservers at your domain registrar. A third-party company that manages the registration and renewal of domain names. Domain registrars allow you to purchase and configure domain names, and they handle the administrative aspects of domain ownership. You must purchase a domain name from a domain registrar before you can connect it to your CloudCannon Organization as a Custom Domain.Nameserver
Domain Registrar
This article covers moving a Custom Domain off the legacy CloudCannon DNS. To switch a Custom Domain from External DNS to CloudCannon DNS, please read our documentation on configuring CloudCannon DNS.
Check whether your domain uses the legacy CloudCannon DNS#
A Custom Domain on the legacy CloudCannon DNS shows these in CloudCannon:
- The Cardfor the domain in the Domains BrowserGlossary term
Card
The repeated block CloudCannon uses to represent one item in a list, browser, or input, typically showing a preview image, title, subtitle, icon, and key metadata. Cards represent files and folders in the Collection Browser and File Browser, as well as Sites, Organizations, Organization Members, domains, Health Checks, and items inside Array and Object Inputs. You can configure how Cards look for your files, making it easier to browse and identify content at a glance.
says Migrate to new CloudCannon DNS.Glossary termDomains Browser
The page where you manage the Custom Domains connected to your Organization. The Domains Browser allows you to connect new domains and open the Domain page for each one to manage its Subdomains, DNS records, SSL Certificates, and minimum TLS version. You can access the Domains Browser by clicking the Custom Domains link in the App Sidebar.
- The Summary tab of the Domain page has a setup guide headed Move [Base Domain] to the new CloudCannon DNS, and its DNS panel says Please migrate to the new CloudCannon DNS.
- The DNS tab says The legacy CloudCannon DNS manages your DNS Records for [Base Domain]. It lists the current records below a You cannot change these DNS Records. notice.
- The Details section of the Domain Settings tab shows Legacy CloudCannon DNS as the current DNS Provider.Glossary term
DNS Provider
The service that stores the DNS records for your Custom Domain and answers DNS questions about it. This can be CloudCannon DNS, your domain registrar, or another service such as Cloudflare. You choose the DNS Provider when you connect a Custom Domain, and you can change it later in Domain Settings.
If you need a record changed urgently before you can move your domain, please contact our friendly support team. Include your Base Domain The primary domain name for a website, without any subdomains. For example, in "www.example.com", the Base Domain is "example.com". In CloudCannon, you connect your Base Domain to your Organization as a Custom Domain.Base Domain
Move your domain#
Without both the base-domain:settings:details:write and base-domain:settings:dns:write permissions, the Move to the new CloudCannon DNS button is disabled. Hovering over it shows You do not have permission to edit the Domain Settings for [Base Domain]. or You do not have permission to edit the DNS for [Base Domain].
To move a Custom Domain to the new CloudCannon DNS:
- Log in to CloudCannon.
- Select the Organizationyour Custom Domain is connected to.Glossary term
Organization
A workspace in CloudCannon that groups together Sites, Organization Members, and shared resources. It is also the unit CloudCannon bills for. You can define permissions for your Organization, controlling the access each Organization Member has to resources on CloudCannon. You can create and be a part of multiple Organizations.
- Click the Custom Domains link in the App Sidebar. CloudCannon will open the Domains Browser.Glossary term
App Sidebar
The left-most UI panel in the CloudCannon app. This panel contains links to your Organization Home, Sites, Projects, Domains, and Org Settings pages, as well as app Updates and your Avatar.
- Select the domain you want to move by clicking the Card for the domain. CloudCannon will open the Summary tab of the Domain page.
- Click the Move to the new CloudCannon DNS button in the setup guide.
CloudCannon will create a DNS zone for your domain and copy in its current records. It also adds the two CNAME Records that point your Base Domain and its Subdomains An additional name on the front of your URL, prefixing your Base Domain name (e.g., "docs" in docs.example.com or "blog" in blog.example.com). In CloudCannon, every address on your Custom Domain, including the Base Domain itself, is a Subdomain with its own hosting, HTTPS, and DNS settings. Each Subdomain serves Sites, each at its own path, or redirects visitors to another domain. A Subdomain with no Site yet shows its visitors a 404 page until you add a Site.Subdomain
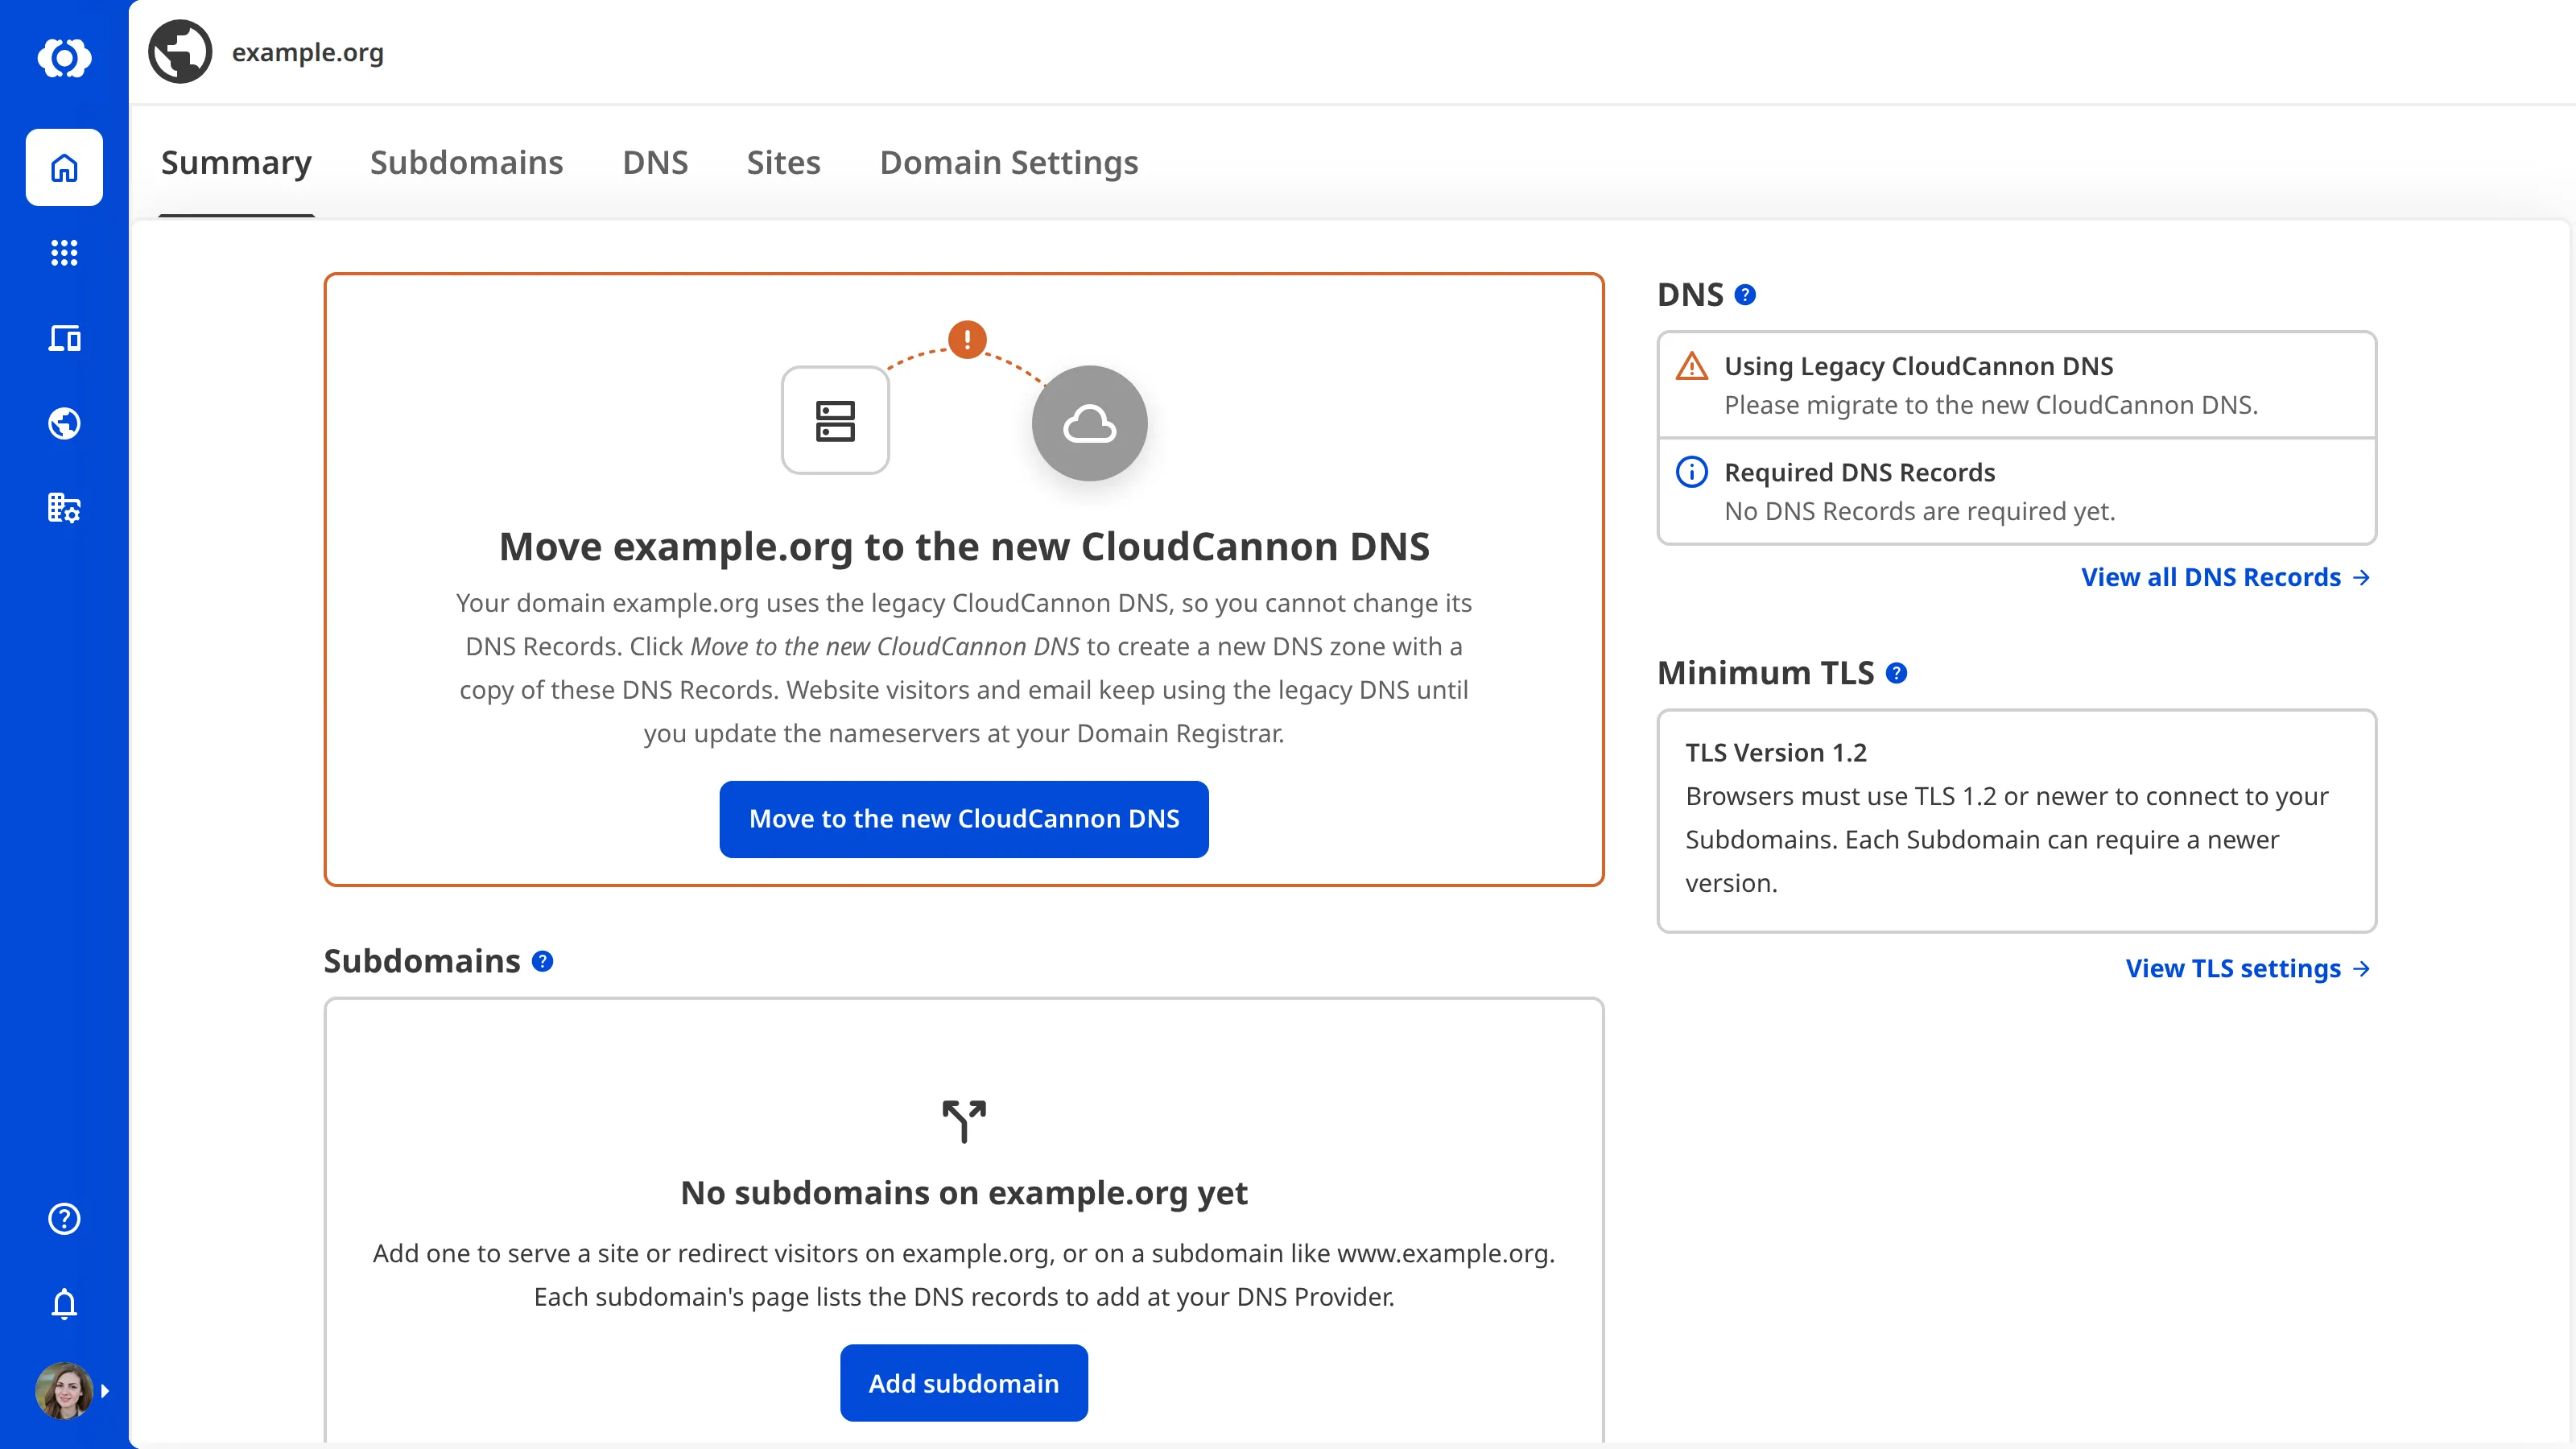
The DNS tab shows the same setup guide and Move to the new CloudCannon DNS button. You can also move from the Details section of the Domain Settings tab, by selecting the CloudCannon DNS option and clicking the Switch to CloudCannon DNS button.
Check the copied records#
CloudCannon doesn't show you which records it couldn't copy. Before you update your nameservers, check the records in the DNS records section of the DNS tab against the records the legacy CloudCannon DNS listed. Pay particular attention to MX Records for email and TXT Records for site verification, which stop working when you switch nameservers if they are missing.
To add a missing record, please read our documentation on adding DNS Records.
Update your nameservers#
Once the DNS zone is ready, the setup guide on the Summary tab shows Point [Base Domain] at CloudCannon DNS, with the nameservers to set at your domain registrar. Your domain moves to the new CloudCannon DNS once your registrar lists them. For the steps, please read our documentation on pointing your domain at CloudCannon DNS.