Connecting a Bitbucket Git Repository A storage location for the code and files that make up your website. CloudCannon supports the repository providers GitHub, GitLab, and Bitbucket, and highly recommends using a repository to store your website's files for better version control and collaboration. A website in CloudCannon that includes all the files, content, configuration, and settings needed to edit, build, and host a complete website.Git Repository
Site
To connect a Bitbucket Git Repository and start syncing files:
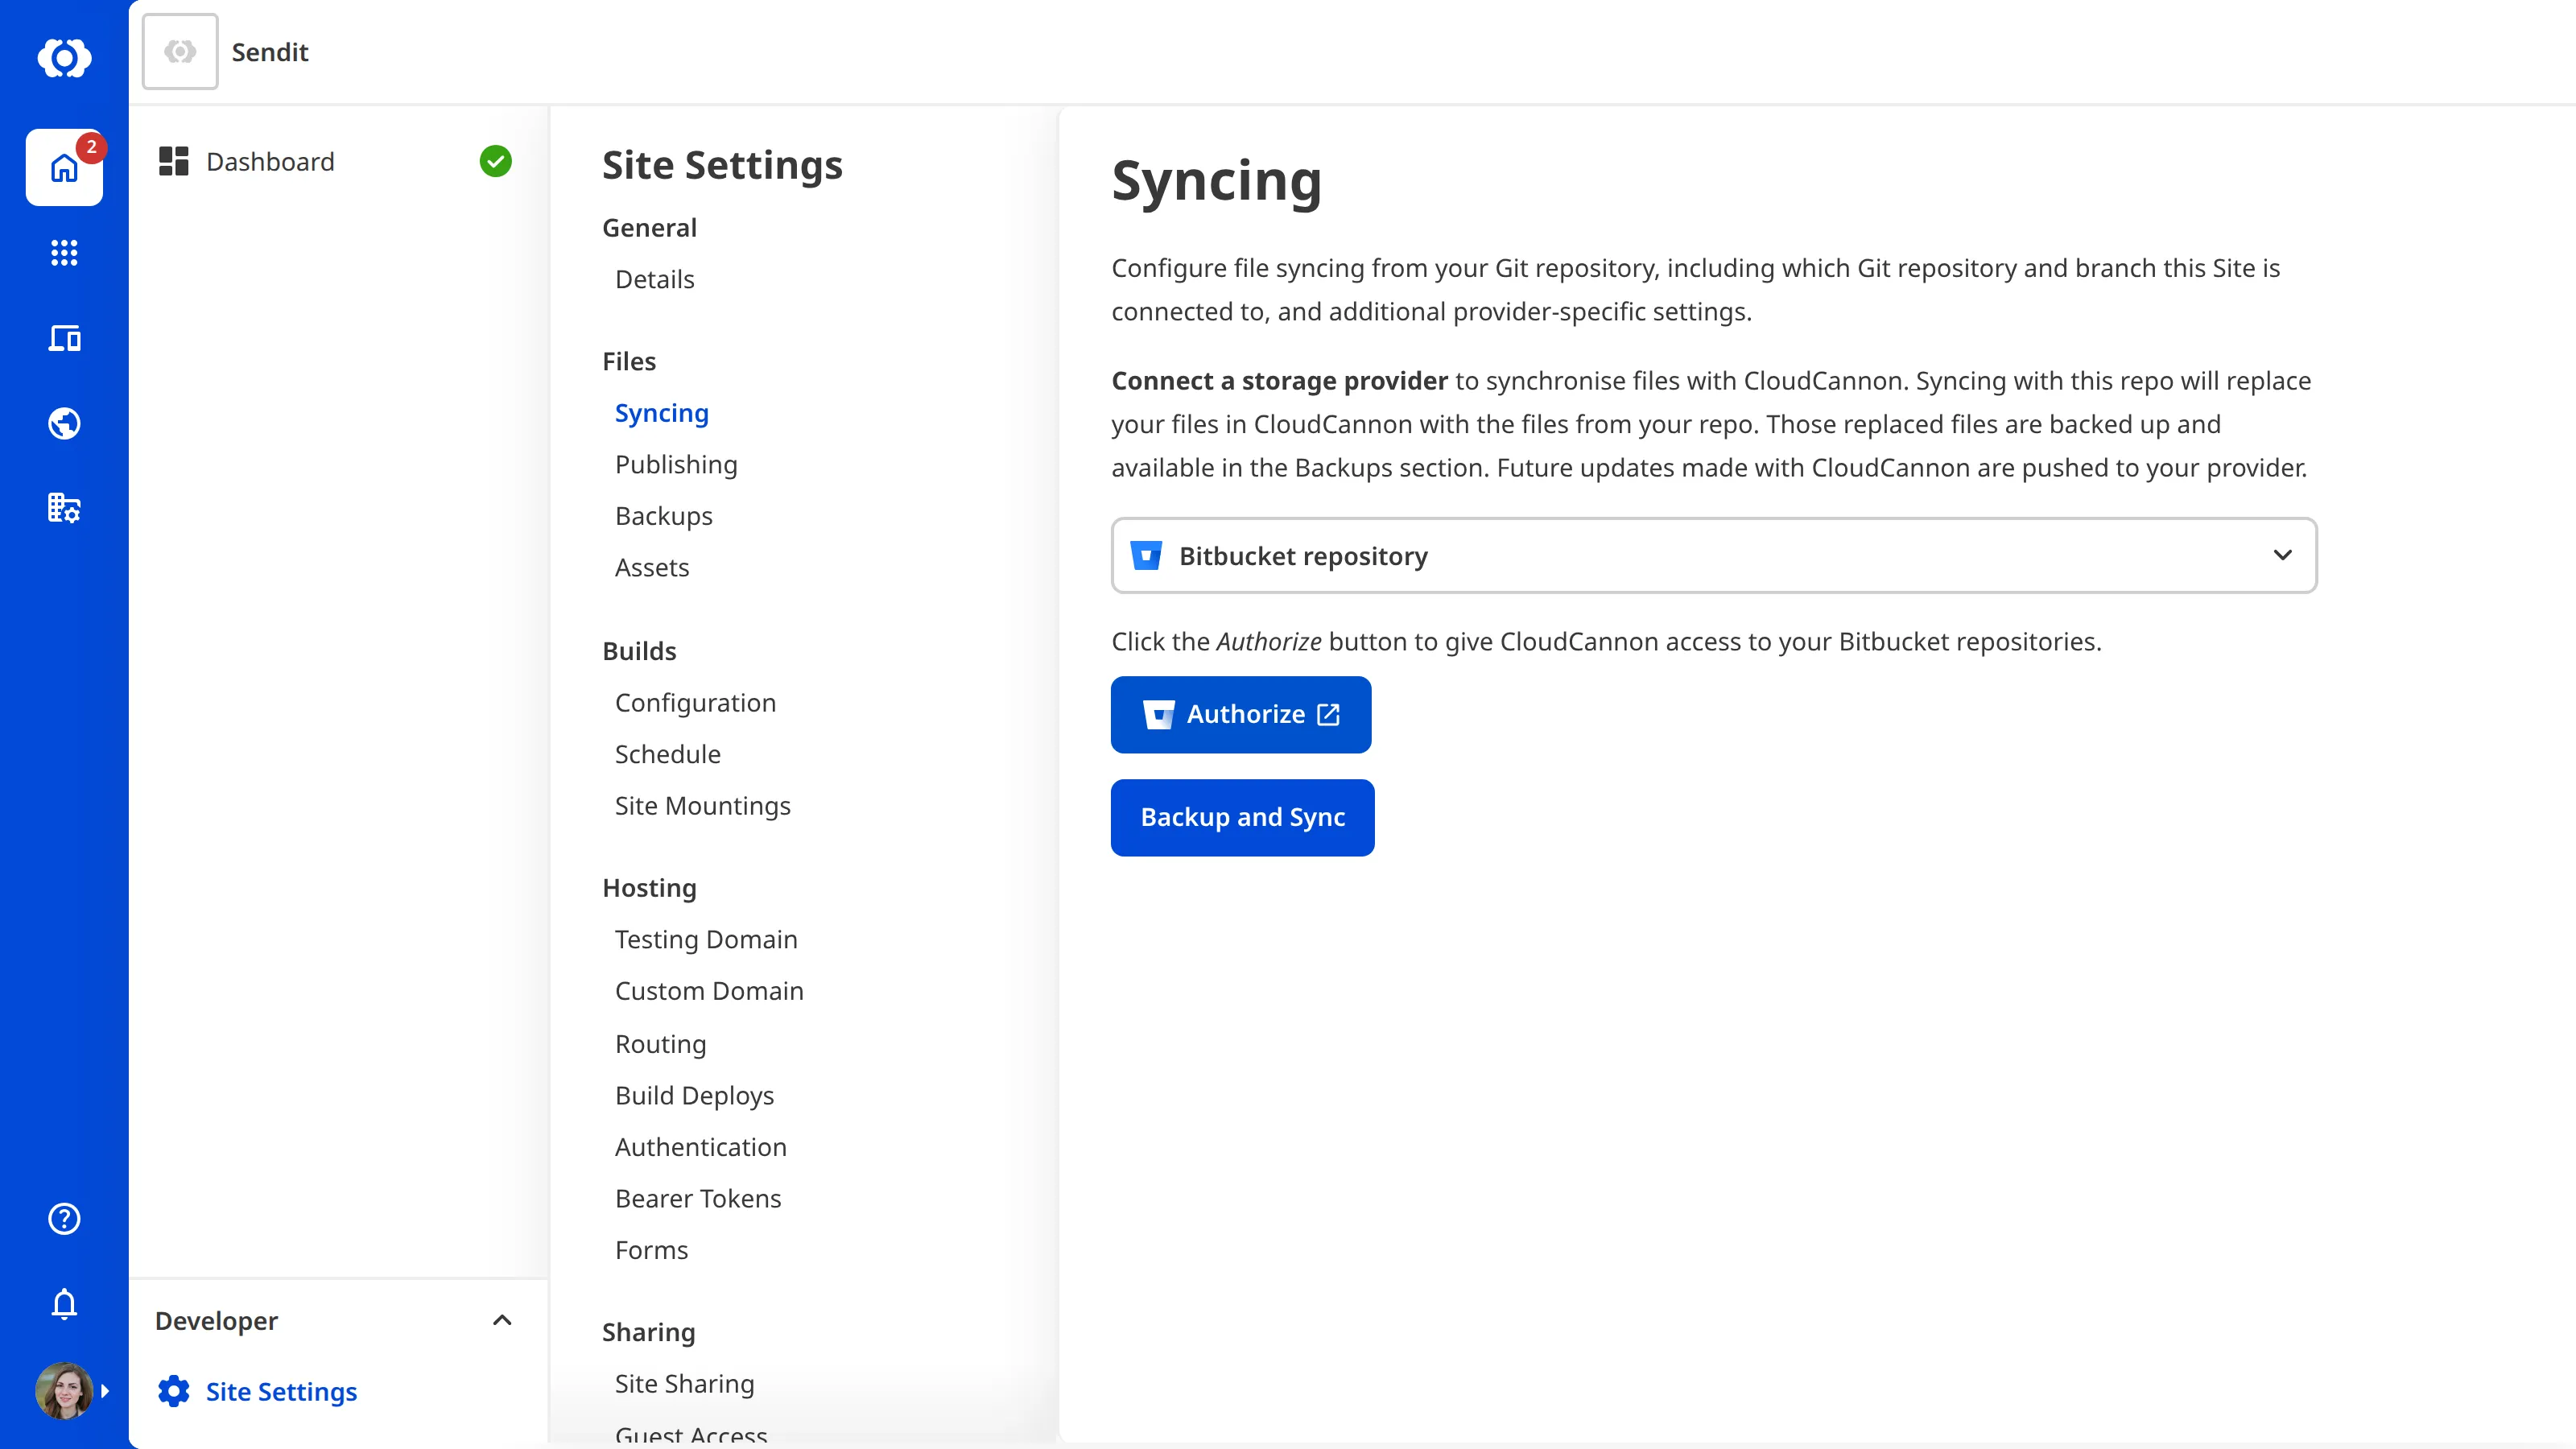
- Navigate to the Syncing page under Site Settings.
- Select the Bitbucket repository option from the provider dropdown.
- Click the Authorize button.
CloudCannon will redirect you to Bitbucket.
To give CloudCannon access to your Bitbucket account:
- Log in to your Bitbucket account.
- Grant CloudCannon access to your Bitbucket account.
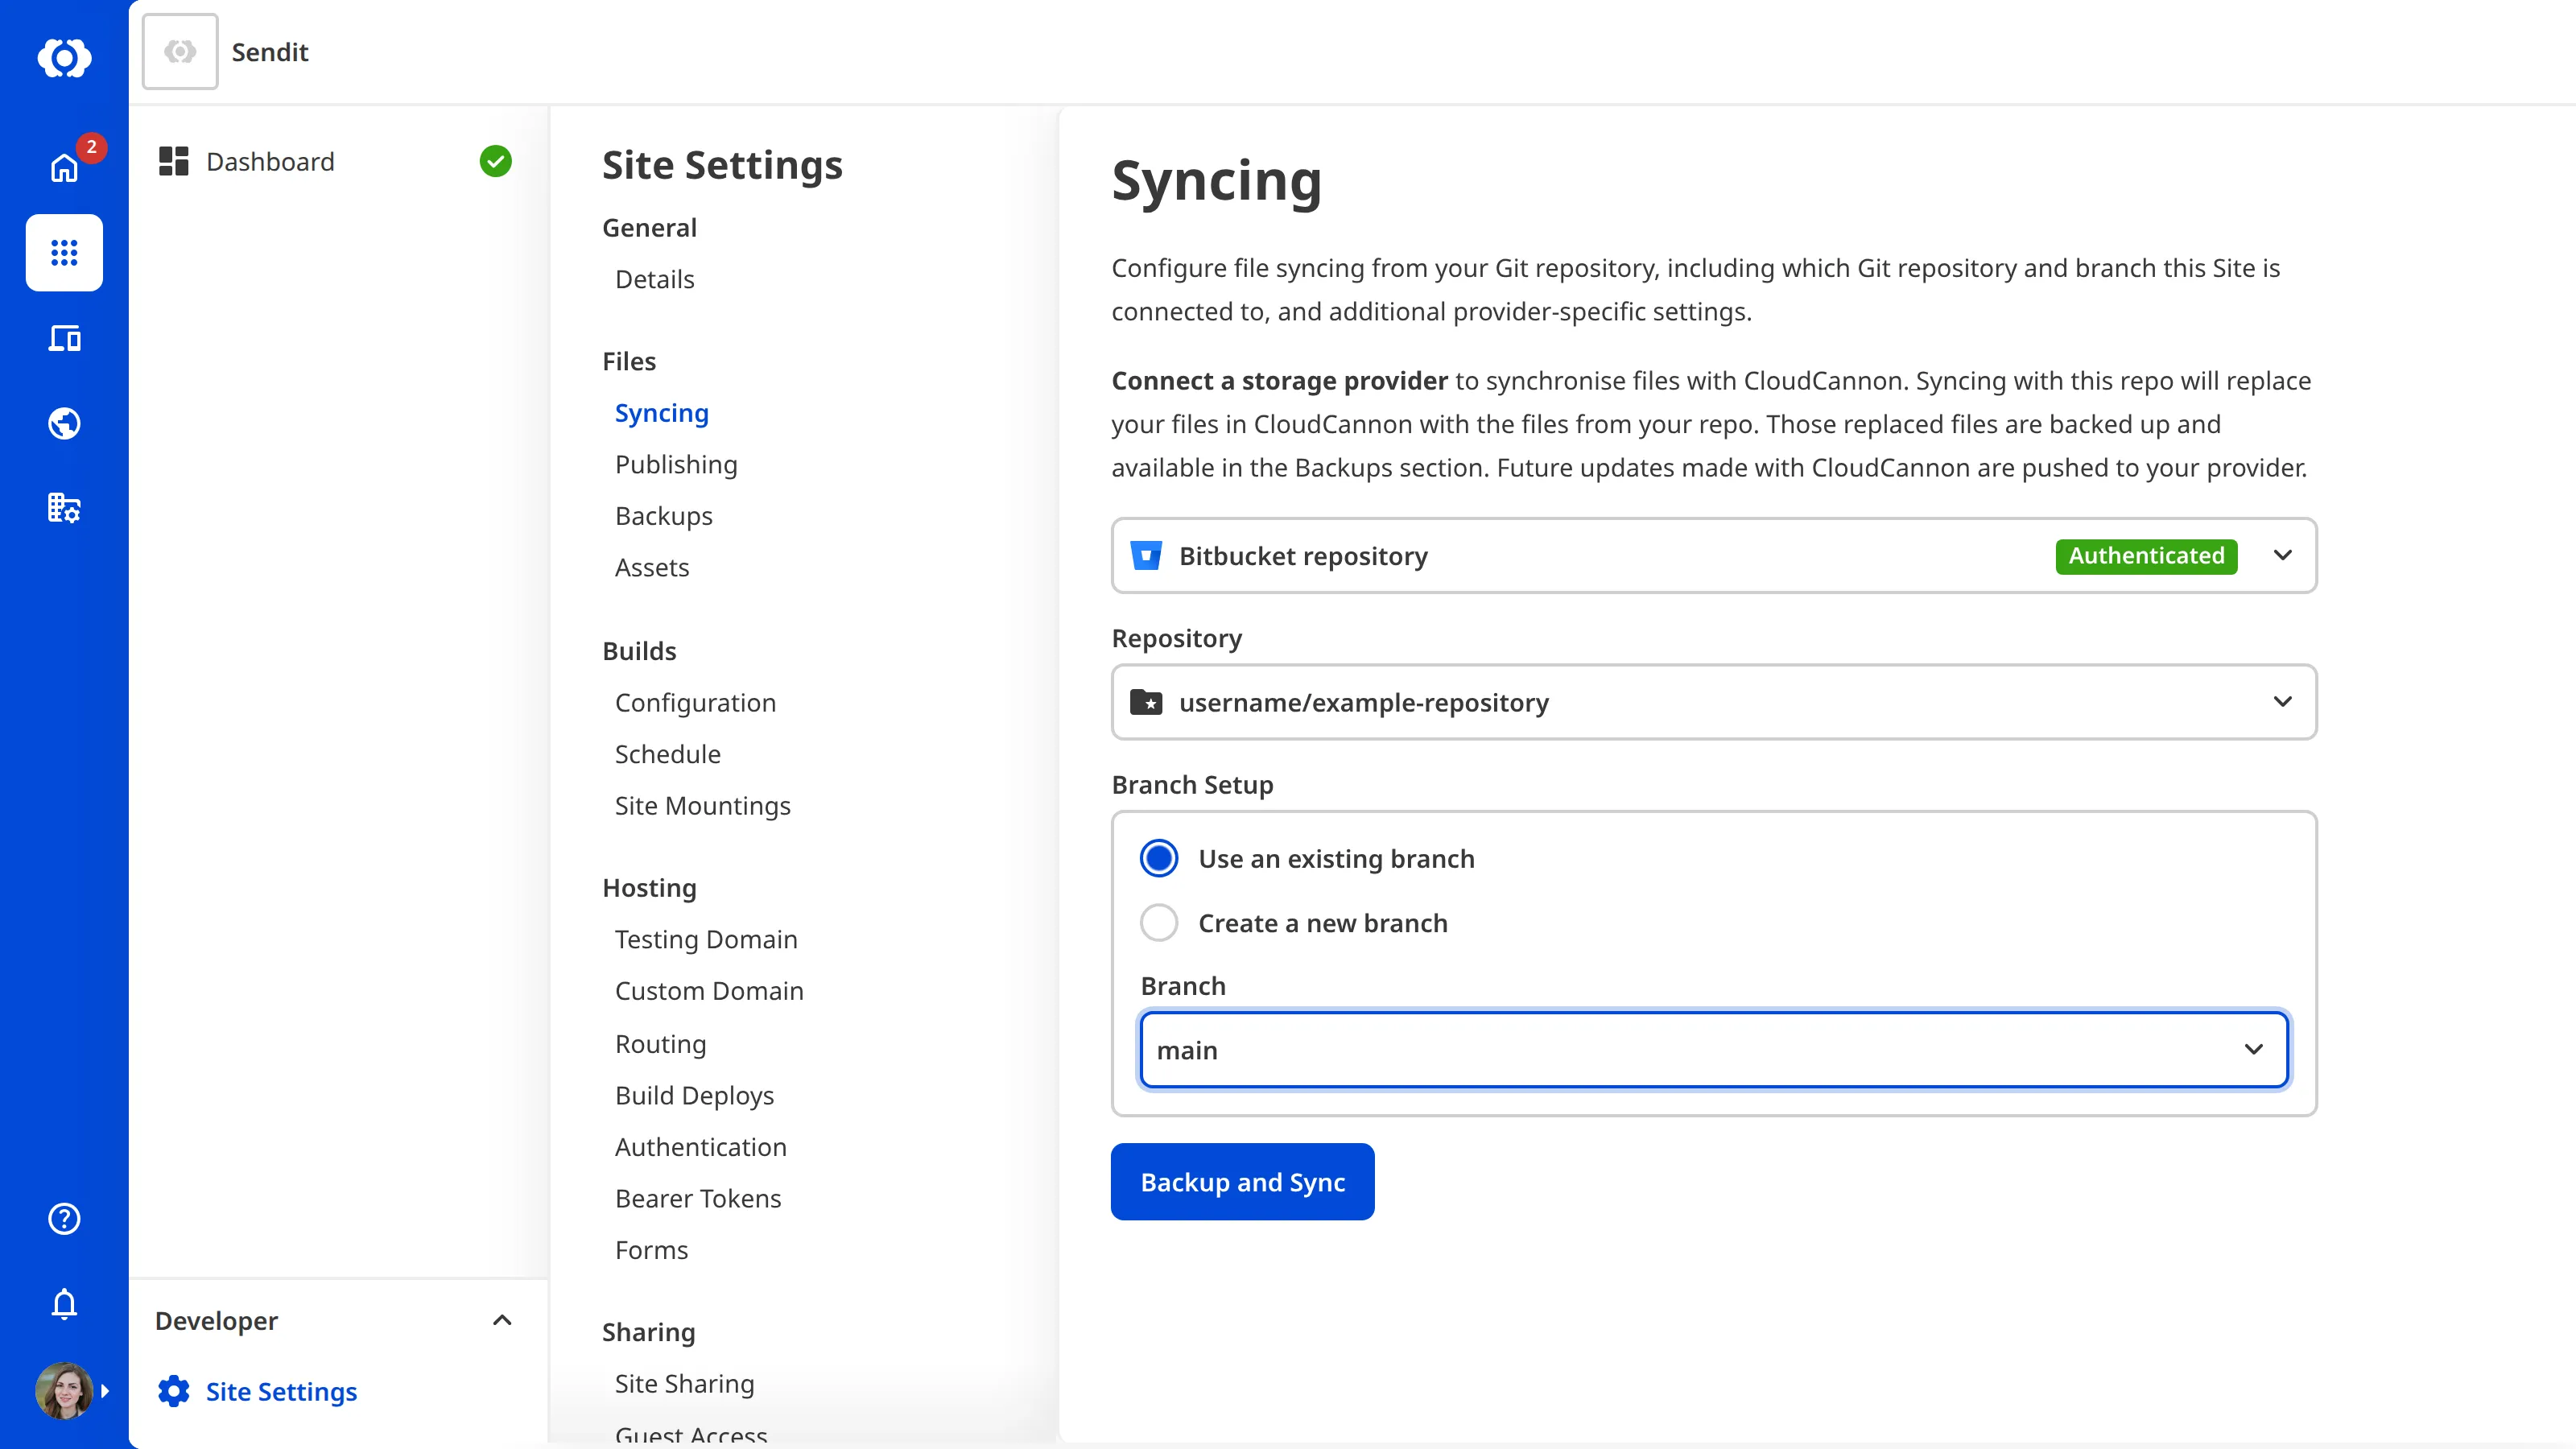
Bitbucket will redirect you back to the Syncing page, where you can select the Git Repository to connect. If you don't have a Git Repository for this Site yet, create one in Bitbucket and refresh the Syncing page.
When you click the Backup and Sync button, CloudCannon will replace any existing files on your Site with the contents of the selected Git Repository. To cancel the process, exit the page instead.
To connect your Git Repository and branch:
- Select your Git Repository from the Repository dropdown.
- Choose the Use an existing branch option or the Create a new branch option under the Branch Setup heading.
- Pick your branch from the Branch dropdown. If you are creating a new branch, pick the branch to copy from the Source branch dropdown and enter a name in the New branch name field.
- Click the Backup and Sync button.
CloudCannon will connect your Site to your Bitbucket Git Repository. CloudCannon pulls in any changes you push to your Git Repository, and automatically commits and pushes any changes you make in CloudCannon.
Migrate to the new Bitbucket integration#
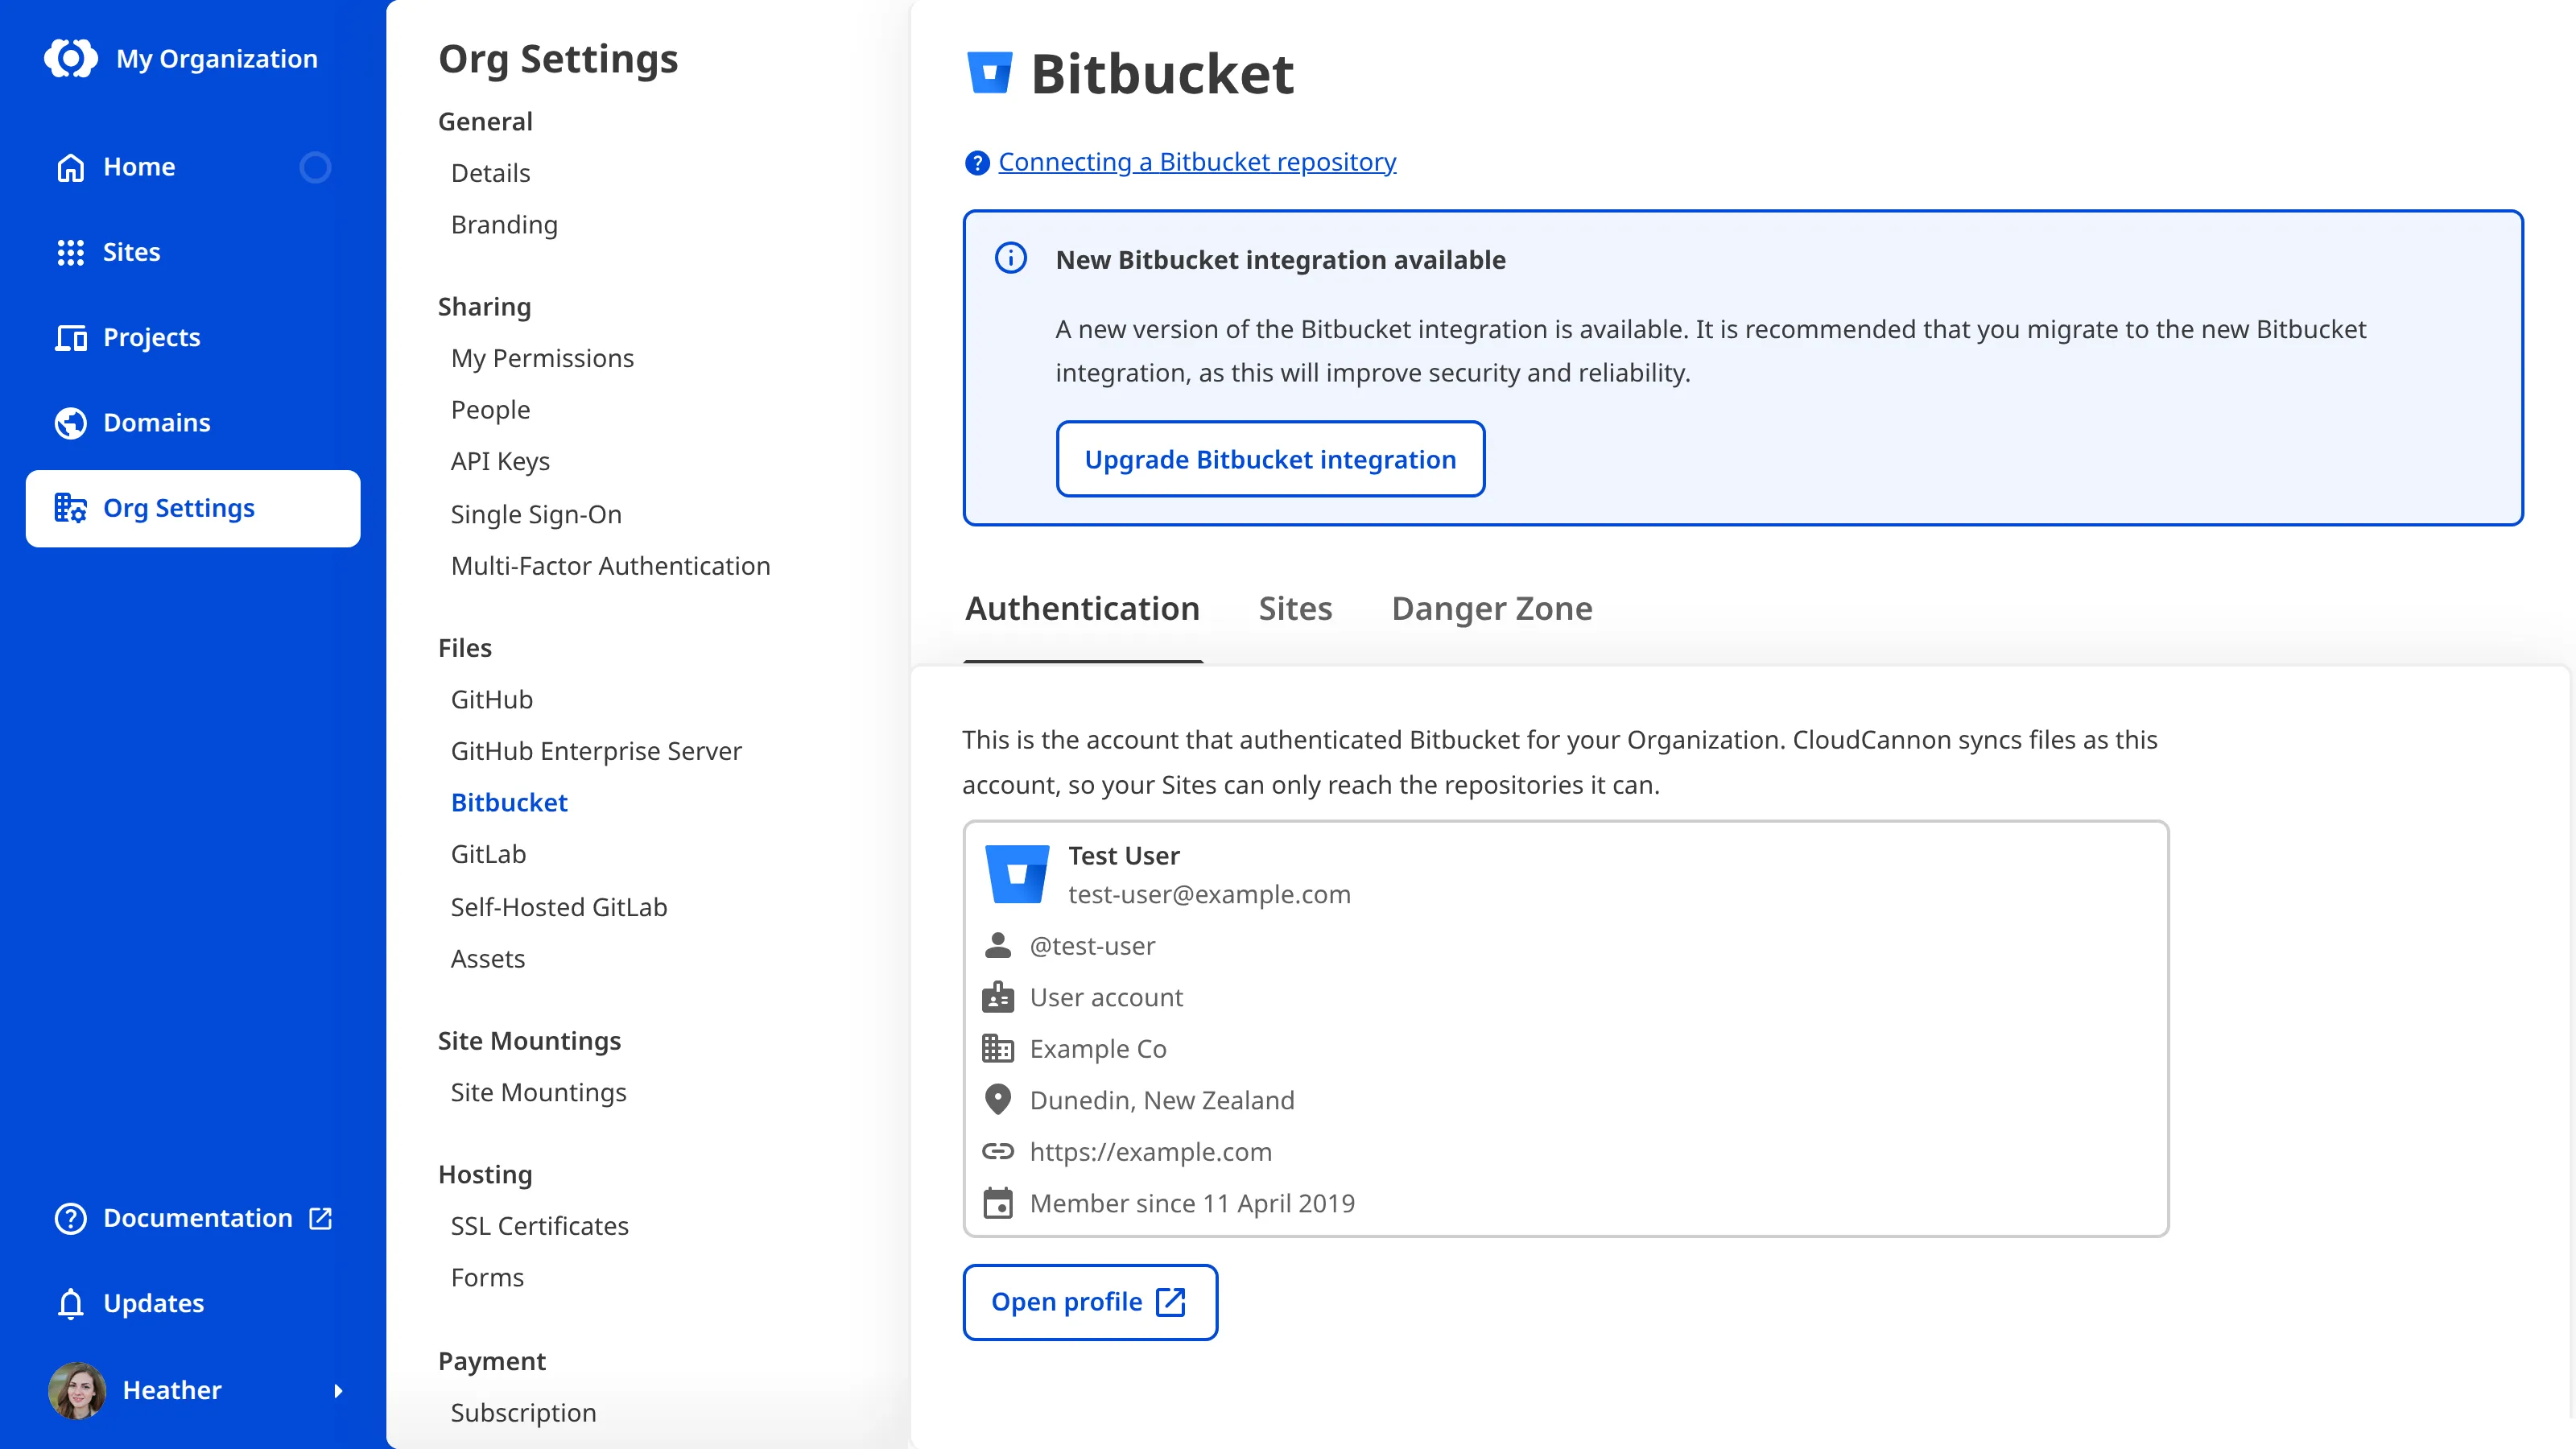
When CloudCannon releases a new version of its Bitbucket integration, the older version stays in use until you migrate. If your Organization authenticated Bitbucket with an older version, the Bitbucket page under Org Settings shows a New Bitbucket integration available notice below the page heading, above the tabs. The Syncing page under Site Settings also shows this notice for Sites that sync with Bitbucket. Migrating reauthorizes CloudCannon with your existing Bitbucket account, so your Sites keep syncing with the same Git Repositories.
To migrate to the new Bitbucket integration:
- Navigate to the Bitbucket page under the Files heading in your Org Settings.
- Make sure you are signed in to Bitbucket with the same Bitbucket account shown on the Authentication tab.
- Click the Upgrade Bitbucket integration button.
- Grant CloudCannon access to your Bitbucket account.
CloudCannon will return you to the Bitbucket page and remove the New Bitbucket integration available notice.