For CloudCannon to sync your files from a Git repository, you must give it permission to access your Git provider. CloudCannon supports GitHub, GitLab, or Bitbucket. You only need to authenticate your Git provider once, and you can authenticate multiple Git providers on an account (but not multiple accounts on the same provider).
There are two ways to authenticate a Git provider: when you create a new Site, and through your Org Settings page.
To authenticate a Git provider during Site creation:
- Click the Sites button in the App Sidebar. CloudCannon will open the Sites Browser.
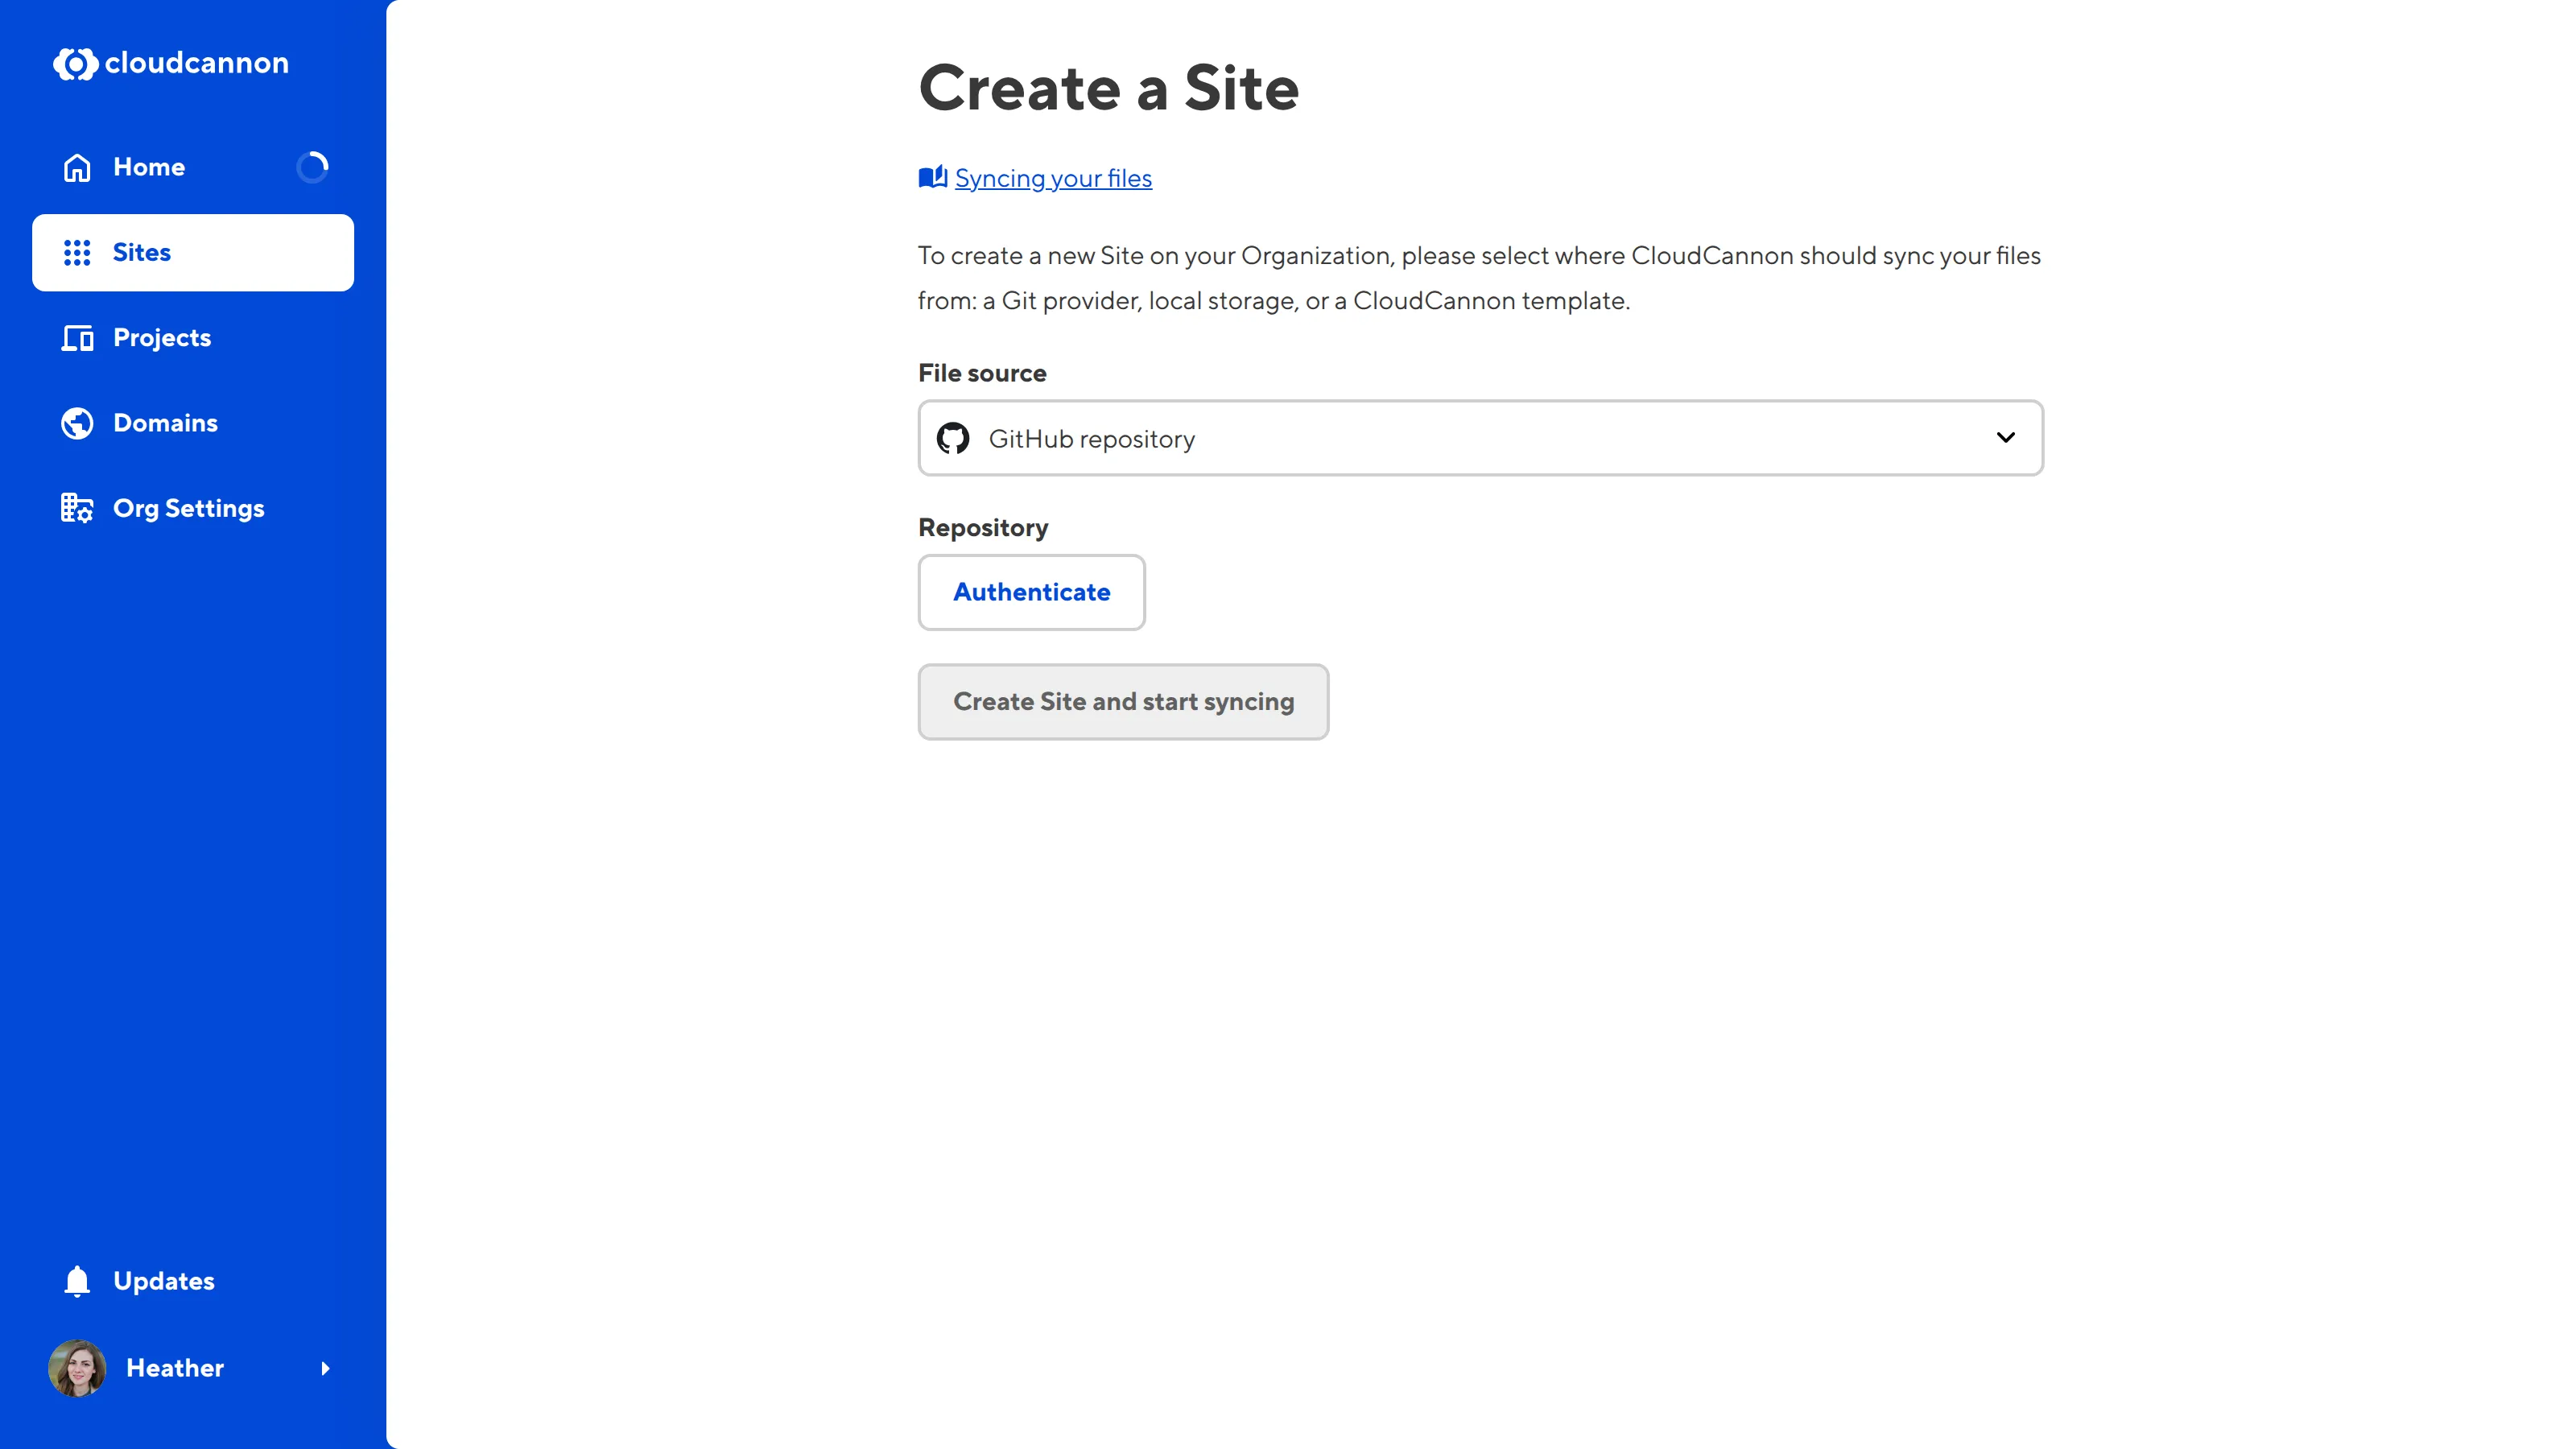
- Click the Create a Site button. CloudCannon will open the Create a Site page.
- Select an unauthenticated Git provider using the File source dropdown. CloudCannon will show you the Authenticate button. Authenticated providers have a green shield icon next to the option.
- Click the Authenticate button and follow your Git provider's instructions to authenticate access.
- Return to the Create a Site page on CloudCannon and continue following the prompts to create a Site.
Your Git provider is now authenticated, and CloudCannon will display all repositories available through that provider in the Repository dropdown.


To authenticate a Git provider through your Org Settings:
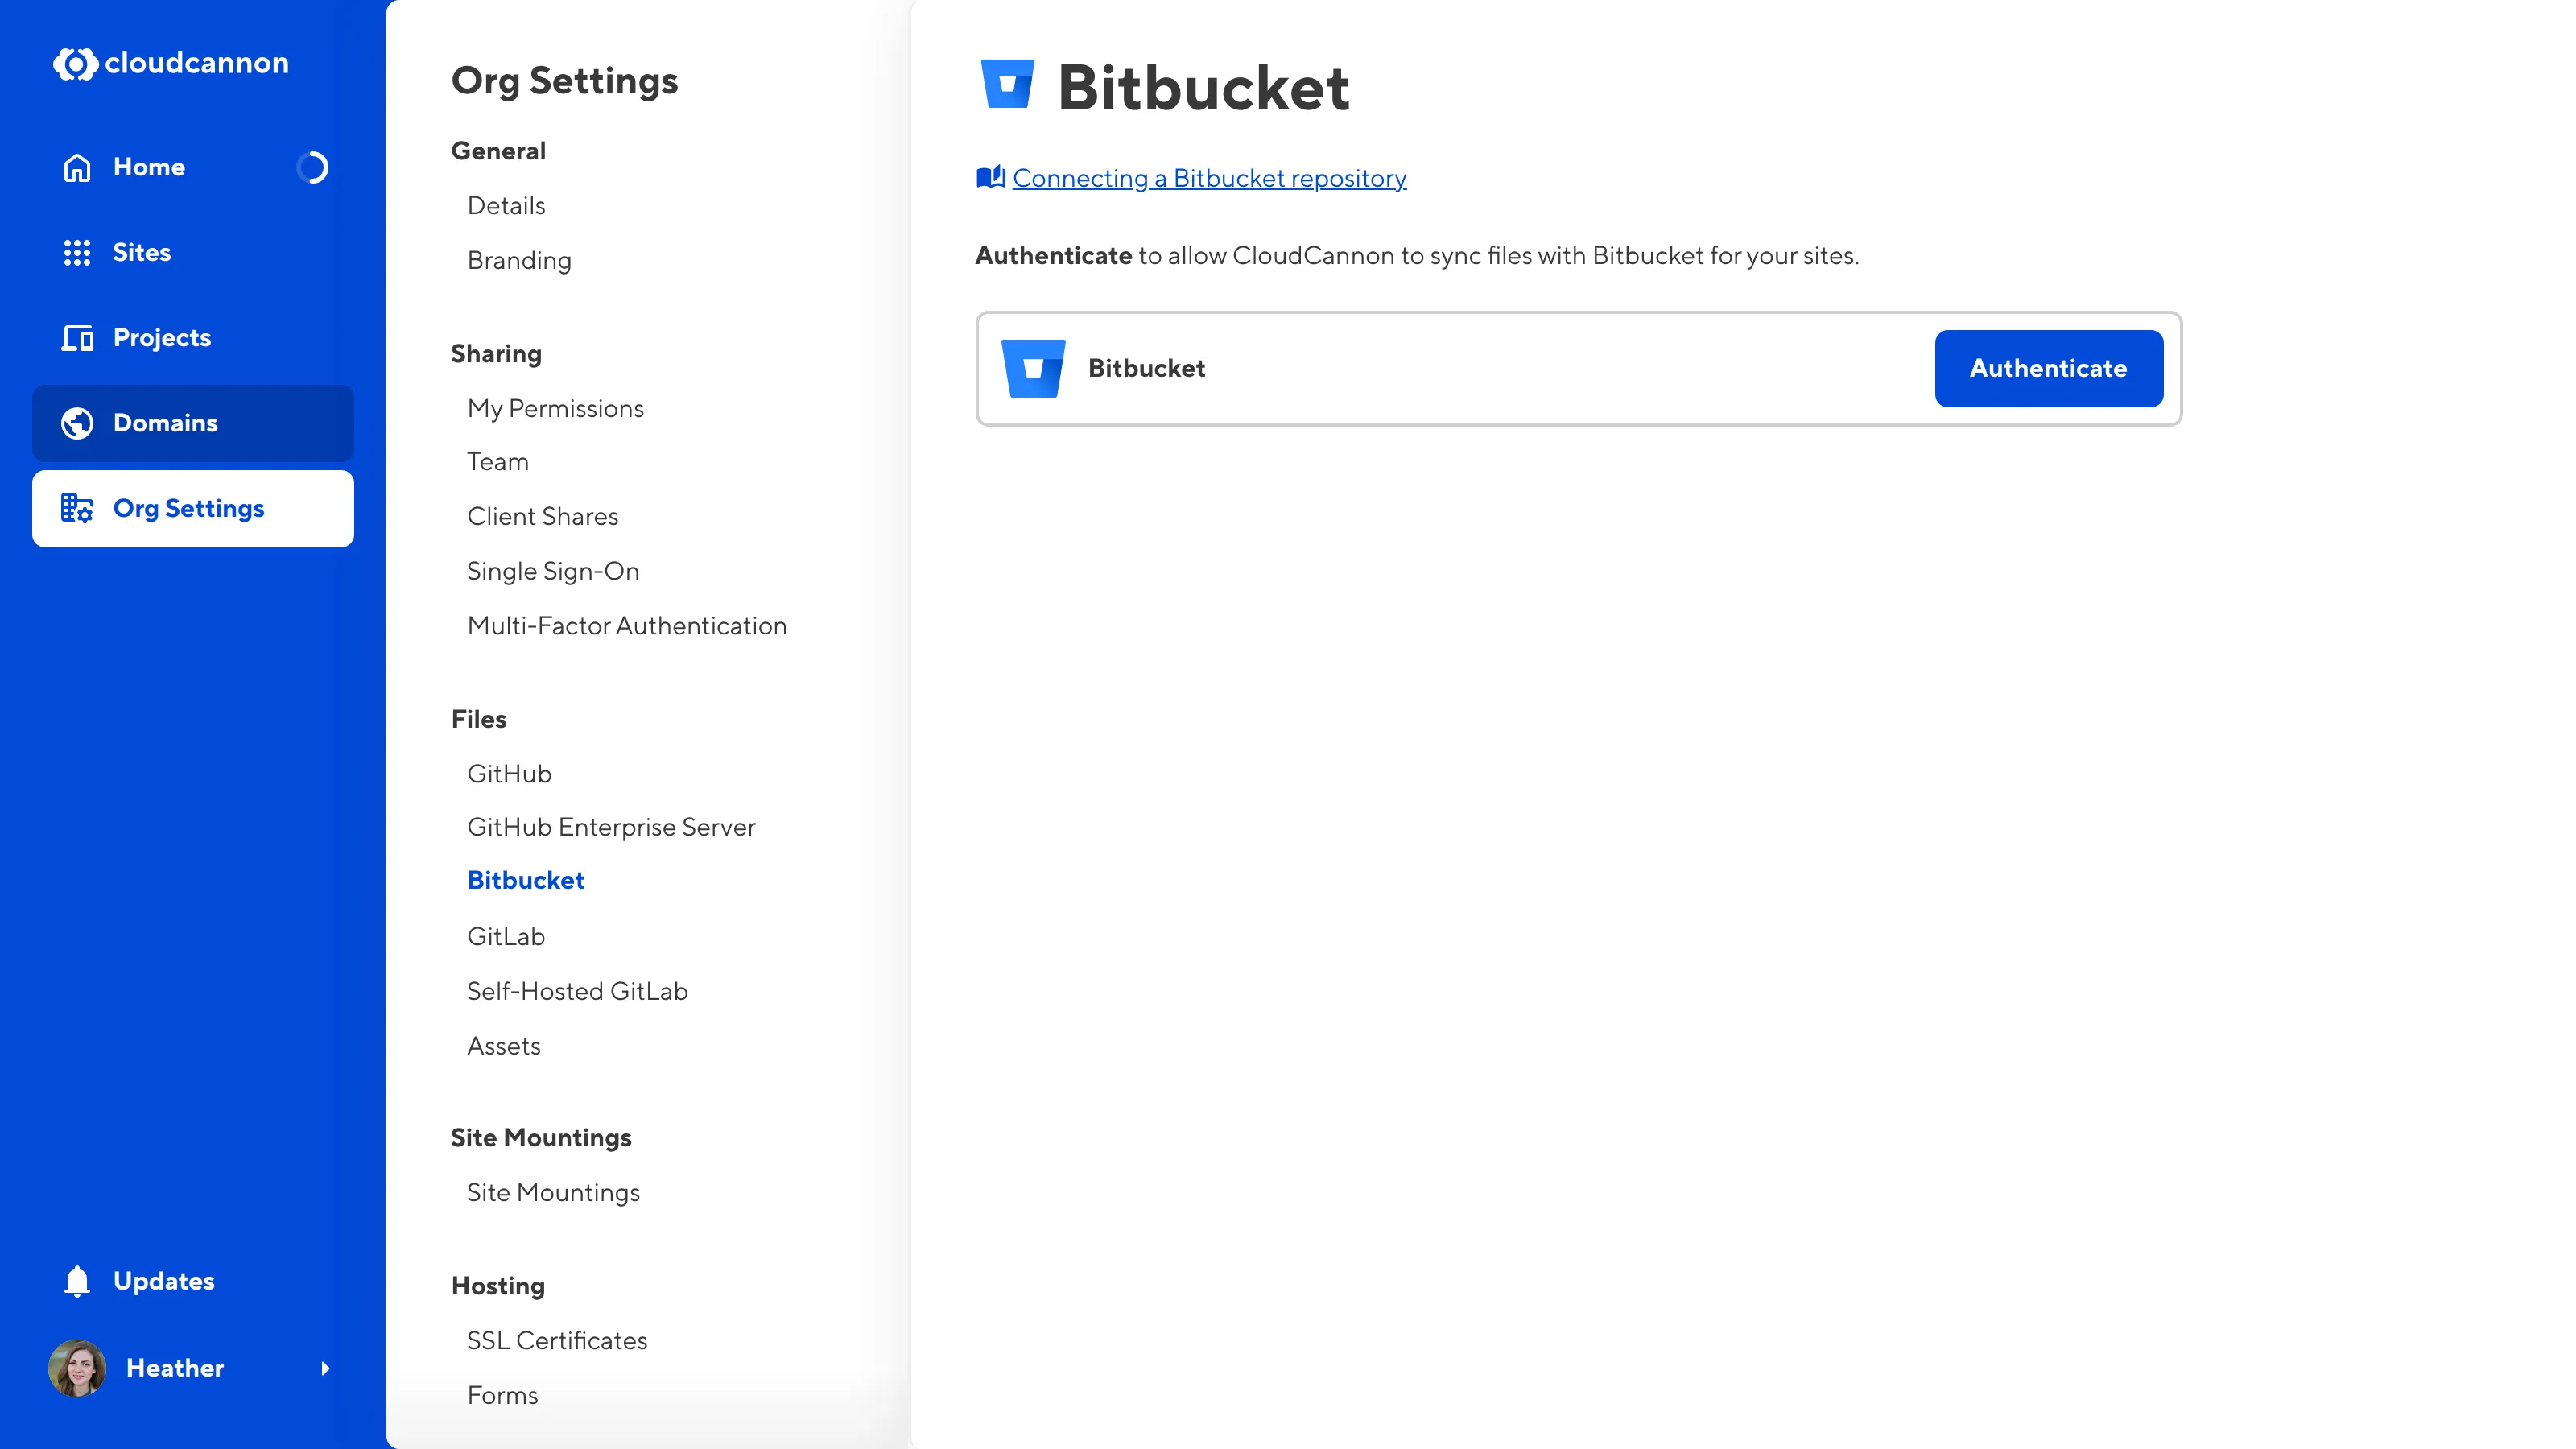
- Click the Org Settings button in the App Sidebar. CloudCannon will open the Details page.
- Navigate to the GitHub, Bitbucket, or GitLab page under the Files heading, depending on which provider you want to authenticate.
- Click the Authenticate button and follow your Git provider's instructions to authenticate access.
Your Git provider is now authenticated.
