There are multiple ways to add files in CloudCannon. When you add a file to your site and save your changes, CloudCannon will push the new file to your Git repository. This way, technical and non-technical team members can contribute to your Git repository.
Create a new file in the collection browser#
You can create a new collection file using the + Add button in the top right of the collection browser. The + Add dropdown shows a list of available Schemas for this collection or a default file template if no Schemas are configured.
- Schema - A Schema is a preconfigured file template that will populate new files with matching front matter and contents. You can configure your + Add dropdown to list a library of Schemas for each collection.
- Default file template — If no Schemas are defined for a collection, CloudCannon will generate a default file template. The default template will copy the front matter (but not the contents) of the first alphabetical file in the collection. In the + Add dropdown, the default template will appear as “+ Add [collection item]”, for example, “+ Add Blog” for a collection named “Blog”.

To create a file in the collection browser:
- Navigate to the location you want to create the file using the collection or file browser.
- Click the + Add button in the top right of the browser.
- Select the Schema or template you want to use.
CloudCannon will open a new file in an editing interface and save it to the location open in your collection browser.
Upload from the file browser#
Your file browser uses the same file structure as your Git repository. You can upload an individual file or a folder of files using the + Add button in the top right of the files browser. Uploading a folder uploads all files inside it rather than the folder itself.
The file browser is not available to team members in the Editor Default Permission Group or Clients.

To upload a file or folder from the file browser:
- Navigate to the location where you want to upload the file in your file browser.
- Click the + Add button in the top right of the browser and select Upload files or Upload a folder.
- CloudCannon will open a local file browser. Select the file or folder you want to upload.
- Review the files you want to upload in the Confirm your files modal.
- Click the Confirm selection button.
CloudCannon will upload your file or folder to the location open in your file browser.
When uploading files to CloudCannon, the maximum size per file is 50 MB. Files synced from a Git provider have no maximum size.
Alternatively, you can also drag and drop files from your local computer into the CloudCannon file browser to upload them to the location you have open.
Clone a file#
You can add a new file to your site by cloning an existing file. This method is useful if you need files with similar contents. You can also clone a folder to create a copy of every file in that folder.
If your workflow requires many files with similar contents, we recommend setting up a Schema.

To clone a file or folder:
- Navigate to the item you want to clone in your collection or file browser.
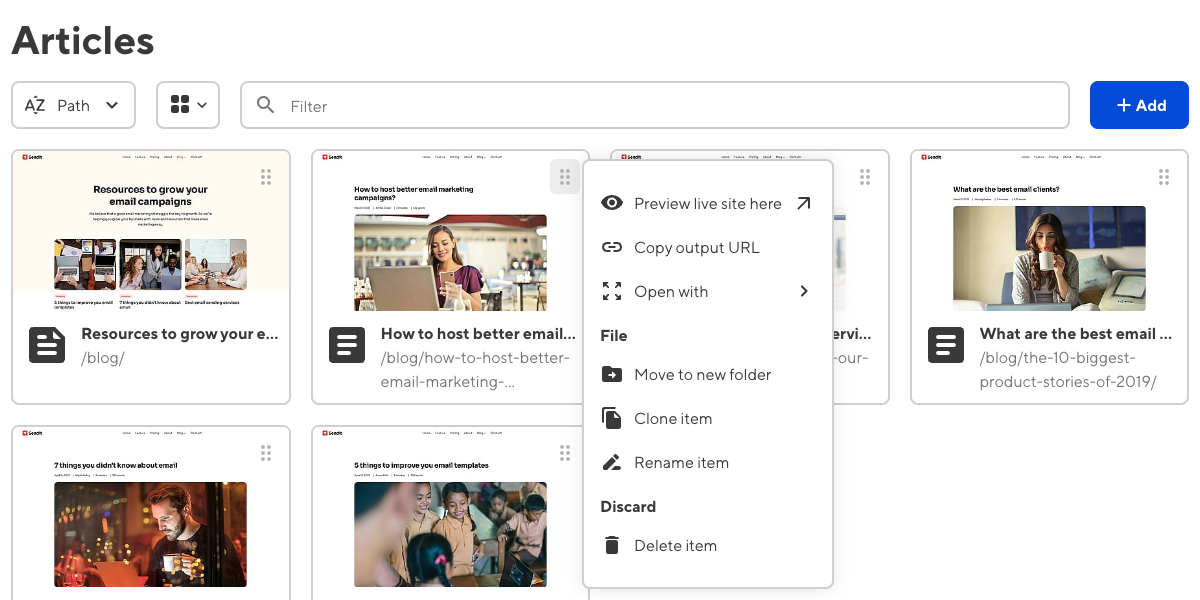
- Open the Context menu by clicking the icon in the top right of the file card.
- Select Clone item/folder.
CloudCannon will clone your file or folder. Cloned files and folders will have “-copy” added to the file or folder name. Filenames inside cloned folders will not change.
If you are cloning an individual file, CloudCannon will open that file in an editing interface.
Alternatively, you can clone a file from the editing interface using the File menu in the top left corner.
Upload from an editing interface#
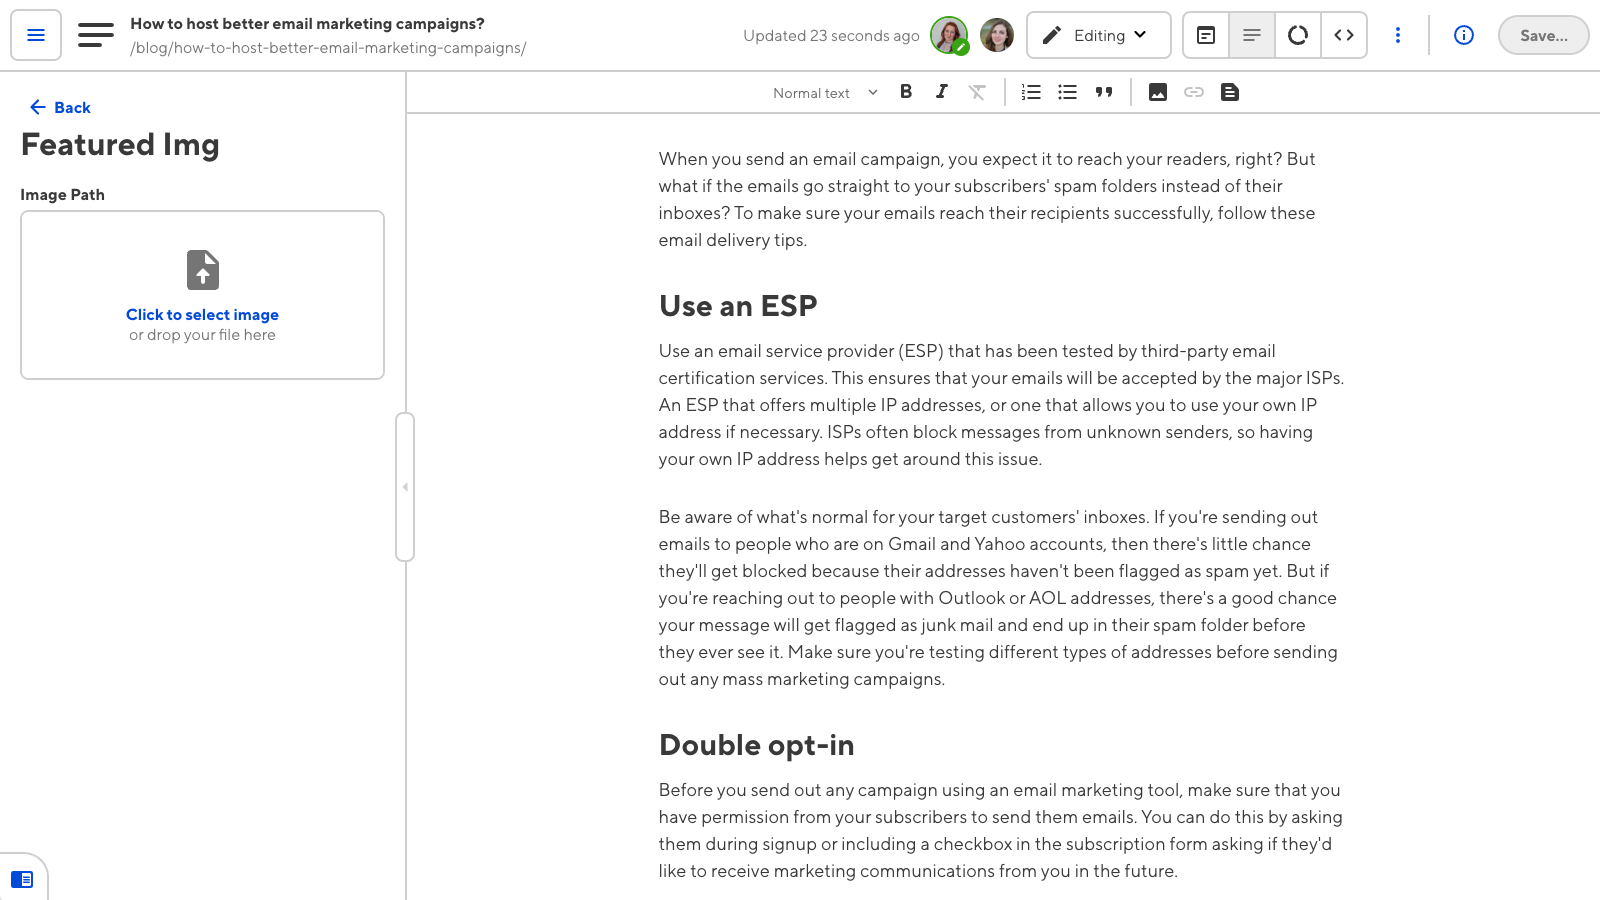
While in the Visual Editor, Content Editor, or Data Editor, you can upload files through a file input. Uploading from a file input is a convenient way to add files without leaving the editing interface. We recommend this method for uploading images or other file types that you want to include within another file.
File inputs in the sidebar of the Visual or Content Editor, or in the Data Editor, allow you to select a file from your local computer or browse existing files stored in your repository or a remote DAM.

Although you can upload videos this way, we recommend using external storage to prevent large files from affecting the size of your Git repository.
Upload to the root directory from a file input#

To upload a file to your root directory:
- Navigate to the file you want to add another file to in your collection or file browser.
- Open that file in the Visual, Content, or Data Editor.
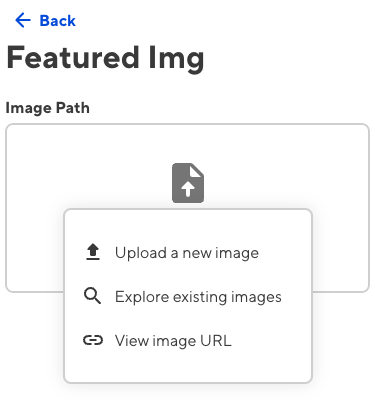
- Click on the input where you want to upload your file in the sidebar or Data Editor and select Upload a new file.
- If you have a DAM connected to your site, the Choose your file destination modal will prompt you to select either your DAM or Site files. Click Confirm destination. If you do not have a DAM, CloudCannon will upload your file to your Site files.
- CloudCannon will open a local file browser. Select the file you want to upload.
CloudCannon will upload your file to the root directory and add the file to the input you selected.
Upload to a folder from a file input#
Uploading a file to the root directory may not be ideal for some sites. You can choose where in your file structure to upload your file by using the Explore existing files option.

To upload a file to a folder in your file structure:
- Navigate to the file you want to add another file to in your collection or file browser.
- Open that file in the Visual, Content, or Data Editor.
- Click on the input where you want to upload your file in the sidebar or Data Editor and select Explore existing files.
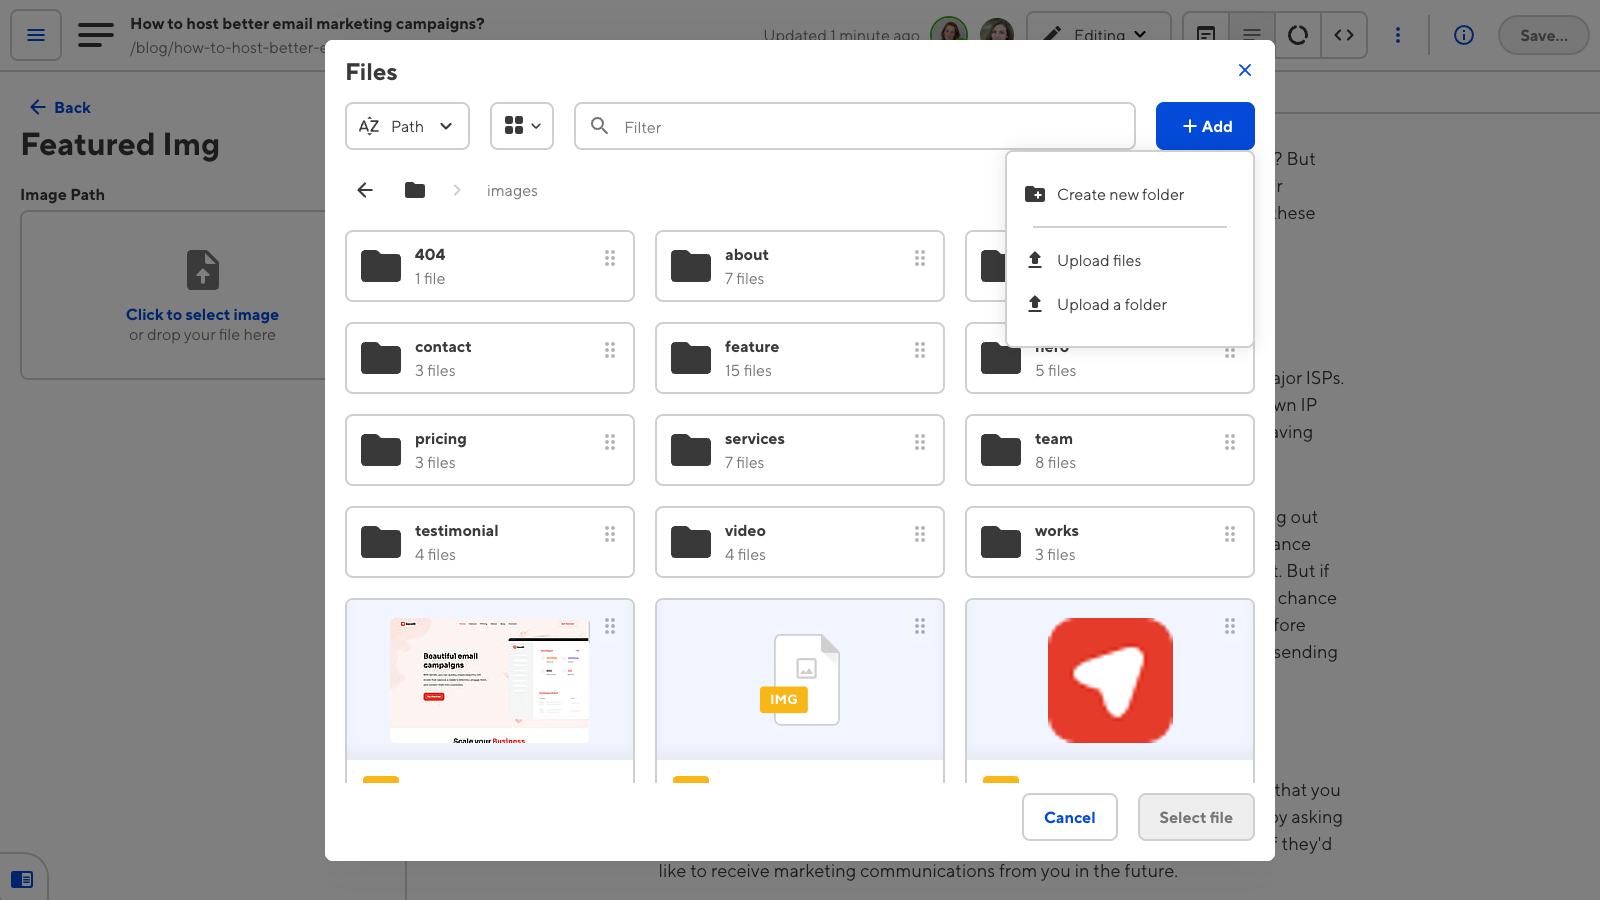
- CloudCannon will open a file browser modal. If you have a DAM connected to your site, you can choose which location to browse using the Select your source dropdown.
- Navigate to the location where you want to upload the file (you can create new folders using the + Add button in the top right of the modal).
- Click the + Add button and select Upload files.
- CloudCannon will open a local file browser. Select the file you want to upload.
- Review the files you want to upload in the Confirm your files modal.
- Click the Confirm selection button.
CloudCannon will upload your file. To add that file to the input in your editing interface, select the file and click the Select file button.