Cloudflare R2 is an inexpensive cloud storage service built to be compatible with Amazon's S3 interface.
If you don't already have a Cloudflare account, you can sign up here and follow the steps below to create an R2 bucket and connect it to CloudCannon.
Create your R2 bucket
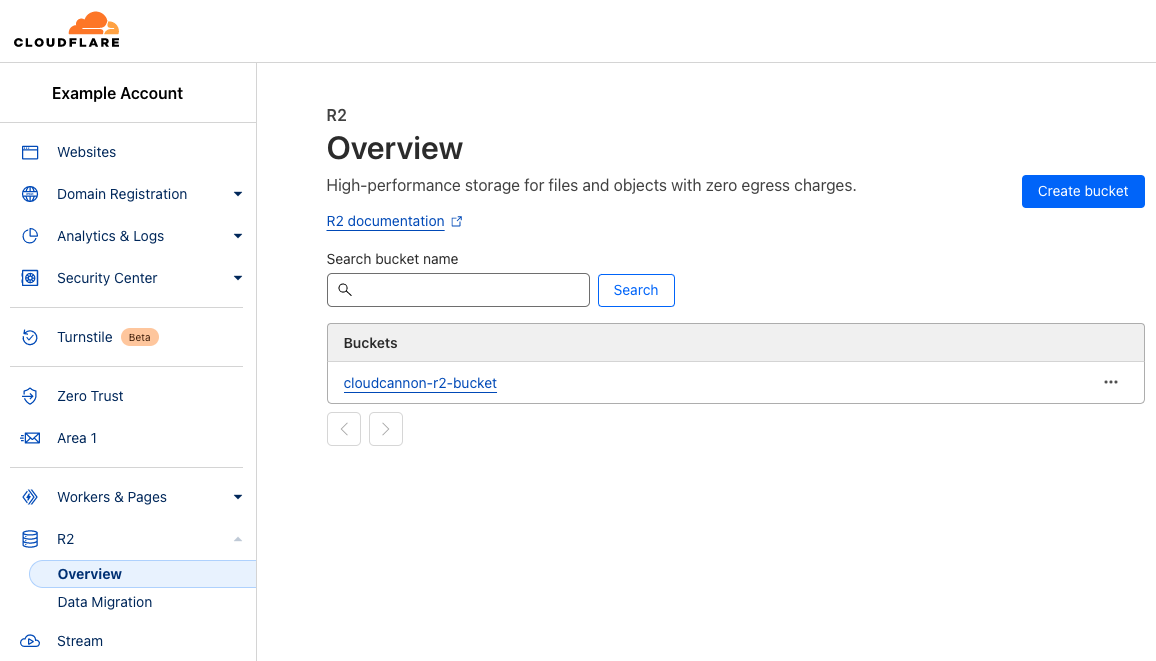
Sign in to the Cloudflare dashboard and open the R2 settings from the sidebar.
Use the "Create Bucket" button to create a new bucket, or select an existing bucket to configure it.
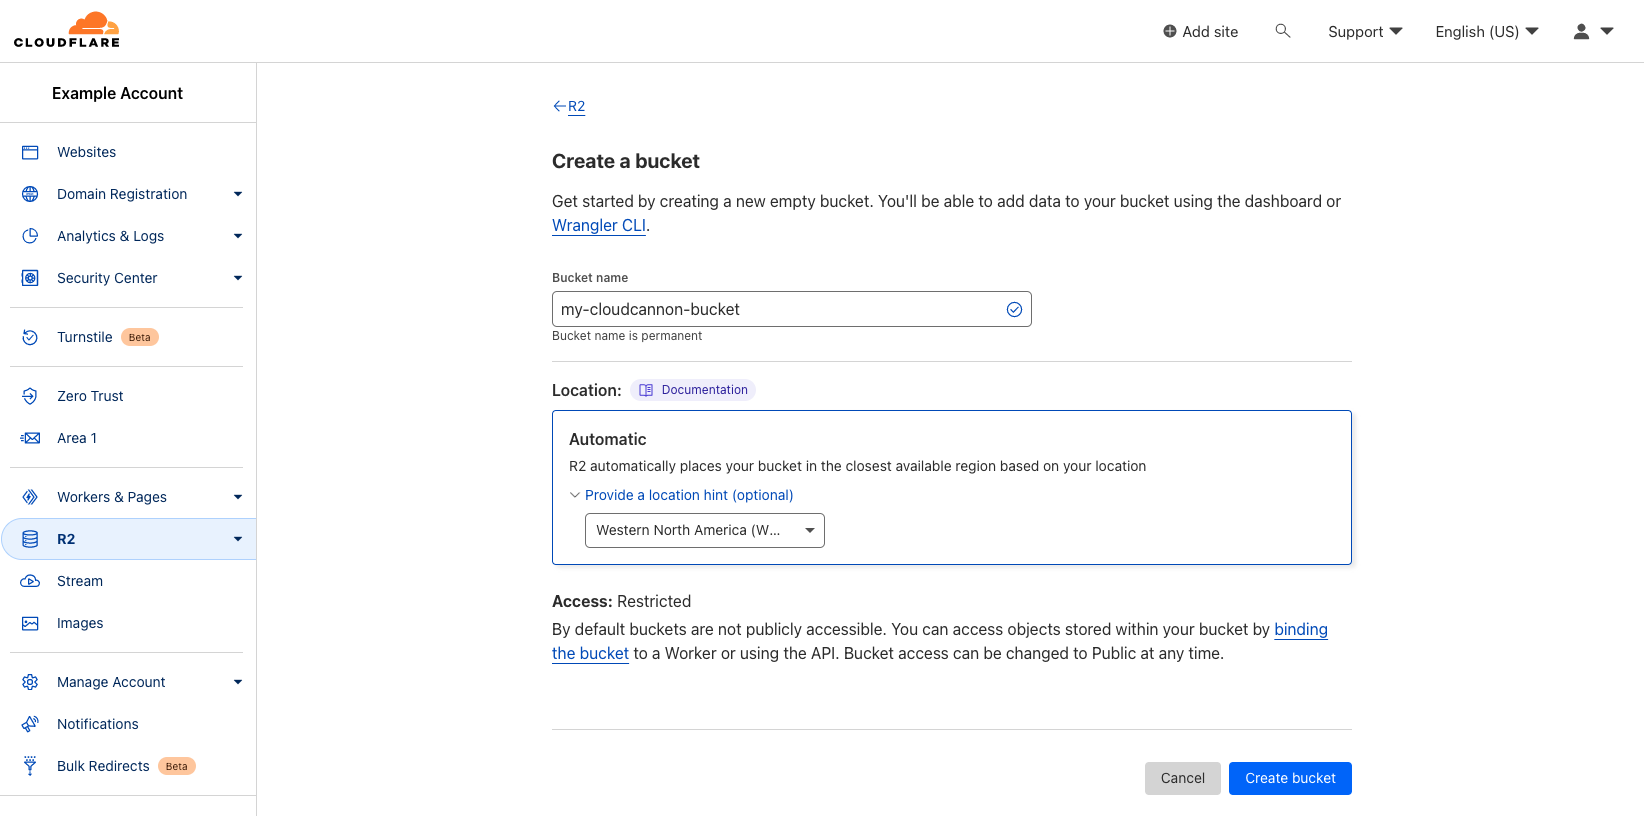
Choose a name for your bucket. This can be anything and will be displayed as the name of the DAM in CloudCannon.
Optionally, you can select a region for your bucket, if you don't want it to be autoselected.
Click "Create bucket" to finish and create the bucket.
Provide access through a custom domain
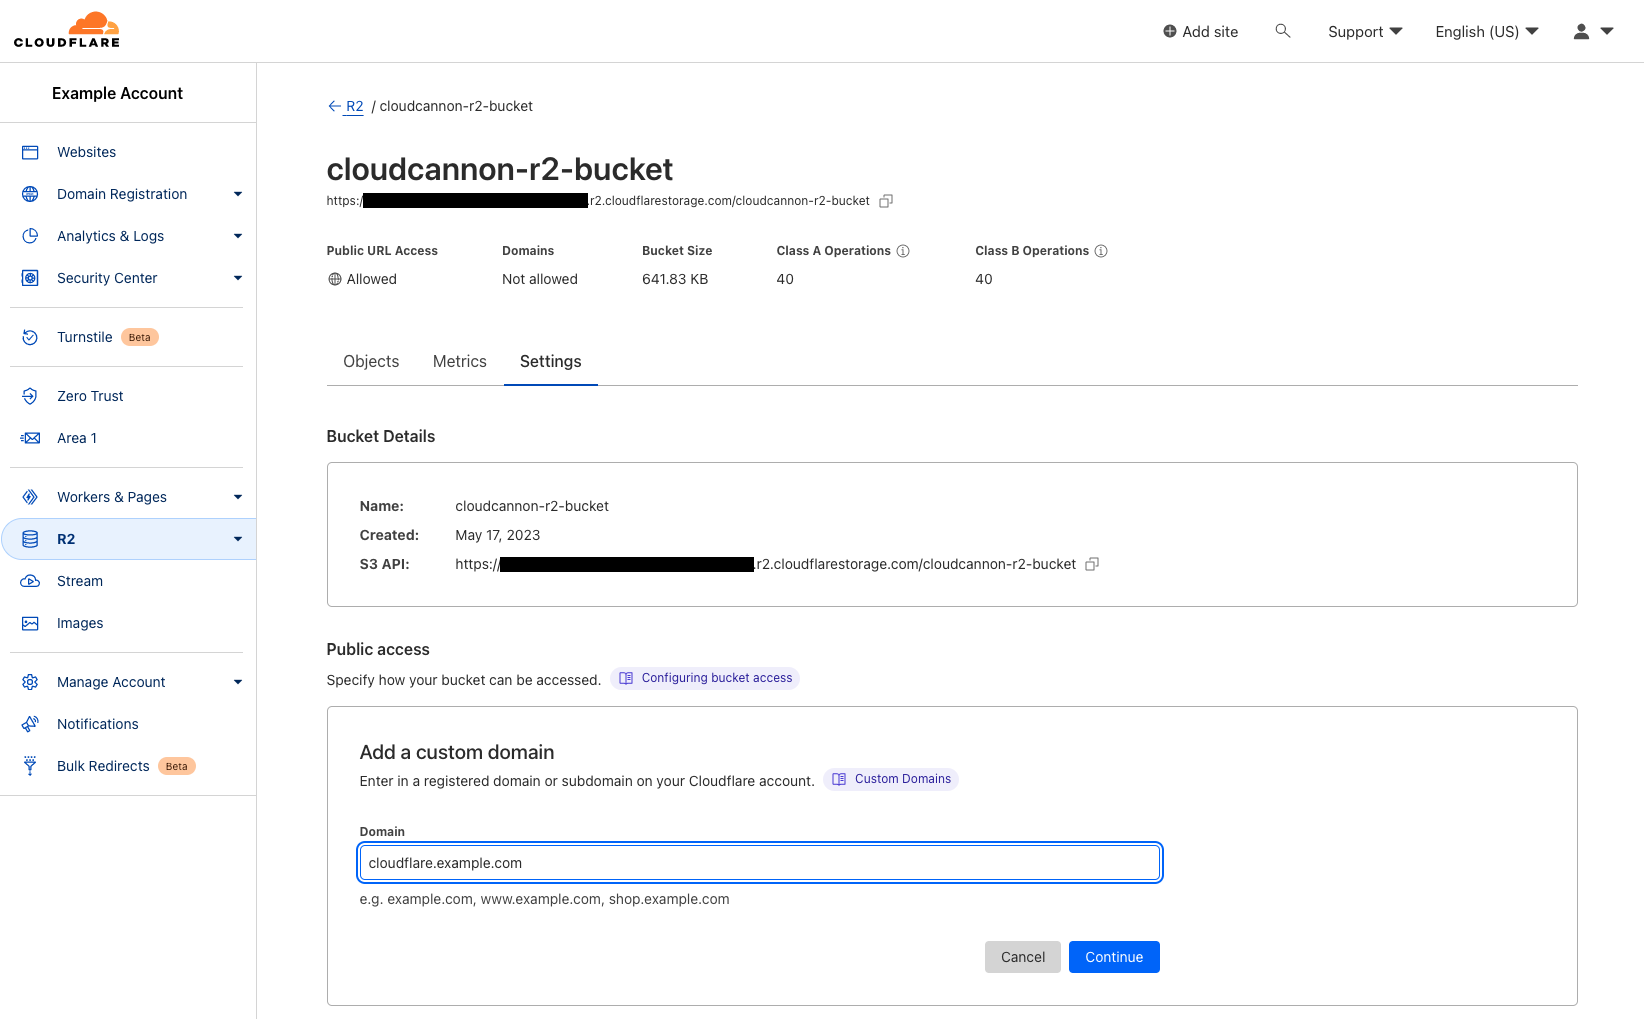
Navigate to your bucket in the R2 console, and switch to the "Settings" tab.
In the "Public access" section, you can add a custom domain where your assets will be served.
You can read more about making the contents of your bucket publically accessible here in the Cloudflare documentation.
Configure CORS policies
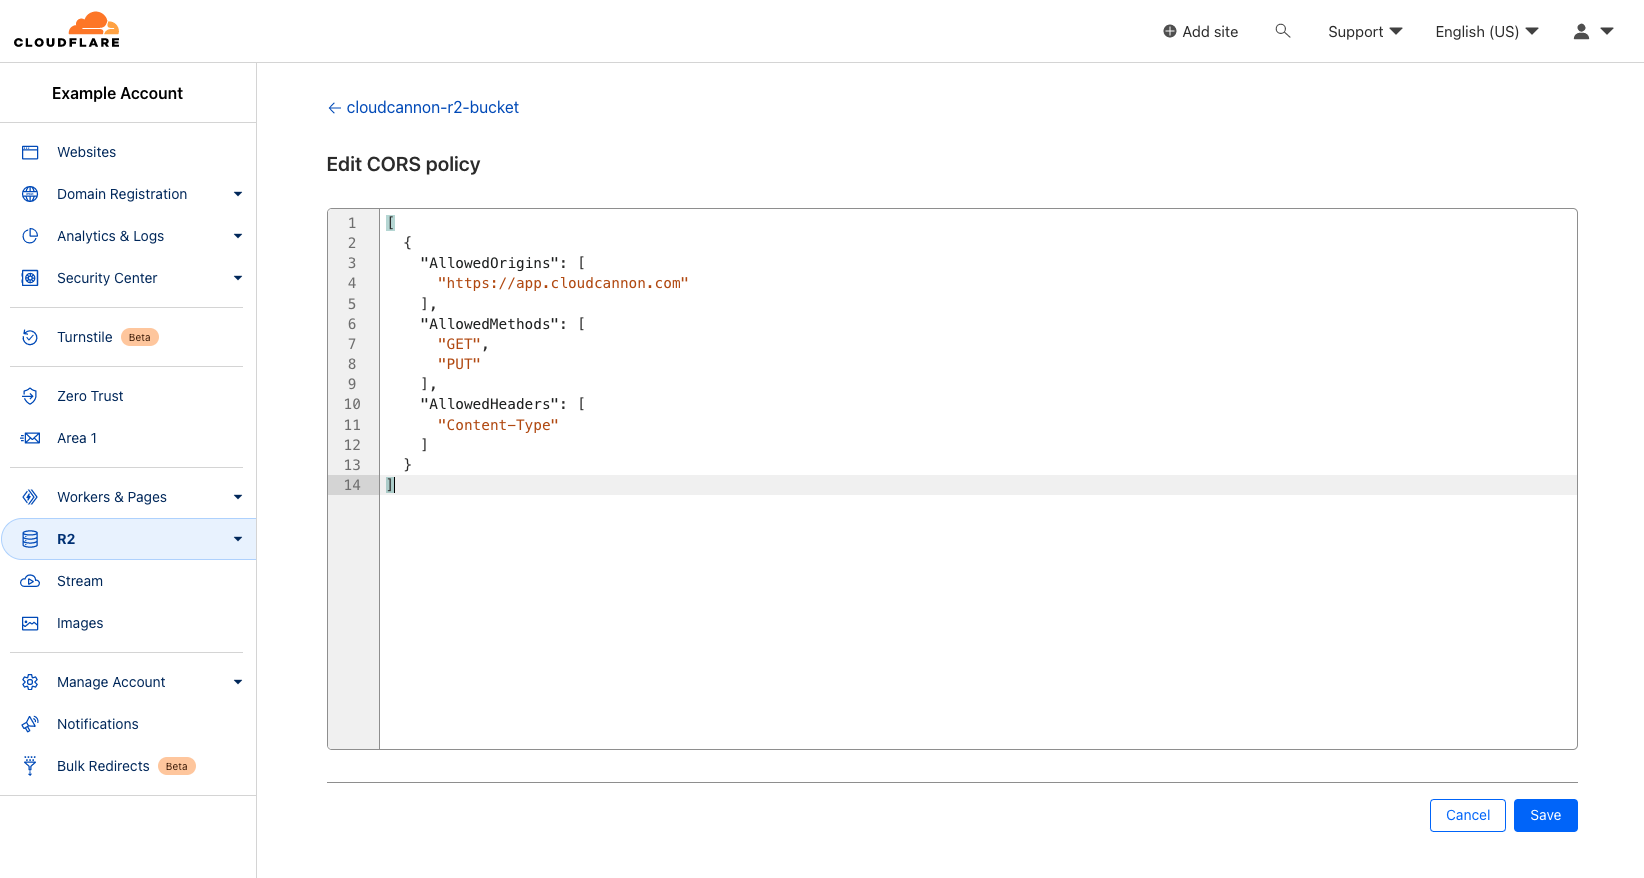
You will need to configure your CORS policies to allow CloudCannon to interact with your bucket. In the "Settings" tab for your bucket in Cloudflare, click the "Edit CORS policy" button.
Minimally, you need to allow the GET and PUT methods, and the Content-Type header for https://app.cloudcannon.com.
Create an API token
You will also need to provide an API token to allow CloudCannon to access your bucket. Navigate back to the Overview page for R2 on your account, by clicking "R2 > Overview" in the sidebar.
Note down your account ID, which you'll need to copy into your CloudCannon settings later on.
Click "Manage R2 API tokens" in the top-right, and create a new API token. Copy the secret to somewhere safe.

Connect your DAM to CloudCannon
You should now have everything you need to connect CloudCannon with your R2 DAM.
Navigate to the Assets section of your Organization settings, and use the menu to authenticate a new Cloudflare R2 DAM.

Fill out the form as follows, then click "Authenticate" to finish.
- DAM Provider: Cloudflare R2.
- Name: This is the name you will see for your DAM in CloudCannon.
- Base URL: the domain name of the custom domain you configured earlier, where all your DAM assets are accessible.
- Region: This can be set to
auto. - Endpoint: you can copy the endpoint from your bucket settings, directly below the name of the bucket. It will look something like
https://[your-account-id].r2.cloudflarestorage.com, and should not include anything after the ".com". - Access Key: this is your Cloudflare account ID.
- Access Secret: this is the API token you saved earlier.
Extra options
In your site settings, you can click the context menu on your linked DAM and select Settings to configure some extra site-level options.
The Extra Prefix option prepends a specified string to all asset paths when browsing and uploading assets. This is useful if you want to ensure that your site can only ever touch a specific folder in your DAM.