Learn how to connect your DAM to your sites in CloudCannon.
For information on setting up a DAM with a specific provider, read one of our guides below:
- Creating a Cloudinary DAM
- Creating an S3 DAM
- Creating a Cloudflare R2 DAM
- Creating a DigitalOcean Spaces DAM
- Creating a Tenovos DAM
- Creating an Azure Blob Storage DAM
- Creating a Google Cloud Storage DAM
Authenticating your DAM
To connect your DAM to your sites, you must first authenticate the DAM with your organisation.
- In your Organisation settings, navigate to Files / Assets
- Click Authenticate a new DAM
- Select your provider from the dropdown, then fill out the relevant fields. Check your provider's documentation to see where you can find the relevant values
- Click Authenticate.
You will then be able to manage your DAM within the scope of your organisation. To check the authentication went correctly:
- In your Organisation settings, navigate to Files / Assets
- Locate the relevant DAM, and click the Manage button next to its name
- In the Configuration tab, click the Open preview button.
If your DAM successfully authenticated, a modal will open that will let your browse the files in your DAM. If something goes wrong, you may have entered your details incorrectly. Read below to learn how to configure an existing DAM with CloudCannon.
Linking your DAM to a site in CloudCannon
Once you have authenticated your DAM with your CloudCannon organisation, you can then link it to any number of your sites.
To link a site:
- Open your site in the CloudCannon app
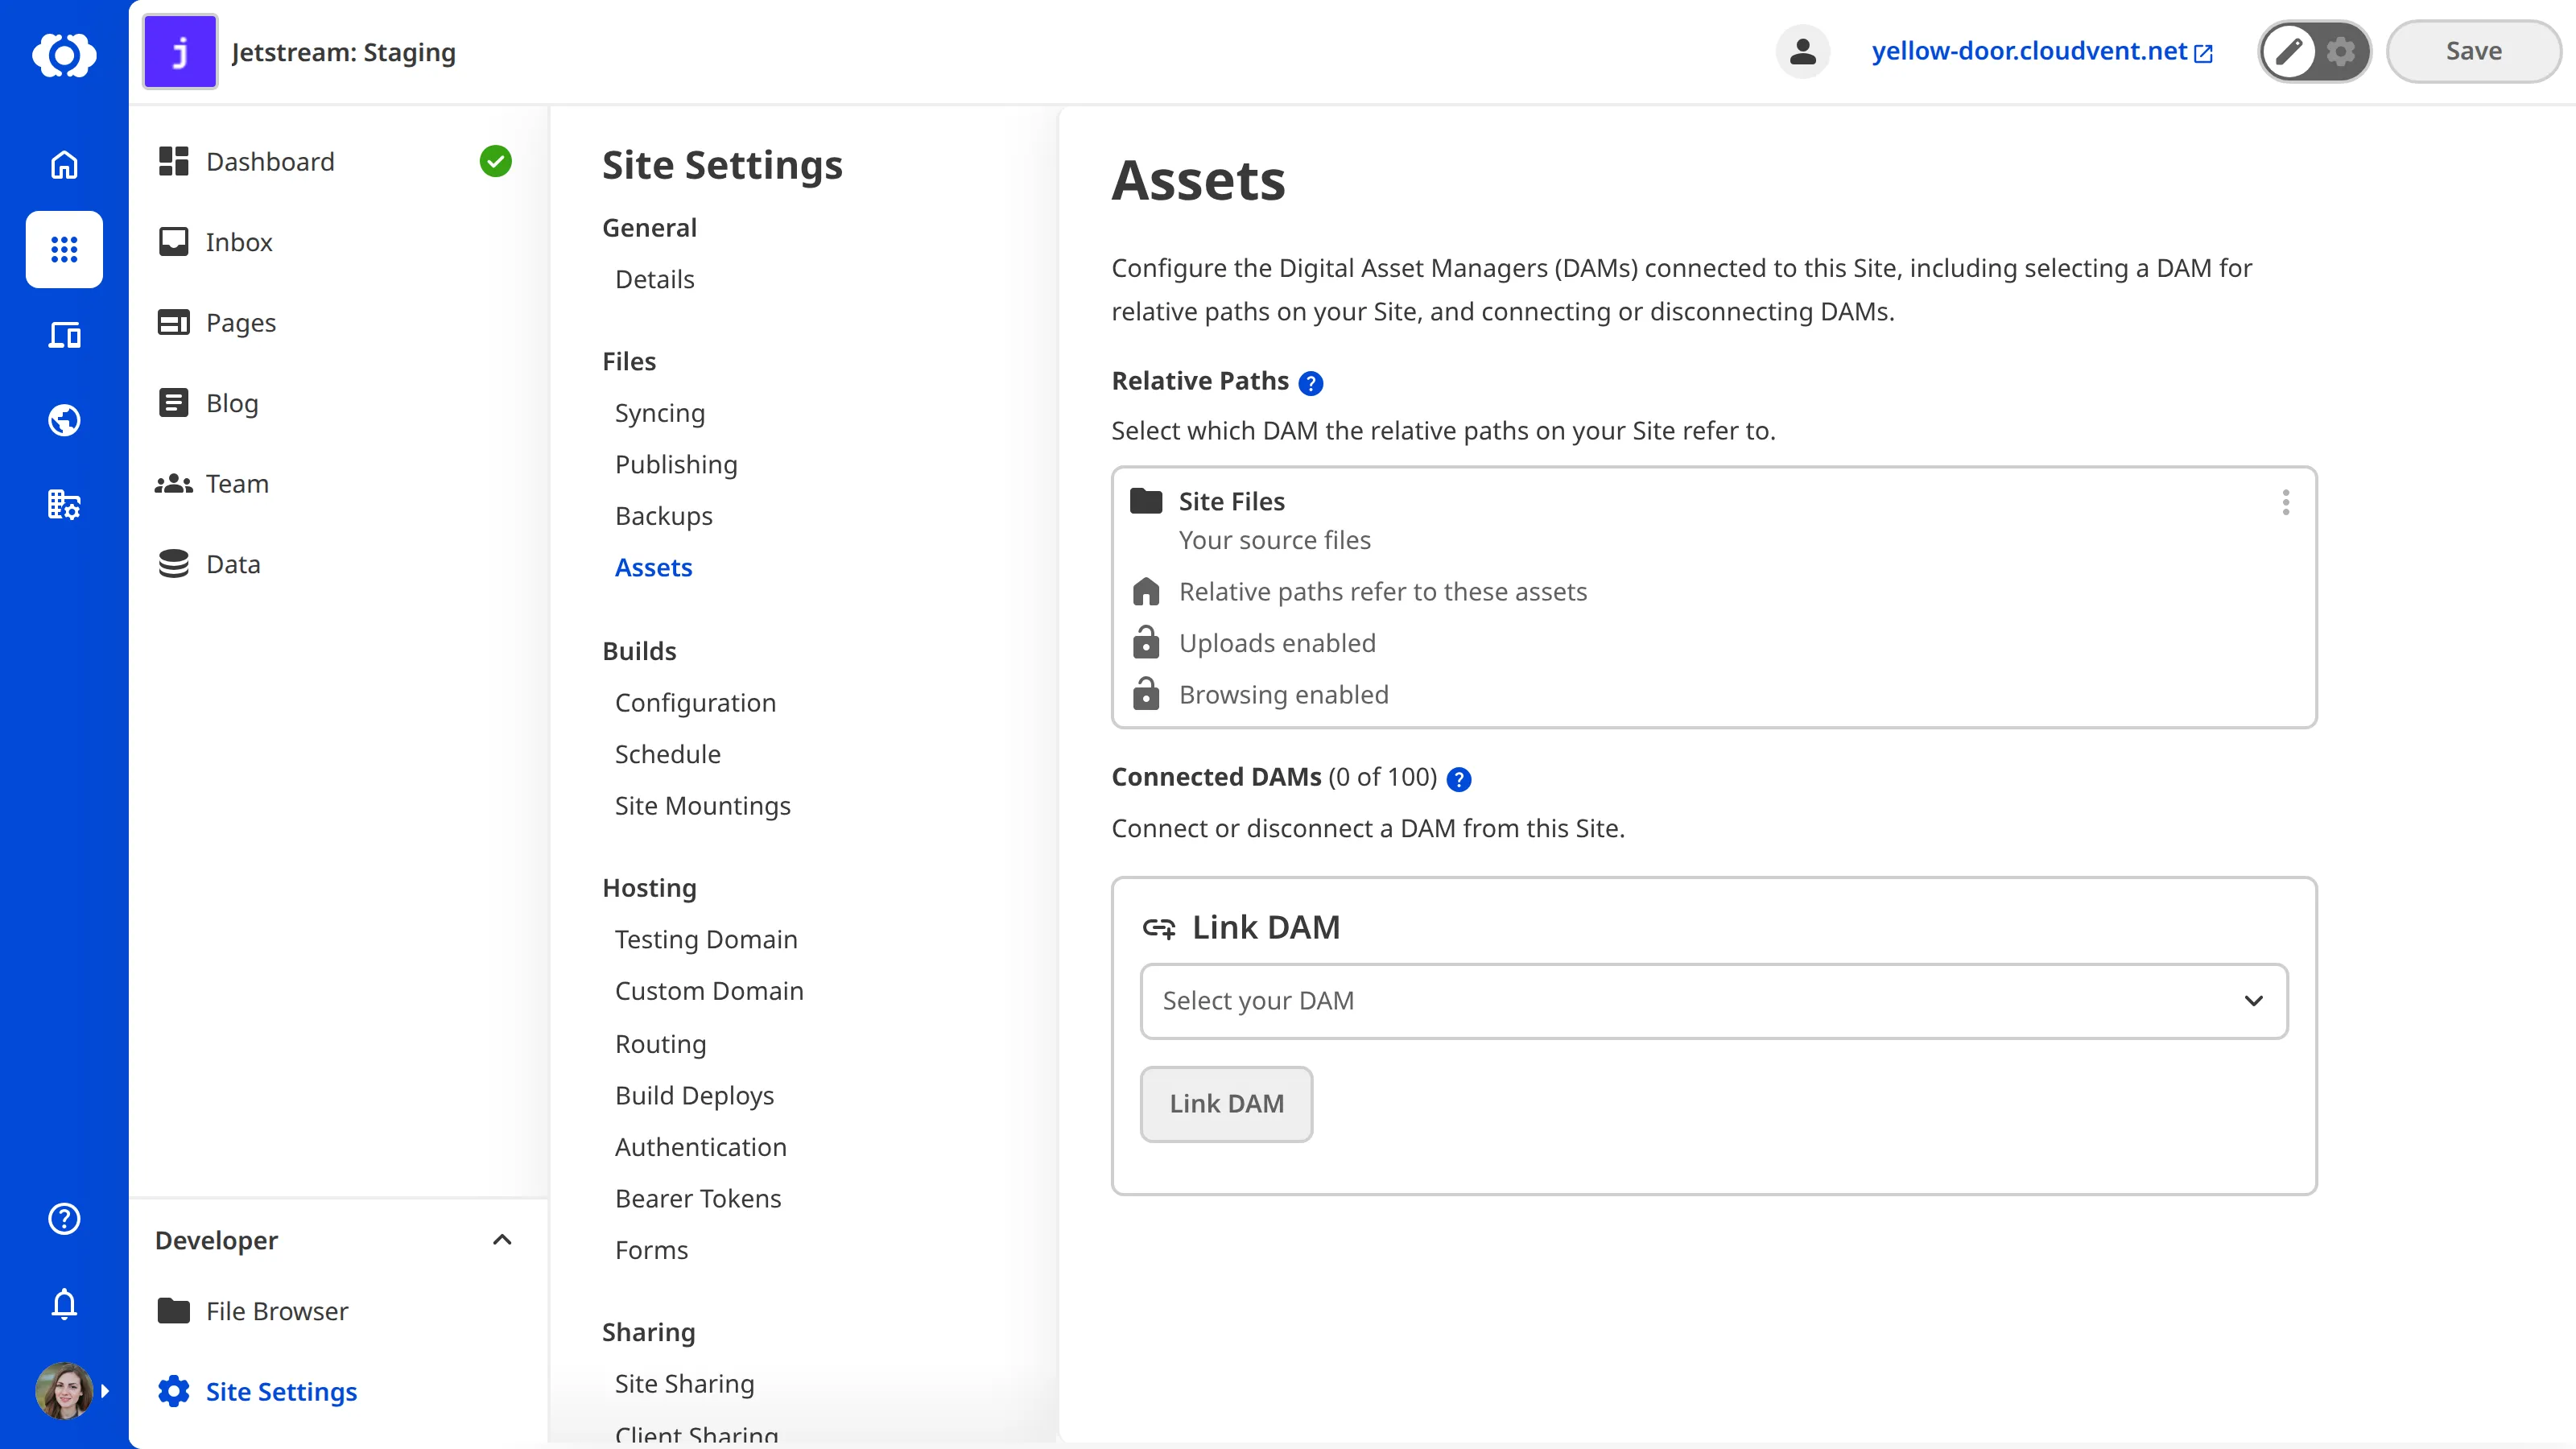
- In your site's settings, navigate to Files / Assets
- In the box labelled Link DAM, select your authenticated DAM from the dropdown
- Click Link DAM
You can prevent choosing existing files from and uploads to your site/repository files in the Site Settings / Details section.