You can integrate your CloudCannon forms with your IFTTT applets using webhooks and the IFTTT Inbox target.
To create an IFTTT webhook:
- If you haven't already, create an IFTTT account here.
- In the IFTTT console, create a new applet by clicking the Create button.
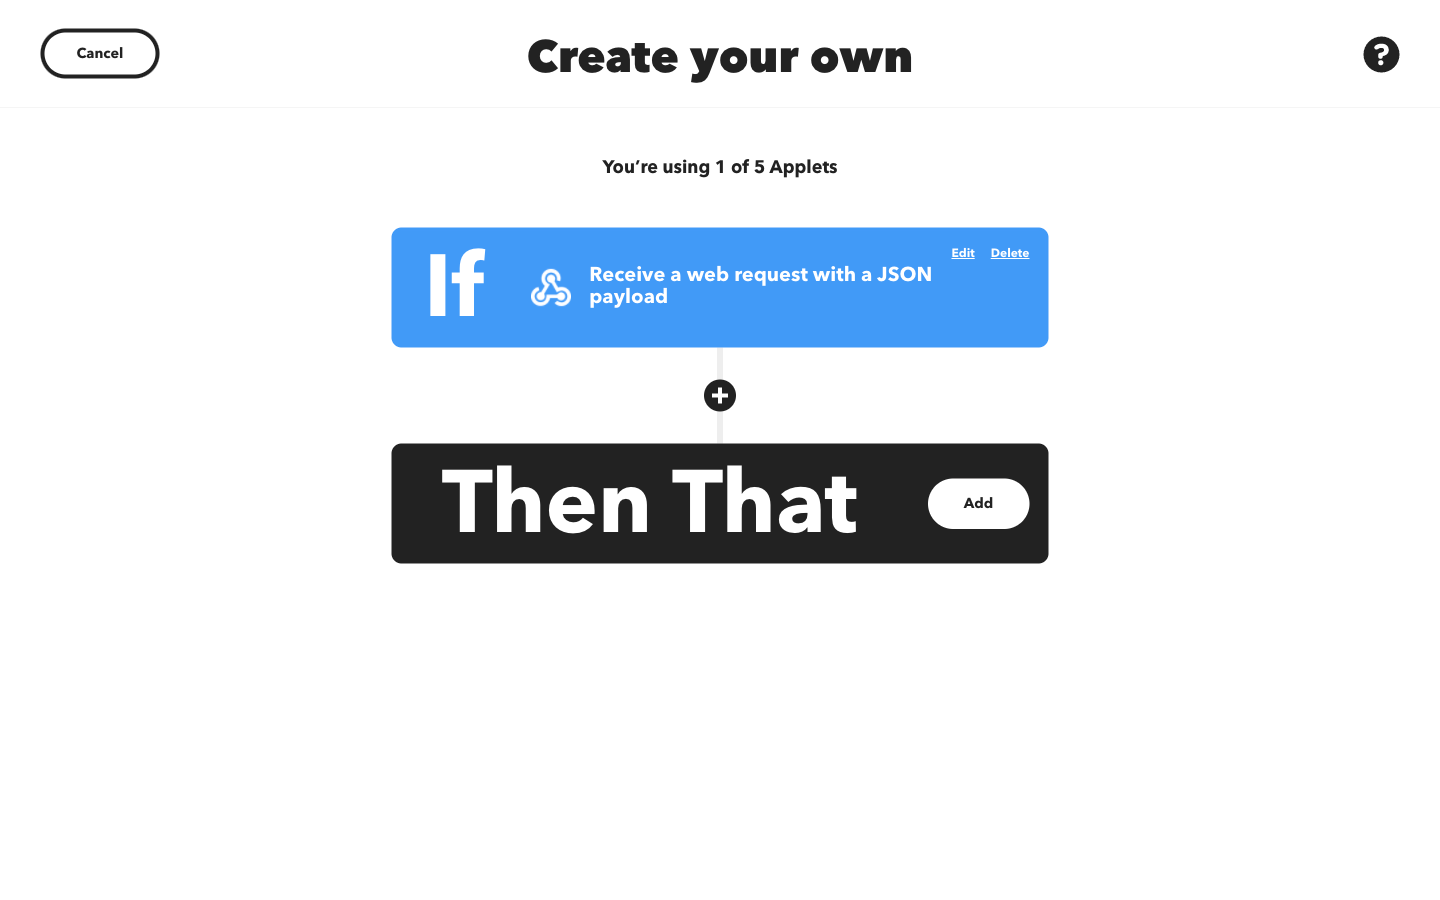
- Select the Webhooks service and then select Receive a web request with a JSON payload as your trigger.
- Enter an event name and then click Create Trigger.
- Add any actions you want to your applet, then click Continue. Give your applet a name and click Finish.
- Navigate to My Services > Webhooks, then click the Settings button.
- Go to the URL listed under the Details heading. Here you'll find your webhook URL. Replace
{event}in the URL with the event name you gave your trigger, the resulting URL is the one you'll use to create the IFTTT target.
To create an IFTTT target:
- Navigate to the forms menu in your Organization settings, under Hosting > Forms.
- Open your Inbox settings by clicking the Manage button on the Inbox you want to connect to IFTTT.
- Open the Add new target menu, and set the Type to IFTTT.
- Set the Target to the webhook URL from your IFTTT webhook service, then click Add Inbox target.
Now if you submit to that Inbox, your applet will be triggered with the submission data.