This feature is available on our Team and Enterprise plans.
Some features of this advanced publishing workflow are limited to customers on our Team and Enterprise plans. Want to chat about whether this feature is right for you? Our support team is always happy to hear from you.
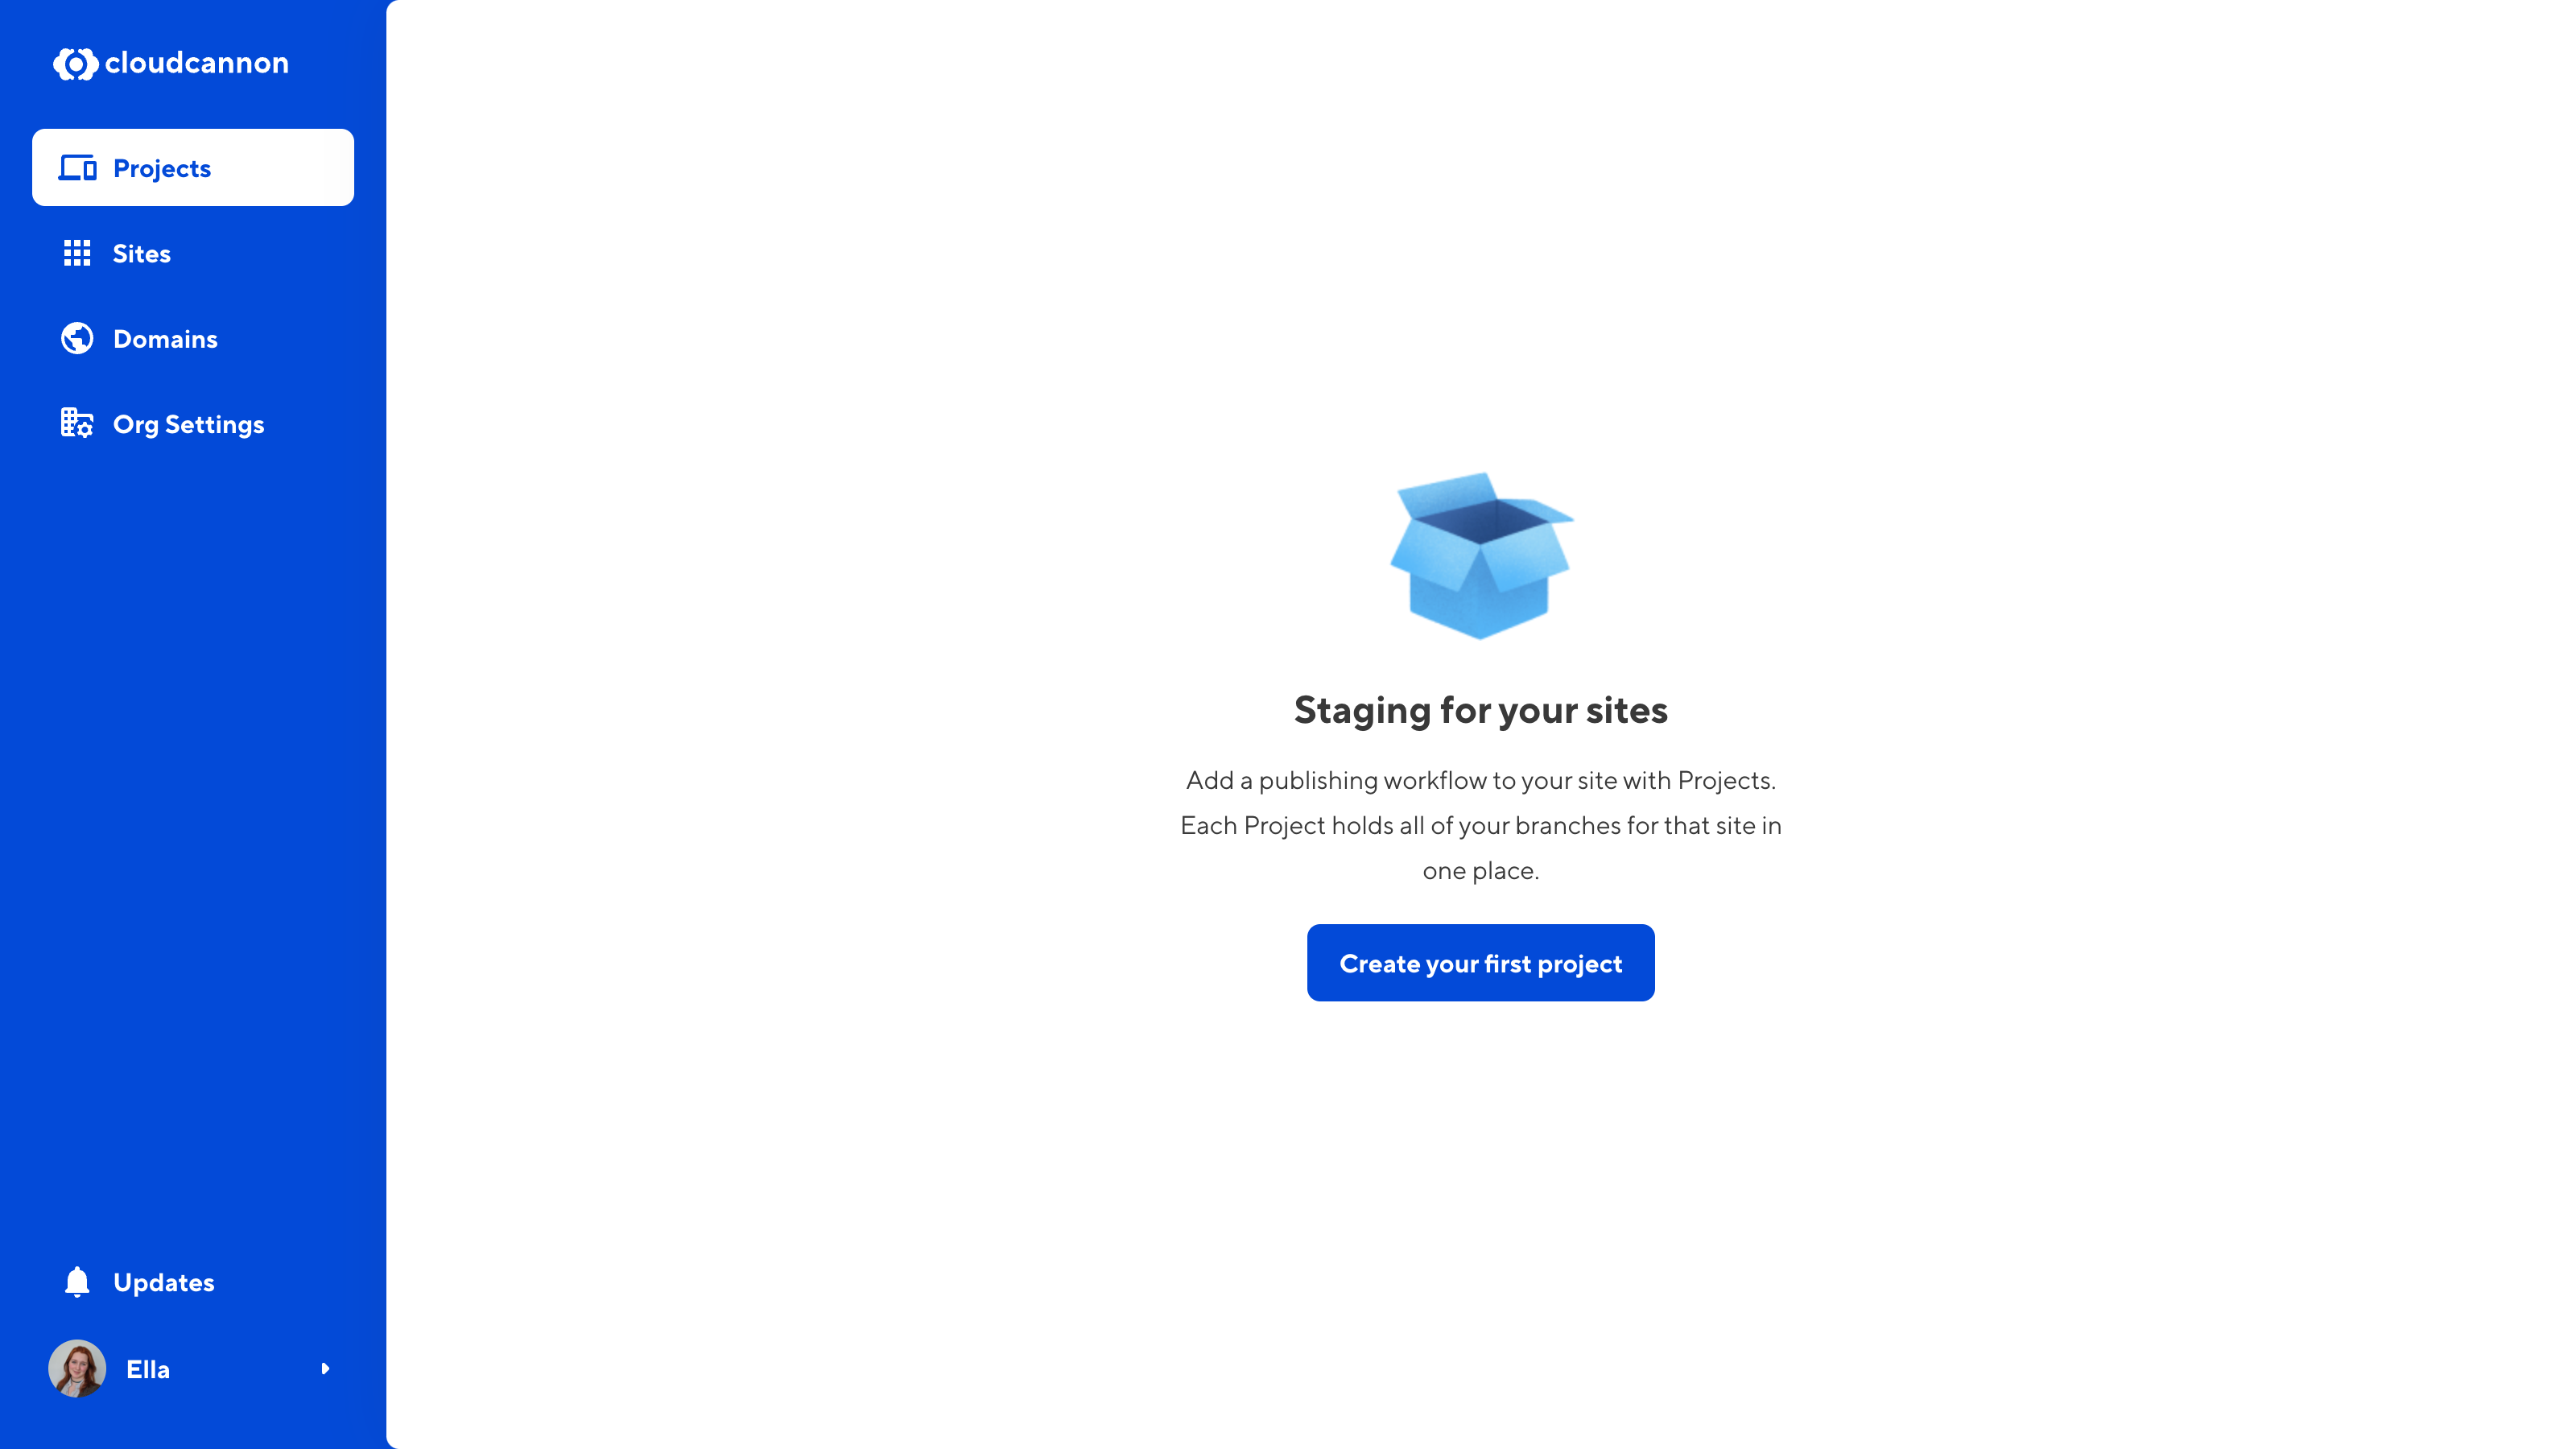
Projects allow you to group multiple sites from the same repository. You can set up a main branch and enable team members to create branch sites and merge them back to the main branch at a later date.
Adding a new Project#
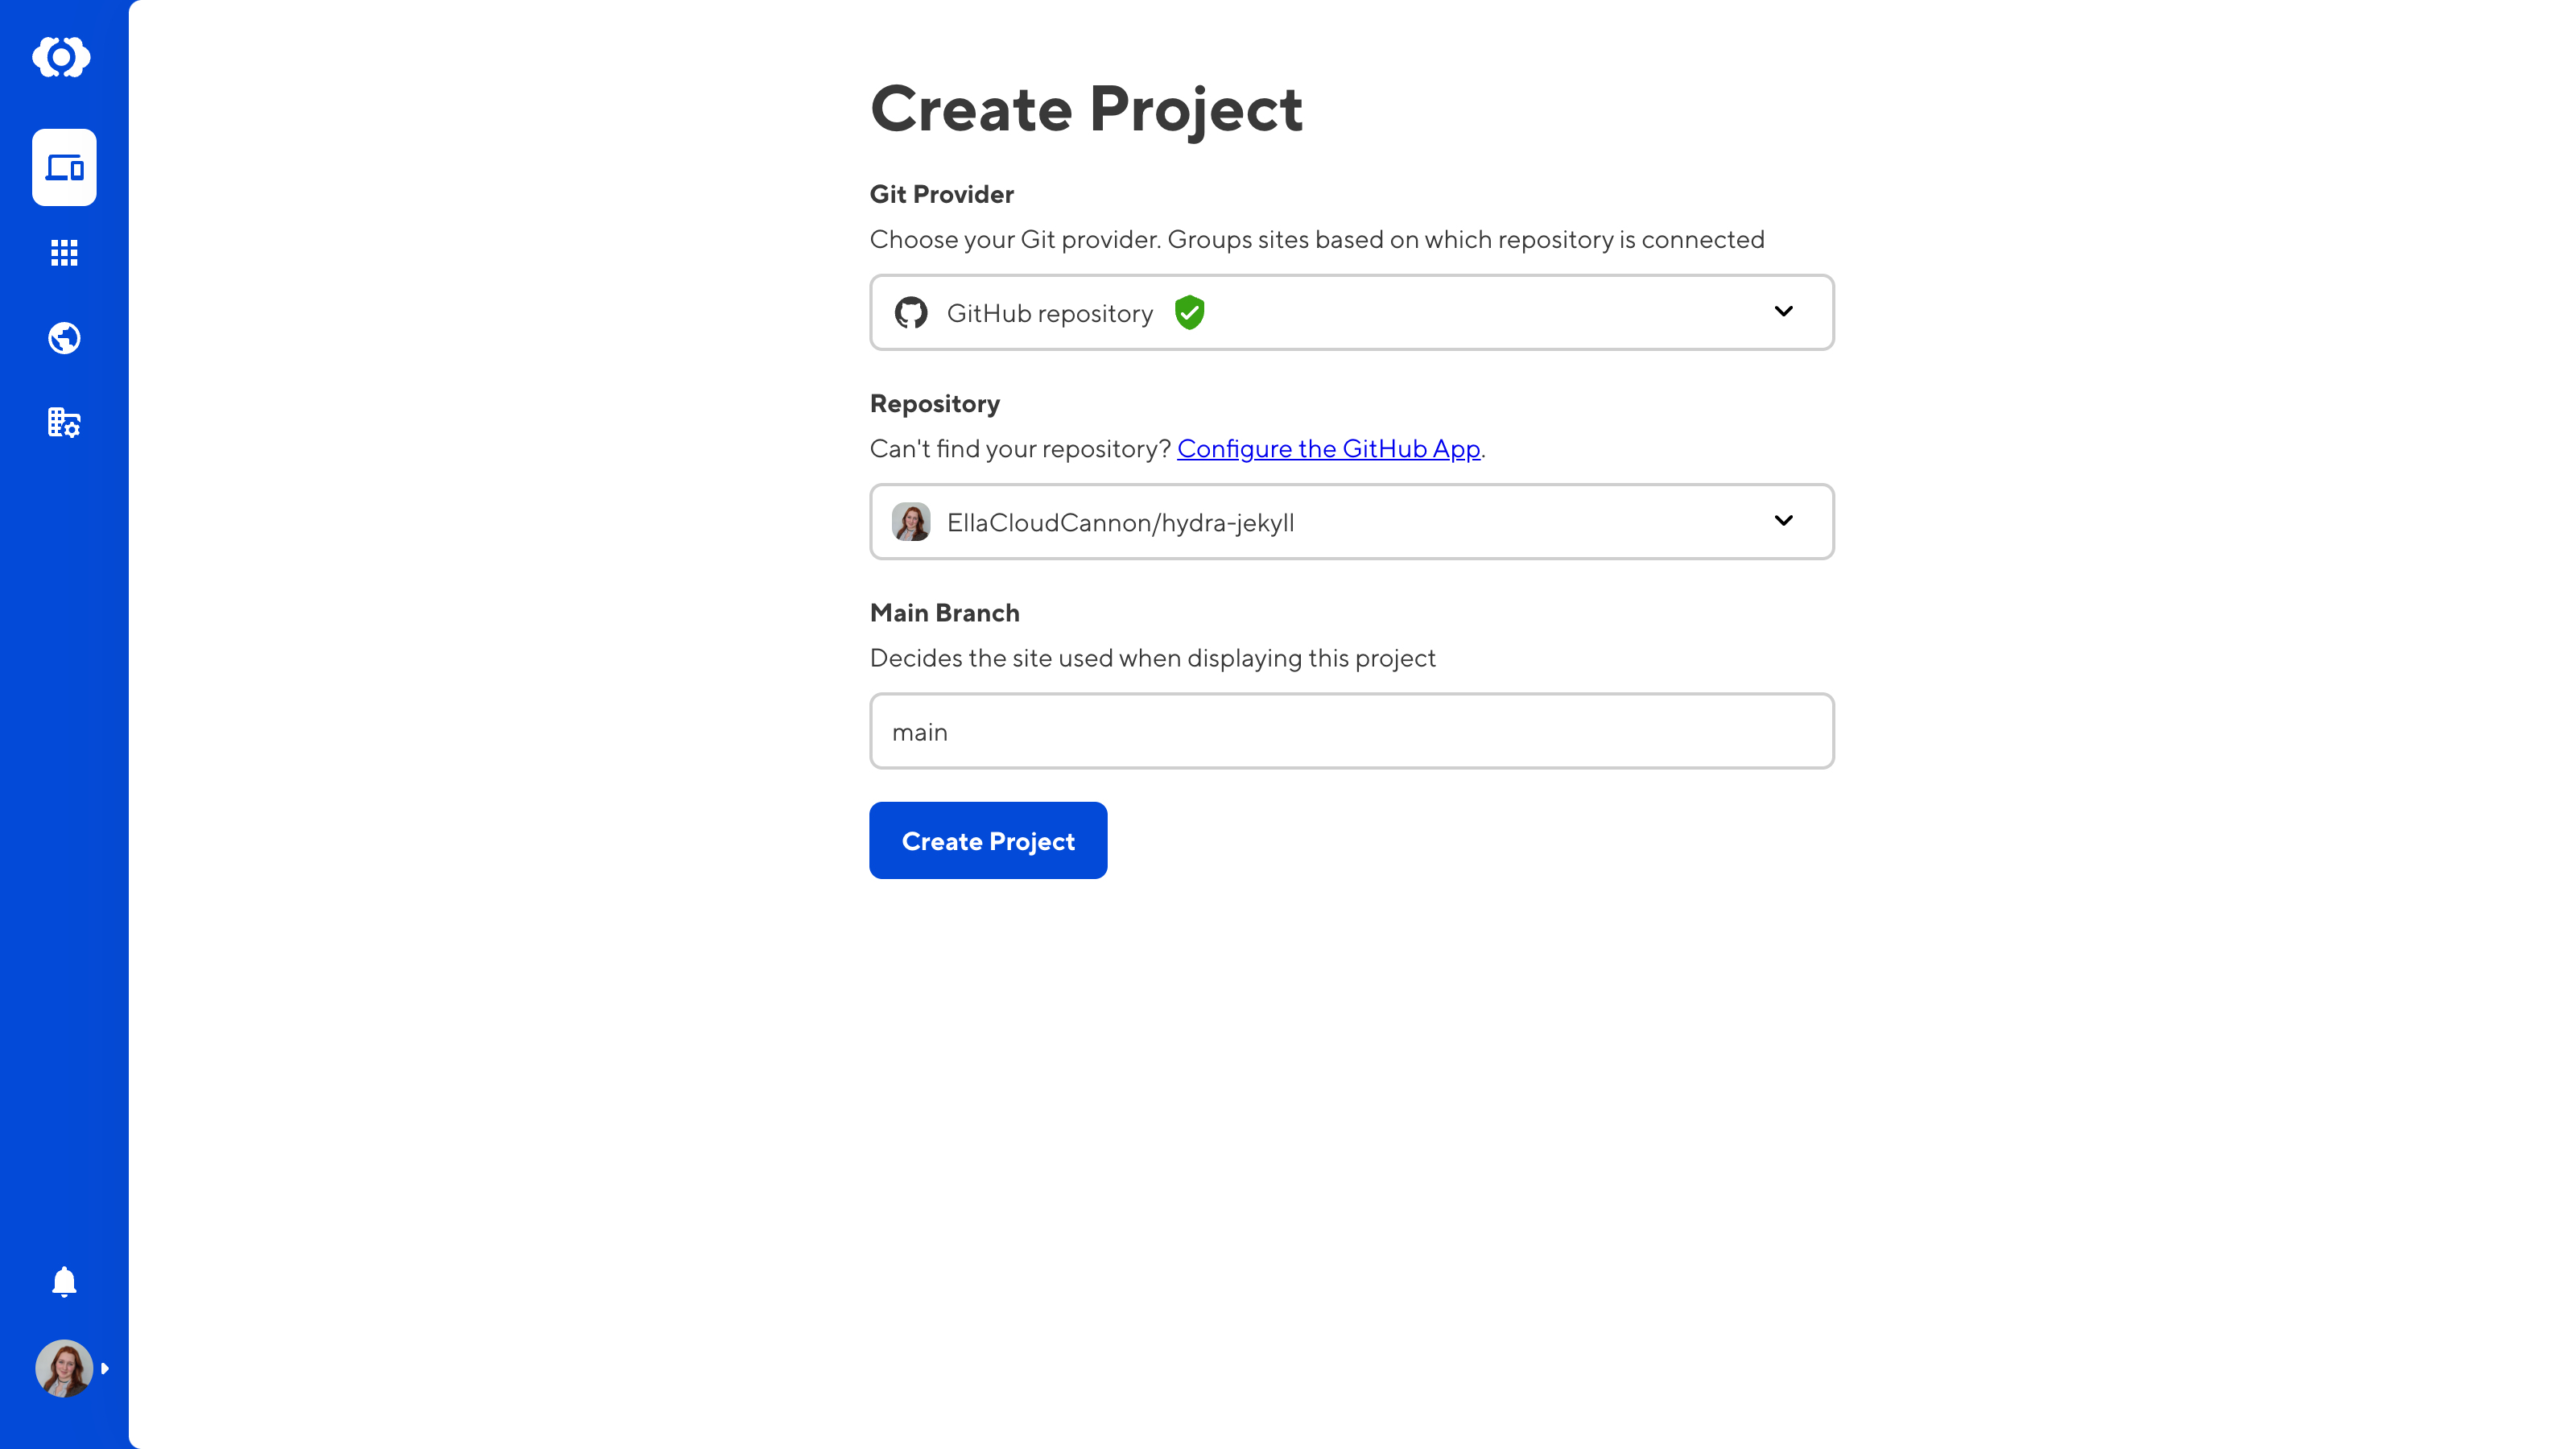
To create a project:
- Click the Projects section on the CloudCannon sidebar.
- Click the + Create Project button in the top right of the Projects page.
- Select your Git Provider and Repository. This can be a repository you have already connected to a site or an unconnected repository.
- Select the name of your Main Branch. This needs to match the name of the branch in your Git Provider.
- Click the Create Project button. If you have already connected this repository to a site, CloudCannon will automatically add that site to your new Project.
Set your main branch#
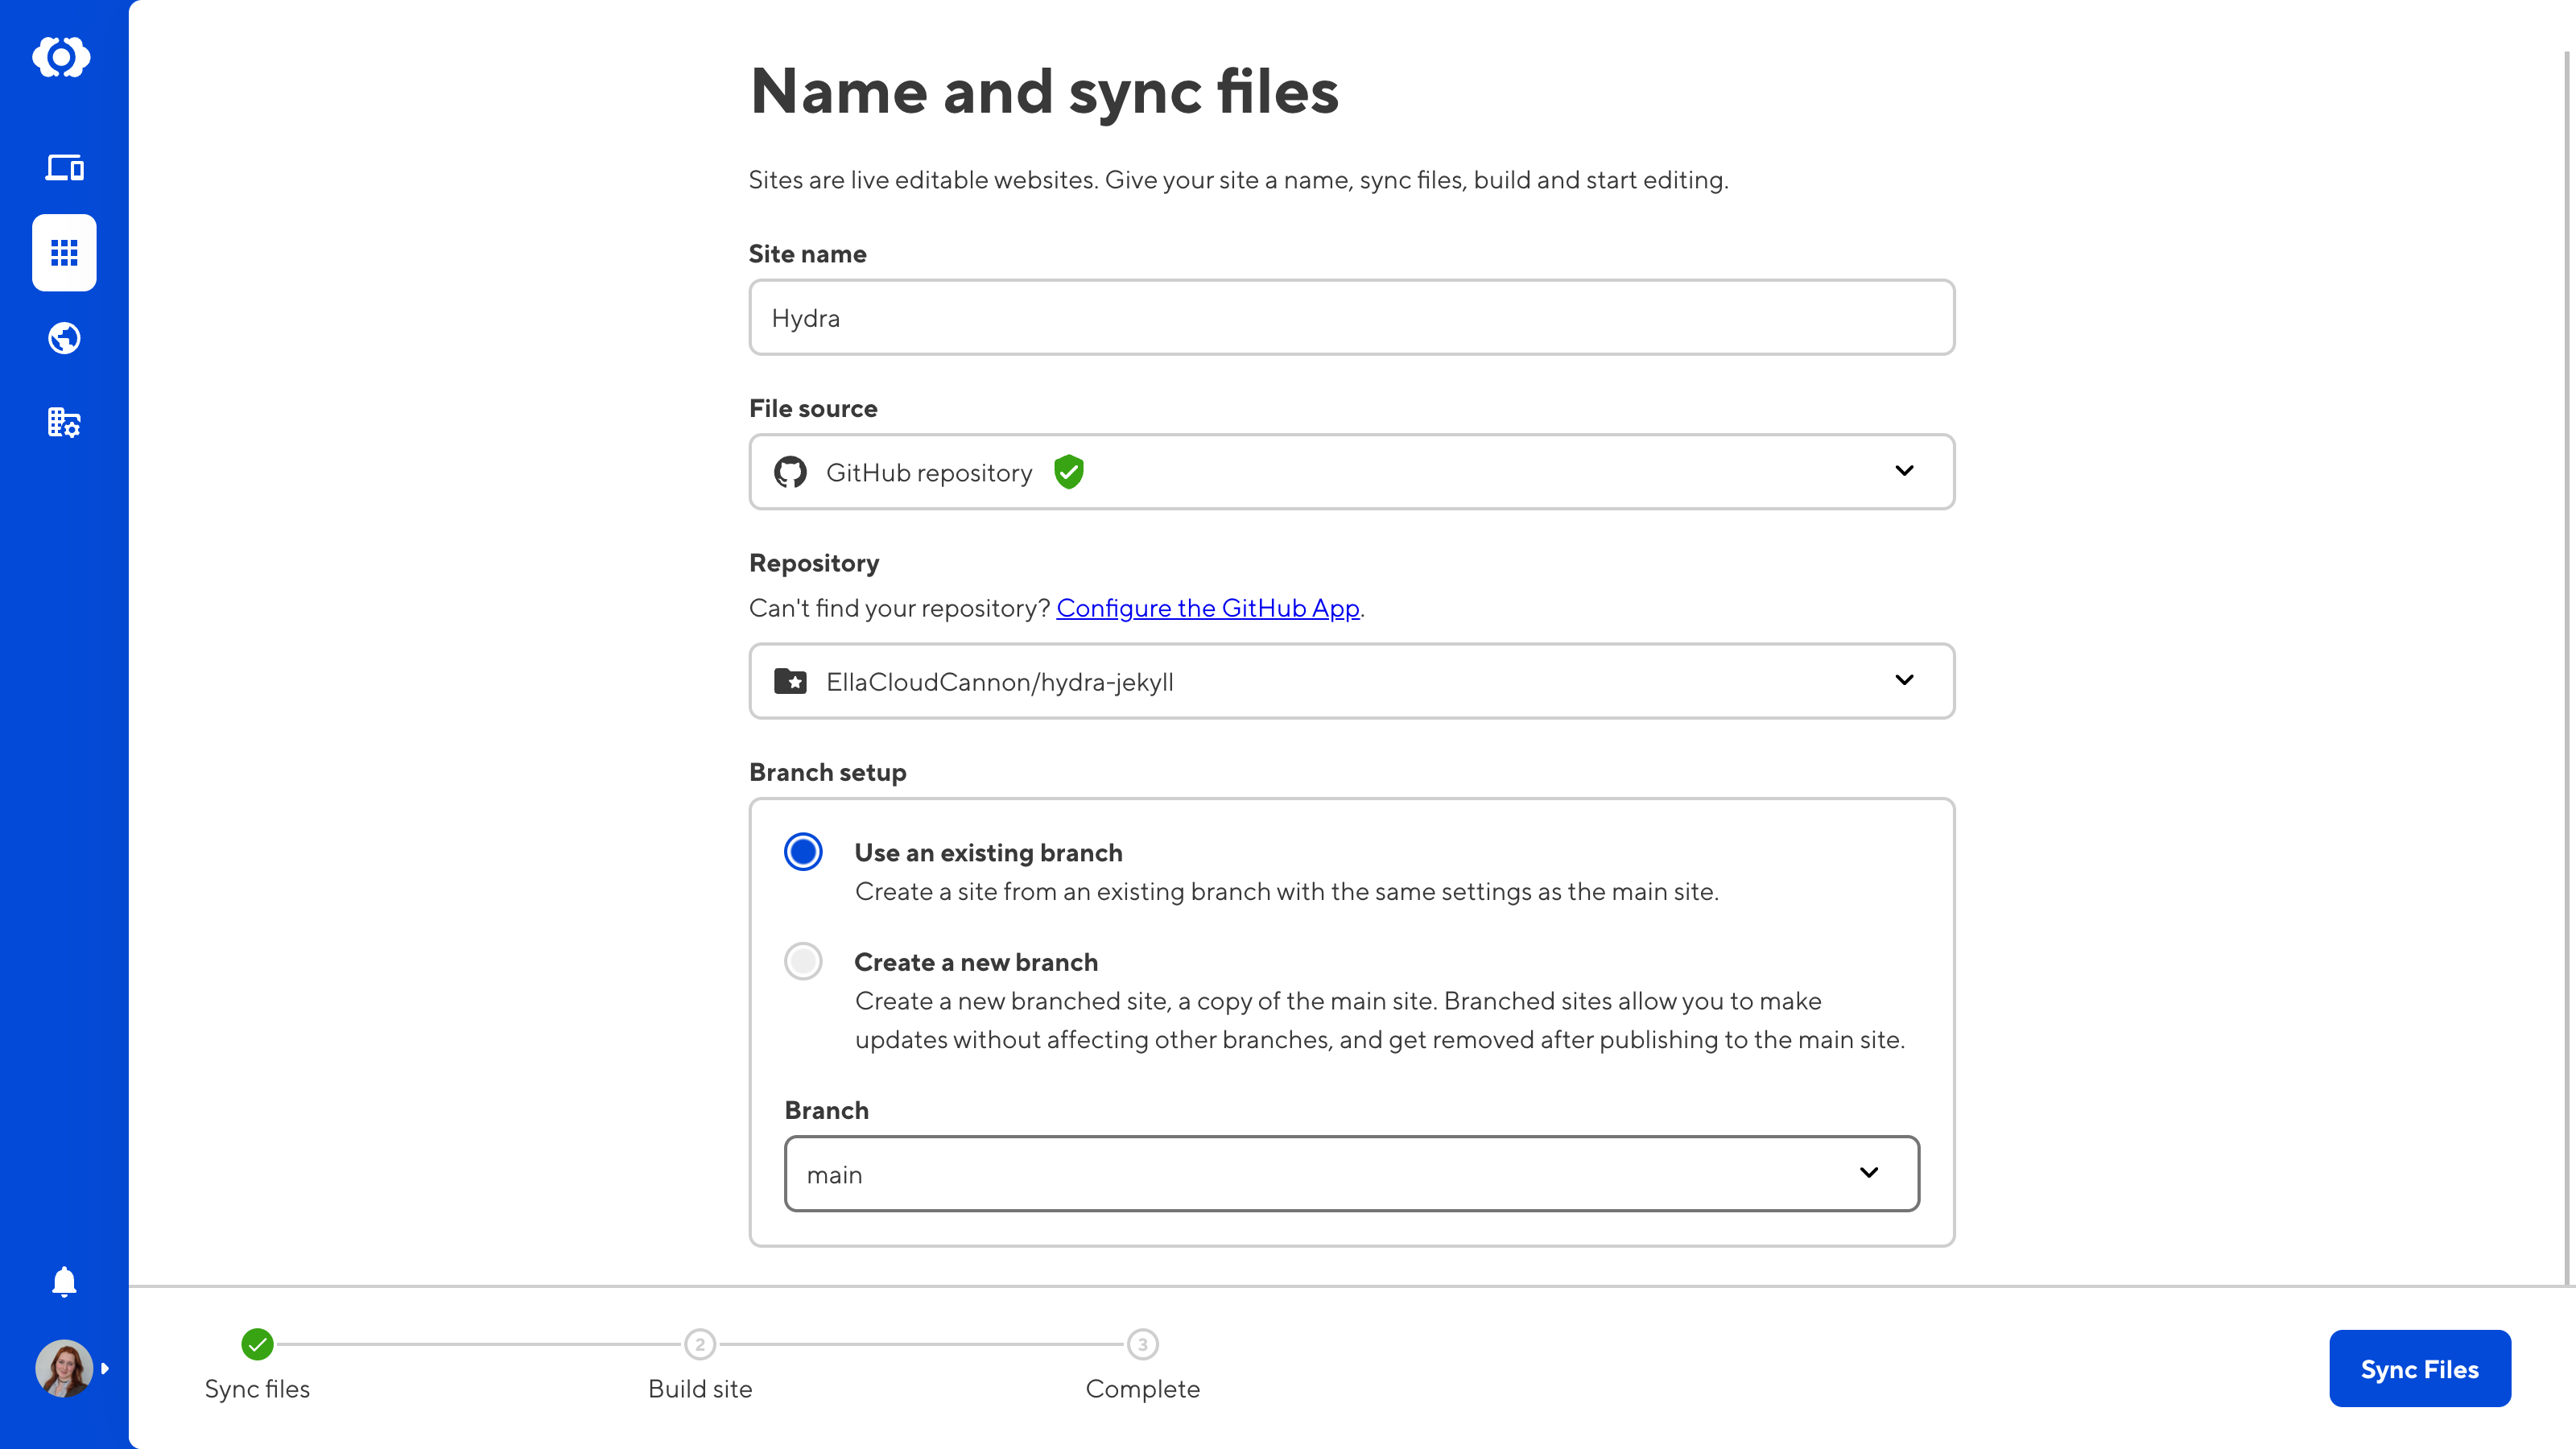
You now have a project! Let’s add your first site — this is usually your main branch.
- Click the Projects section on the CloudCannon sidebar and open your Project.
- Click the + Add new Site button in the top right of the Project page.
- Enter a name for your site in the Site name field. The branch will automatically receive the same name.
- By default Use an existing branch will be selected. Select the name of your branch in the Branch dropdown menu. This menu will be automatically populated by the branch names from your Git repository.
- Click the Create Site button.
- CloudCannon will build your new site.
Customize your Project#
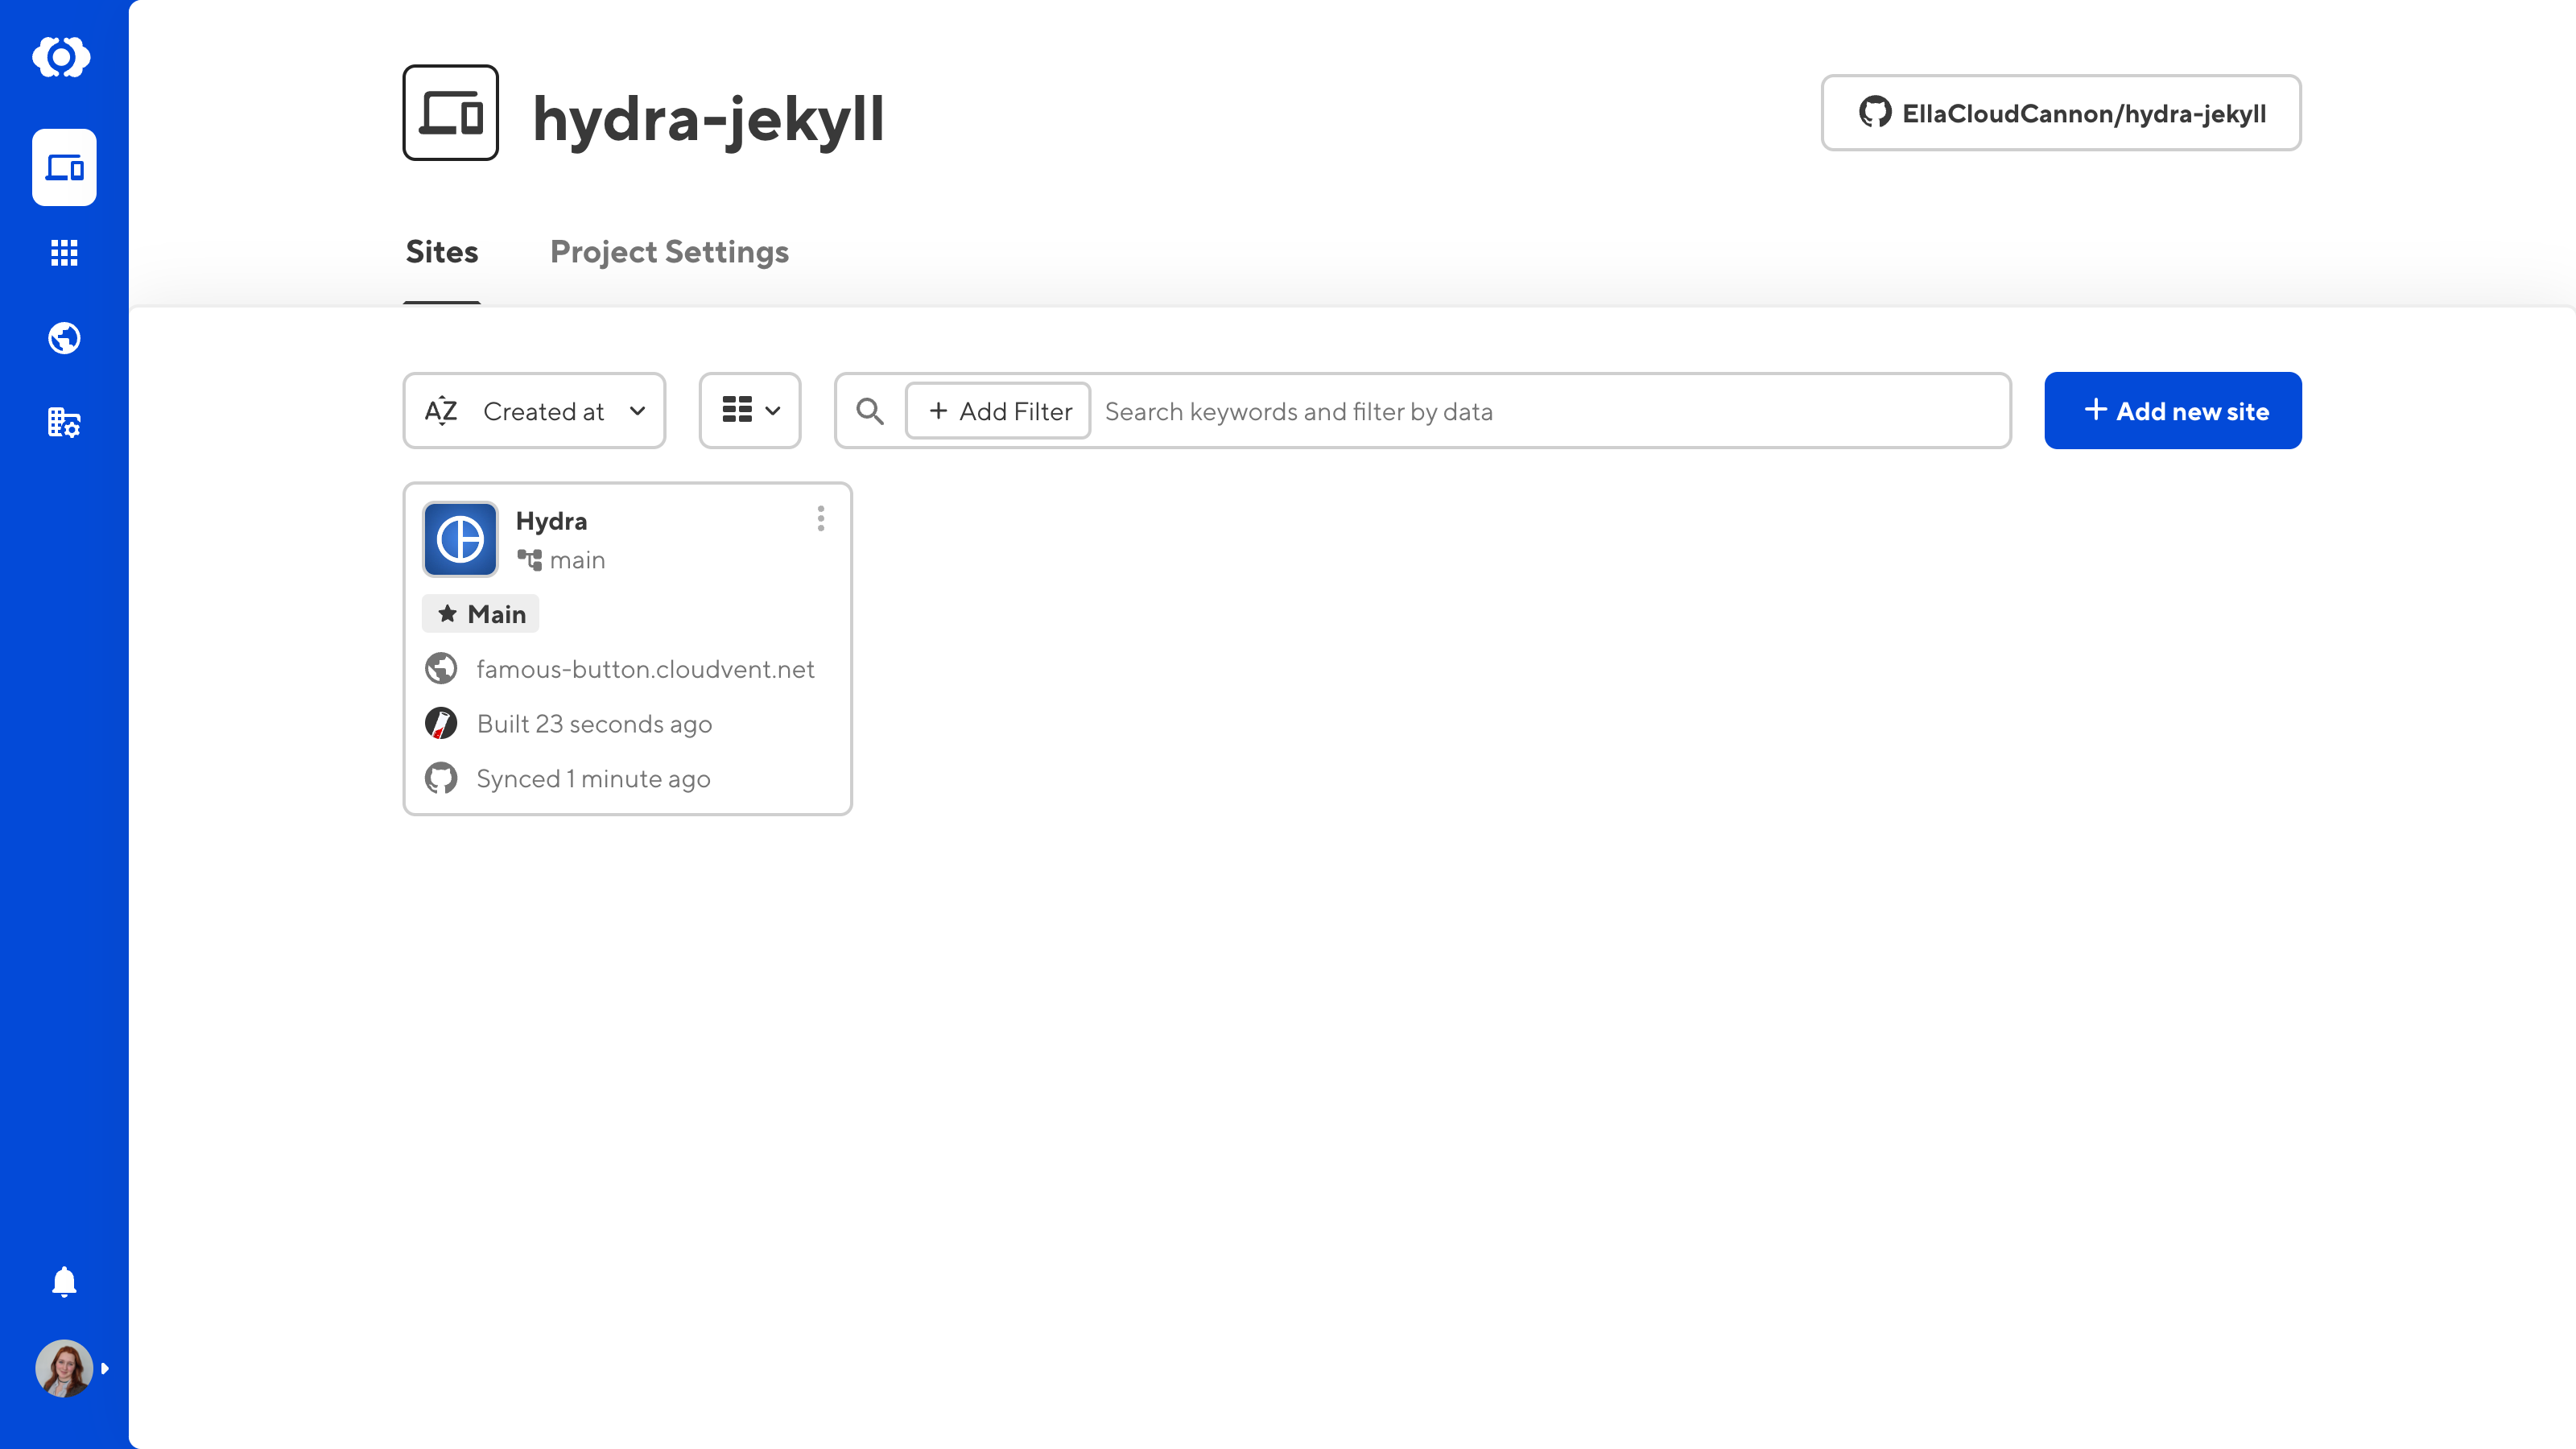
You can customize your Project in the Project Settings tab.
- Project Name — This appears at the top of your Project page and in the Projects list. This will default to the name of your connected repository.
- Display URL — This URL will appear at the top of the Project page so your team members can quickly navigate to it. We recommend using the URL for your output site. Changing this link will not alter your domain or hosting settings.
- Description — This will appear at the top of the Project page and in the Projects list. This field supports a limited set of Markdown syntax.
- Related Links — Add quick links for your project team members. Read our documentation on Add Related Links to your Project.
Branching#
Site branching allows you to protect the content of your main site while your team makes changes on branch sites. Changes to branch sites only affect the main branch once explicitly published.
Creating a branched site in CloudCannon also creates a branch on your connected Git repository. CloudCannon configures your branch sites with the same settings as your main site. By default, you can merge your branch sites into the main branch without needing review or approval; however, you can enable these processes through your Git Provider and in your Site Settings.
CloudCannon will automatically delete your branch sites after you merge them into your main branch. You can turn off branch deletion in your Site Settings.
If you do not have a main branch set for your project, you can still create branch sites. However, this action is limited to team members with Developer level permissions.
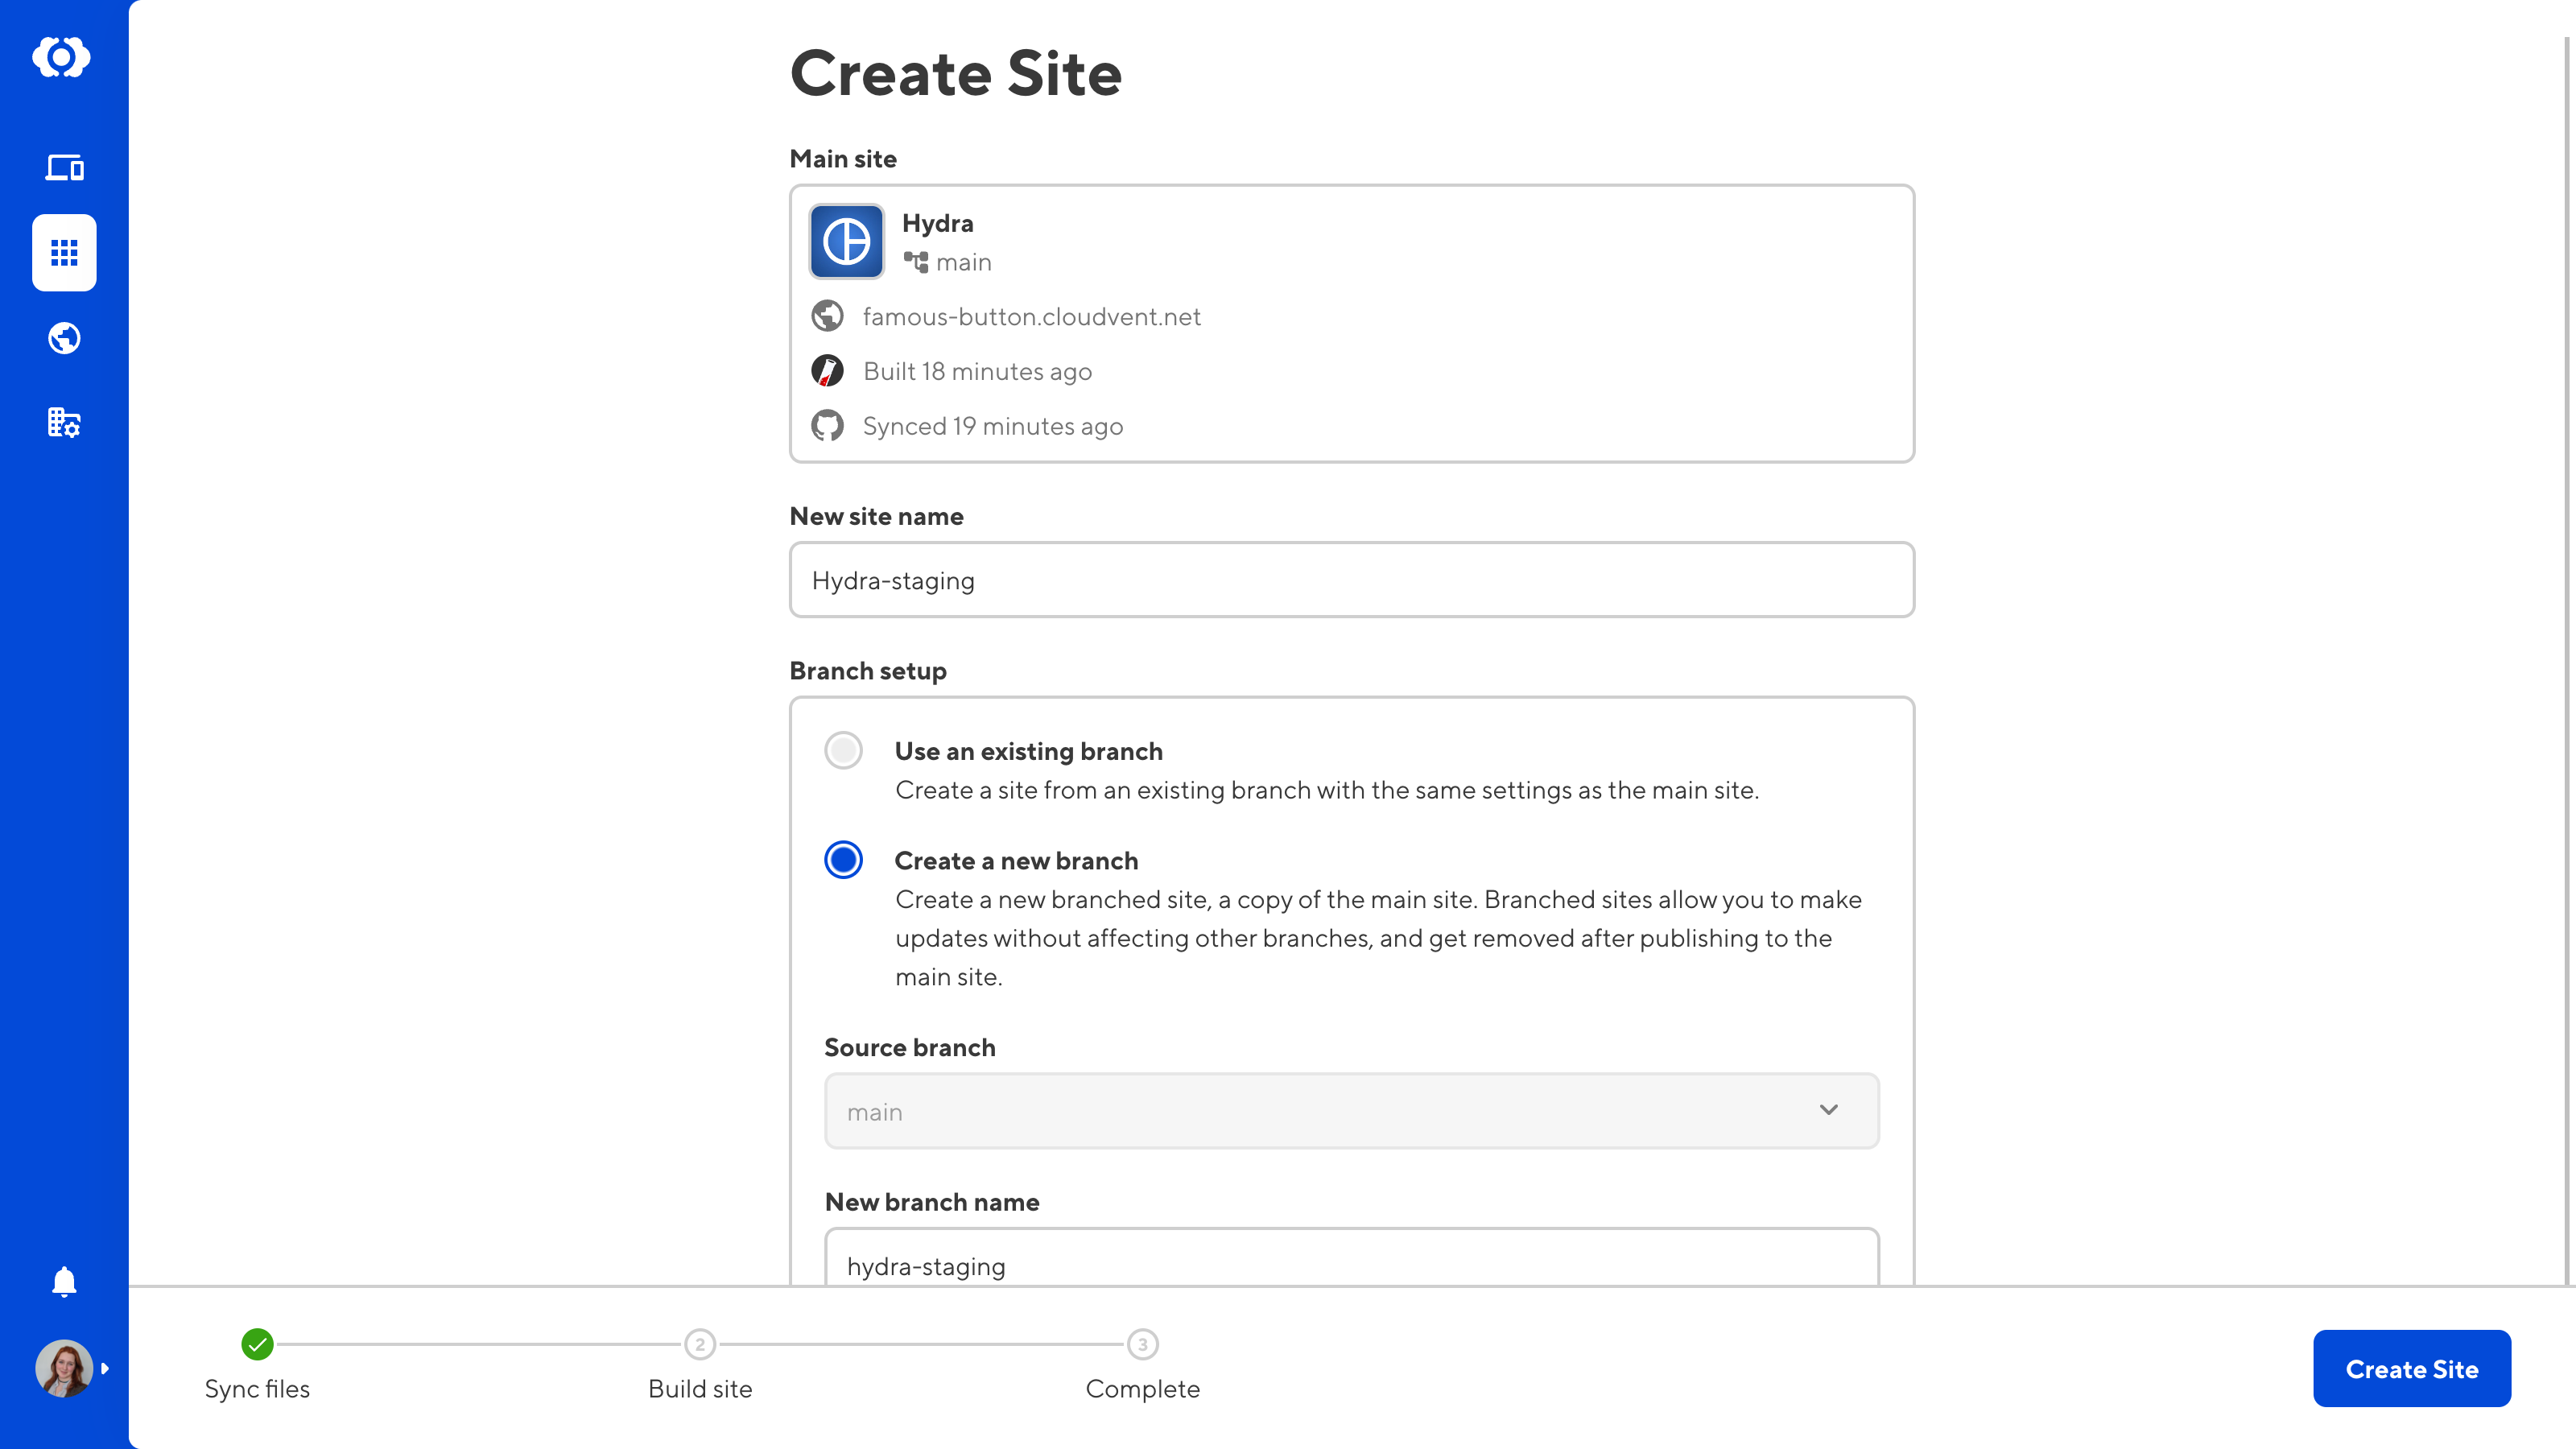
Branching from Main#
- Click the Projects section on the CloudCannon sidebar and open your Project.
- Click the + Add new Site button in the top right of the Project page.
- Enter a name for your site in the New Site name field. The branch will automatically receive the same name.
- Create a new branch will be selected by default, and the Source branch will be set to your main branch. Click the Create Site button.
- CloudCannon will build your new site.
- Once all your changes are saved, you can publish them back to the main branch. Click the Publish button in the sidebar. From the Publish page, you can create a Pull Request (if applicable) or merge new content directly into your main branch.
Branching from another site#
CloudCannon also allows you to create a branch from another branched site. When the branch site is published, the changes will push back into the site they branched from. This option is disabled by default.
Any team member can branch any site within a Project. To turn on this setting:
- Click the Projects section on the CloudCannon sidebar and open your Project.
- Navigate to the Project Settings tab and open the Repository menu.
- Turn on the Allow all branching toggle, and click Update Project.
Once this setting is enabled, any team member can create a branched site from an existing site. To branch from an existing site:
- Click the Projects section on the CloudCannon sidebar and open your Project.
- Identify the site you want to branch from and click the Context Menu icon in the top right corner.
- Select the option to Branch site.