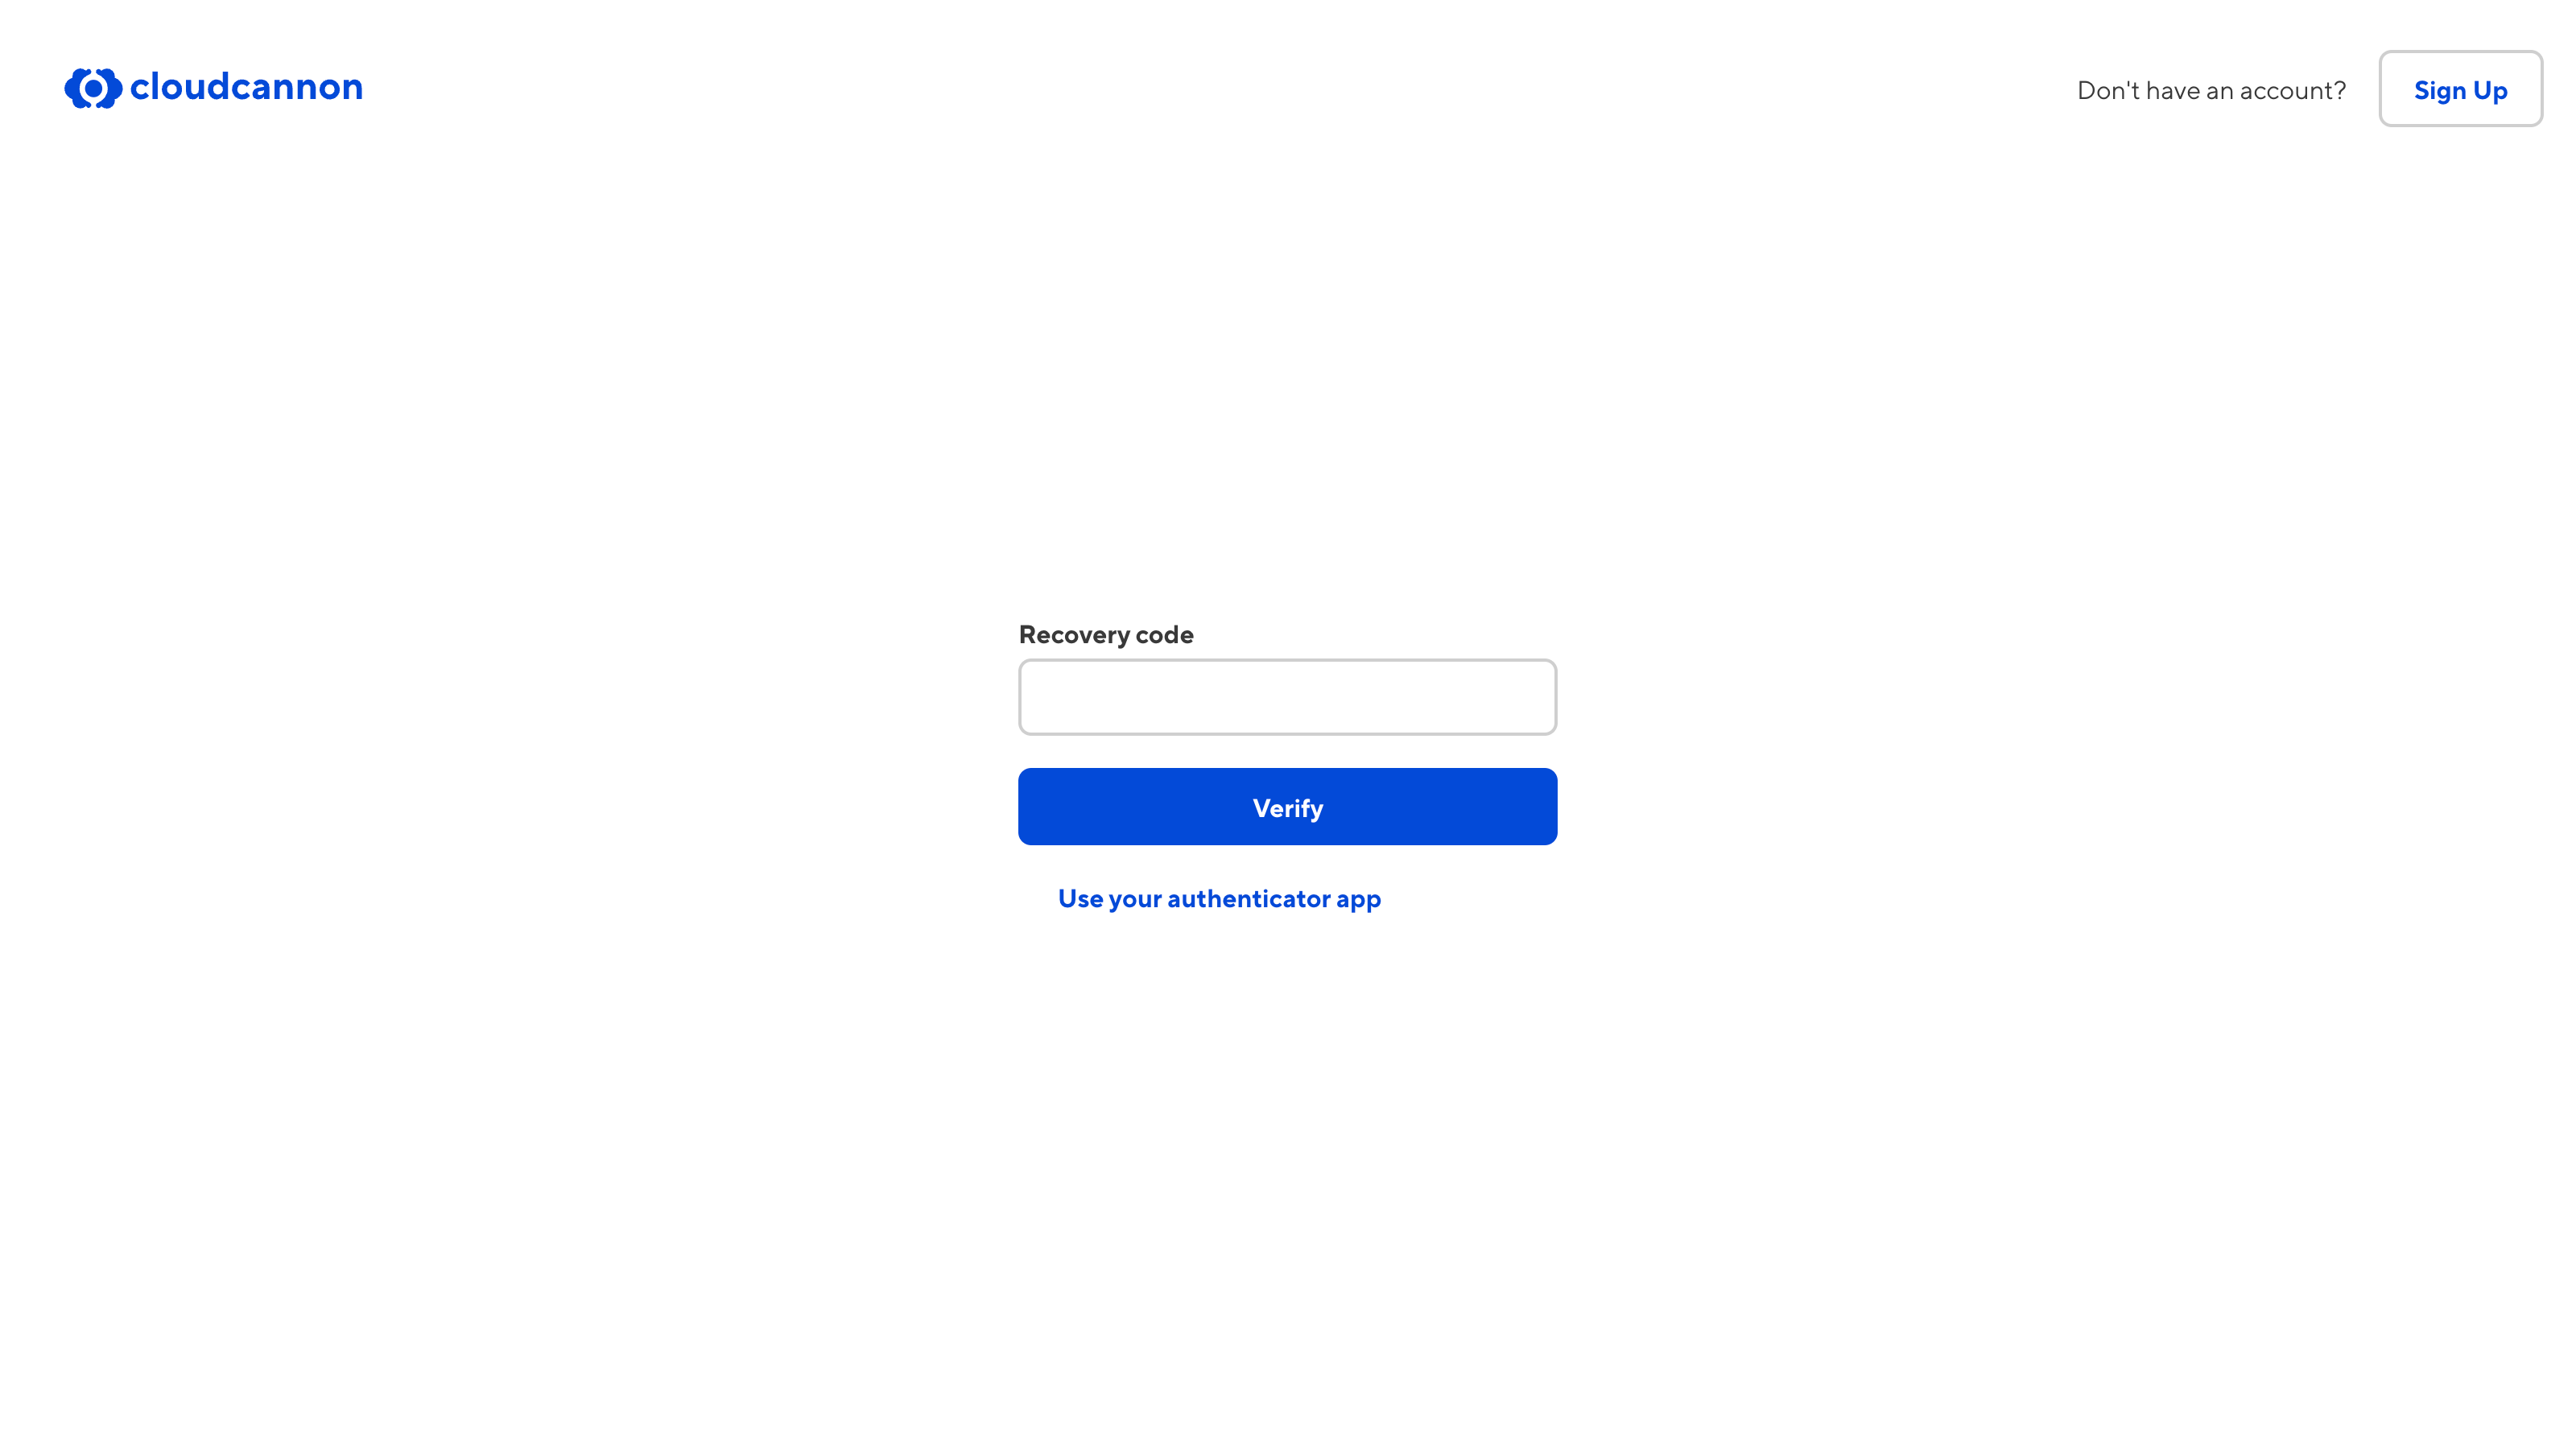
These instructions assume that you have a third-party authentication app. For more information, please read our documentation on multi-factor authentication.
You cannot disable this feature once you enable MFA for your CloudCannon account. For more information about MFA, please contact our support team.
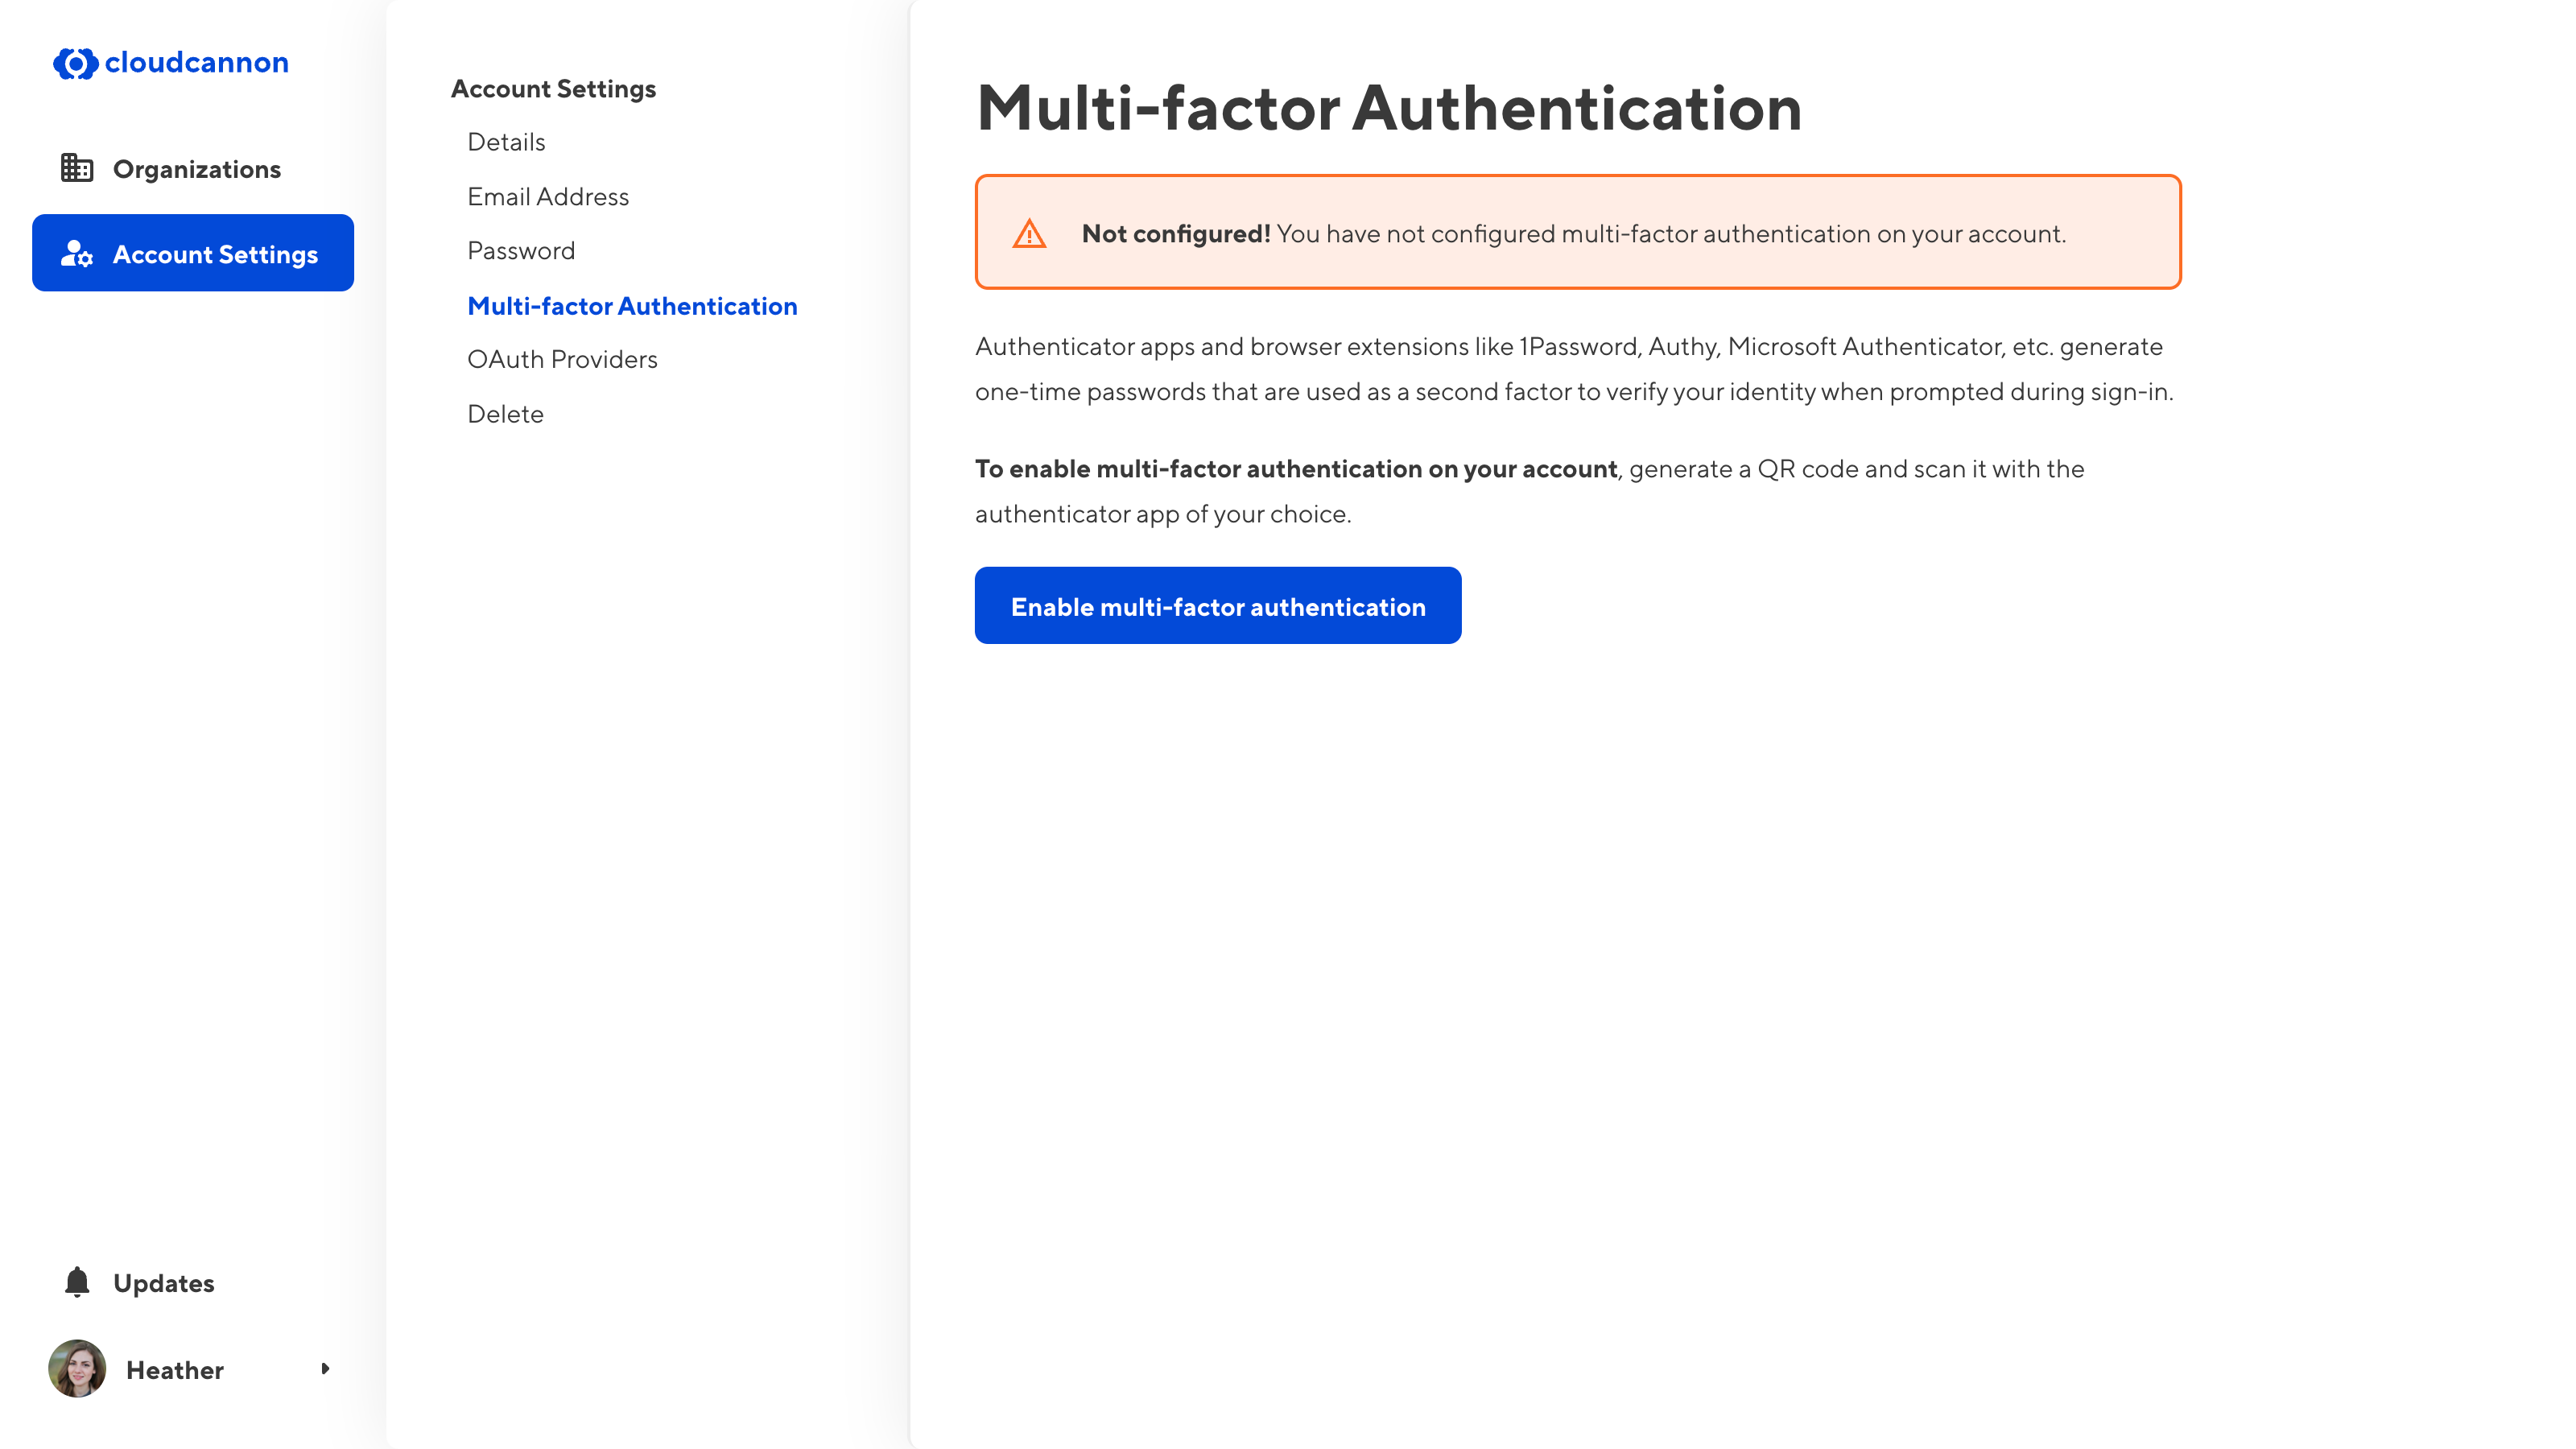
To enable multi-factor authentication:
- Log in to CloudCannon.
- Navigate to the Multi-factor Authentication page under Account Settings.
- Click the Enable multi-factor authentication button.
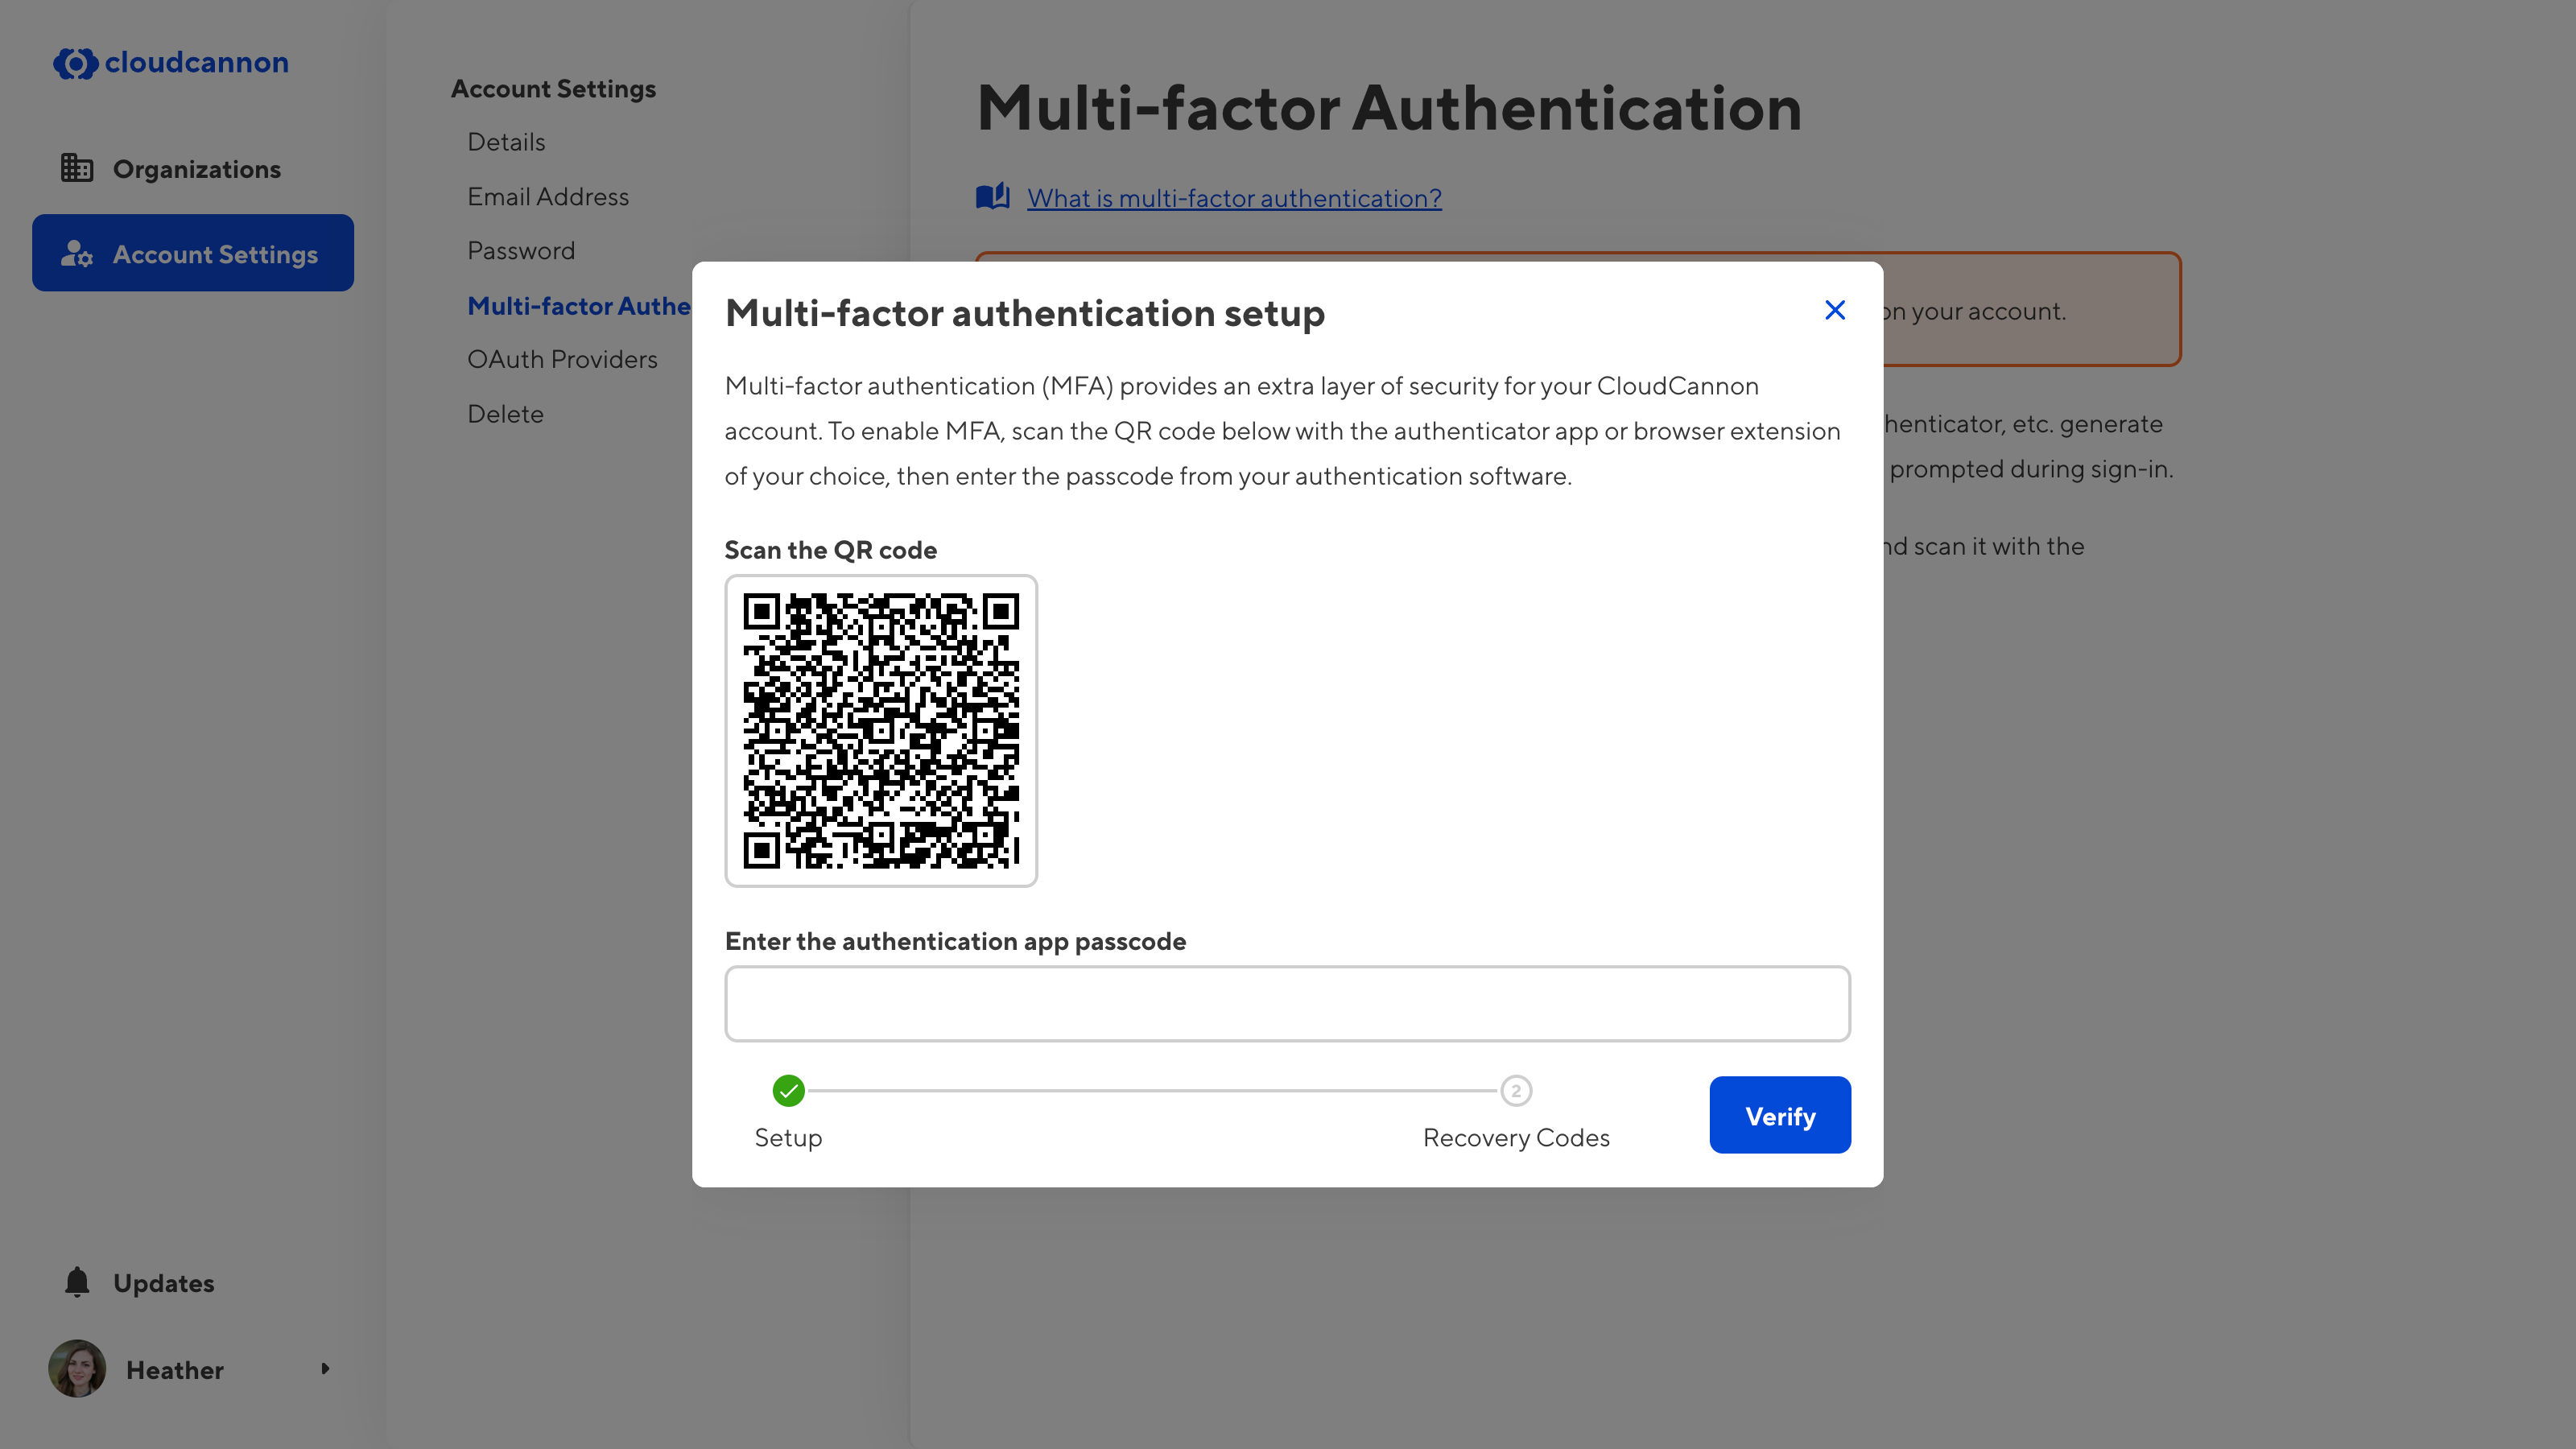
- Scan the QR code with your third-party authentication app and follow the setup instructions.
- Enter the authentication app passcode into CloudCannon. (Note: this code is time-sensitive and will regenerate often.)
- Click the Verify button.
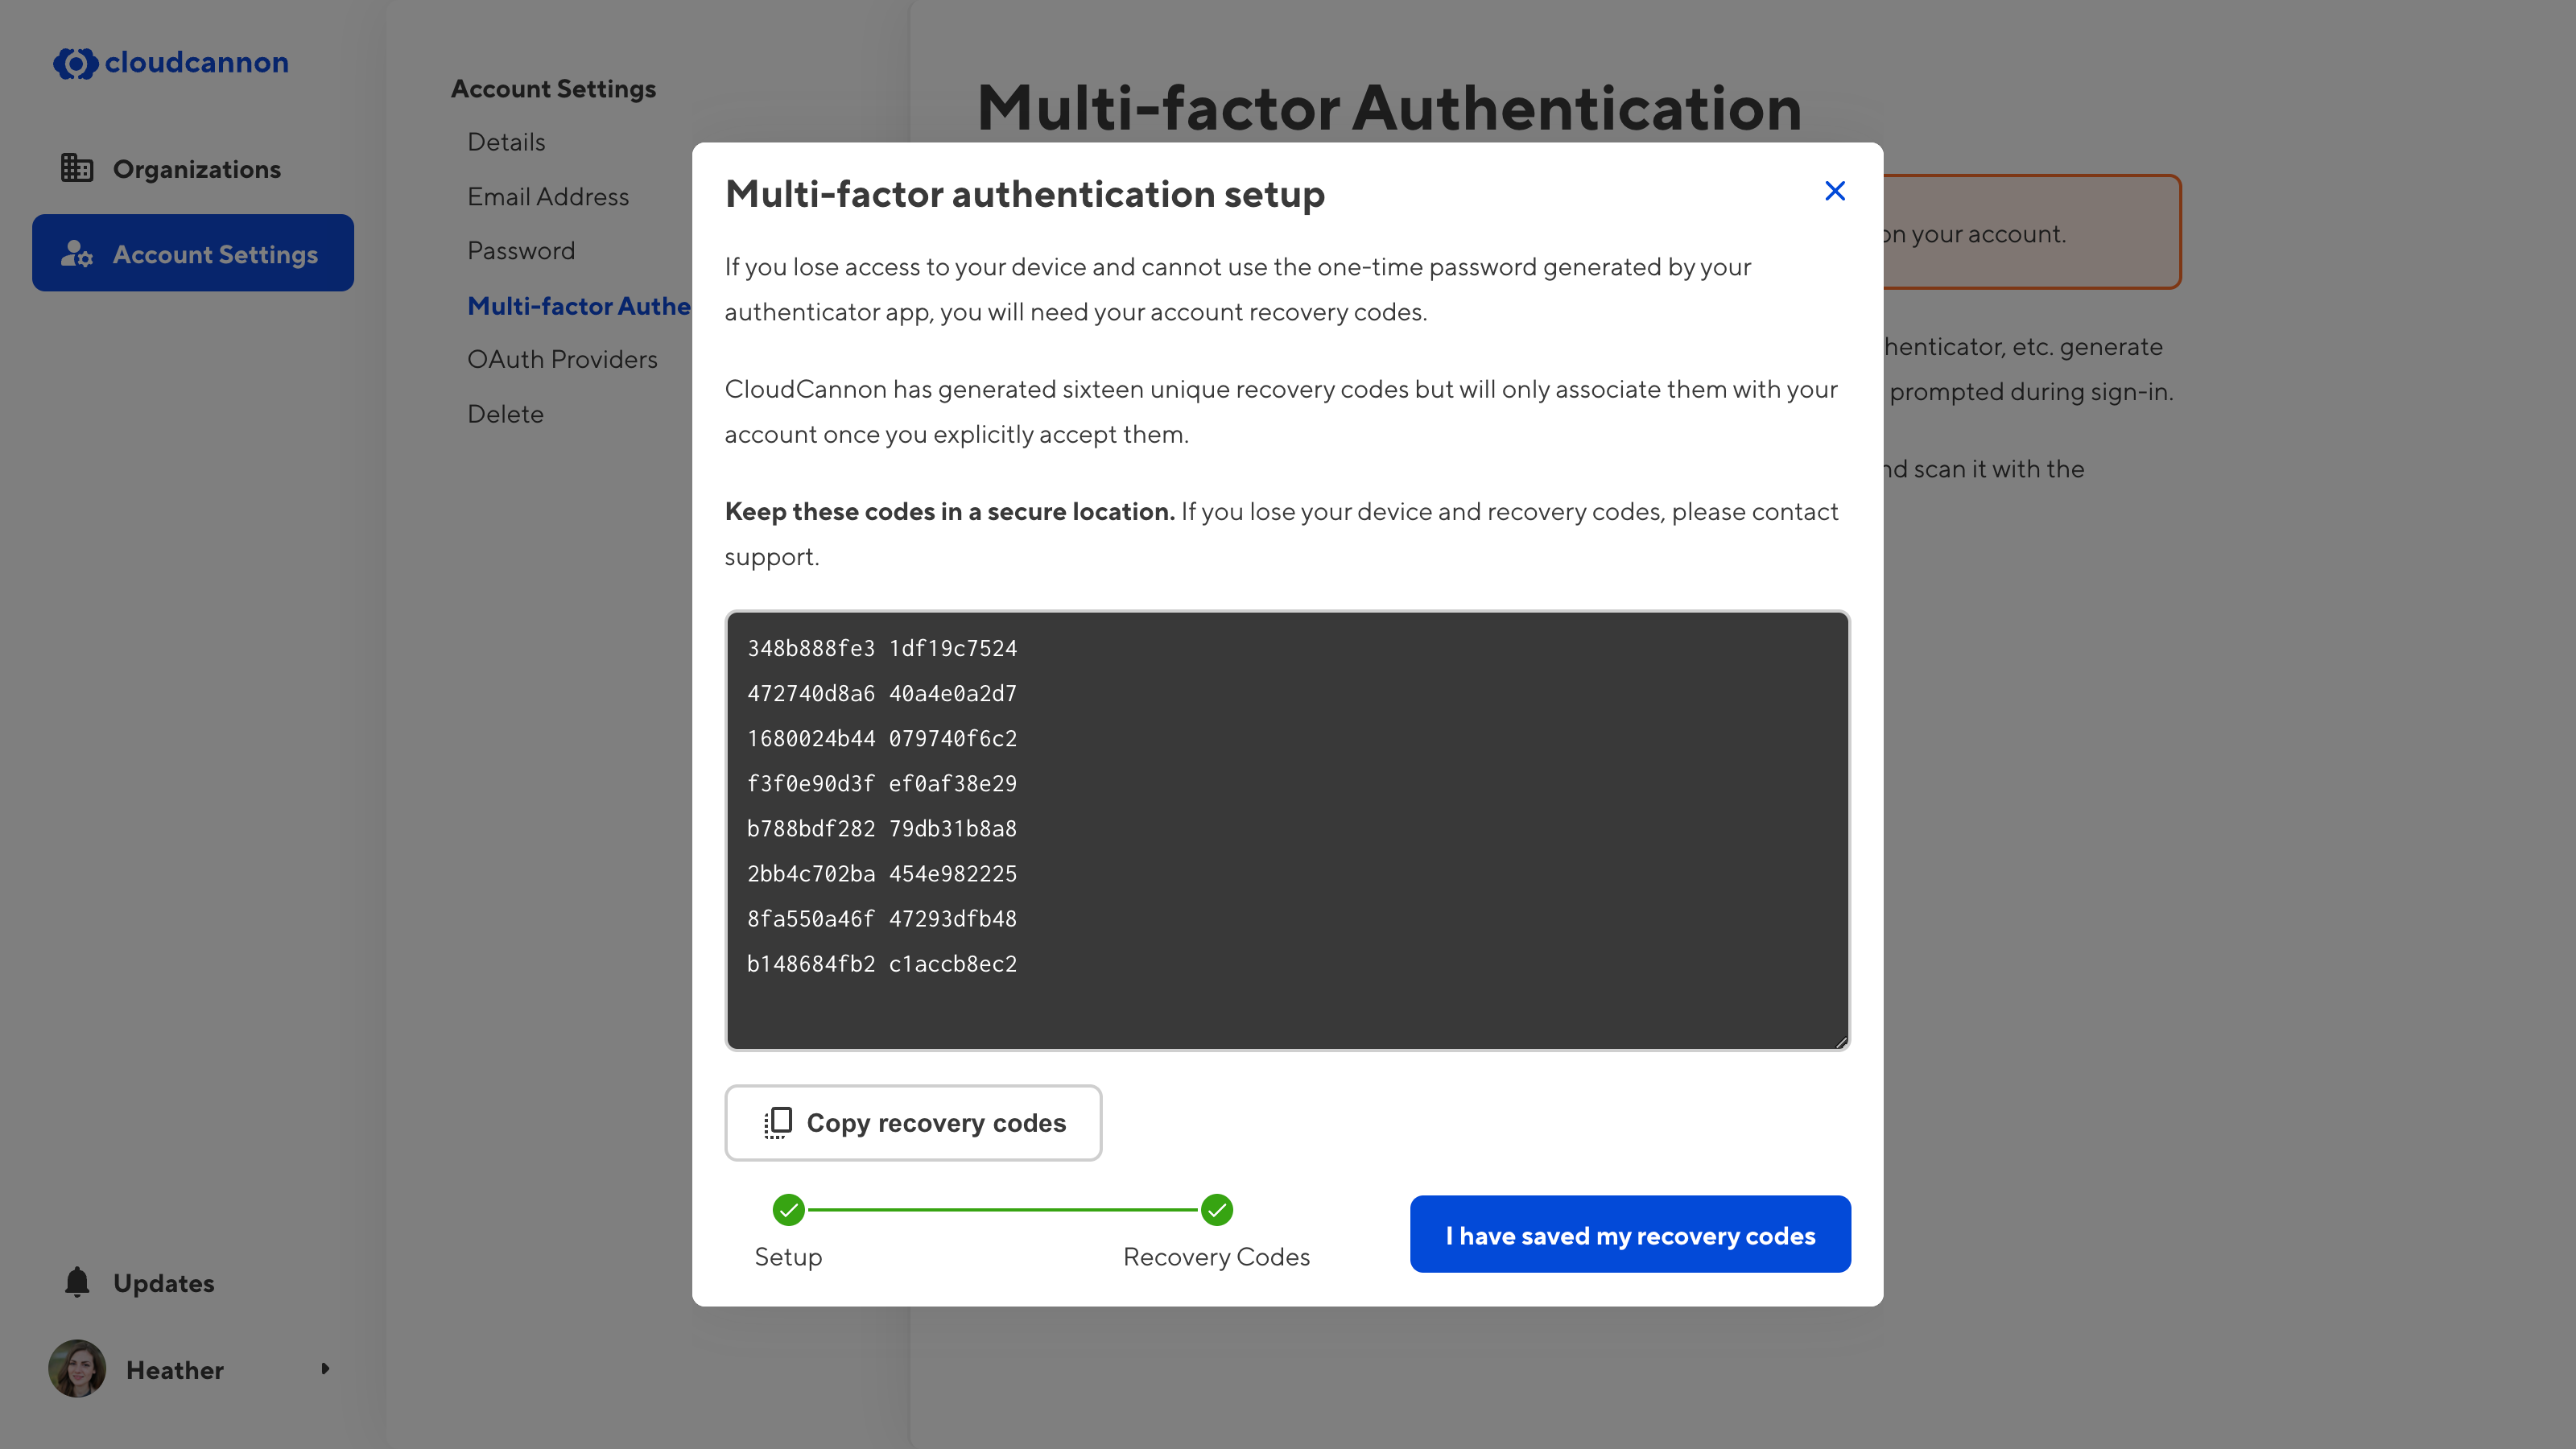
- CloudCannon will generate sixteen recovery codes for your account. Copy these recovery codes and store them in a secure location.
- Click the I have saved my recovery codes button. If you cancel or click away from this modal before clicking this button, CloudCannon will not enable MFA for your account. You must explicitly agree that you have saved your recovery codes.
You have enabled multi-factor authentication for your CloudCannon account.
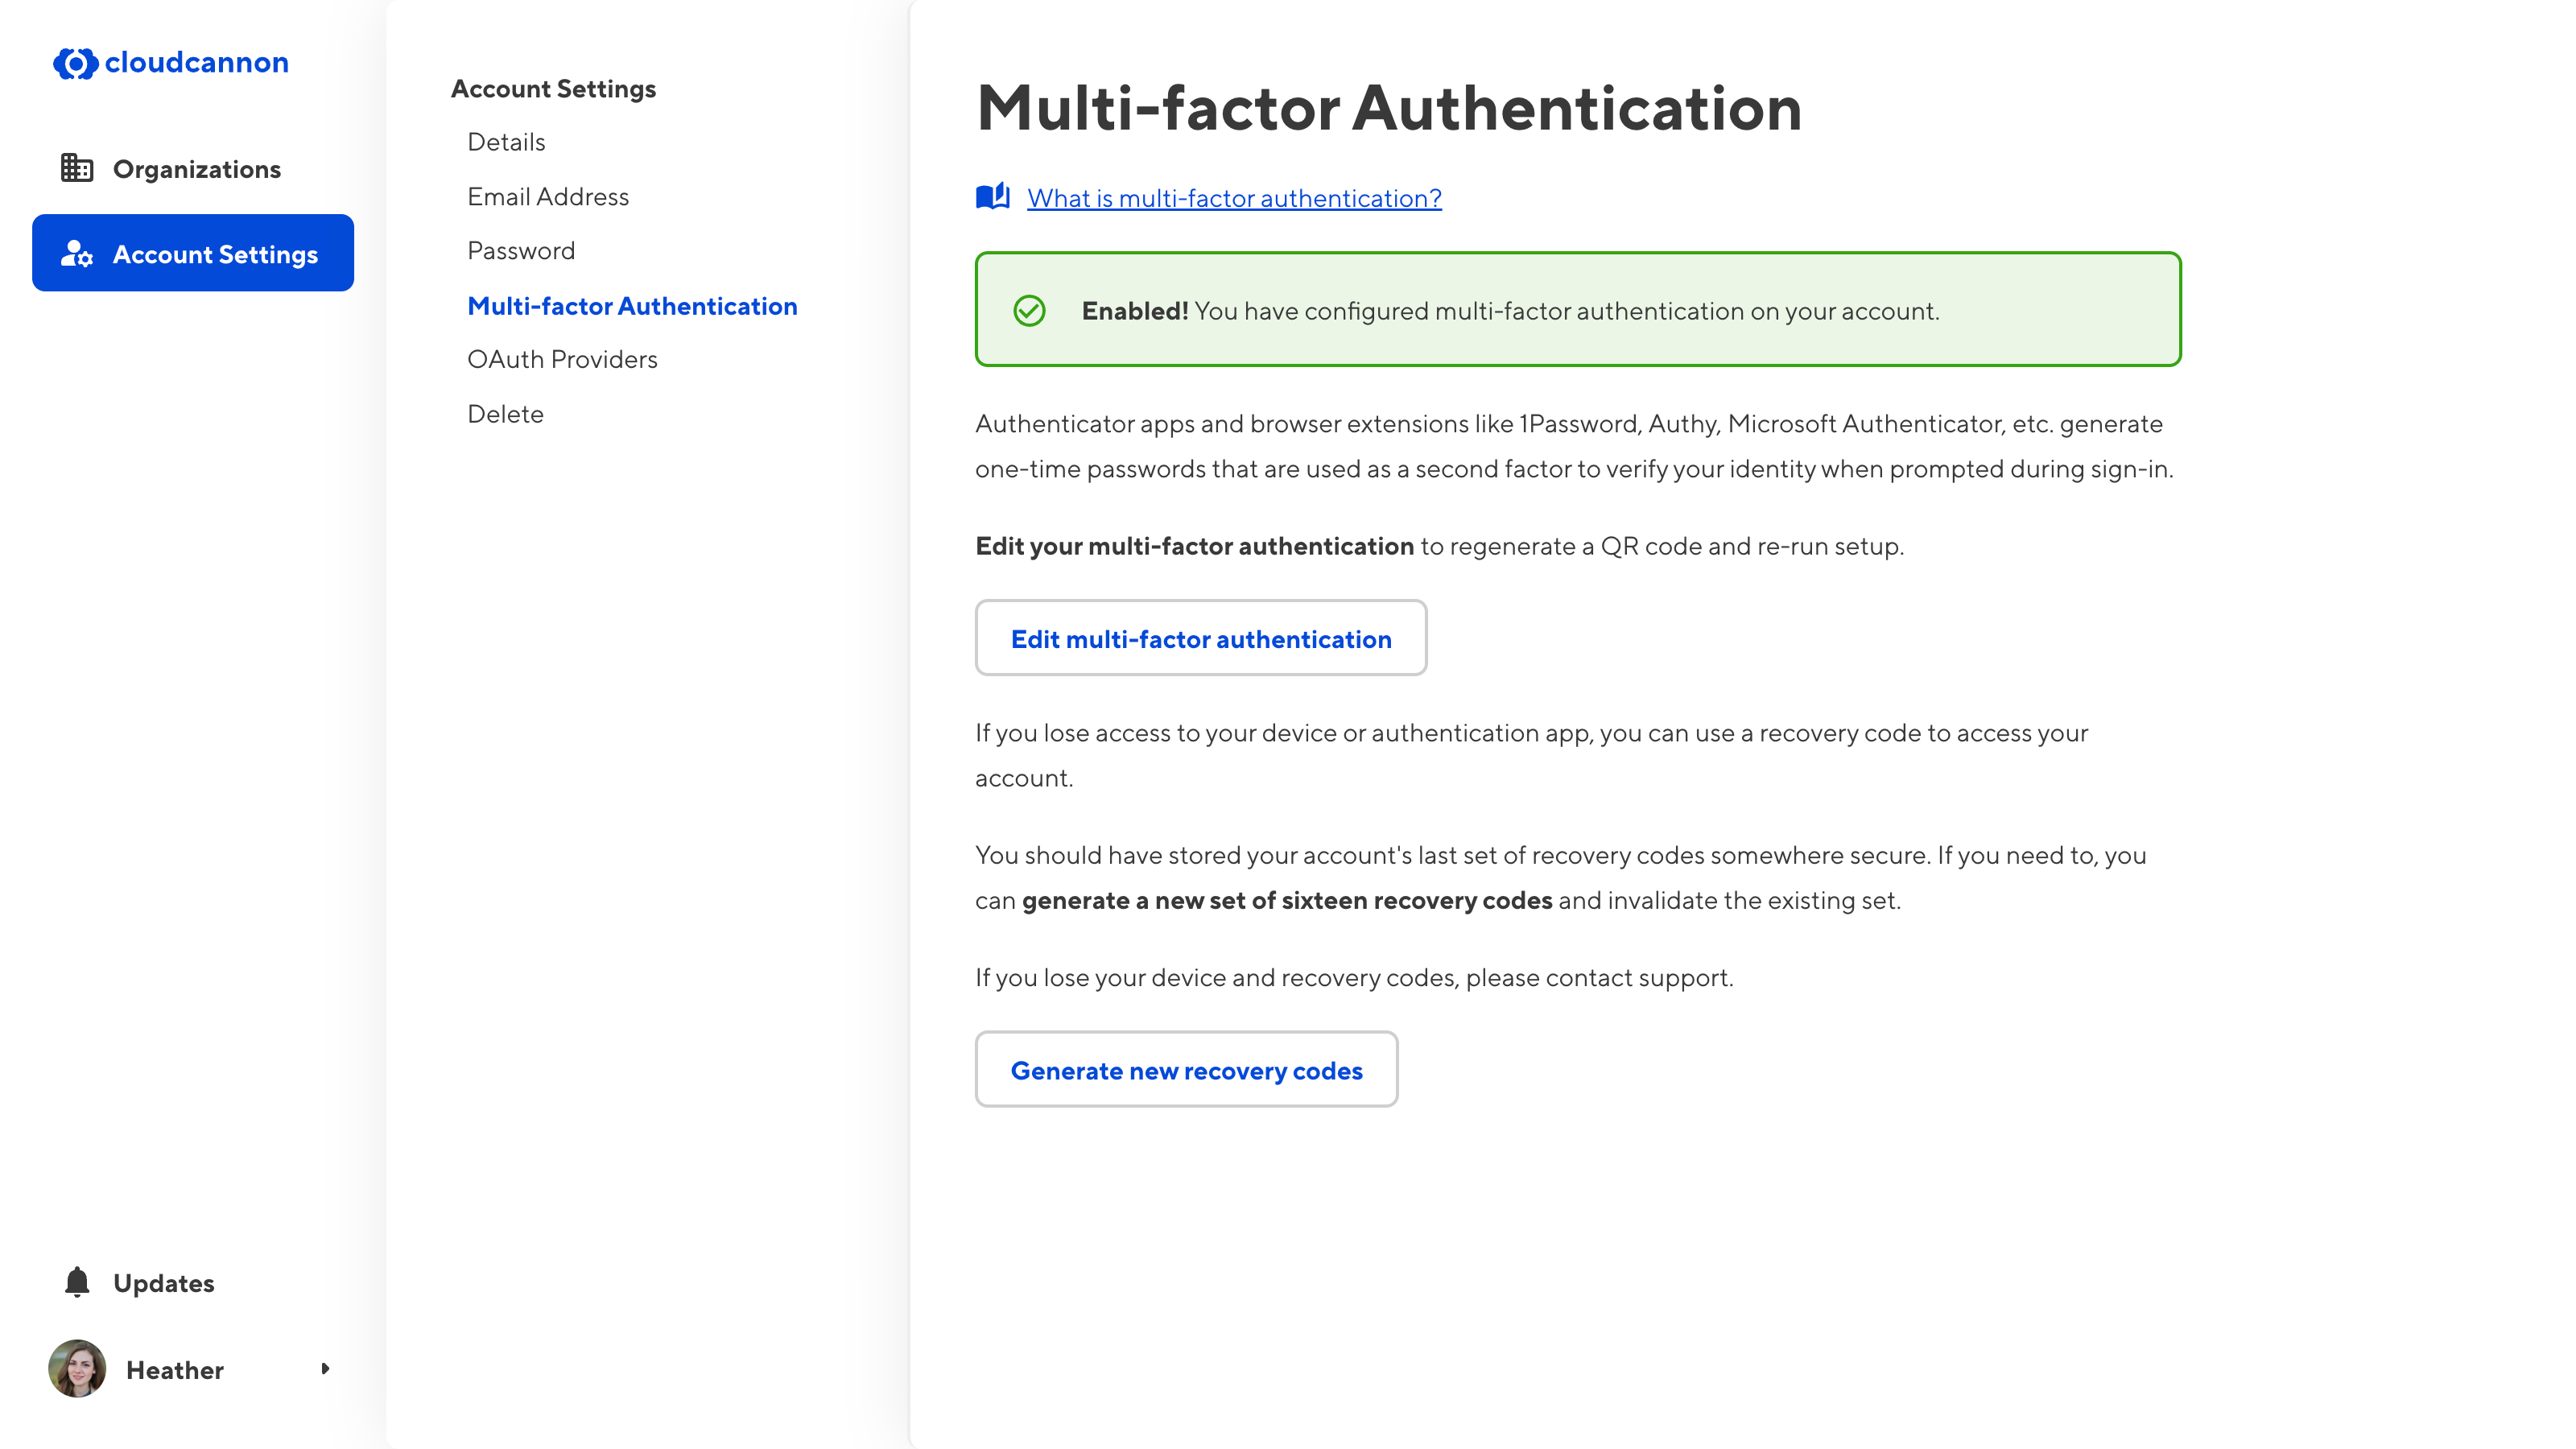
With multi-factor authentication enabled, CloudCannon will prompt you to enter a one-time passcode from your third-party authentication app each time you log in. These passcodes are unique and time-sensitive, regenerating often (normally every thirty seconds).
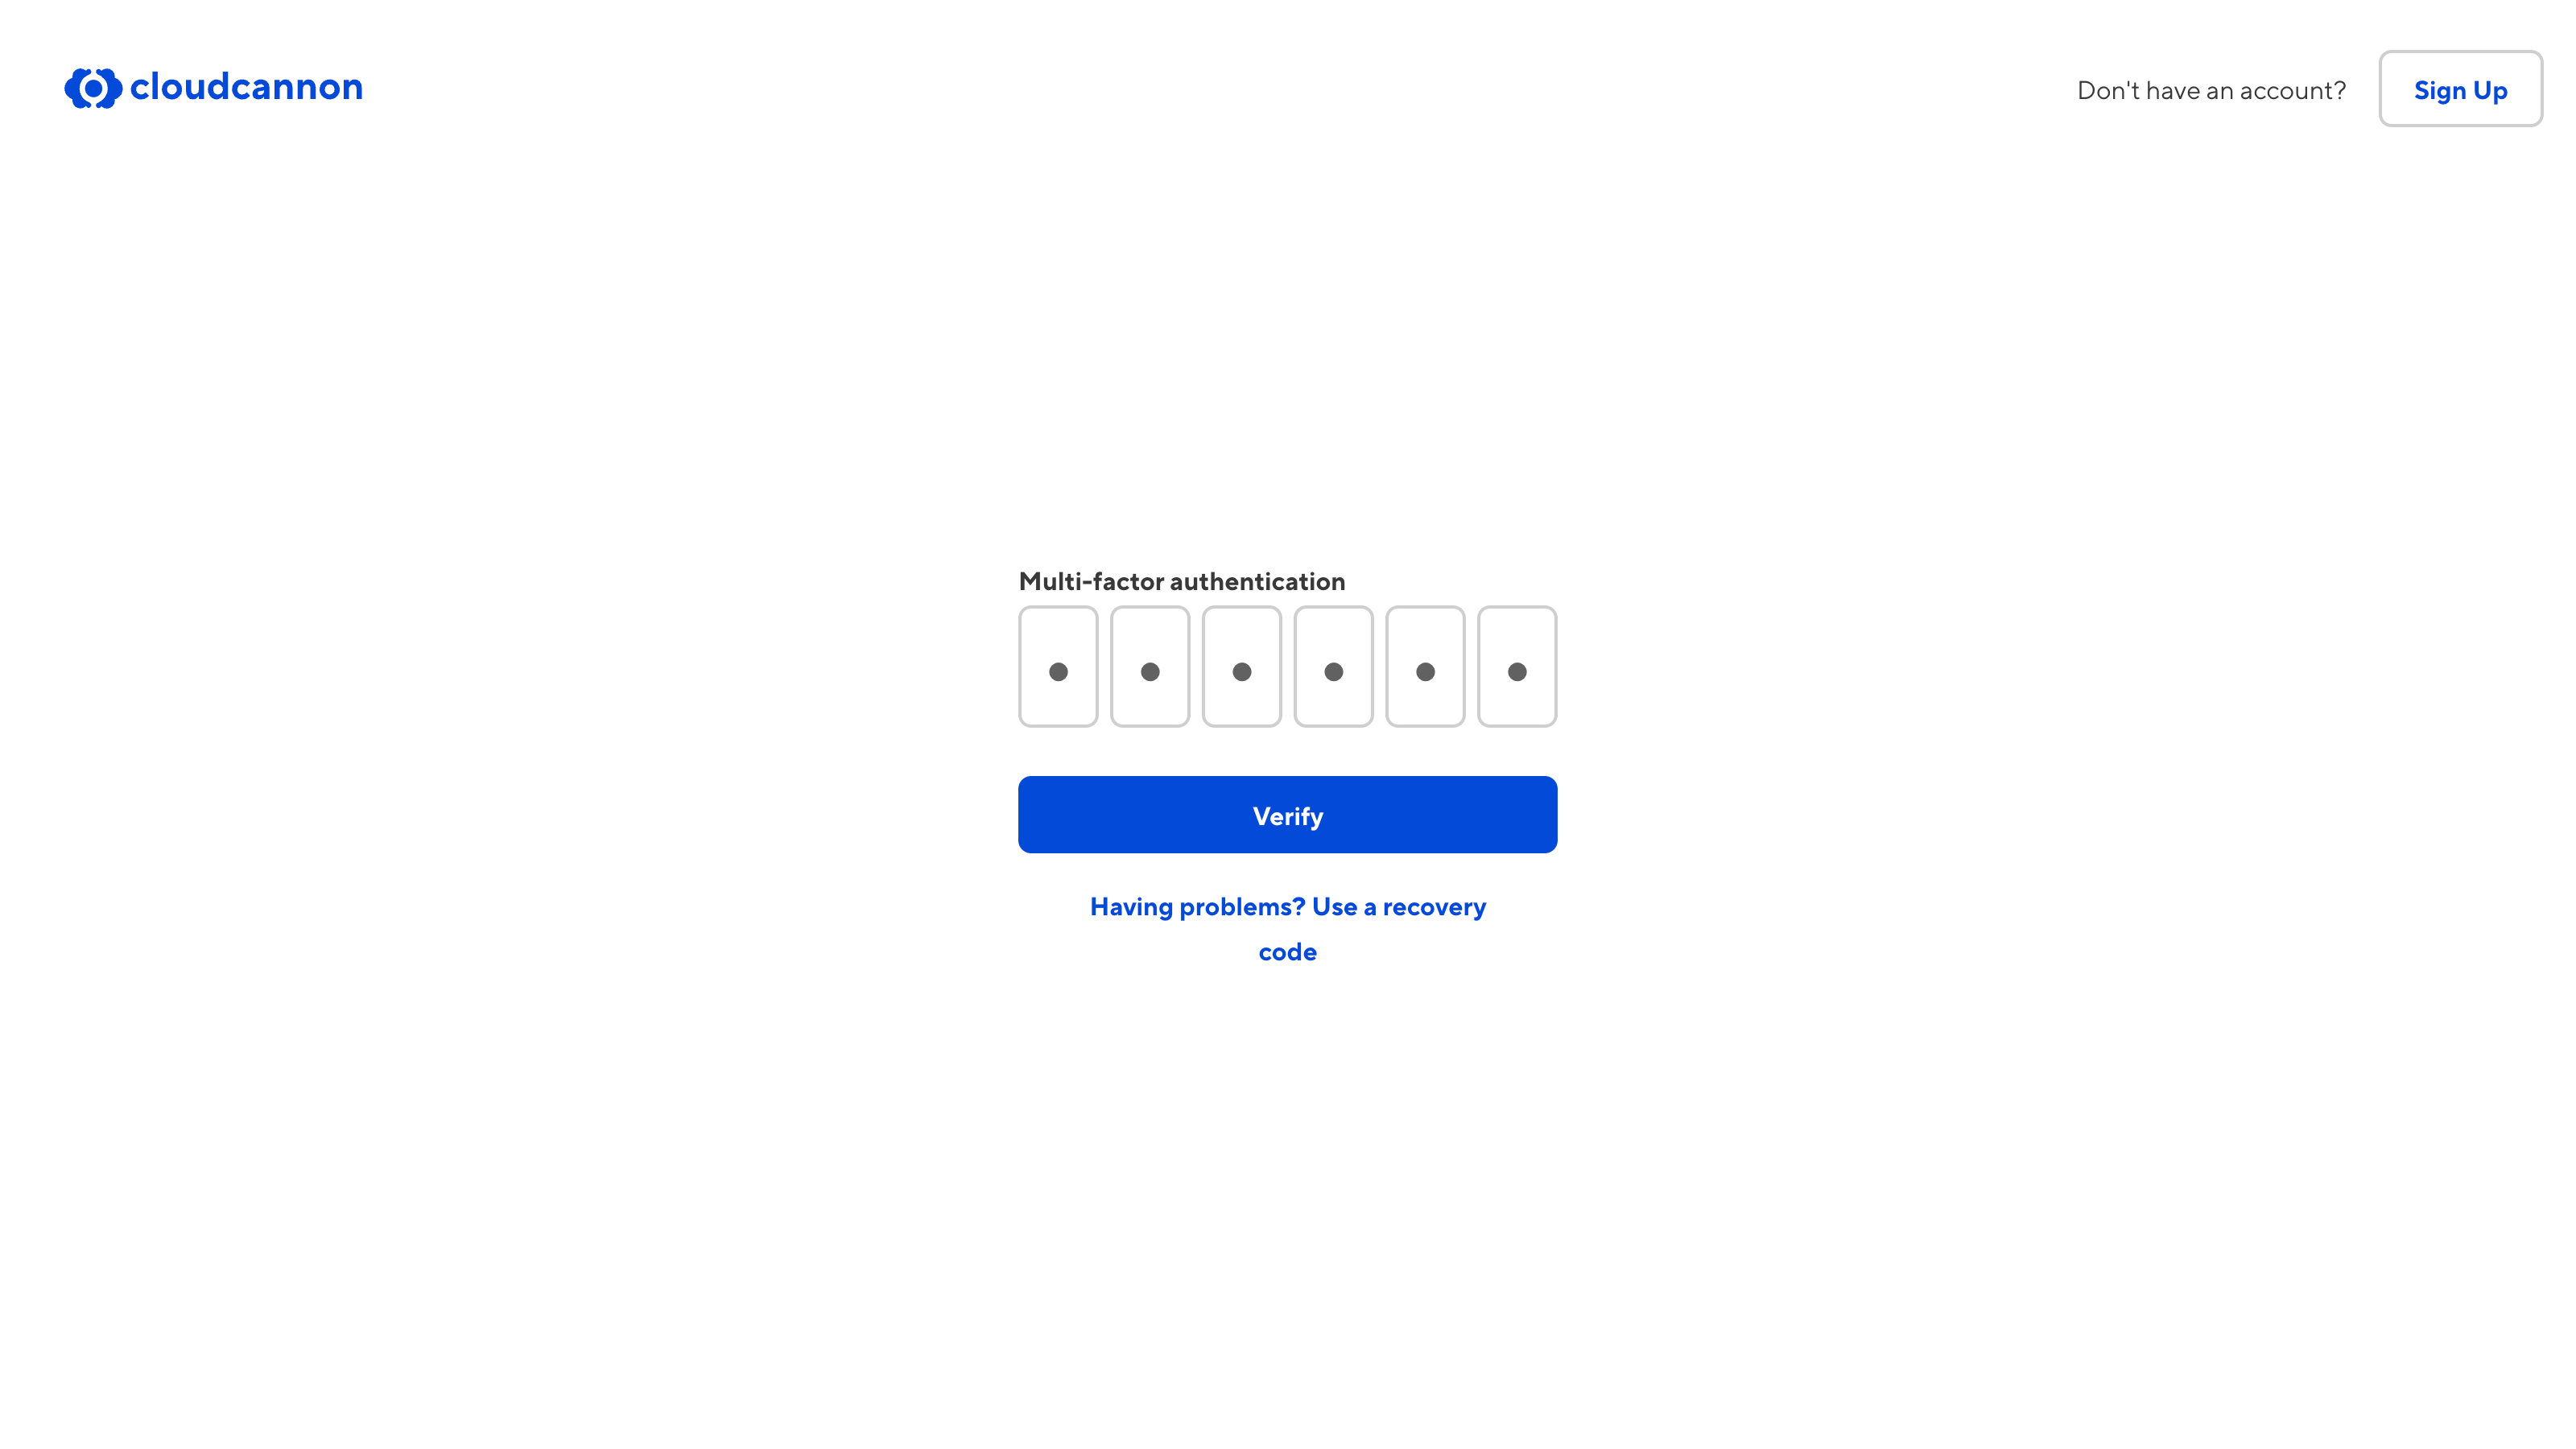
If you cannot access your device or authentication app, you can use one of your recovery codes to log in.
