This feature is available on our Team and Enterprise plans.
Want to chat about whether this feature is right for you? Our support team is always happy to hear from you.
To create a custom Permission Group in your Organization:
- Navigate to the Team page under Org settings.
- Click on the Groups tab.
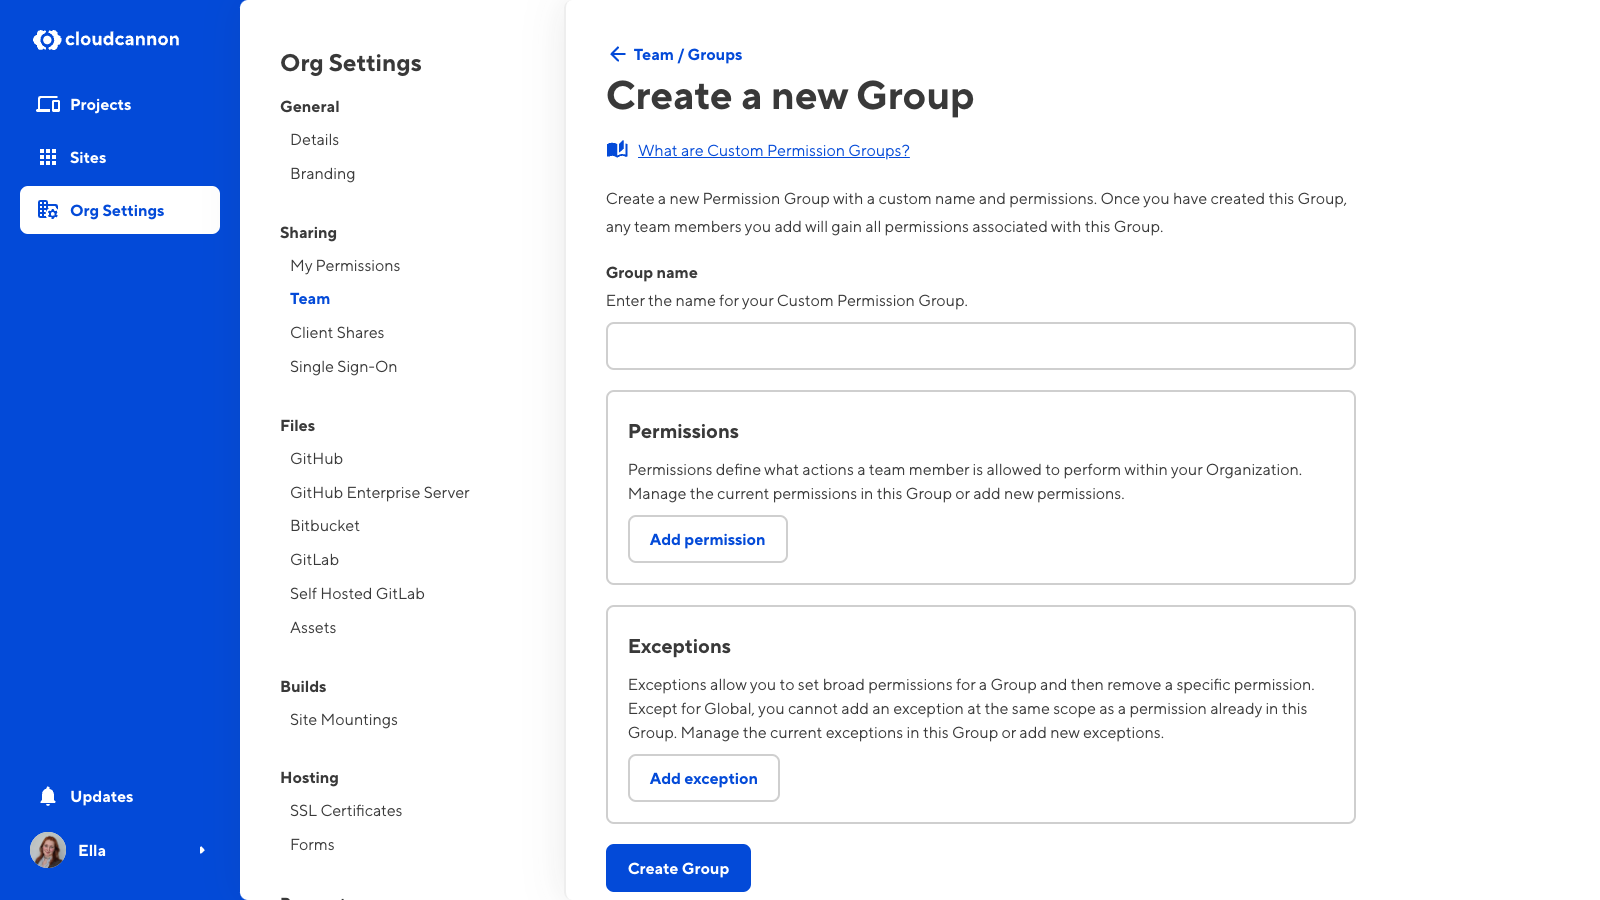
- Under the Groups tab, click on the + Add new Group button in the top right to open the Create a new Group page.
- Enter the name of the Custom Permission Group.
- Click the Add permission button to open the Add permission modal.
- Select the scope for this permission using the Scope dropdown. If you select Base Domain, Group, Project, or Site, you must also choose the Target to that scope with the Target dropdown. Selecting a scope will automatically filter the resource tree.
- Using the resource tree, select the resources you want to add and what actions you want to allow for each resource (i.e., Read, Write, or Create).
- Click the Add button.
- Repeat steps five to eight until you have added all the permissions you require.
- If you want to include any exceptions in your Permission Group, click the Add exception button to open the Add exception modal.
- Select the scope, target (if applicable), and resources for your exception.
- Click the Add button.
- Repeat steps ten to twelve until you have added all the exceptions you require.
- Click the Create group button.

CloudCannon will add the new Permission Group to the Groups tab on the Team page. You are now able to add team members to your custom permission group.
For more information, including a list of all available permissions, read our reference documentation on permissions.