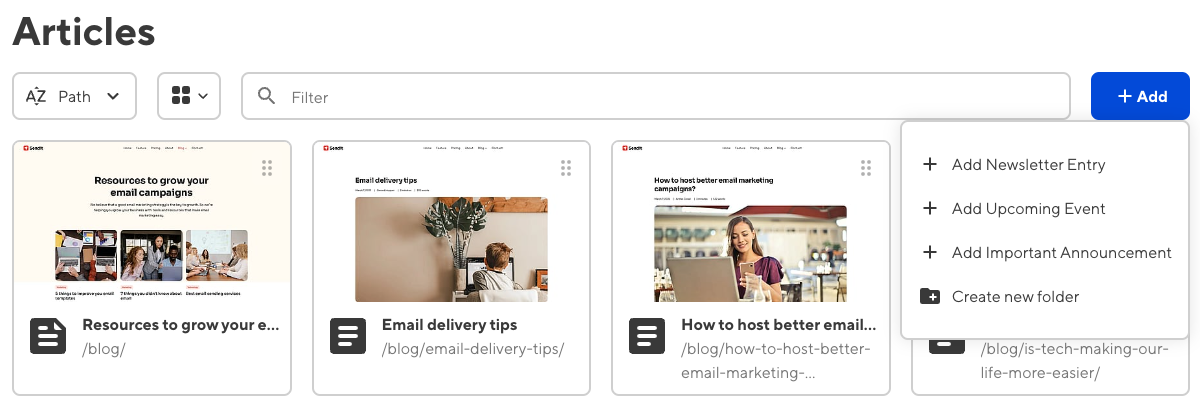
A schema is a predefined template that determines what should populate a collection file. You can configure several schemas for each collection, creating a list of file templates for you and your team.
Schemas are excellent for creating files with consistent content and populating the initial contents of a new file. Schemas can apply to structured, markup, and combination files by containing both front matter and markup content or only data or markup content. When you use a schema to populate a new file, you can be sure that the inputs you need are available in the sidebar of the Visual or Content Editor.
A blog schema might contain title, author, and hero image inputs in the front matter. A changelog schema for a technical documentation site might contain a date input in the front matter and headings for “Features” and “Fixes” in the Markdown content. A review schema might contain inputs for title, author, and rating, and “Today, we are reviewing the…” as the opening line in the Markdown content.
Once you have configured your schemas, your team members can easily create new files for a collection by clicking the + Add button in the top right of the collection browser and selecting the file template they want from a dropdown menu.

Schemas are a good place to configure your inputs. Inputs configured in your schema will only affect files created with that schema.
For more information, including a list of all keys available for schema configuration, please read our reference documentation for schemas.
Default behavior for new collection files#
You can add new files to your collection without configuring a schema. Clicking the + Add button in the top right of the collection browser will clone the last file in the collection and clear the content and values for any inputs in the front matter. This behavior is convenient if you have simple collection files or do not want to configure schemas.
The default behavior may not be right for you if:
- Your collection does not contain at least one file.
- You want to have different file types in your collection.
Because the default behavior clones existing files in a collection, CloudCannon cannot create a new file if the collection is empty. Additionally, cloning existing files does not allow for variation in file structure. You can manually add different inputs and content to your files. However, this can become inefficient to maintain.
You can overcome these limitations by configuring schemas for your collections.