This feature is only available for Sites hosted through CloudCannon. If you host your Site externally, or use CloudCannon in Headless Mode, this feature will not work.
Password authentication requires visitors to your Site to enter a password before they can view any content.
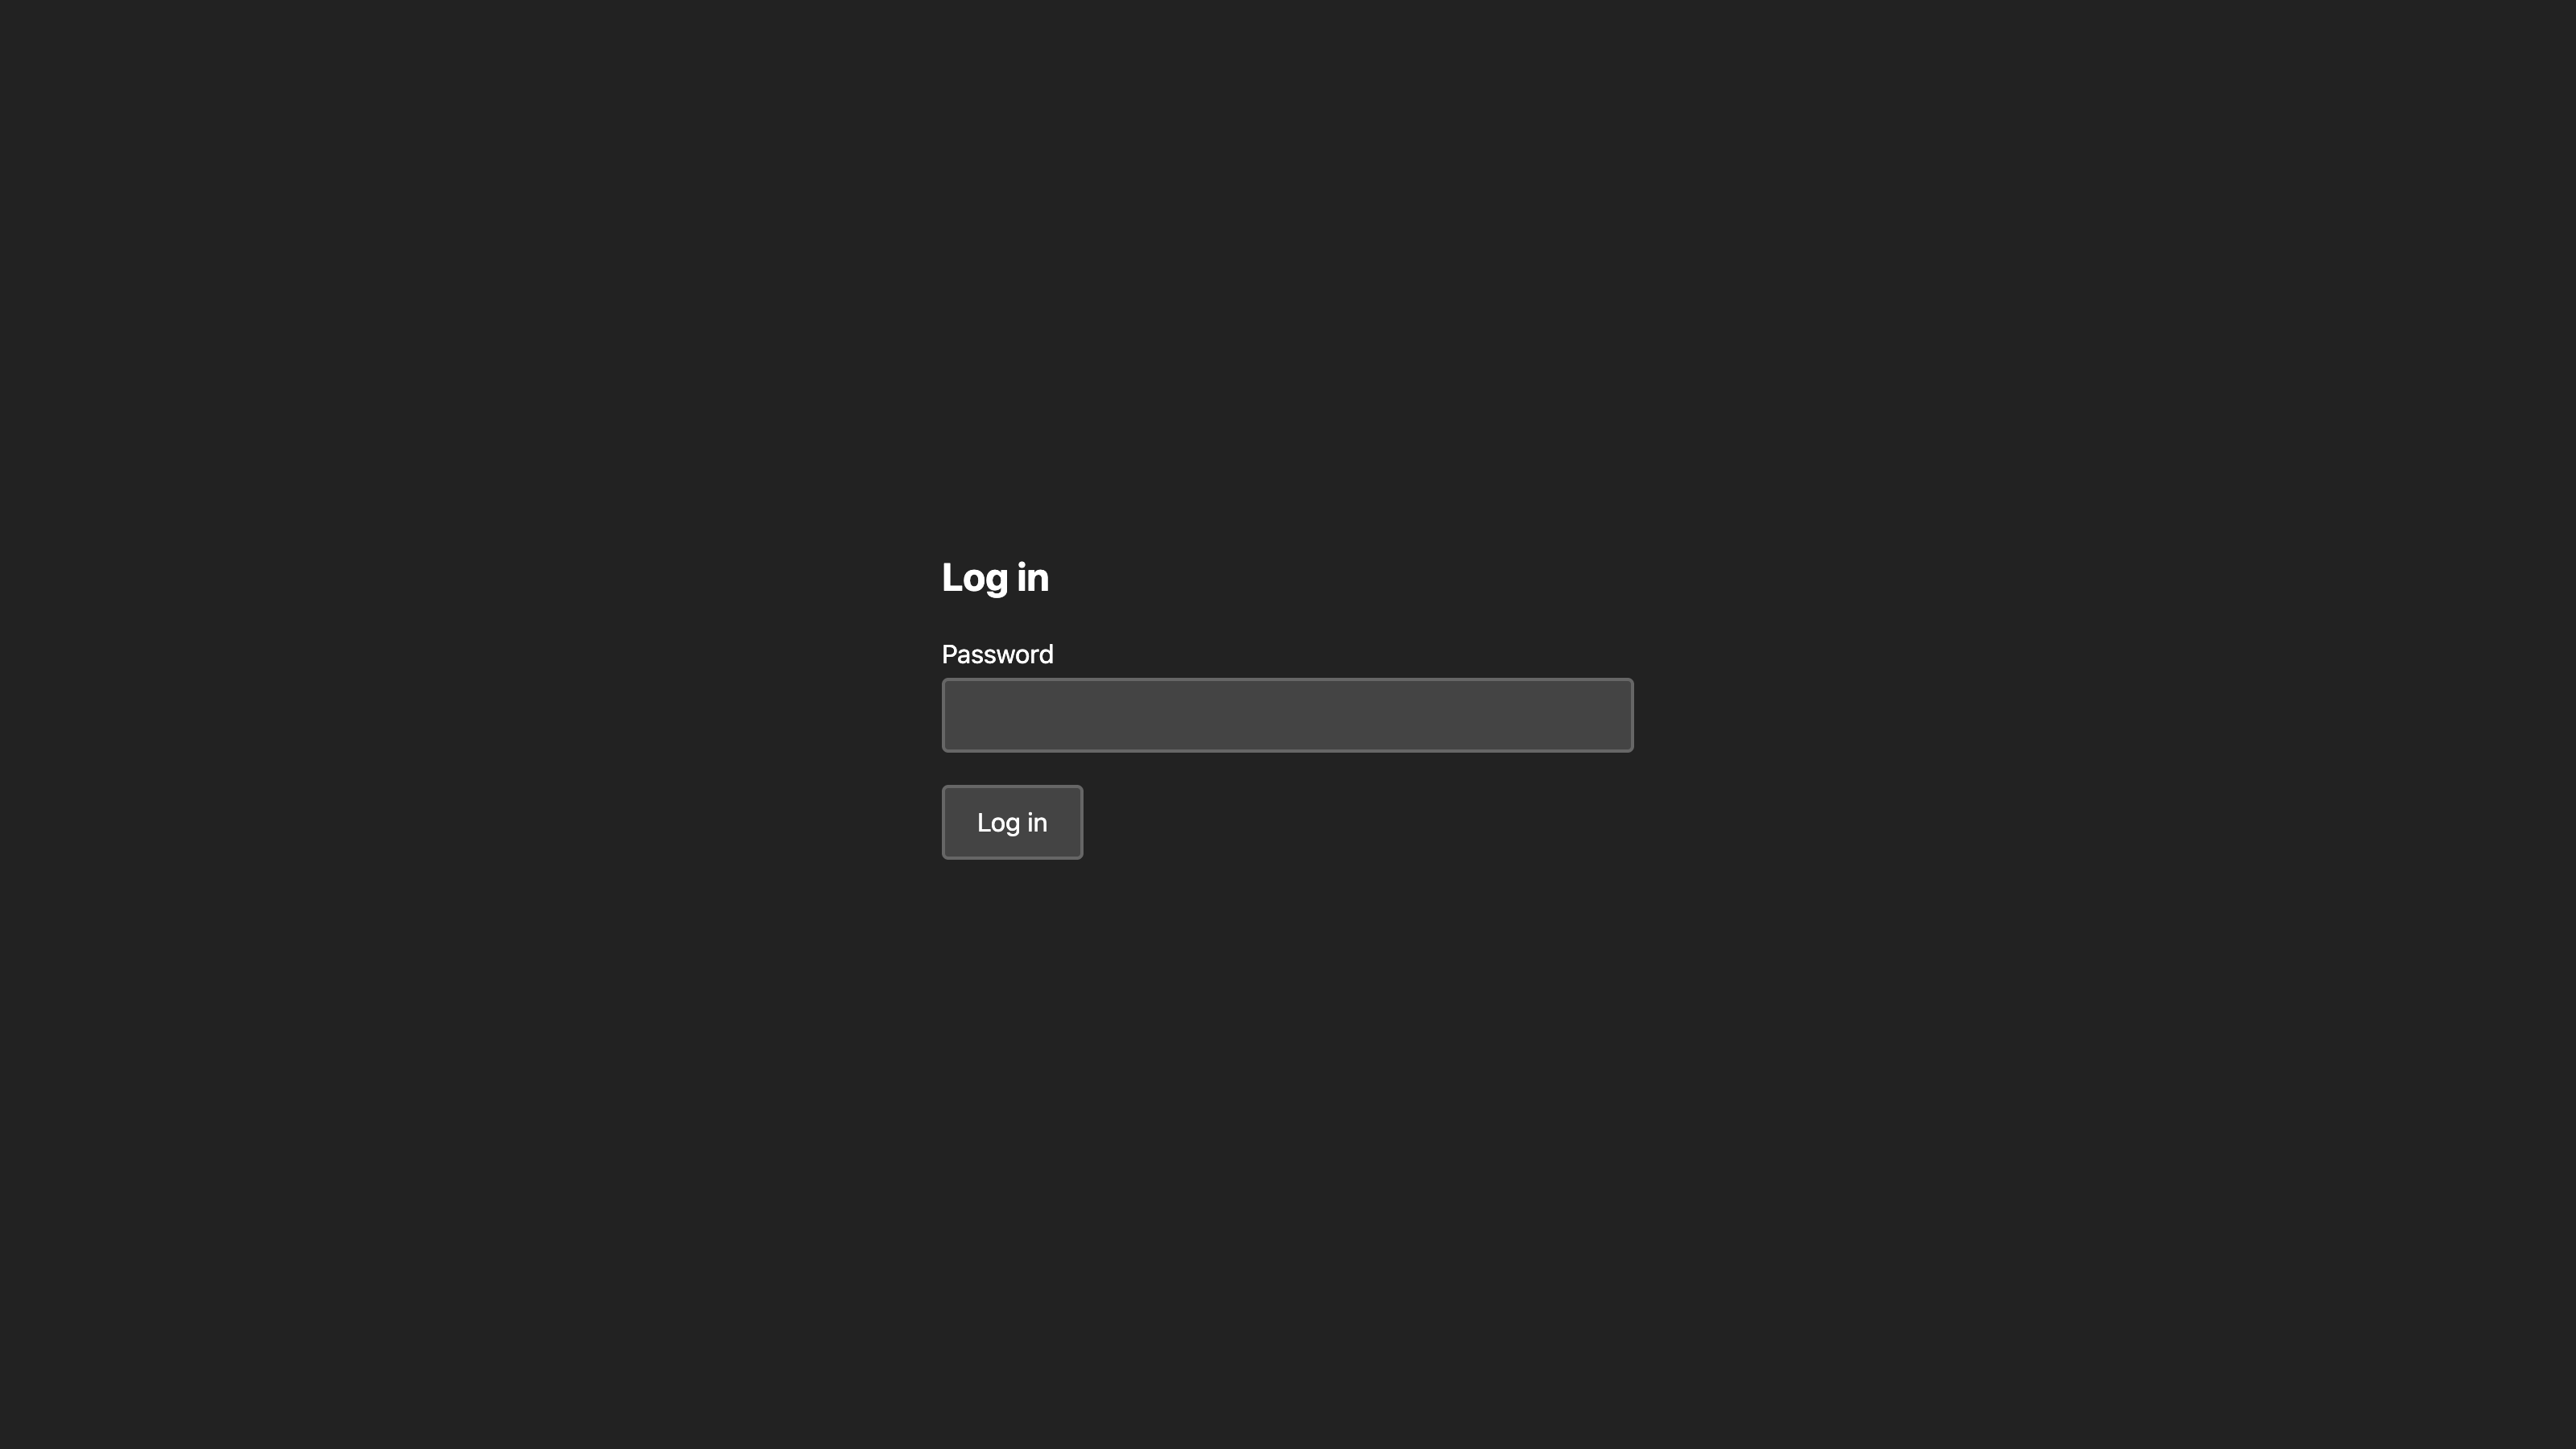
By default, CloudCannon serves a simple Login page when a visitor requests your URL.

To enable password authentication for your Site:
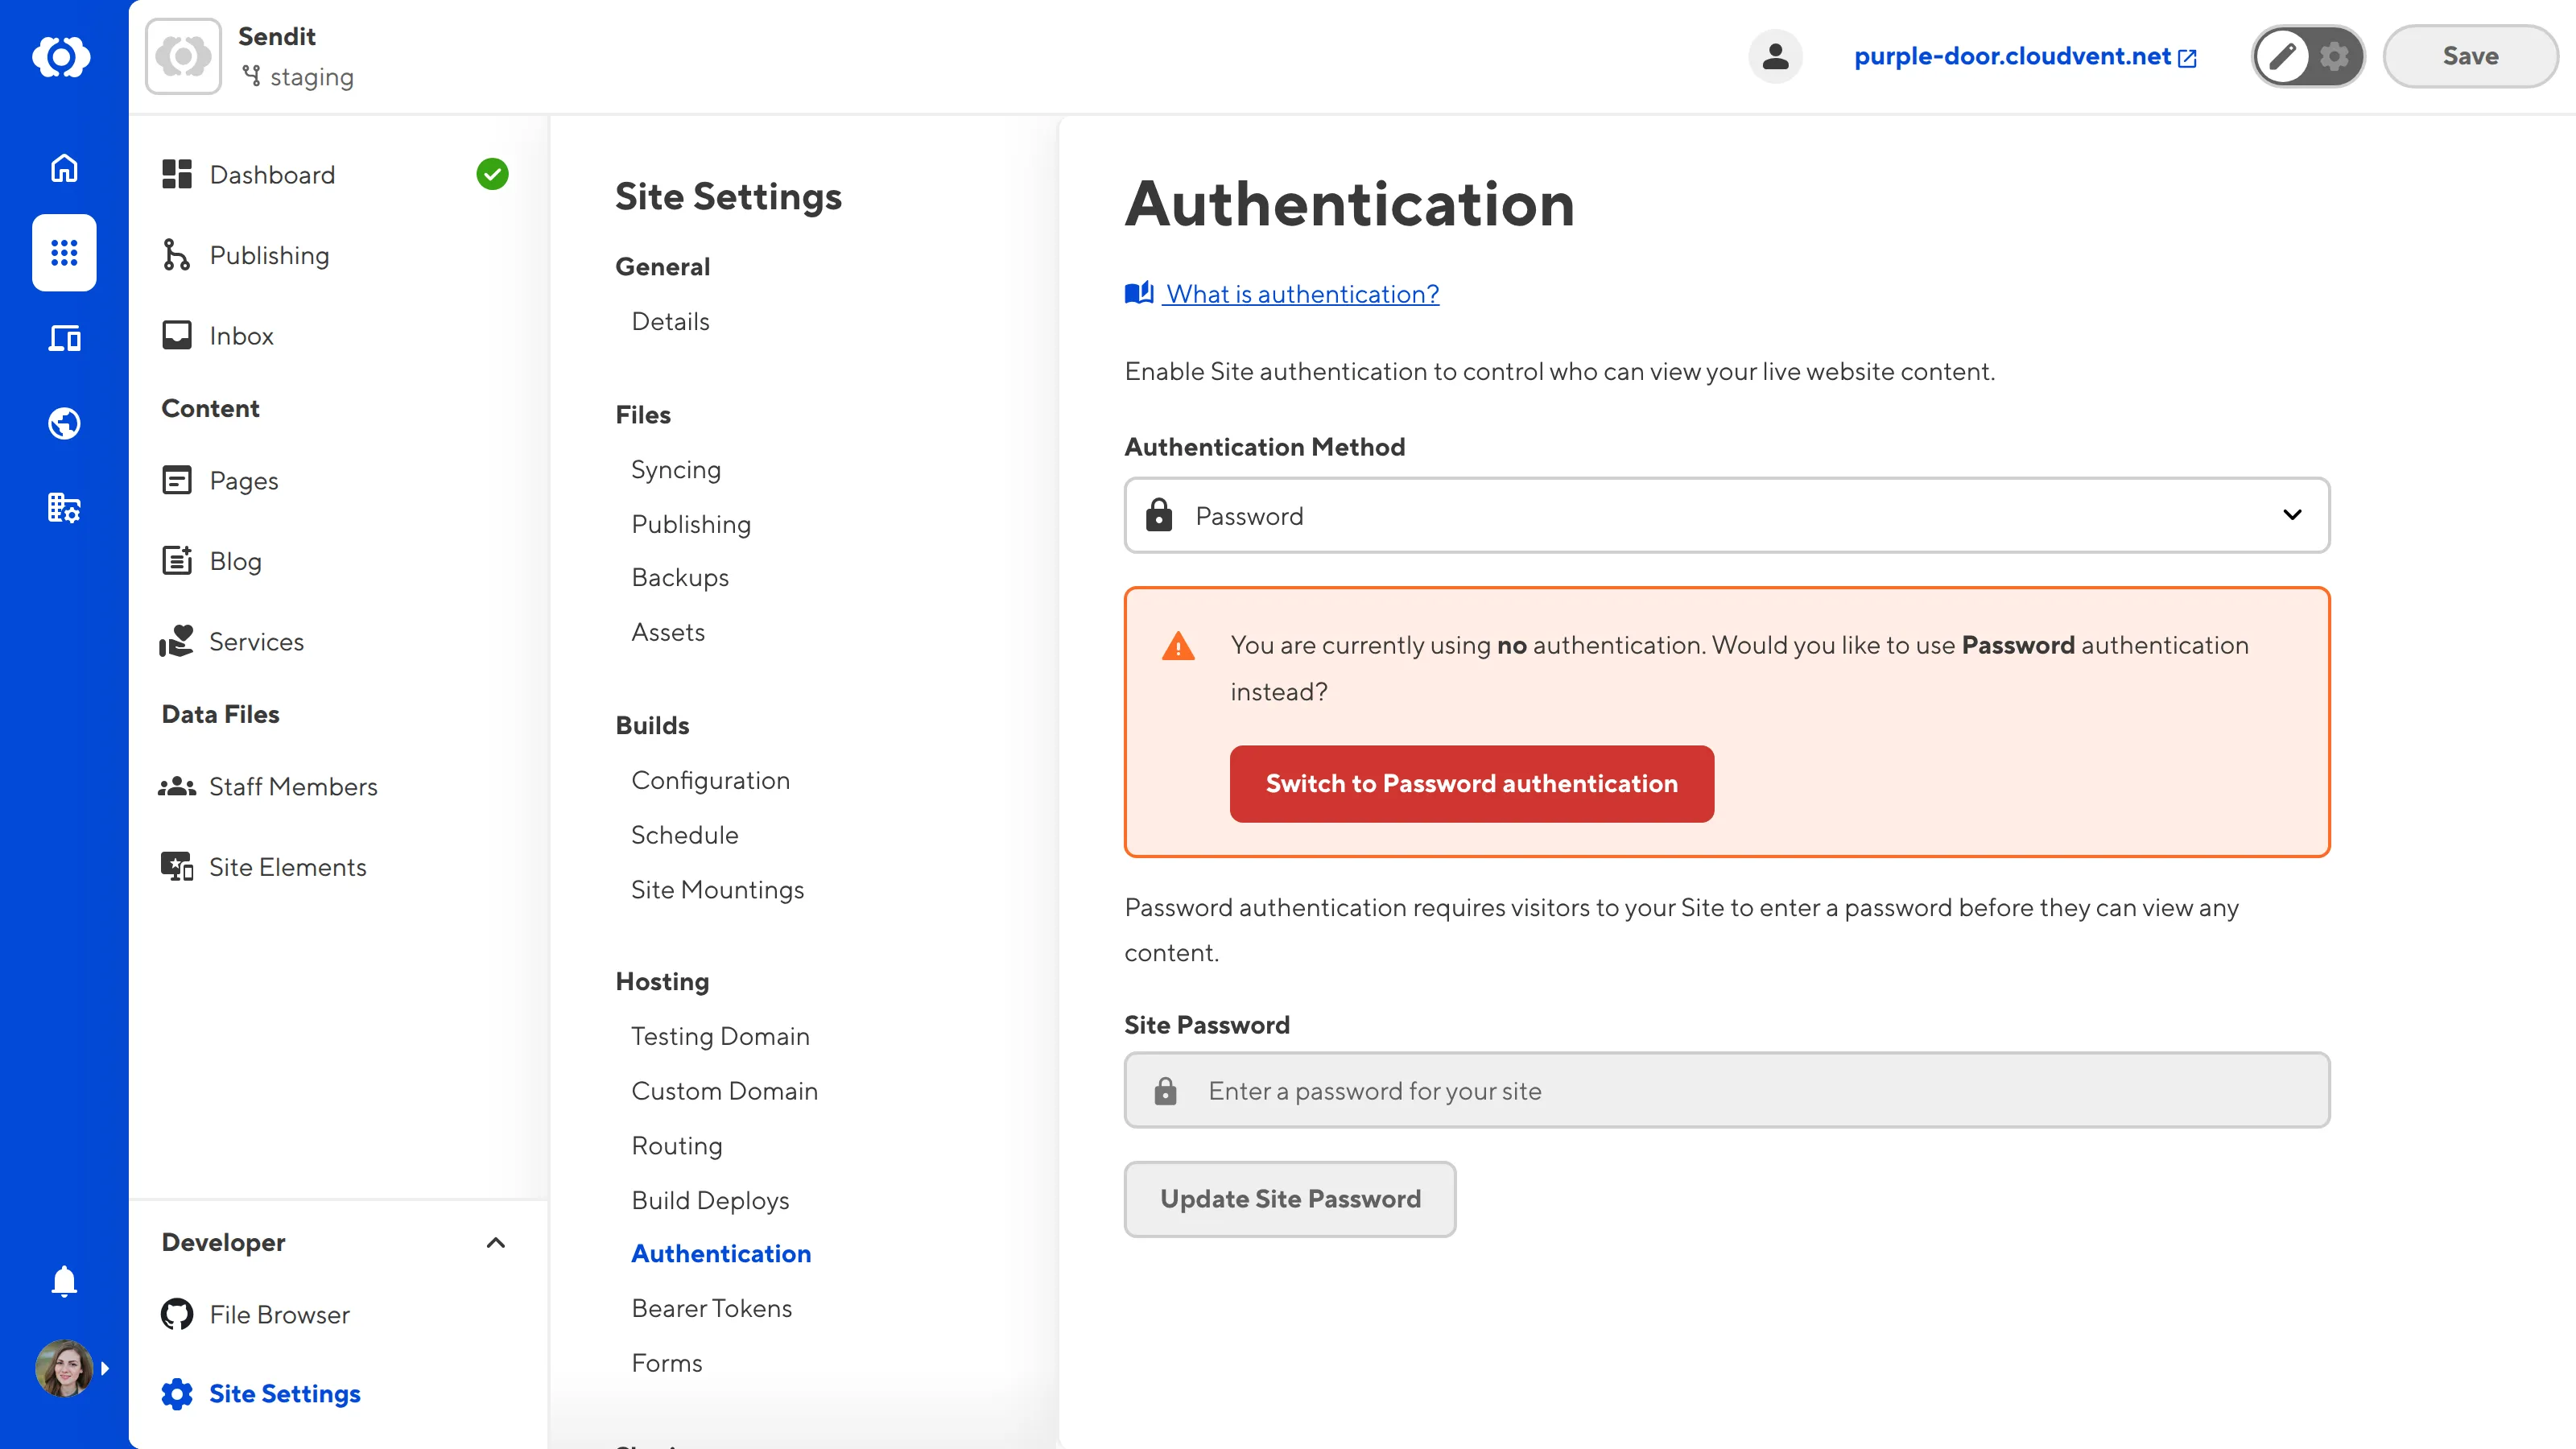
- Navigate to the Authentication page under Site Settings.
- Click on the Authentication method dropdown and select the Password option.
- Click the Switch to Password authentication button to confirm your choice.
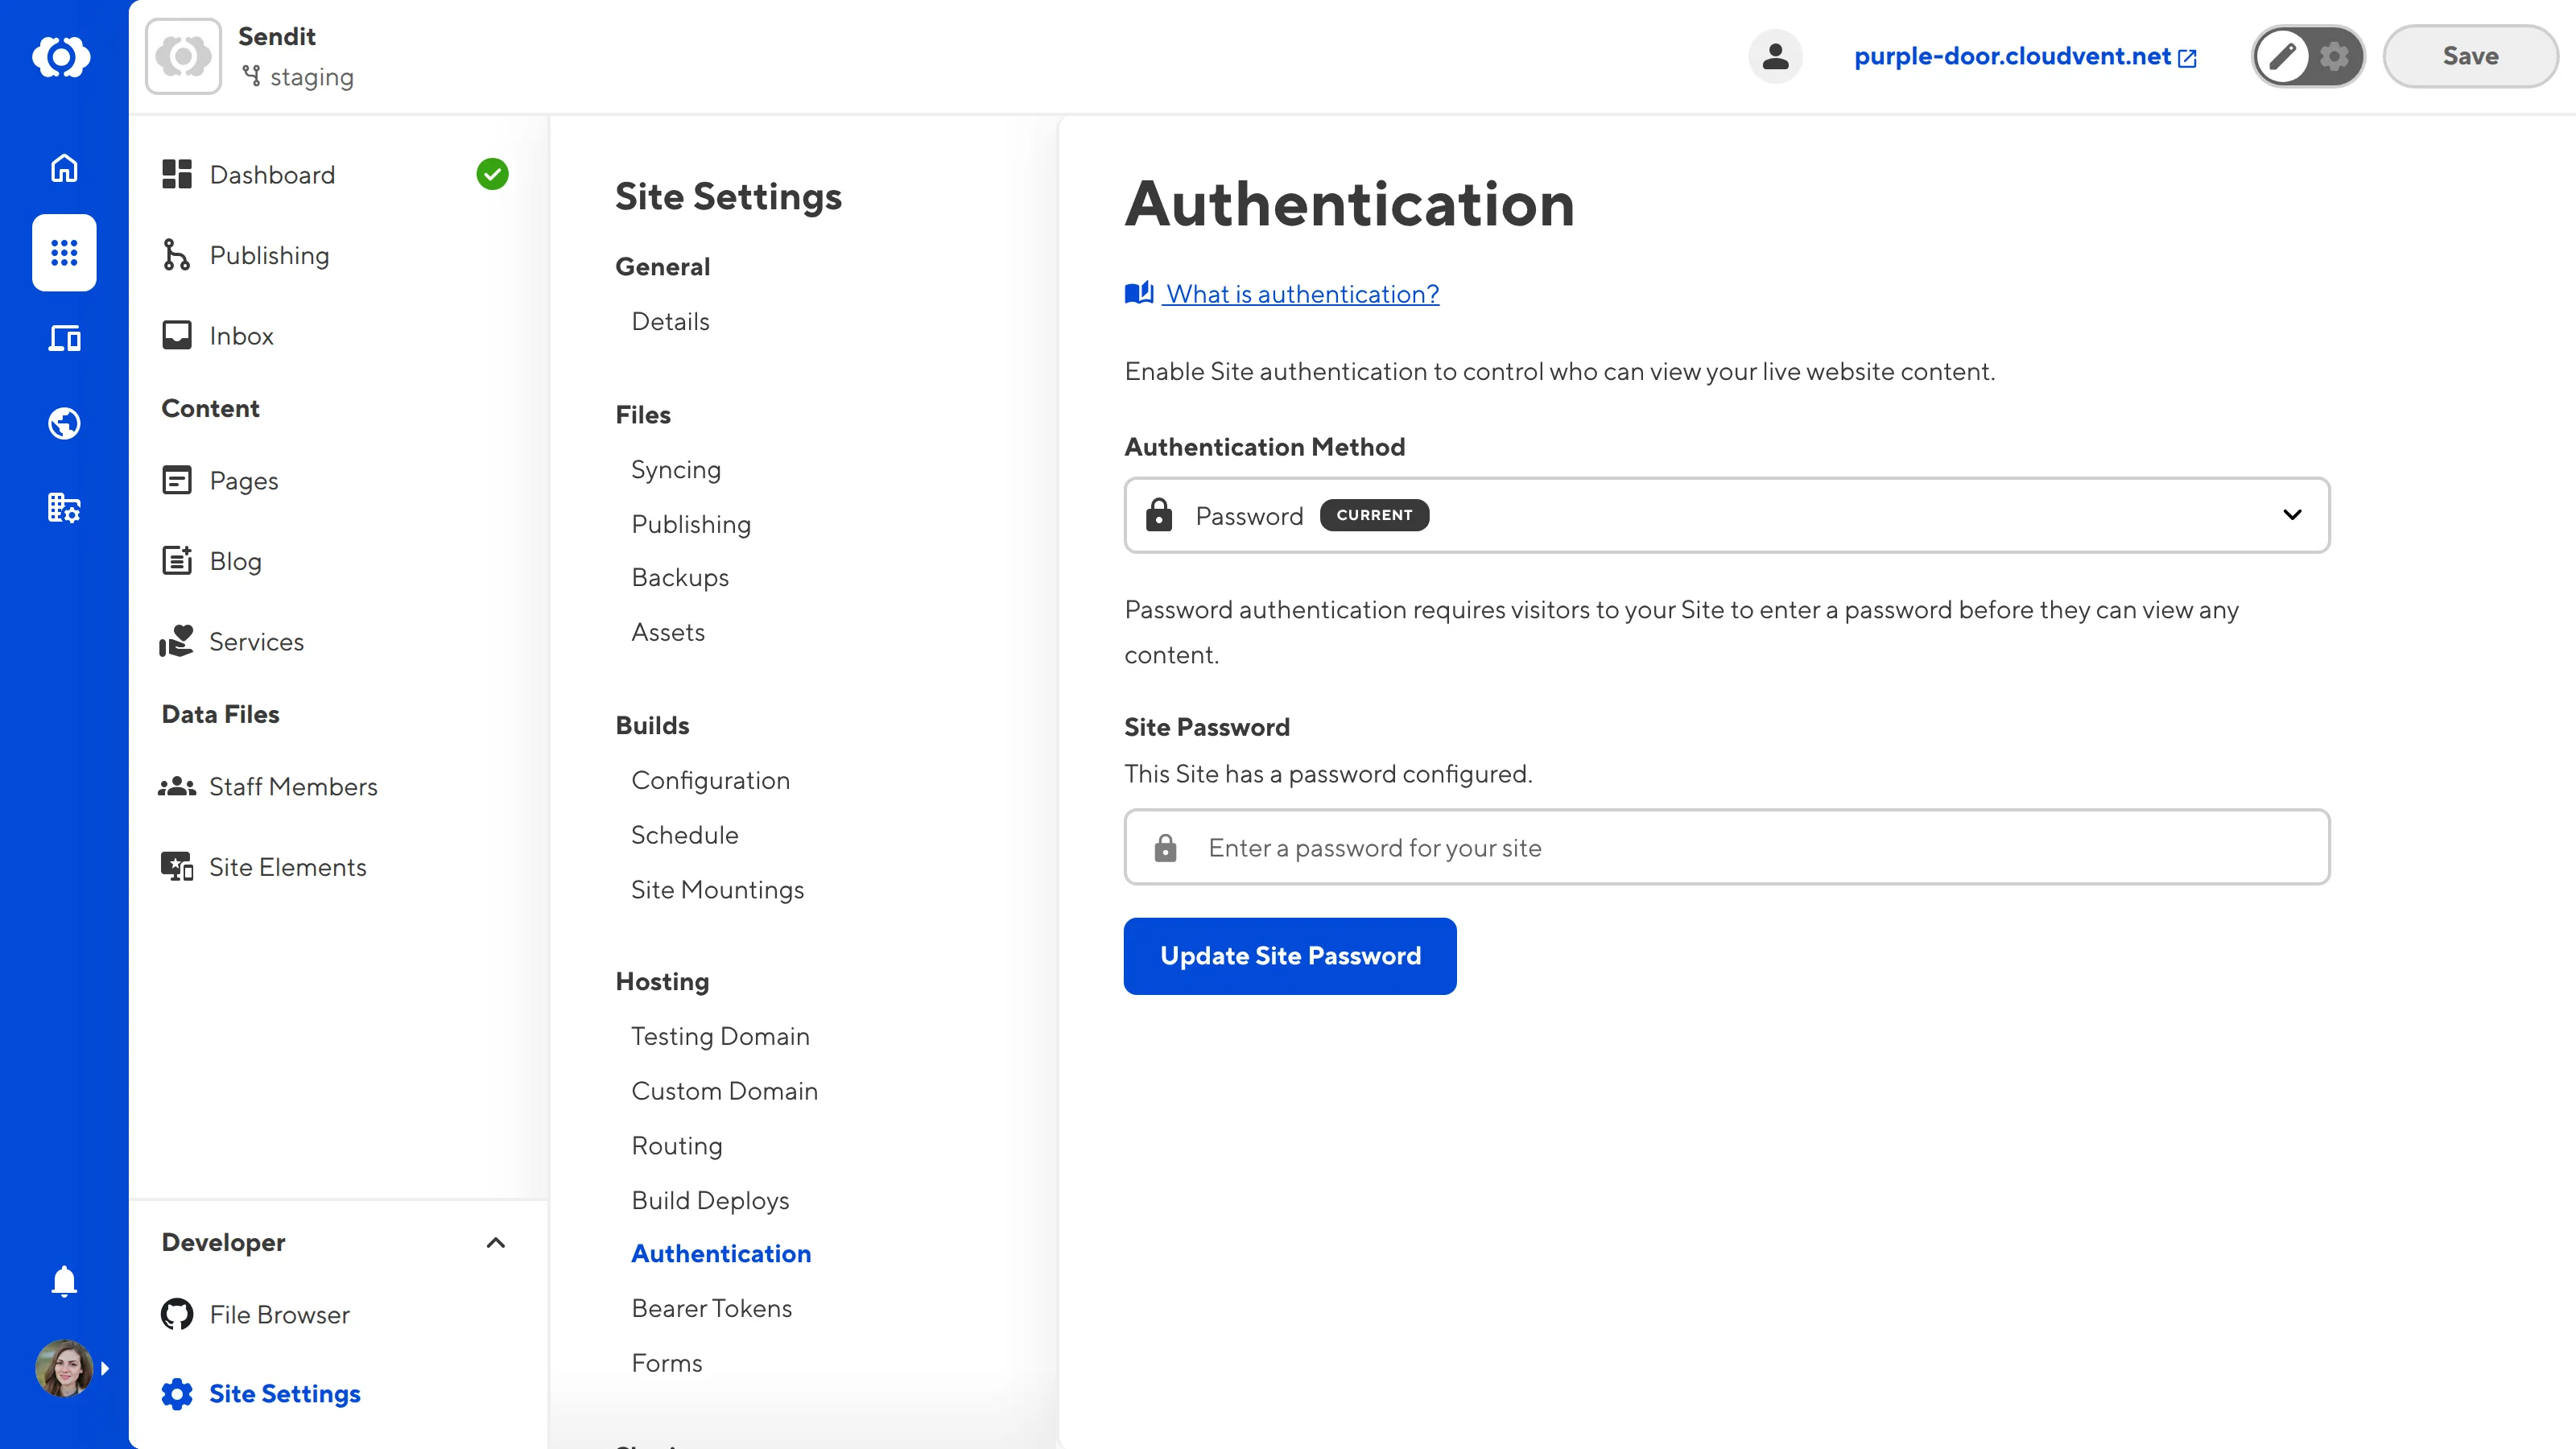
- Add the password of your choice in the Site Password text field.
- Click the Update Site Password button.
CloudCannon will now require visitors to your Site to enter this password to see its content.


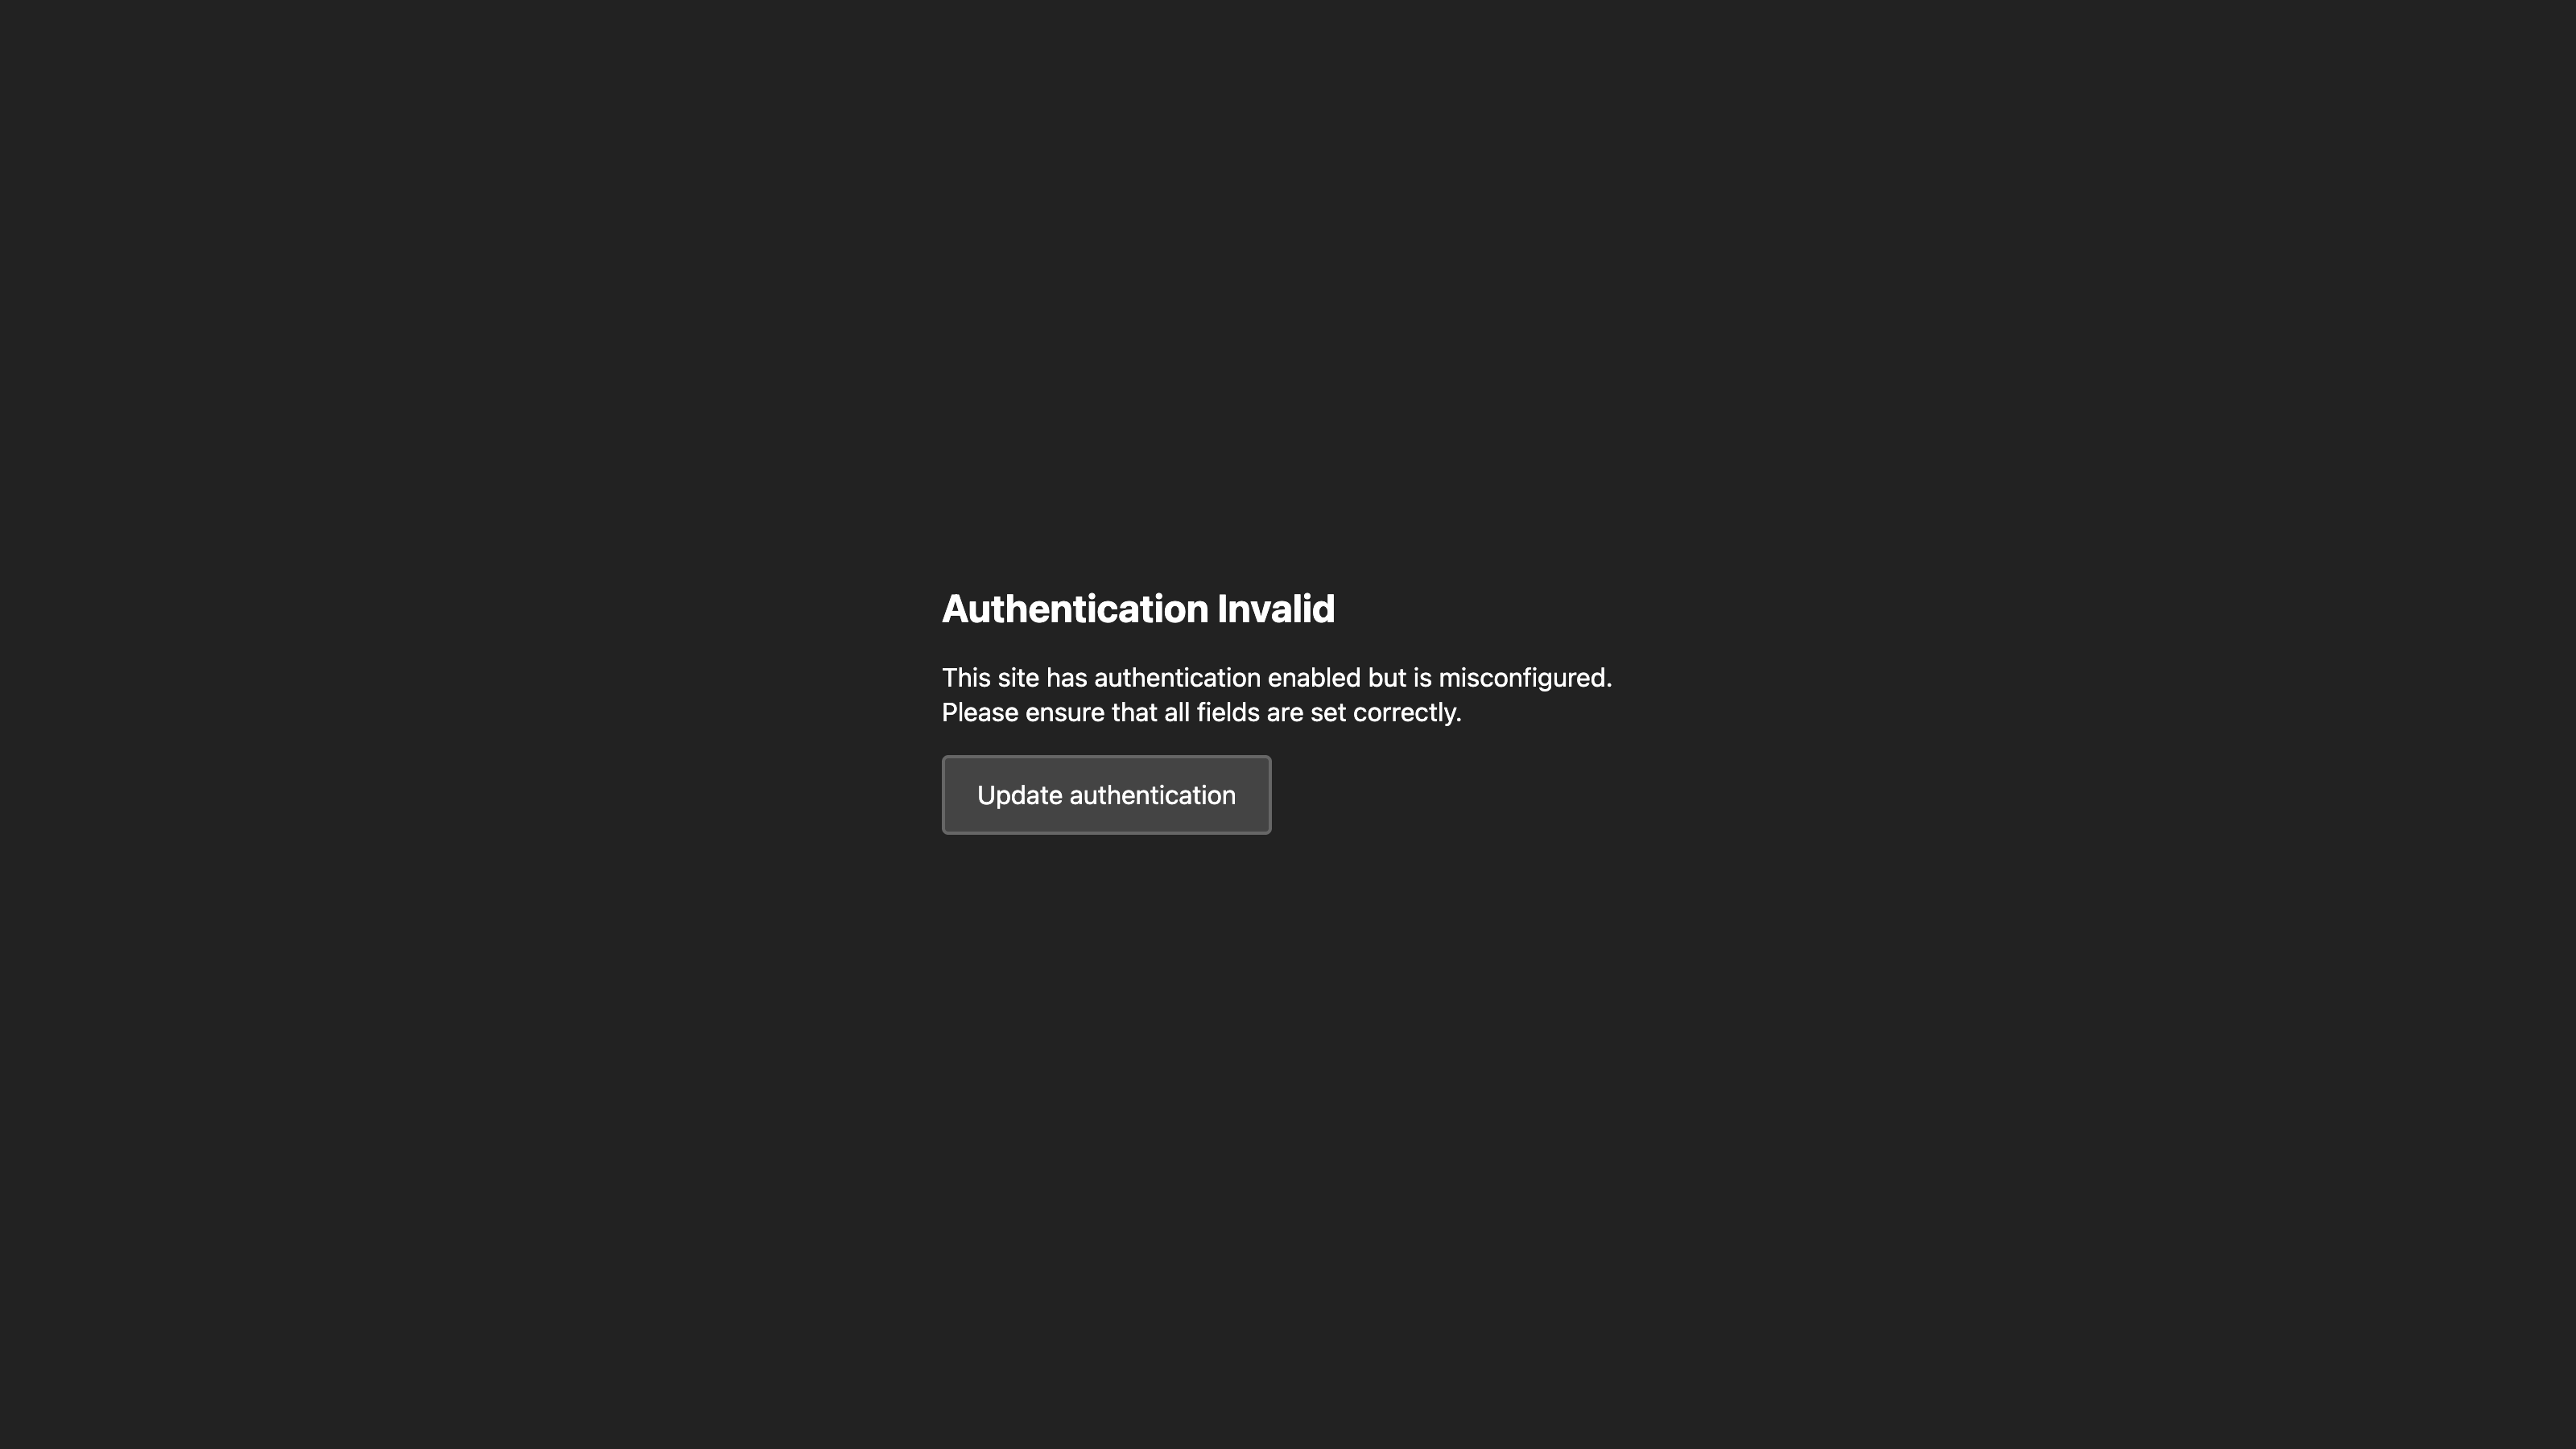
If you enable Password Authentication without setting a password, visitors will not be able to access your content. You can resolve this by setting a password or turning off Password Authentication.
CloudCannon will warn you if you have enabled Password Authentication but have not set a password. CloudCannon will also show an Invalid Authentication warning on your live Site.


You can change the password for your Site at any time by entering a new password in the Site Password text field and clicking the Update Site Password button.
To disable password authentication, click on the Authentication method dropdown, select the None option, and then click the Switch to no authentication button to confirm your choice.
CloudCannon uses cookies to determine whether a visitor is logged in (i.e., authenticated). Visitors can log out using the log-out link. For more information, please read our documentation on allowing authenticated users to log out.
Configure a custom login page#
You can customize the login page for your website by creating a login.html file. This file should be in the root directory of your output Site. Where this is in your Site repository will depend on your SSG (e.g., the root of the repository for Jekyll, the static folder for Hugo, etc.).
You can customize the login.html file to match your Site branding and provide helpful resources.
This page requires:
- A form input for
password. - A hidden from input for
username. - A
submitinput.
In the login.html file, CloudCannon requires a <form> element with the liquid variable class="{{messageClasses}}". CloudCannon injects a class into the {{messageClasses}} liquid variable to change the content on the page as the user submits the form.
On Jekyll-generated pages, please add raw tags so Jekyll outputs the liquid variable correctly: {% raw %}{{messageClasses}}{% endraw %}.
You can add custom message classes to communicate with your users when using your forms, such as error-handling messages and success notifications. CloudCannon highly recommends adding a has-incorrect-login message class.
- The
has-incorrect-loginmessage class warns visitors when they enter incorrect login details.
A form action is not required for this page.
Here is an example of a basic login page:
<!DOCTYPE html>

<html>
  <head>
    <title>Log in</title>
    <style>
      .incorrect-login-message {
        display: none;
      }

      .has-incorrect-login .incorrect-login-message {
        display: block;
      }
    </style>
  </head>
  <body>
    <h1>Log in</h1>

    <form action="" method="post" class="{{messageClasses}}">
      <div class="incorrect-login-message">
        Incorrect password.
      </div>

      <label for="password">Password</label>
      <input id="password" type="password" name="password" autofocus>

      <input type="hidden" name="username" value="user">

      <input type="submit" value="Log in">
    </form>
  </body>
</html>
You may already have a login.html file if you are switching from user account authentication to password authentication. Make sure to update the contents of this file.