Adding a Digital Asset Manager (DAM) to your site enables you to store your images and other assets in an external service, separate from your content. DAMs improve site build times and allow you to reuse the same assets across different sites. With AWS S3 and CloudFront, you can cheaply and easily host your own DAM while still managing your files directly from CloudCannon.
You will need an AWS account to use S3. If you haven't already, create an AWS account, then sign in to the AWS console.
Create your S3 bucket
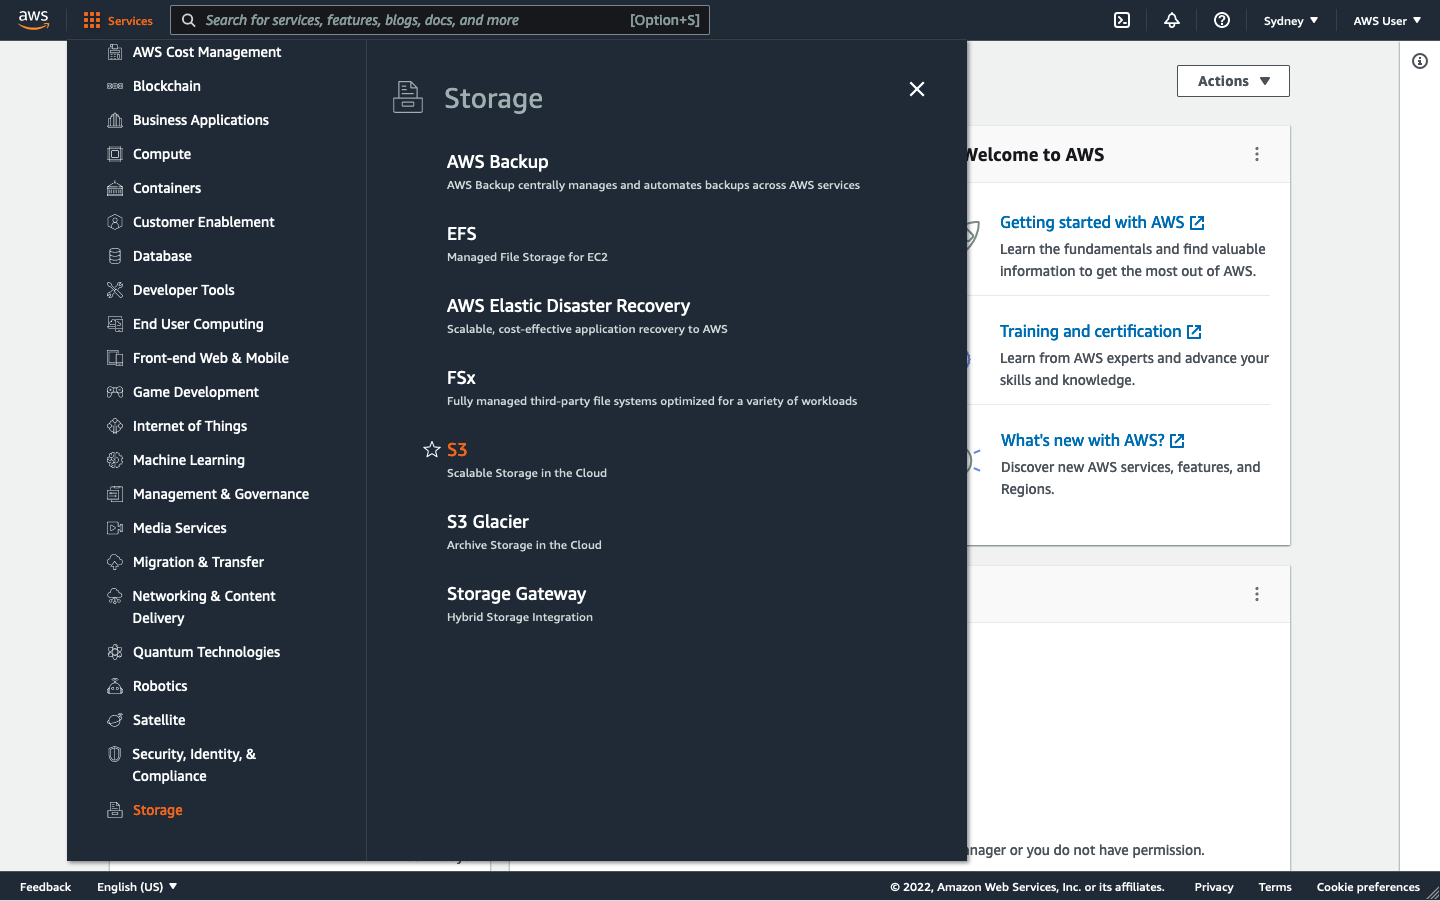
Open the AWS Services menu (in the top left corner), and navigate to Storage / S3.
In the S3 console, click Create bucket in the top right. Enter a name for your bucket then click Create bucket again, leaving the other settings unchanged. Note that S3 bucket names must be globally unique, so it's often a good idea to include your organization name in your bucket name, for example, my-organization-dam.
Once created, select your new bucket and open the Permissions tab. Scroll down to the Cross-origin resource sharing (CORS) section and click Edit. Copy the following JSON into the box:
[
  {
    "AllowedHeaders": [
      "*"
    ],
    "AllowedMethods": [
      "GET",
      "PUT",
      "POST",
      "DELETE",
      "HEAD"
    ],
    "AllowedOrigins": [
      "*"
    ],
    "ExposeHeaders": []
  }
](Optional) Edit the AllowedOrigins key to include only your sites. Origins can either match single URLs https://my-site.com or multiple URLs using wildcards https://*.my-site.com. Make sure to also include https://app.cloudcannon.com, to ensure that CloudCannon can pull previews of your assets within the editor.
Once you are done, click Save changes.
Create your CloudFront distribution
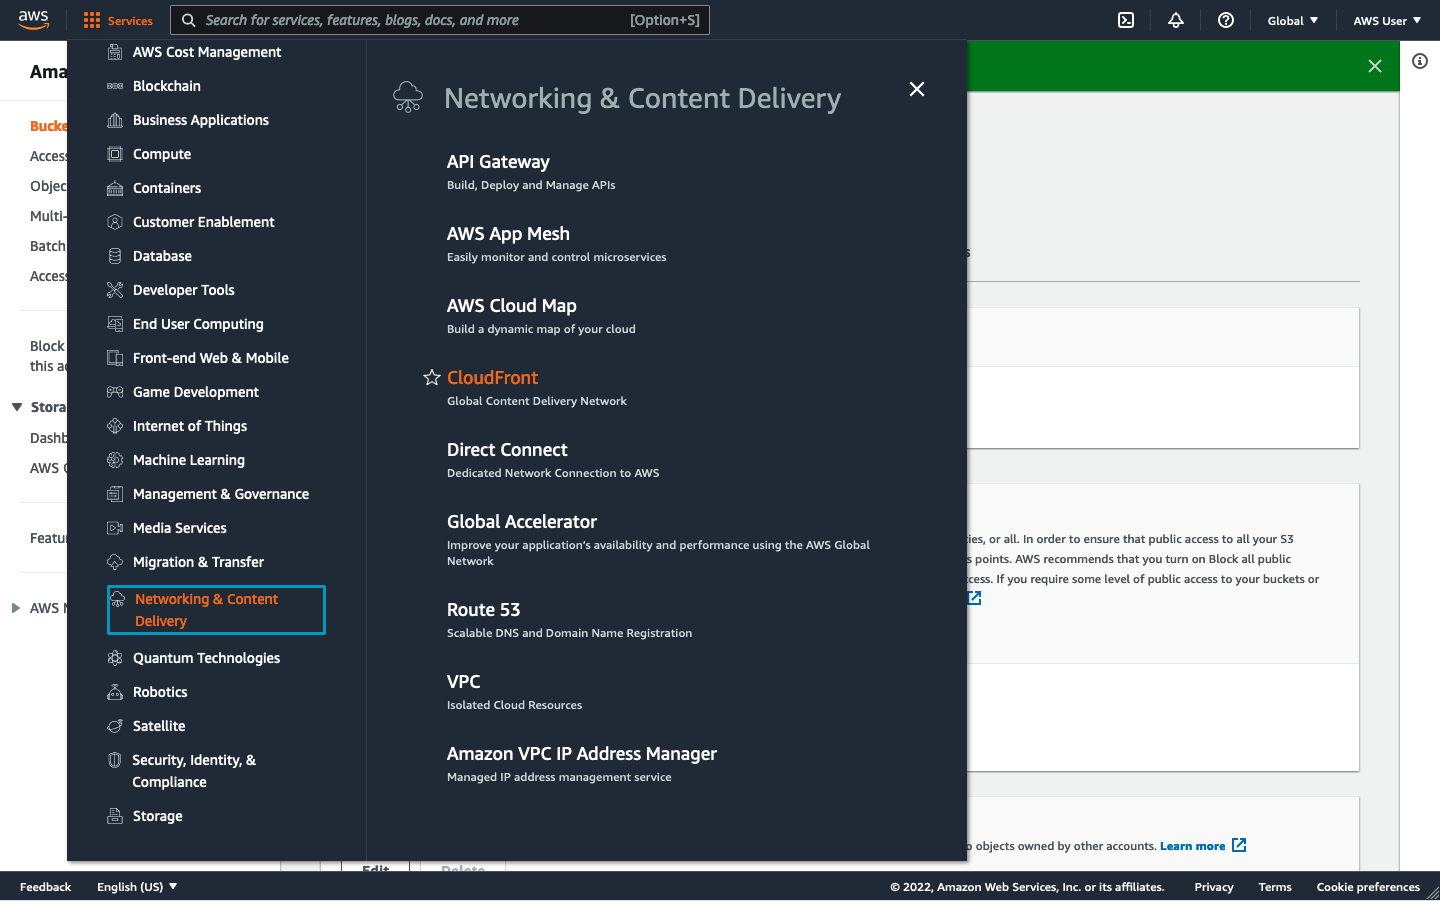
Open the AWS Services menu and navigate to Networking & Content Delivery / CloudFront.
In the top right of the screen, click Create distribution.
Under the Origin settings, set the Origin domain to your S3 bucket and set Name to what you want to name this distribution.
Under Origin / S3 Bucket Access, select Yes use OAI. Then create a new OAI by clicking the Create new OAI button and then clicking Create when prompted. Make sure the Origin Access Identity is set to your newly created OAI. Set Bucket Policy to Yes update the bucket policy.
Scroll to the Default cache behavior panel. Under Viewer, set the Allowed HTTP methods to GET, HEAD, OPTIONS.
Also in the Default cache behavior panel, under Cache key and origin requests, set Origin request policy to CORS-S3Origin, and the Response headers policy to SimpleCORS. As an optional step, if you're using wildcard origins in your S3 CORS settings create a new cache policy under Cache policy. Under Cache key settings, in the Headers section include the Origin header. Save that policy and set it as your distribution cache policy.
(Optional) Add any custom domain names you want to use for your DAM under Settings / Alternate domain name (CNAME). If you're using HTTPS also configure your SSL certificate under Settings > Custom SSL Certificate.
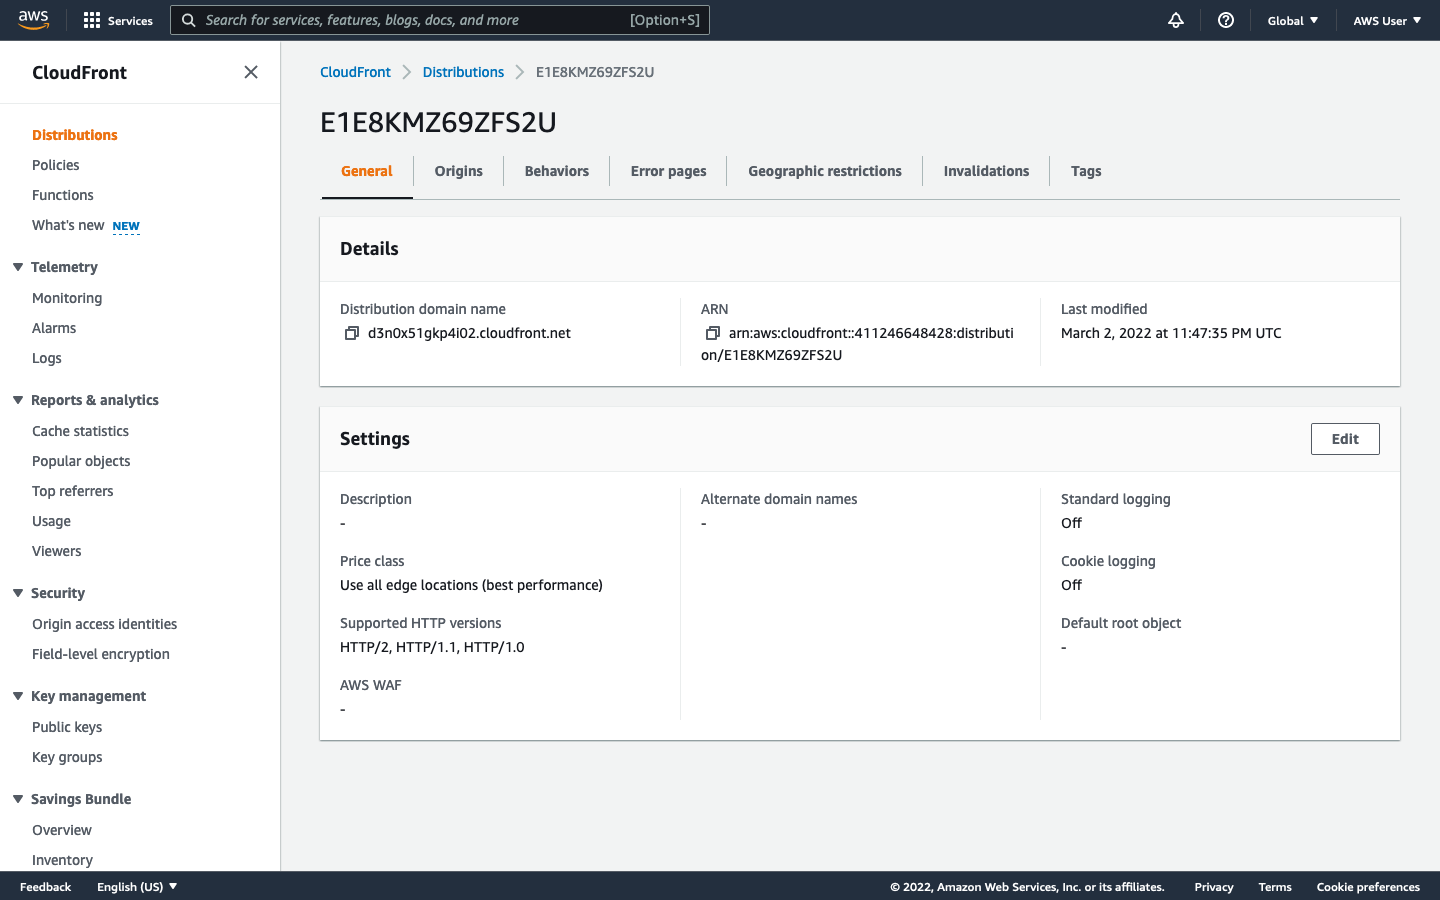
When you are done configuring, Click Create distribution. On the distribution dashboard, under General / Details, take note of the Distribution domain name, or one of its alternate domain names if applicable. You’ll need this later to connect your DAM to CloudCannon.
Create an IAM policy
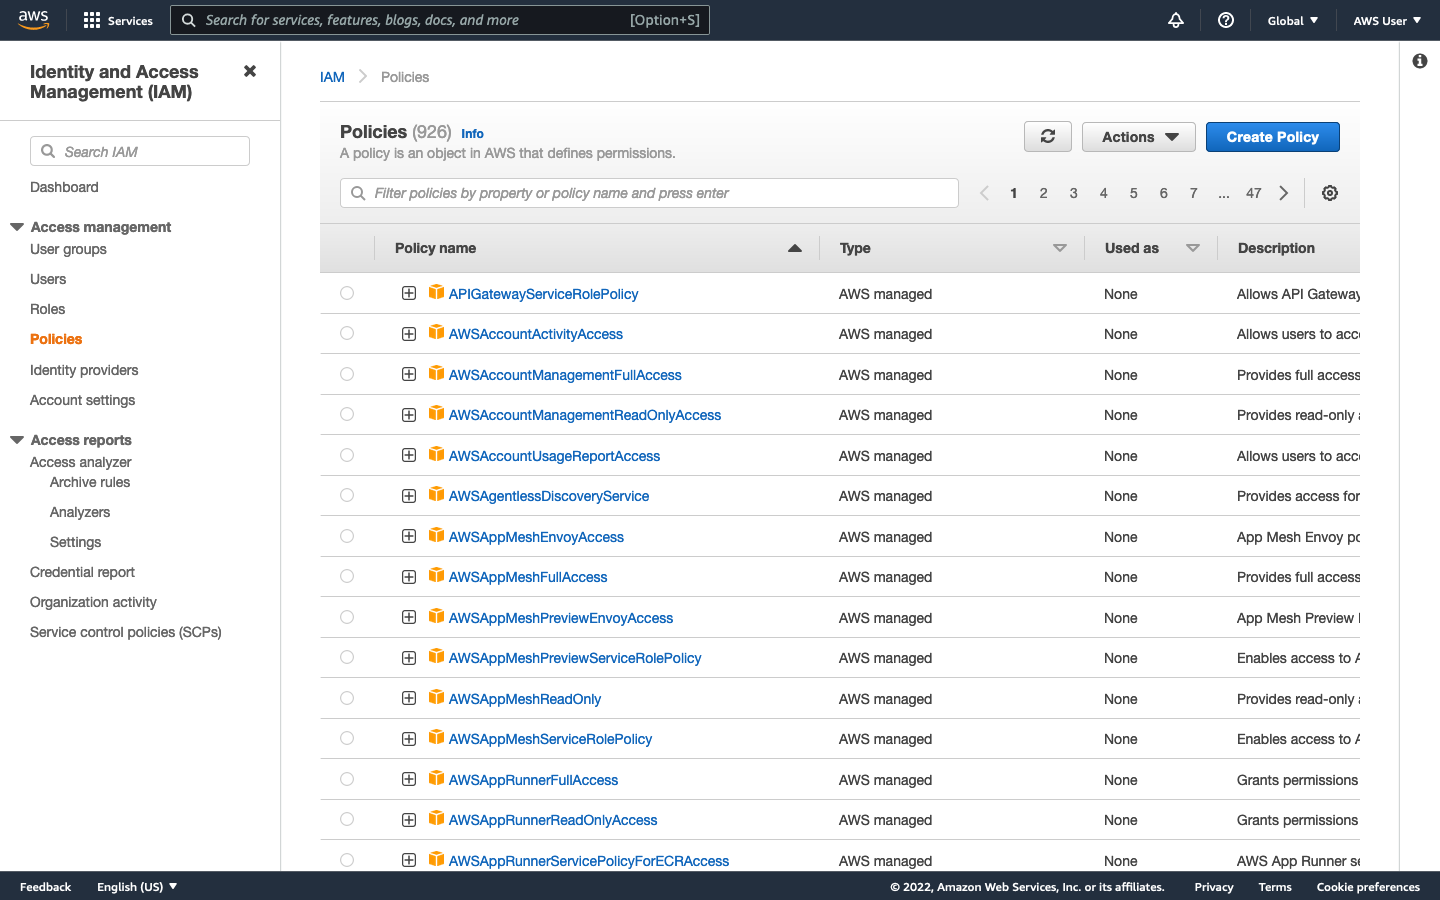
In the sidebar of the IAM console, navigate to Access management / Policies, then click Create Policy.
In the JSON tab, and paste the following policy - replacing the placeholder bucket name with your own.
{
  "Version": "2012-10-17",
  "Statement": [
    {
      "Effect": "Allow",
      "Action": [
        "s3:PutObject",
        "s3:GetObjectAcl",
        "s3:GetObject",
        "s3:ListBucketMultipartUploads",
        "s3:AbortMultipartUpload",
        "s3:ListBucket",
        "s3:PutObjectAcl",
        "s3:ListMultipartUploadParts"
      ],
      "Resource": [
        "arn:aws:s3:::<PlaceholderBucketName>",
        "arn:aws:s3:::<PlaceholderBucketName>/*"
      ]
    }
  ]
}
Click Next to Tags, then click Next again. Give your policy a name, then click Create policy.
Create a CloudCannon IAM user
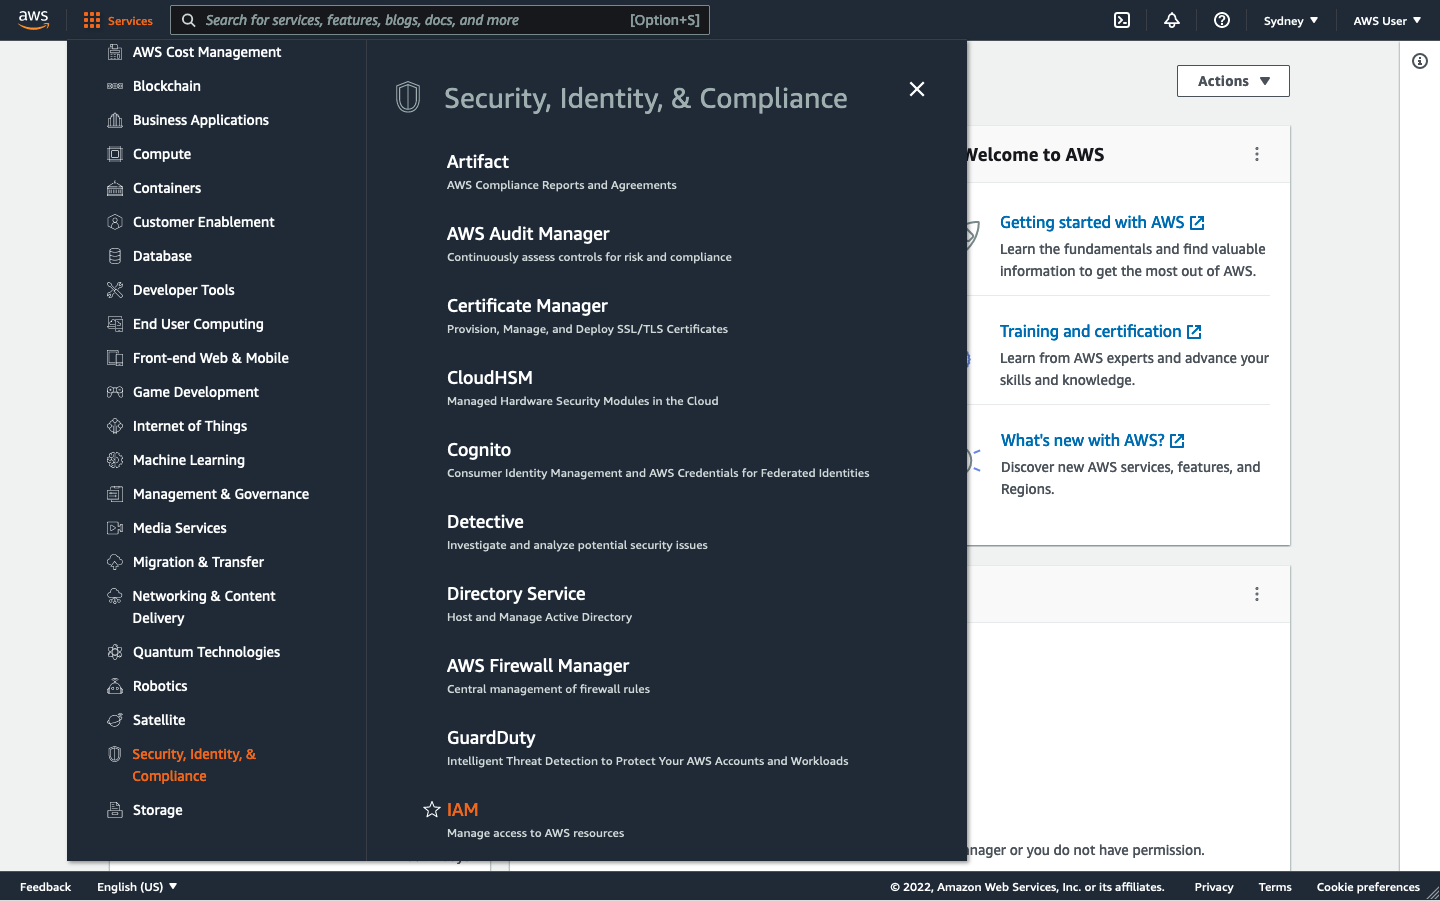
Open the AWS Services menu and navigate to Security, Identity, & Compliance / IAM.
In the Sidebar, navigate to Access management / Users, and click Add users in the top right of the page.
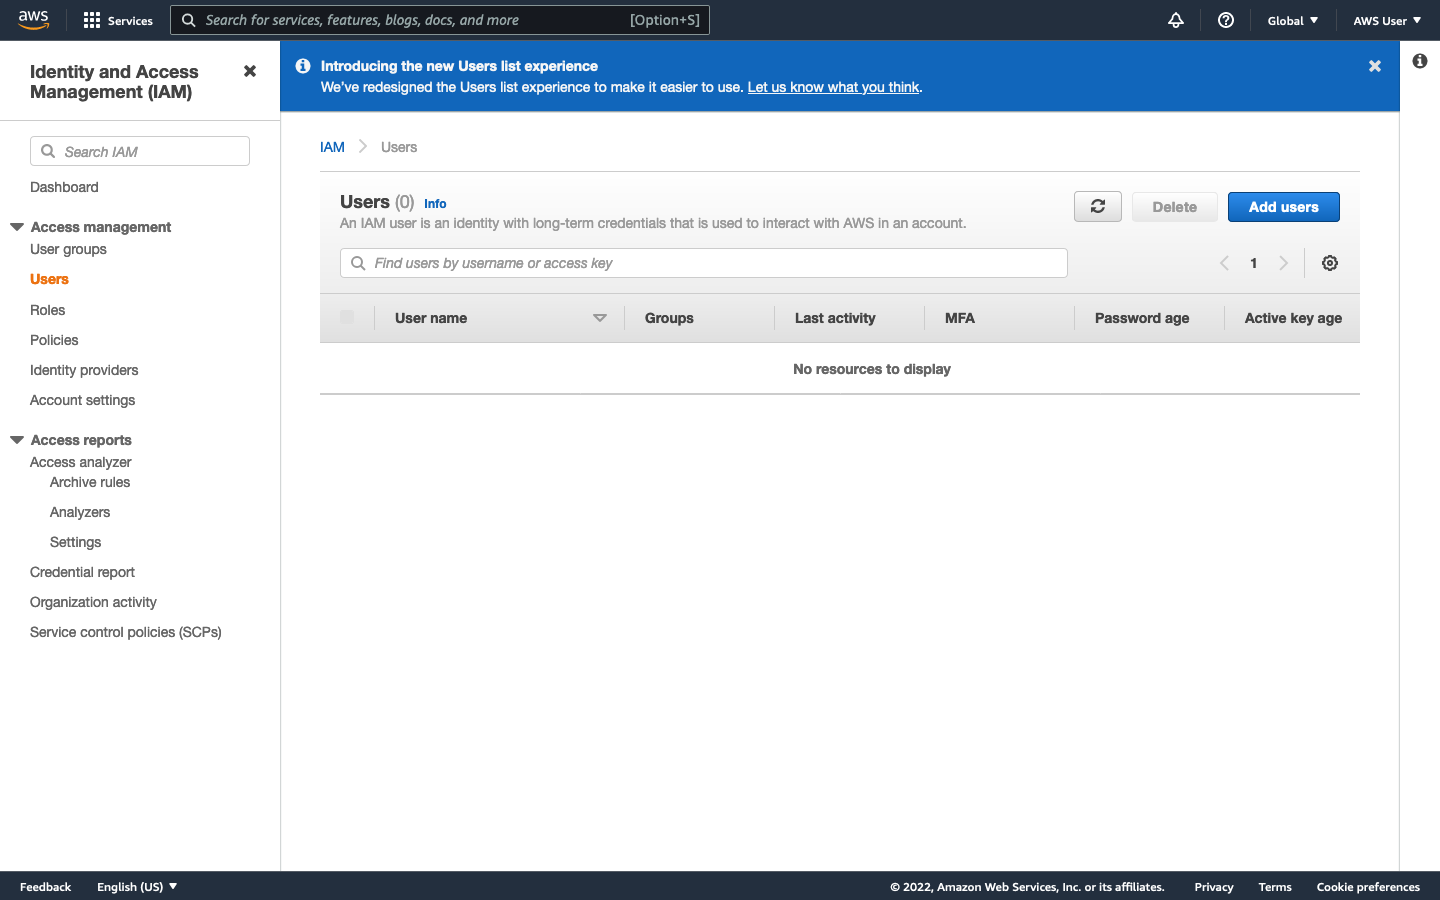
Give the user a name (such as CloudCannon). Set the AWS credential type as Access key - Programmatic access, then click Next: Permissions.
On the next page, click Attach existing policies directly. locate the policy you created earlier, select it by ticking the check-box, then click Next: Tags, then Next: Review. Finally, click Create user.
Take note of your Access key ID and Secret access key. Once you leave this page, you will not be able to view the secret key again. You can recreate your access key + secret if you lose it.
Creating a new access key and secret
For security reasons, you may want to periodically change your access key. To create a new key, open your IAM user in the IAM console, and go to the Security credentials tab.
Under Access keys, click Create access key. A modal will open with your new access key and secret. Once you close this modal, you will not be able to view the secret again.
To remove an access key, first click Make inactive, then click Deactivate in the modal. Then, click the x attached to the respective key. In the modal, enter the key ID in the input field, then click Delete.
Connecting your DAM to CloudCannon
Open your site settings in CloudCannon. Navigate to Files / Assets. Under Link DAM, select New DAM.
Choose Amazon S3 as your DAM type and enter a name - this will be used to identify your DAM in CloudCannon.
Set Base URL to the domain name of your CloudFront distribution or, if you chose to configure them, one of its alternate domain names.
Set S3 Bucket Name to the name of your bucket in S3.
Enter your Access key ID and Secret access key as your IAM Access Key and IAM Access Secret, respectively.
Click Authenticate, to save and close the modal, then click Link DAM.
Extra options
In your site settings, you can click the context menu on your linked DAM and select Settings to configure some extra site-level options.
The Extra Prefix option prepends a specified string to all asset paths when browsing and uploading assets. This is useful if you want to ensure that your site can only ever touch a specific folder in your DAM.