Cloudinary is a Digital Asset Manager (DAM) provider with an easy-to-use interface and a lot of powerful features. They have a generous free plan, making it a great tool if you're looking to experiment with asset management.
If you haven't already, sign up for a free Cloudinary account. Once you have an account, log in to your Cloudinary management console.
At the top of your Cloudinary console, navigate to Dashboard at the top of page. You should see a dashboard which lists your Cloud Name, API Key, and API Secret.
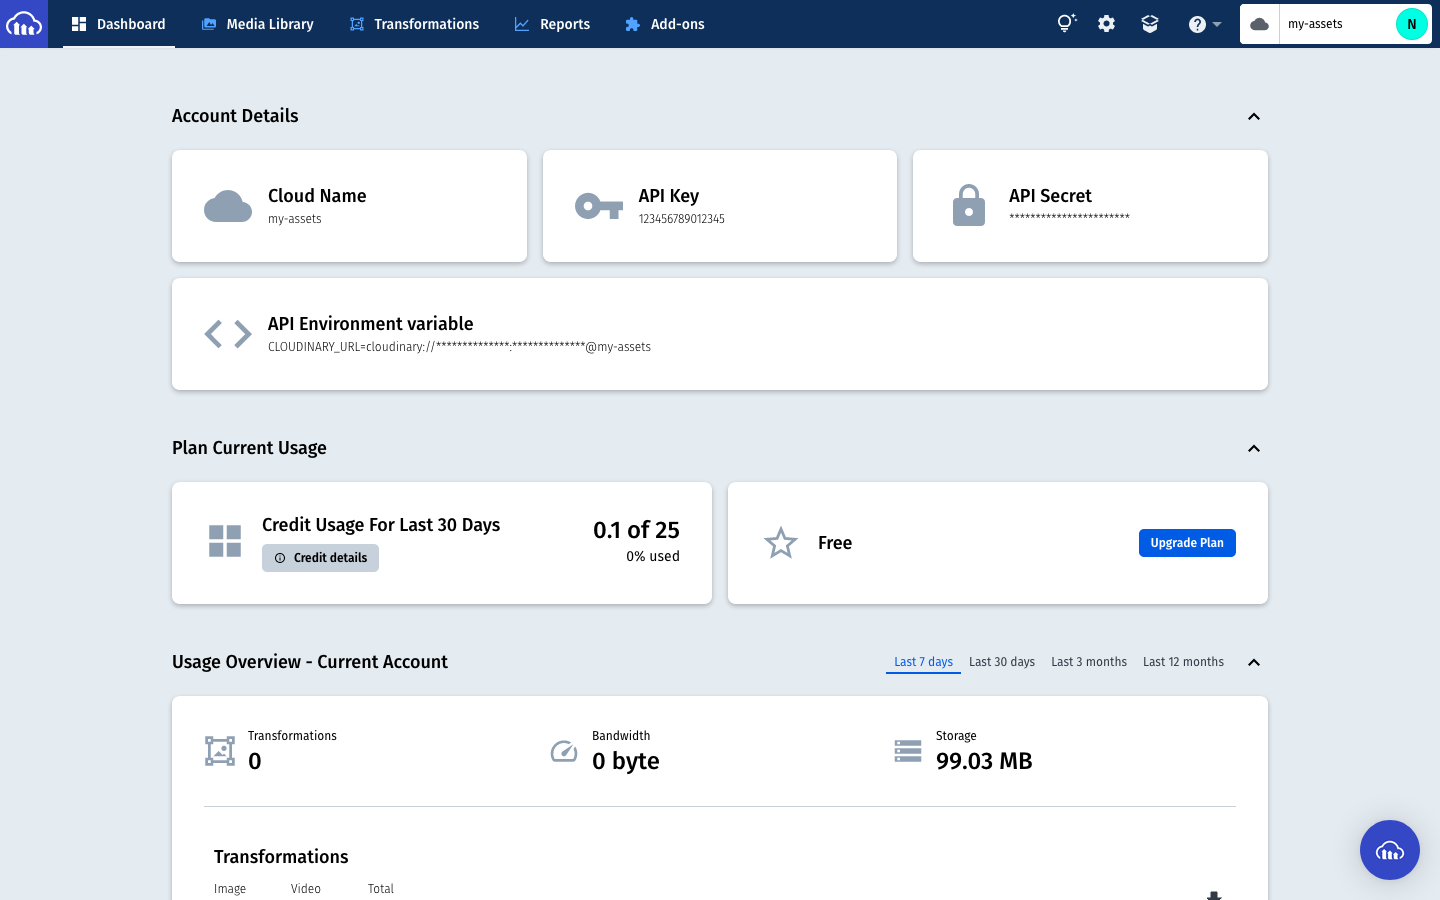
This page contains the necessary details to connect your Cloudinary DAM to your CloudCannon sites.
Authenticating Cloudinary
In a new browser tab or window, open your site settings in CloudCannon. Navigate to Files / Assets. Under Link DAM, select New DAM.
Choose Cloudinary as your DAM type and enter a name - this will be used to identify your DAM in CloudCannon.
In the Username field, enter your Cloudinary username. This is the email address that you used to sign up to Cloudinary.
Copy the Cloud Name, API Key, and API Secret from your Cloudinary dashboard into the respective fields in CloudCannon.
Under Advanced options, the Asset browser option determines how your Cloudinary assets are displayed and navigated in CloudCannon.
- If you Use Cloudinary widget, the Cloudinary widget will open. This gives you access to the advanced filtering options that Cloudinary provides.
- If you Use CloudCannon asset browser, the normal CloudCannon browser will open, populated with your Cloudinary assets. This is useful is you need to restrict the available assets to just the path specified by the Folder option described above.
If your Cloudinary account uses a custom delivery hostname, paste the full hostname into the Custom Delivery Hostname field to ensure the correct URLs are generated. If you are using a private CDN, check the Private CDN checkbox.
Once you have filled out all the fields, click Authenticate to save and close the modal.
If all went well, you should now be authenticated with your Cloudinary DAM. Next, you'll want to connect it to one or more of your sites.
Link Cloudinary to your site
In your site settings, you can click the context menu on your linked DAM and select Settings to configure some extra site-level options.
The Uploads locked checkbox can be used to prevent uploads to your DAM from within CloudCannon.
Upload presets are configured in Cloudinary, and define how new assets are saved. Copy the name of an uploads preset from Cloudinary into the corresponding form field in CloudCannon to use that preset when a new asset is uploaded. Read more about upload presets for Cloudinary here.
The Use upload preset to determine upload location option ensures that only the upload preset determines the filename and path of a newly uploaded file. This means that CloudCannon configuration options like dam_uploads and dam_uploads_filename have no effect for this DAM, and editors cannot choose which folder a new file is uploaded to. It is best to disable this option unless you want all uploaded files to go to the location determined by your upload preset.
The Omit Cloudinary params checkbox can be used to omit the optional URL parameters provided by Cloudinary when saving URLs. Normally Cloudinary URLs include parameters in the middle of the URL corresponding to the asset type, delivery type, transformations, and versioning of the delivered asset. If this option is checked, URLs will be saved simply as https://res.cloudinary.com/<cloud_name>/<public_id>.<extension>. This may be useful if you want to add these parameters in your SSG's templating.
The Folder field determines which Cloudinary folder will be opened by default when a user browses existing assets from the DAM. Note that this should not begin with a leading slash.
Finally, click Link DAM to connect the DAM to your site.