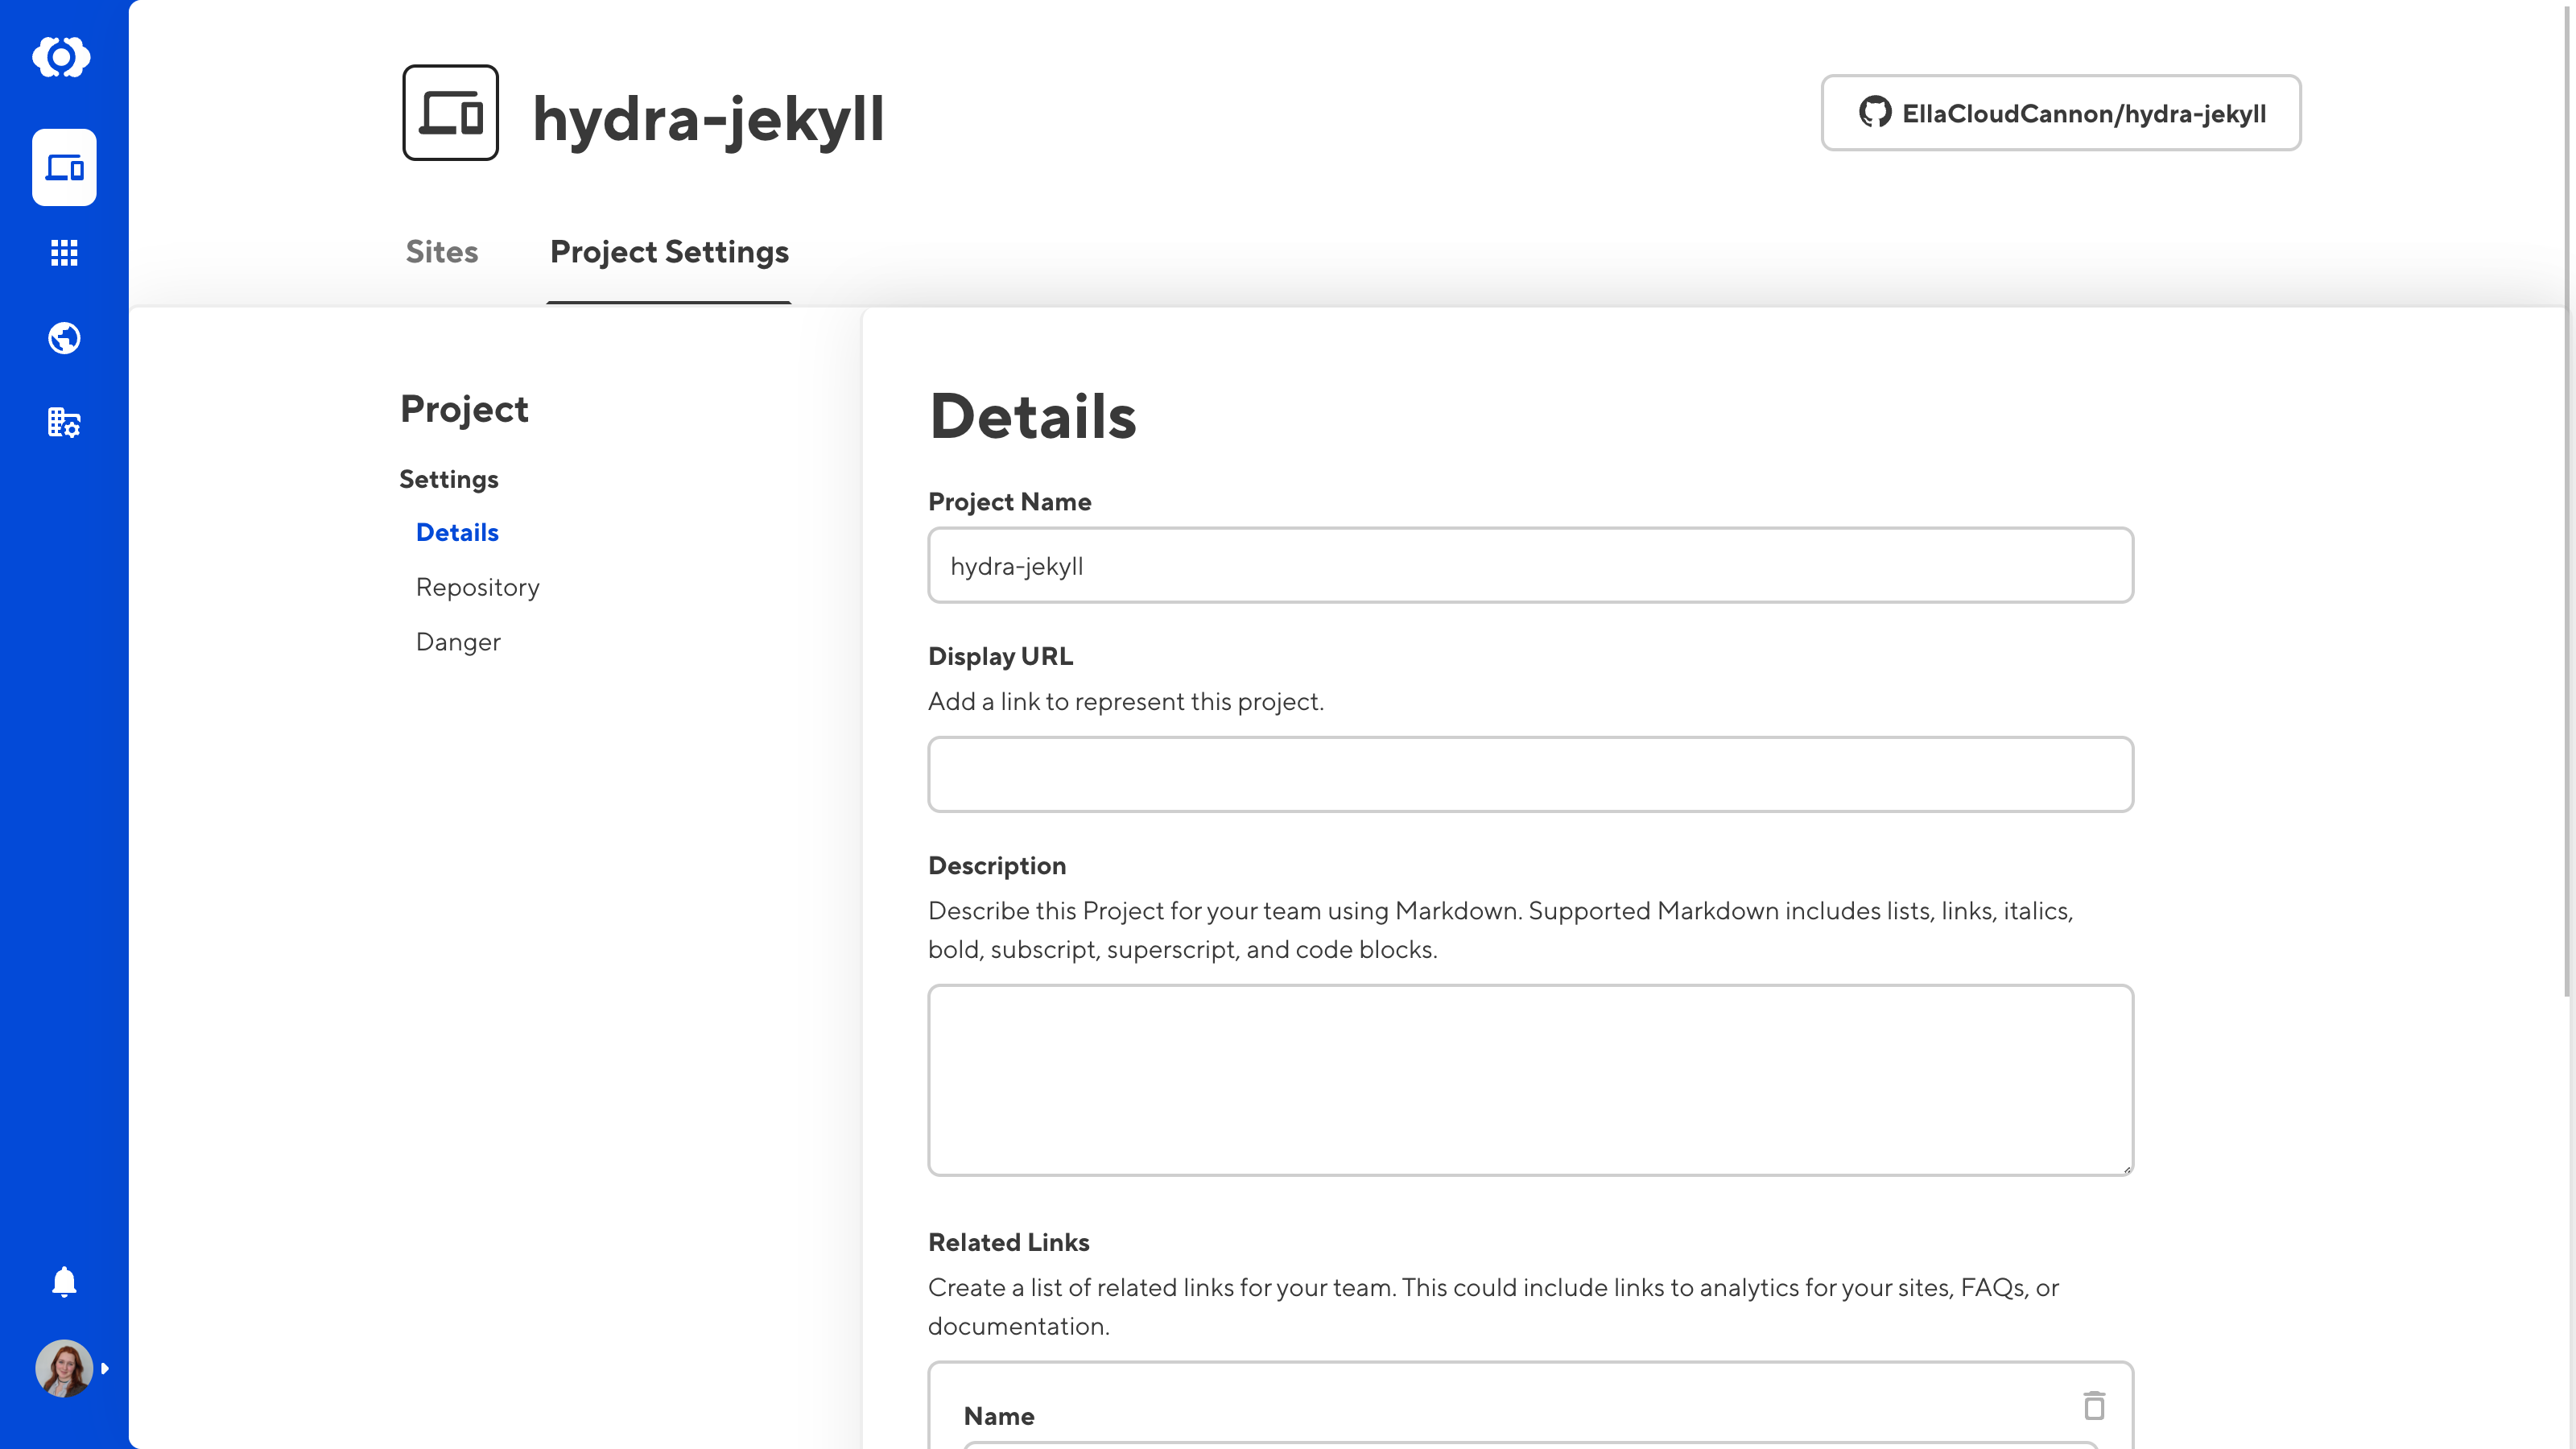
Adding Related Links to your Project page is a great way to make common tasks quicker for your team. You can use these links to navigate to external resources, like analytics, documentation, FAQs, or often-used parts of the CloudCannon app.
Manage your Related Links:
- Navigate to your project and go to the Project Settings tab.
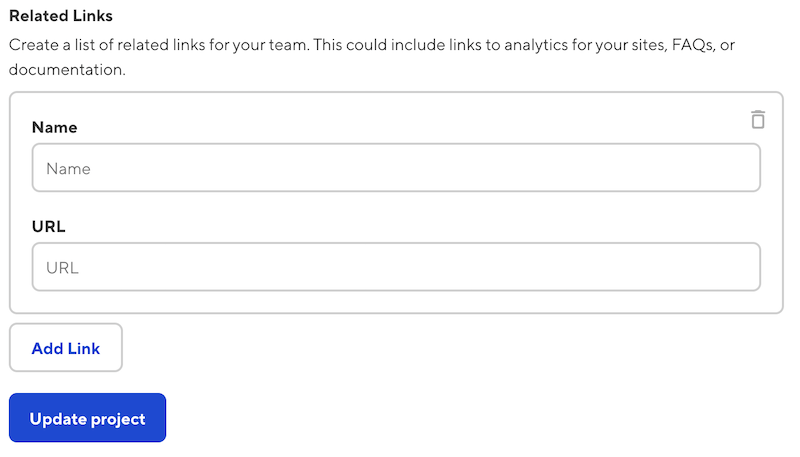
- Scroll to the Related Links section. Click Add Link to add as many links as you require.
- Enter a display name for the link in the Name field.
- Type or paste your desired link into the URL field.
- Click Update Project. Your link will display at the top of your Project page, underneath the project description (if applicable).
- If you need to remove a link, click the Delete icon in the top right of the link.
Common uses#
Here are some ways you might use Related Links.
CloudCannon includes your organization ID and site ID in URLs. If you use a CloudCannon URL in your Related Links, some team members may be unable to access that link if they do not have the correct permissions for both the organization and the site.
Link to a collection#
Let’s say we want to add a button on our Project page for our team to create a new blog post. We can add a Blog Collection to our Related Links.
- Navigate to a collection on your site.
- Copy the URL shown in your browser.
- As described above, navigate to your project and add a Related Link.
- Paste the copied URL into the URL field. In the Name field, type something descriptive (e.g., ‘Add new blog post’).
Team members can now go from the Project page to the Blog Collection page in one click.
Link to the publishing tab#
In this example, our site has two main branches: Production and Staging. To catch errors before they go live, team members merge into the Staging branch before the Staging branch merges into Production.
We want to add a button on our Project page to merge Staging into Production. We can add a Publishing tab to our Related Links.
- Navigate to the Publish page on your site (read more about creating a branched site).
- Copy the URL shown in your browser.
- As described above, navigate to your project and add a Related Link.
- Paste the copied URL into the URL field. In the Name field, type something descriptive (i.e., ‘Publish [branch-name]’).
Team members can now go from the Project page to the Publish page in one click.
If your branched site is set to delete when merging, this link will become invalid once the site is merged. Read our documentation on how to toggle deleting after publishing.