Visual editing is a user-friendly way of updating your website files, allowing you to change your text, images, and arrays on a preview of your output webpage. The benefits of visual editing include providing a more intuitive experience (you can navigate around your website preview using links/buttons, as you would on the live version) and helping you make editing decisions in context with surrounding page elements.
In CloudCannon, you can use the Visual Editor to visually edit any file that outputs to an HTML webpage at build time.
Generating the preview of your webpage#
When you open a file, the Visual Editor displays a preview of your webpage, along with a sidebar on the left. But, where does CloudCannon get the preview?
CloudCannon generates a preview of all your webpages whenever you build your Site, allowing you to see the most up-to-date version of your website every time you use the Visual Editor.
A "build" is when CloudCannon converts all your Site files into a single, functional website. Building on CloudCannon is optional, but is required for specific features, such as the Visual Editor, preview screenshots for output files in your Collection Browser, and the Testing Domain and Custom Domain.
CloudCannon uses a CI/CD (Continuous Integration/Continuous Delivery) system. Every time you trigger a build of your Site, CloudCannon will:
- Download your files onto our server.
- Run your selected install commands (e.g.,
npm install,bundle install). - Run your selected build commands (e.g.,
npm run build). - Index your output files.
- Upload your output files to CloudCannon to generate previews in the Visual Editor, Testing Domain, and Collection Browser screenshots, and deliver them to your live Custom Domain (if you are hosting with CloudCannon).
For more information about Site builds, please read our documentation on builds in general, configuring your first site build, or consider following our Set up Visual Editing guide.
Editable regions, data panels, and the sidebar#
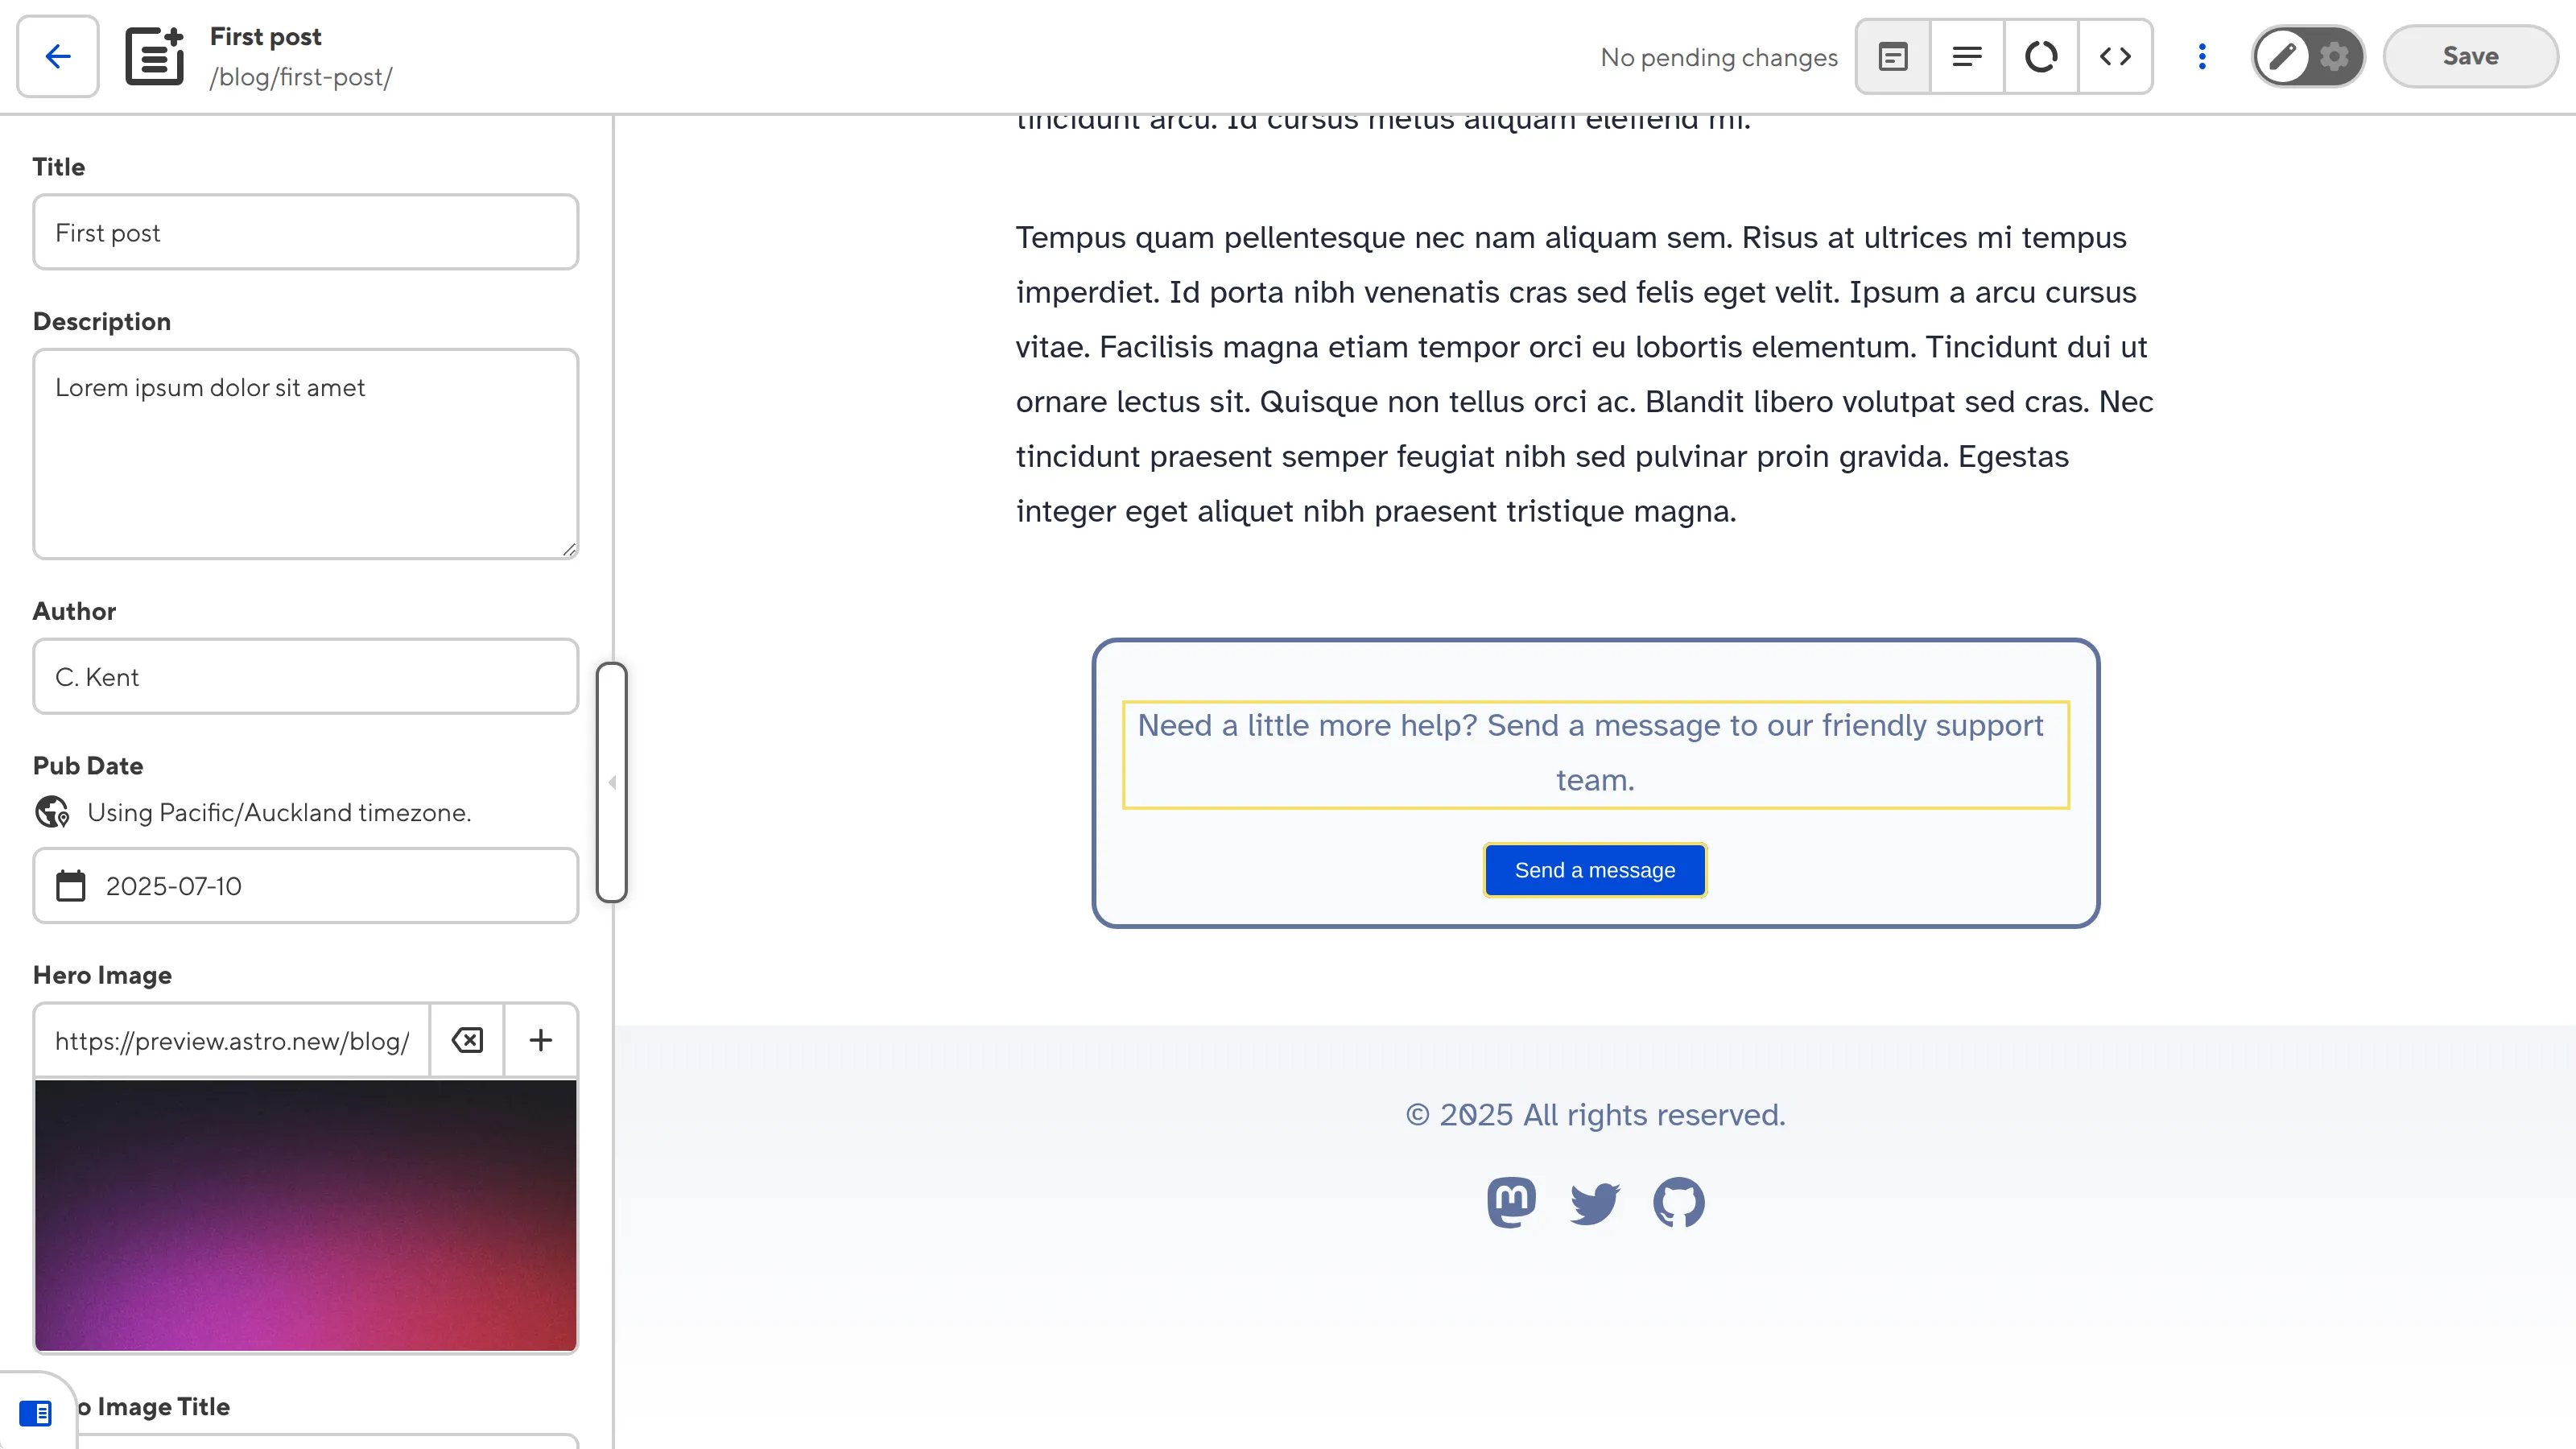
There are several ways to edit your files in the Visual Editor: inline using editable regions on the preview of your webpage, with data panels for data that is not visible on the webpage, or using Inputs in the sidebar.
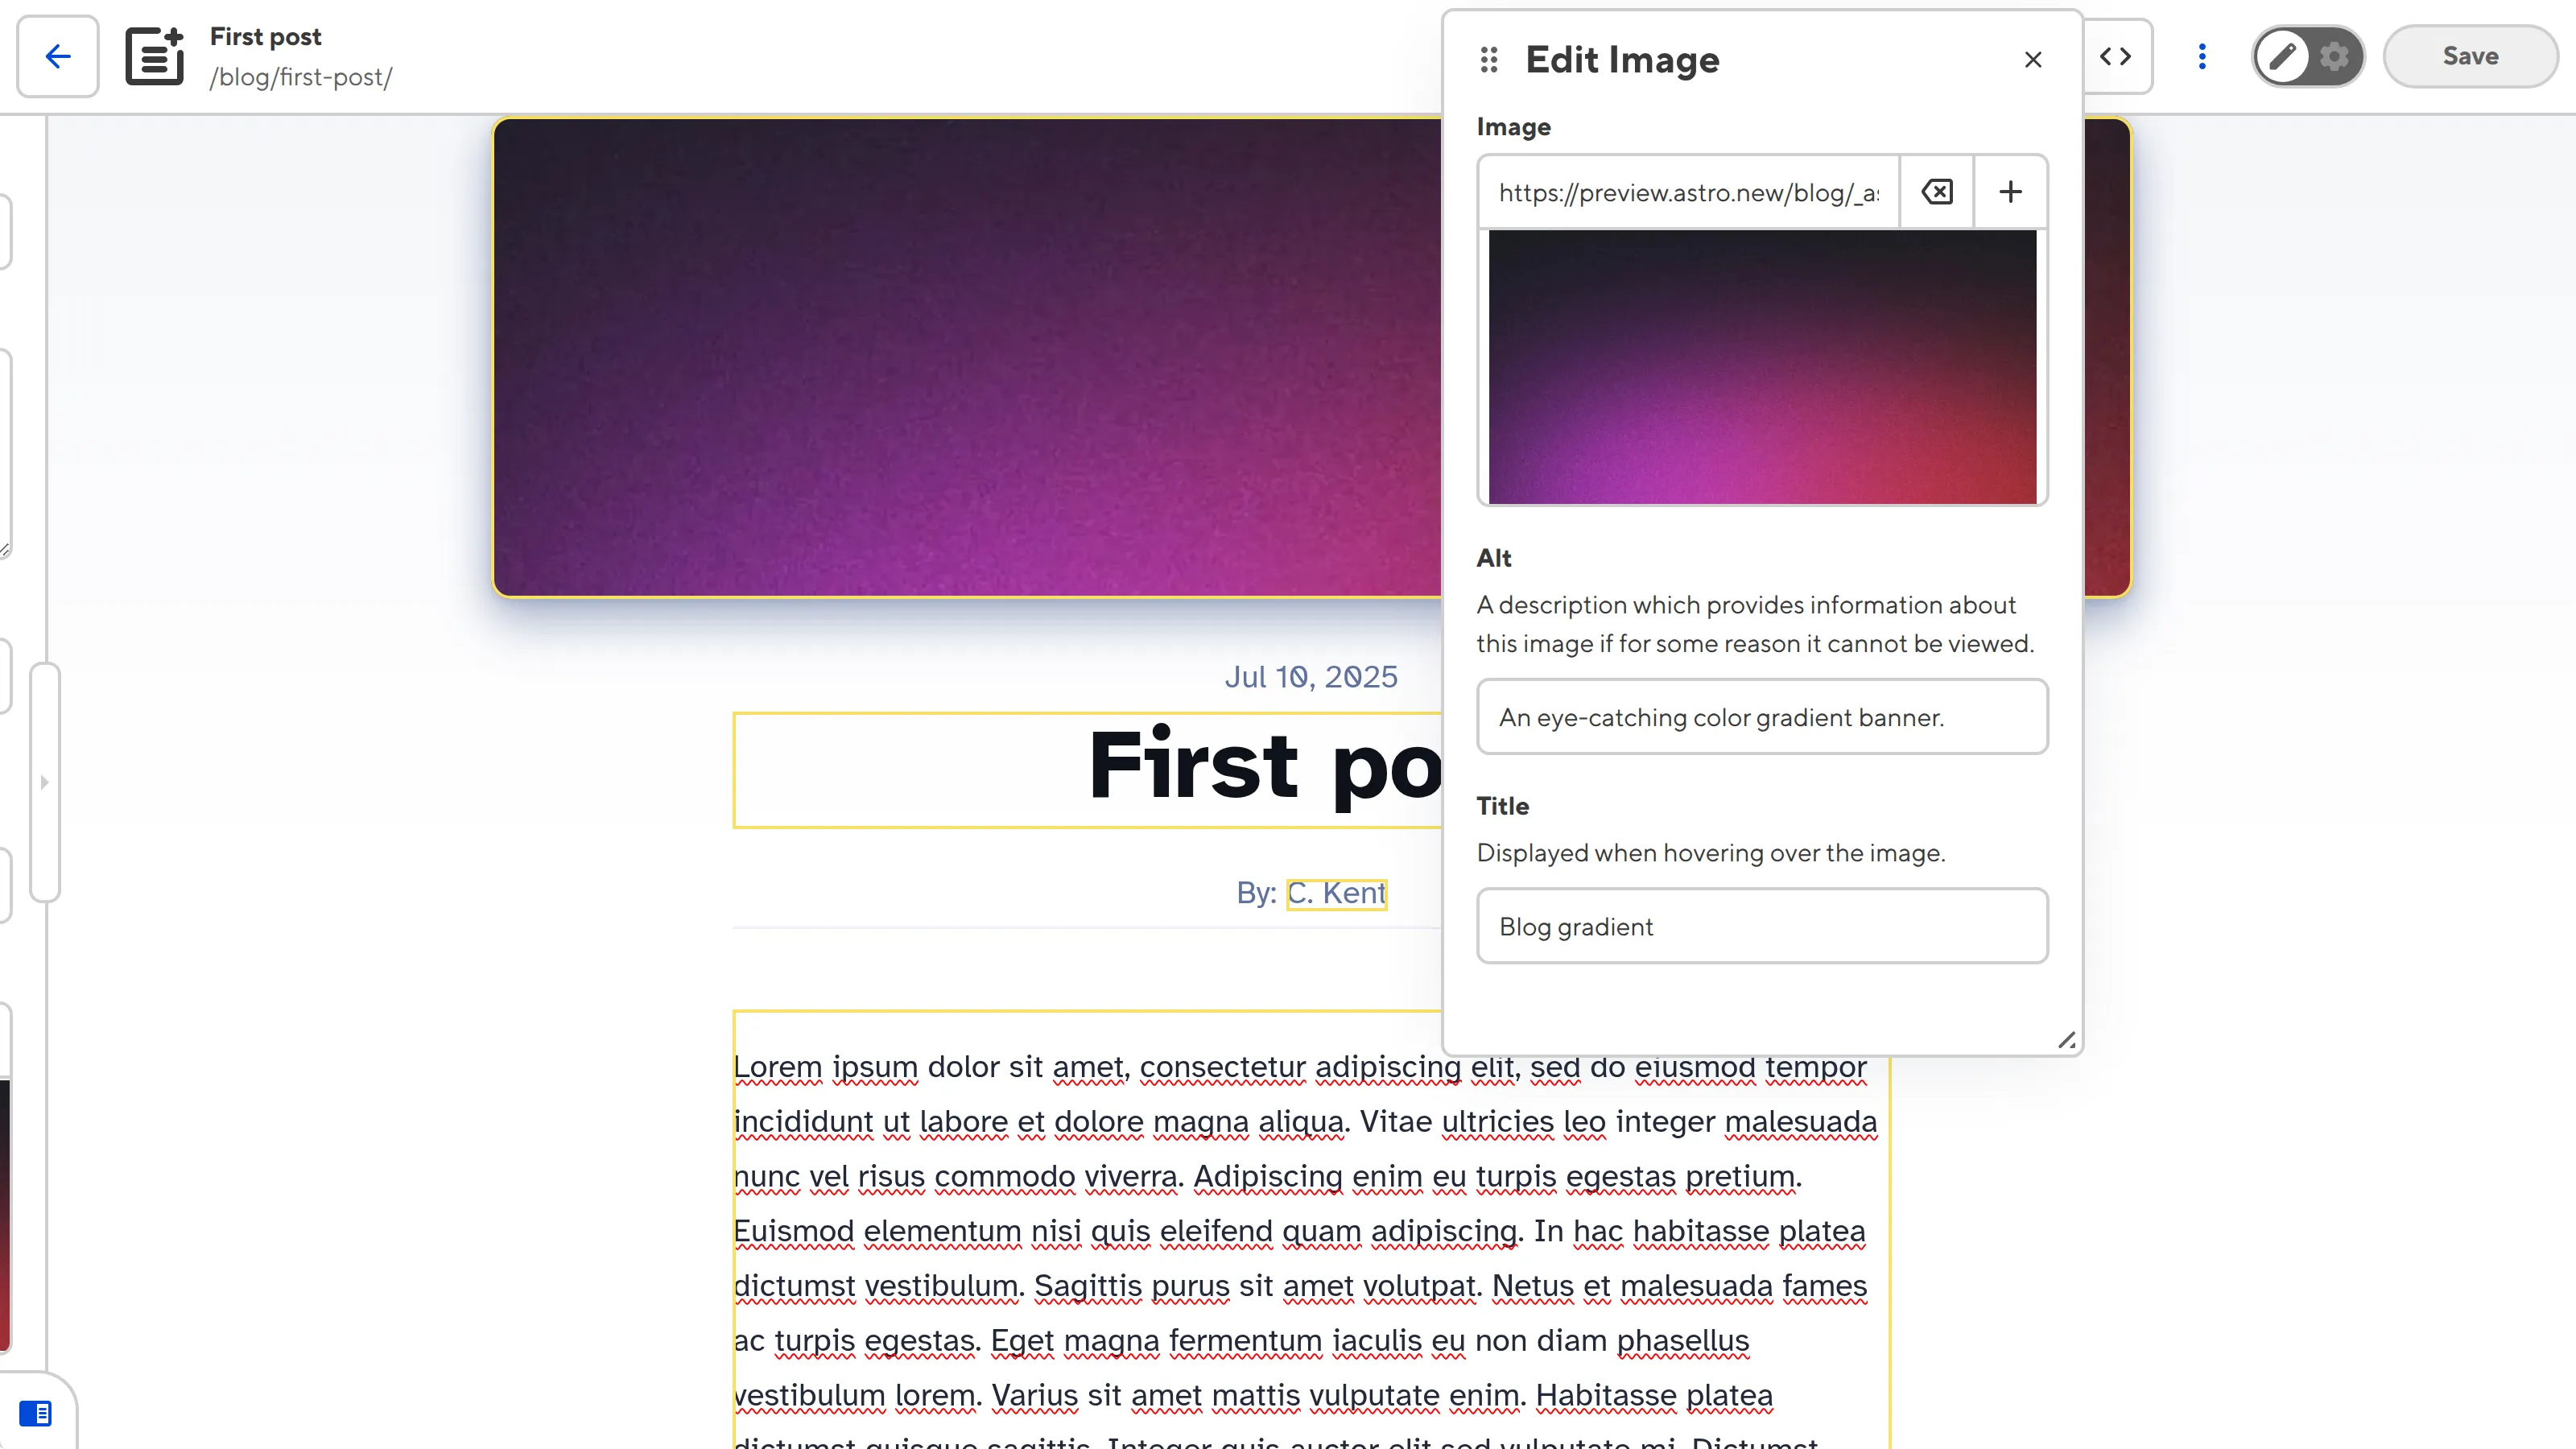
You can define which content you want your team to be able to edit inline by adding Editable Regions to your files. In the Visual Editor, Editable Regions are signified by a yellow box around a piece of content. If you have several Editable Regions near each other on your page, CloudCannon will show you the boundary of your region by turning the border green when you click or hover it.
Clicking into an Editable Region will have a different result depending on the type of content it contains. CloudCannon will show a WYSIWYG toolbar for rich text, open a data panel for images, and provide tools for editing array items.
Data panels enable you to edit data that is not visible on your page, and therefore cannot be edited in-line. A good example of this is the path, alt text, or title of an image. You can move these data panels around your screen to ensure they don't cover the content you need.

Finally, the sidebar of the Visual Editor provides Inputs for editing any structured data keys related to your webpage. You can open and close the sidebar as you need, giving you the option to see more of your webpage preview.
When you change the value on an Input in the sidebar, the preview of your webpage in the Visual Editor will immediately update to match the new value. The same will happen if you update the content of an Editable Region connected to a structured data key in your sidebar.
If you have not configured your Inputs, CloudCannon will attempt to determine the correct editing interface for your data using the Input value and key name.
