There are two steps to creating a schema: creating a schema file and referencing your schema in your collection configuration.
To create a schema file:
- Navigate to the folder where you would like to store your schema using the File Browser. We recommend creating a “Schemas” folder in your
.cloudcannonfolder. - Create a schema file with the same file extension as your collection files.
- Add front matter and Markdown content to create a template.
- Save your file.
Here is an example of a schema file for an article:
---
title:
author:
image: /images/header.png
---
In this article, we will discuss...
To reference a schema in your collection configuration:
- Navigate to your global configuration file and open it in the Source Editor.
- Within the
collections_configkey, find the key for the collection where you want to reference this schema. - Identify the
schemaskey, or create one. - Add the path to your schema file under
default, thenpath. - Save your changes to the global configuration file.
Here is an example schema configuration:
collections_config:
  articles:
    schemas:
      default:
        path: .cloudcannon/schemas/post.md
{
  "collections_config": {
    "articles": {
      "schemas": {
        "default": {
          "path": ".cloudcannon/schemas/post.md"
        }
      }
    }
  }
}
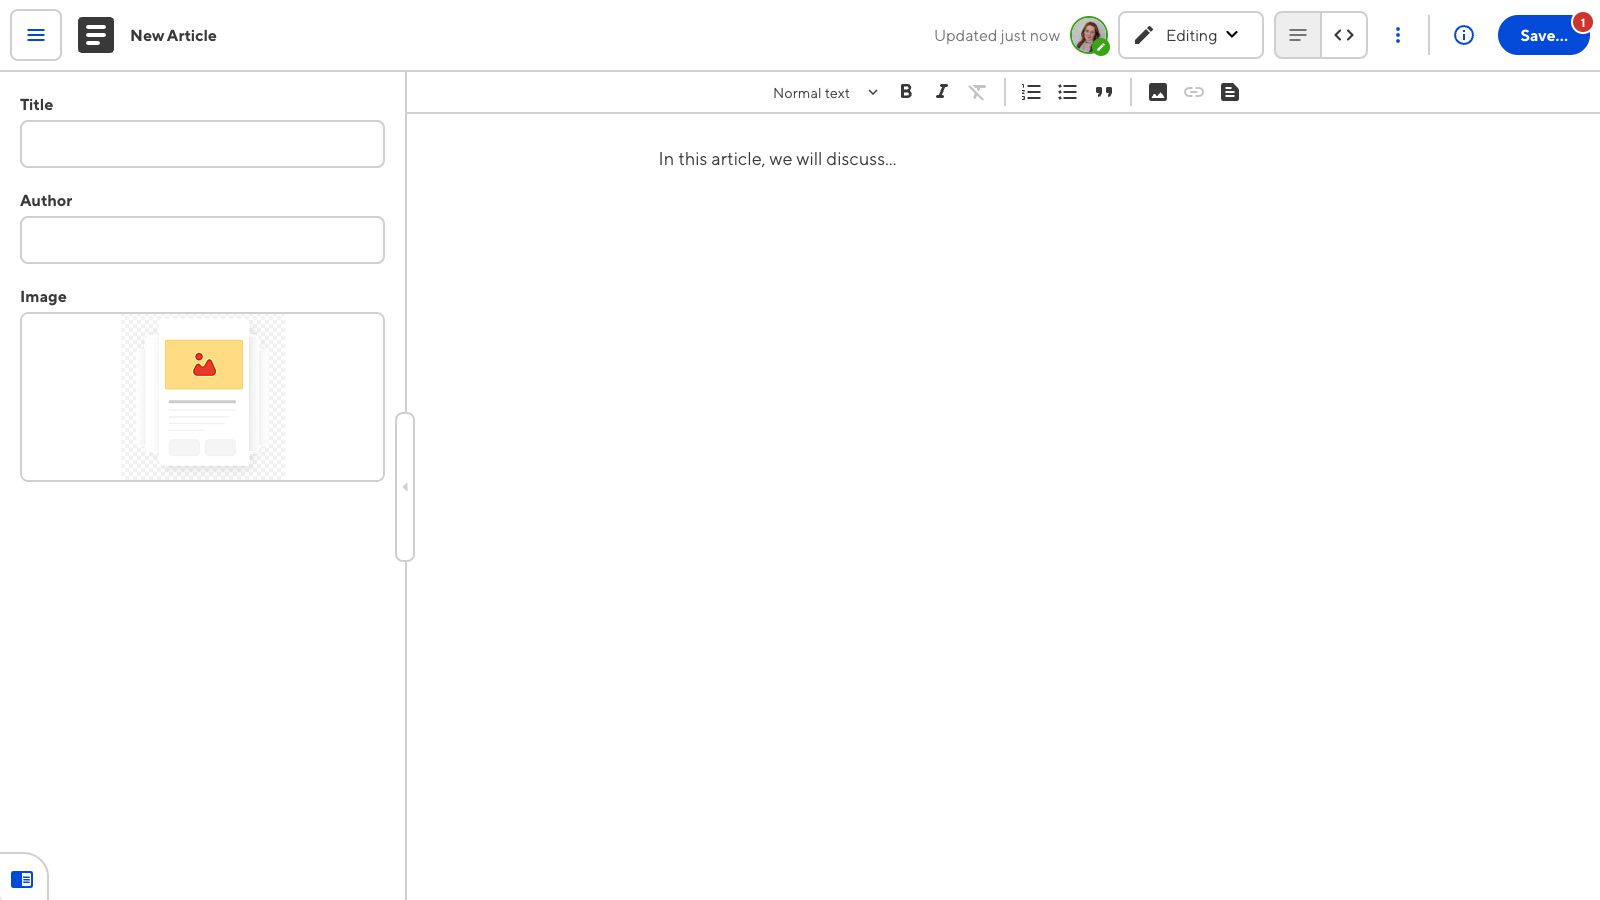
The above code references the schema post.md from the collection articles. This schema will populate new collection files with the title, author, and image inputs. The image input already references an image path as part of the initial file contents. It will also start the Markdown content with the sentence: "In this article, we will discuss..."
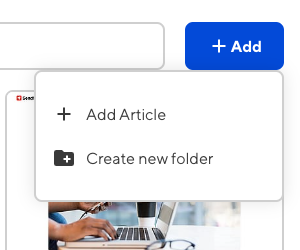
Once you save the global configuration file, clicking the + Add button in the top right of your collection browser will show that schema as an option in the dropdown menu.

Here is how the new article looks in the Content Editor.

When you create a file using a schema, a hidden _schema input is added to the front matter of that file. This input is visible in the Source Editor but hidden in the sidebar of the Visual or Content Editor, and contains the name of the schema a file uses.
---
_schema: default
title:
author:
image: /images/header.png
---
In this article, we will discuss...
If you add a file to a collection with no schema referenced in the front matter, editing that file in an editing interface will add _schema: default to the front matter.
Configuring a default schema is optional. If you do not want files with no defined schemas to update, do not configure a default schema.
Reference multiple schemas in a collection#
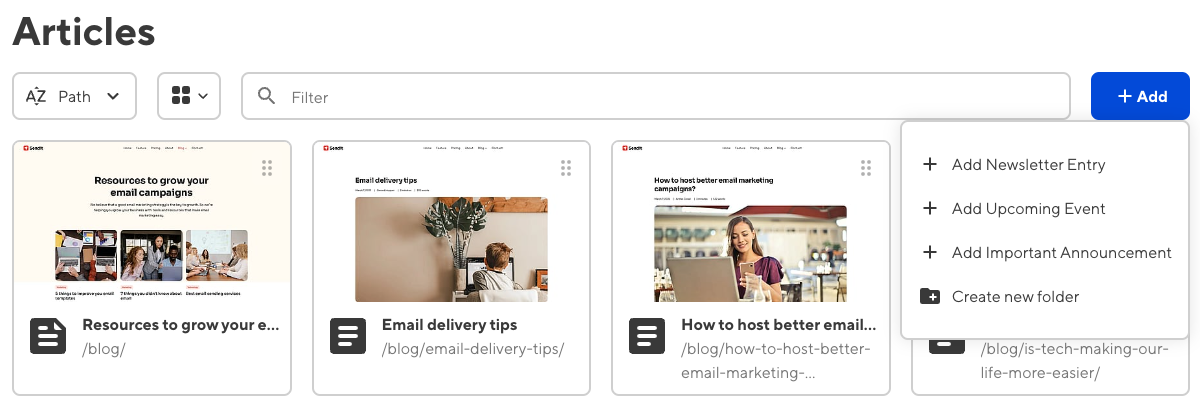
You can create and reference multiple schemas in a single collection. Multiple schemas will appear as more options in the + Add button dropdown menu. By referencing multiple schemas in the same collection, you can create a list of file templates for you and your team.
You can also reference a schema in multiple collections. This will help you to keep content that uses the same template consistent across collections.
Here is an example:
collections_config:
  posts:
    schemas:
      default:
        path: .cloudcannon/schemas/news.md
        name: Newsletter Entry
      events:
        path: .cloudcannon/schemas/events.md
        name: Upcoming Event
      announcements:
        path: .cloudcannon/schemas/announcement.md
        name: Important Announcement
  staff:
    schemas:
      default:
        path: .cloudcannon/schemas/announcement.md
        name: New Staff Announcement
{
  "collections_config": {
    "posts": {
      "schemas": {
        "default": {
          "path": ".cloudcannon/schemas/news.md",
          "name": "Newsletter Entry"
        },
        "events": {
          "path": ".cloudcannon/schemas/events.md",
          "name": "Upcoming Event"
        },
        "announcements": {
          "path": ".cloudcannon/schemas/announcement.md",
          "name": "Important Announcement"
        }
      }
    },
    "staff": {
      "schemas": {
        "default": {
          "path": ".cloudcannon/schemas/announcement.md",
          "name": "New Staff Announcement"
        }
      }
    }
  }
}
In this example, we have the schemas for news.md, events.md, and announcements.md available for the collection called posts. The announcements.md schema is also available for the collection staff, where it is the default schema.
We have also used the name key to modify the name of the schema in the + Add button dropdown menu. You can use the name key to provide context if you use the same schema in different collections.

Schemas create new files with the same file extension as the schema file. If you need to, you can reference schemas with different file extensions from the same collection to create different file types.
Update an existing schema#
Schemas help you keep your collection files consistent. When you edit a file in a collection, CloudCannon checks that the inputs in the front matter match its defined schema. Updating a schema file by adding, removing, or reordering inputs will also update your collection files the next time you open them in an editing interface.
CloudCannon does not update all existing collection files automatically when a schema changes. Each collection file will be updated when you next open it in an editing interface (excluding the Source Editor).
Let's go over an example.
We run a local news website. Our news collection has a default schema with inputs for each post's category, author, and title. Here is our default schema and an existing news post:
---
category: news
author:
title: My post
---
Add news story here...
---
_schema: default
category: news
author: John Simms
title: Local woman breaks the world record
---
Today, Irma Fisher broke the world record for holding her breath.

Ms Fisher, who has lived in the local area since birth, credits her achievement to swimming practice in the nearby lake.
We want to improve our posts by adding an image input and reordering the inputs for title and author. We have also noticed that our old schema has an input we no longer use.
In this example we want to add the input for image to our default schema, reorder our inputs so that title appears before author, and remove the input for category.
---
title: My updated post
author:
image: /images/posts/header.png
---
Add news story here...
---
_schema: default
title: Local woman breaks the world record
author: John Simms
image: /images/posts/header.png
---
Today, Irma Fisher broke the world record for holding her breath.

Ms Fisher, who has lived in the local area since birth, credits her achievement to swimming practice in the nearby lake.
When we save our updates to the default schema and open our news story in an editing interface, we see that CloudCannon has updated the front matter to match our schema.
The inputs for title, author, and image now appear in the updated order, and category has been removed. Reordering the author key has not affected its value in the collection file.
You can customize this behavior using the remove_extra_inputs, hide_extra_inputs, reorder_inputs keys. For more information, please read our reference documentation for schemas.
If you change the type of data stored in an input (e.g., switch from an object to a string or a string to a number), placeholder values in your schema will overwrite the values in your collection file.