Looking for an alternative to Netlify CMS or Decap CMS?

If you’ve been looking for an alternative to Netlify CMS (now renamed Decap CMS) for your Hugo, Eleventy, Jekyll, Gatsby, Next.js, NuxtJS, Astro, SvelteKit, or MkDocs static sites, CloudCannon is here to help. CloudCannon is a Git-based headless CMS which powers thousands of websites for Fortune 500 companies, digital agencies, freelance developers, and global businesses.
Like Decap CMS, CloudCannon is Git-based, so your site files are always securely stored in your GitHub, GitLab, or Bitbucket repositories. CloudCannon also offers a wide range of content editing options, from our intuitive Visual Editor to the Markdown-centric Content Editor, as well as the Data Editor and Source Editor for quick access to all of your site files.
CloudCannon shares many similarities with Decap CMS, making for an easy migration for both developers and content editors alike. This post details how key Decap CMS features and concepts translate to CloudCannon, and guides developers through the steps they will need to take to make the transition.
Our team of developers is available now to help with migrating your static sites over to CloudCannon. We’d love to chat about your use case, and show you more of what CloudCannon has to offer — feel free to get in touch with any questions, or book a no-obligation demo call.
Key CloudCannon features Direct link to this section
Visual editing Direct link to this section
CMSs exist to help non-technical editing or content teams manage a website’s contents. And the more simple editing experience a CMS can provide, the more your editing teams will be empowered to make their content updates without the help of a developer.
Decap CMS offers a basic preview functionality. CloudCannon, by contrast, provides real-time live previews and visual editing across your entire site. CloudCannon puts the editor’s experience first and foremost, with a fully-featured Visual Editor that developers can configure for optimal editing.
With CloudCannon, content writers can write and update content directly on their websites, as well as work collaboratively in teams — what could be more intuitive than that?
Component page building Direct link to this section
Markdown is fantastic, but it can be restrictive when it comes to complex marketing content, especially if content editors or clients prefer a visual approach. That’s where using components — which can be pieced together to build a page — are a great help. On CloudCannon, components are called structures. You start by defining a label and the data fields in your component, and you’re free to use the full range of field types available on CloudCannon; you can even nest structures! Once configured, editors can use these components to easily build pages by assembling their content in intuitive blocks.
Git-based Direct link to this section

Just like Decap CMS, CloudCannon is a Git-based CMS, with support for GitHub, GitLab, and Bitbucket. But where Decap requires more manual setup, CloudCannon handles branching, merging, and publishing content without requiring editors to know Git.
All changes in your repository automatically sync to CloudCannon, and all changes editors make will commit back to the repository. We give all editors the full power of Git when it comes to drafting, reviewing, and publishing — all without needing to know exactly how Git works. Editors on CloudCannon can create copies of sites by branching to make large-scale changes, then review their content on staging sites, and publish by a branch merge or pull request at a later date.
Hosting included (but entirely optional) Direct link to this section
All sites on CloudCannon have access to reliable, high-performance hosting through our partner Cloudflare. But if you’re already using Netlify to host your production site, you don’t need to change your build and deploy settings — just connect CloudCannon to the same repository that Netlify uses. If you’d like to set up a staging environment for a pre-publication review process, our built-in hosting can be used before you pushing approved changes to your production site — but ultimately the choice is yours.
Support and maintenance Direct link to this section
Users of Decap CMS will often rely on community support and their own maintenance (with paid assistance available from the project maintainers). CloudCannon, by contrast, provides consistent professional support and has a dedicated team of engineers to handle both platform maintenance and feature requests from users. CloudCannon also offers comprehensive documentation, tutorials, and guides to assist new users.
Getting started with CloudCannon Direct link to this section
You can start testing CloudCannon and transferring your sites from Decap CMS in a few minutes:
1. Bring your own site files Direct link to this section
Like Decap CMS, CloudCannon is a Git-based CMS. To start, sign up to CloudCannon and from the Sites menu select “Use your own files.”
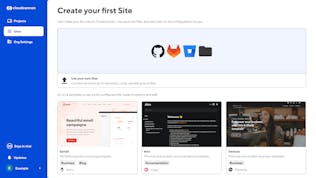
CloudCannon supports two-way Git syncing with GitHub, GitLab, and Bitbucket. Once you’ve selected your Git provider, you’ll need to authenticate it to CloudCannon.
From here, you'll want to select the repository and branch that is connected to your site on Decap CMS. If you want to test CloudCannon out without impacting the live Decap CMS site, select “Create New” in your branch setup to create a new branch. You can always merge it to your production branch at a later date.
2. Set up your SSG Direct link to this section
CloudCannon will automatically detect your SSG and set configuration details based on your file structure. Review this configuration and make any tweaks for your project.
You’re now ready to start configuring your editing. Otherwise, you can tweak your build options until you've got everything just as you want it. (And you can always reach out to our helpful support team if you need help with any steps along the way.)
3. Configuring CloudCannon Direct link to this section
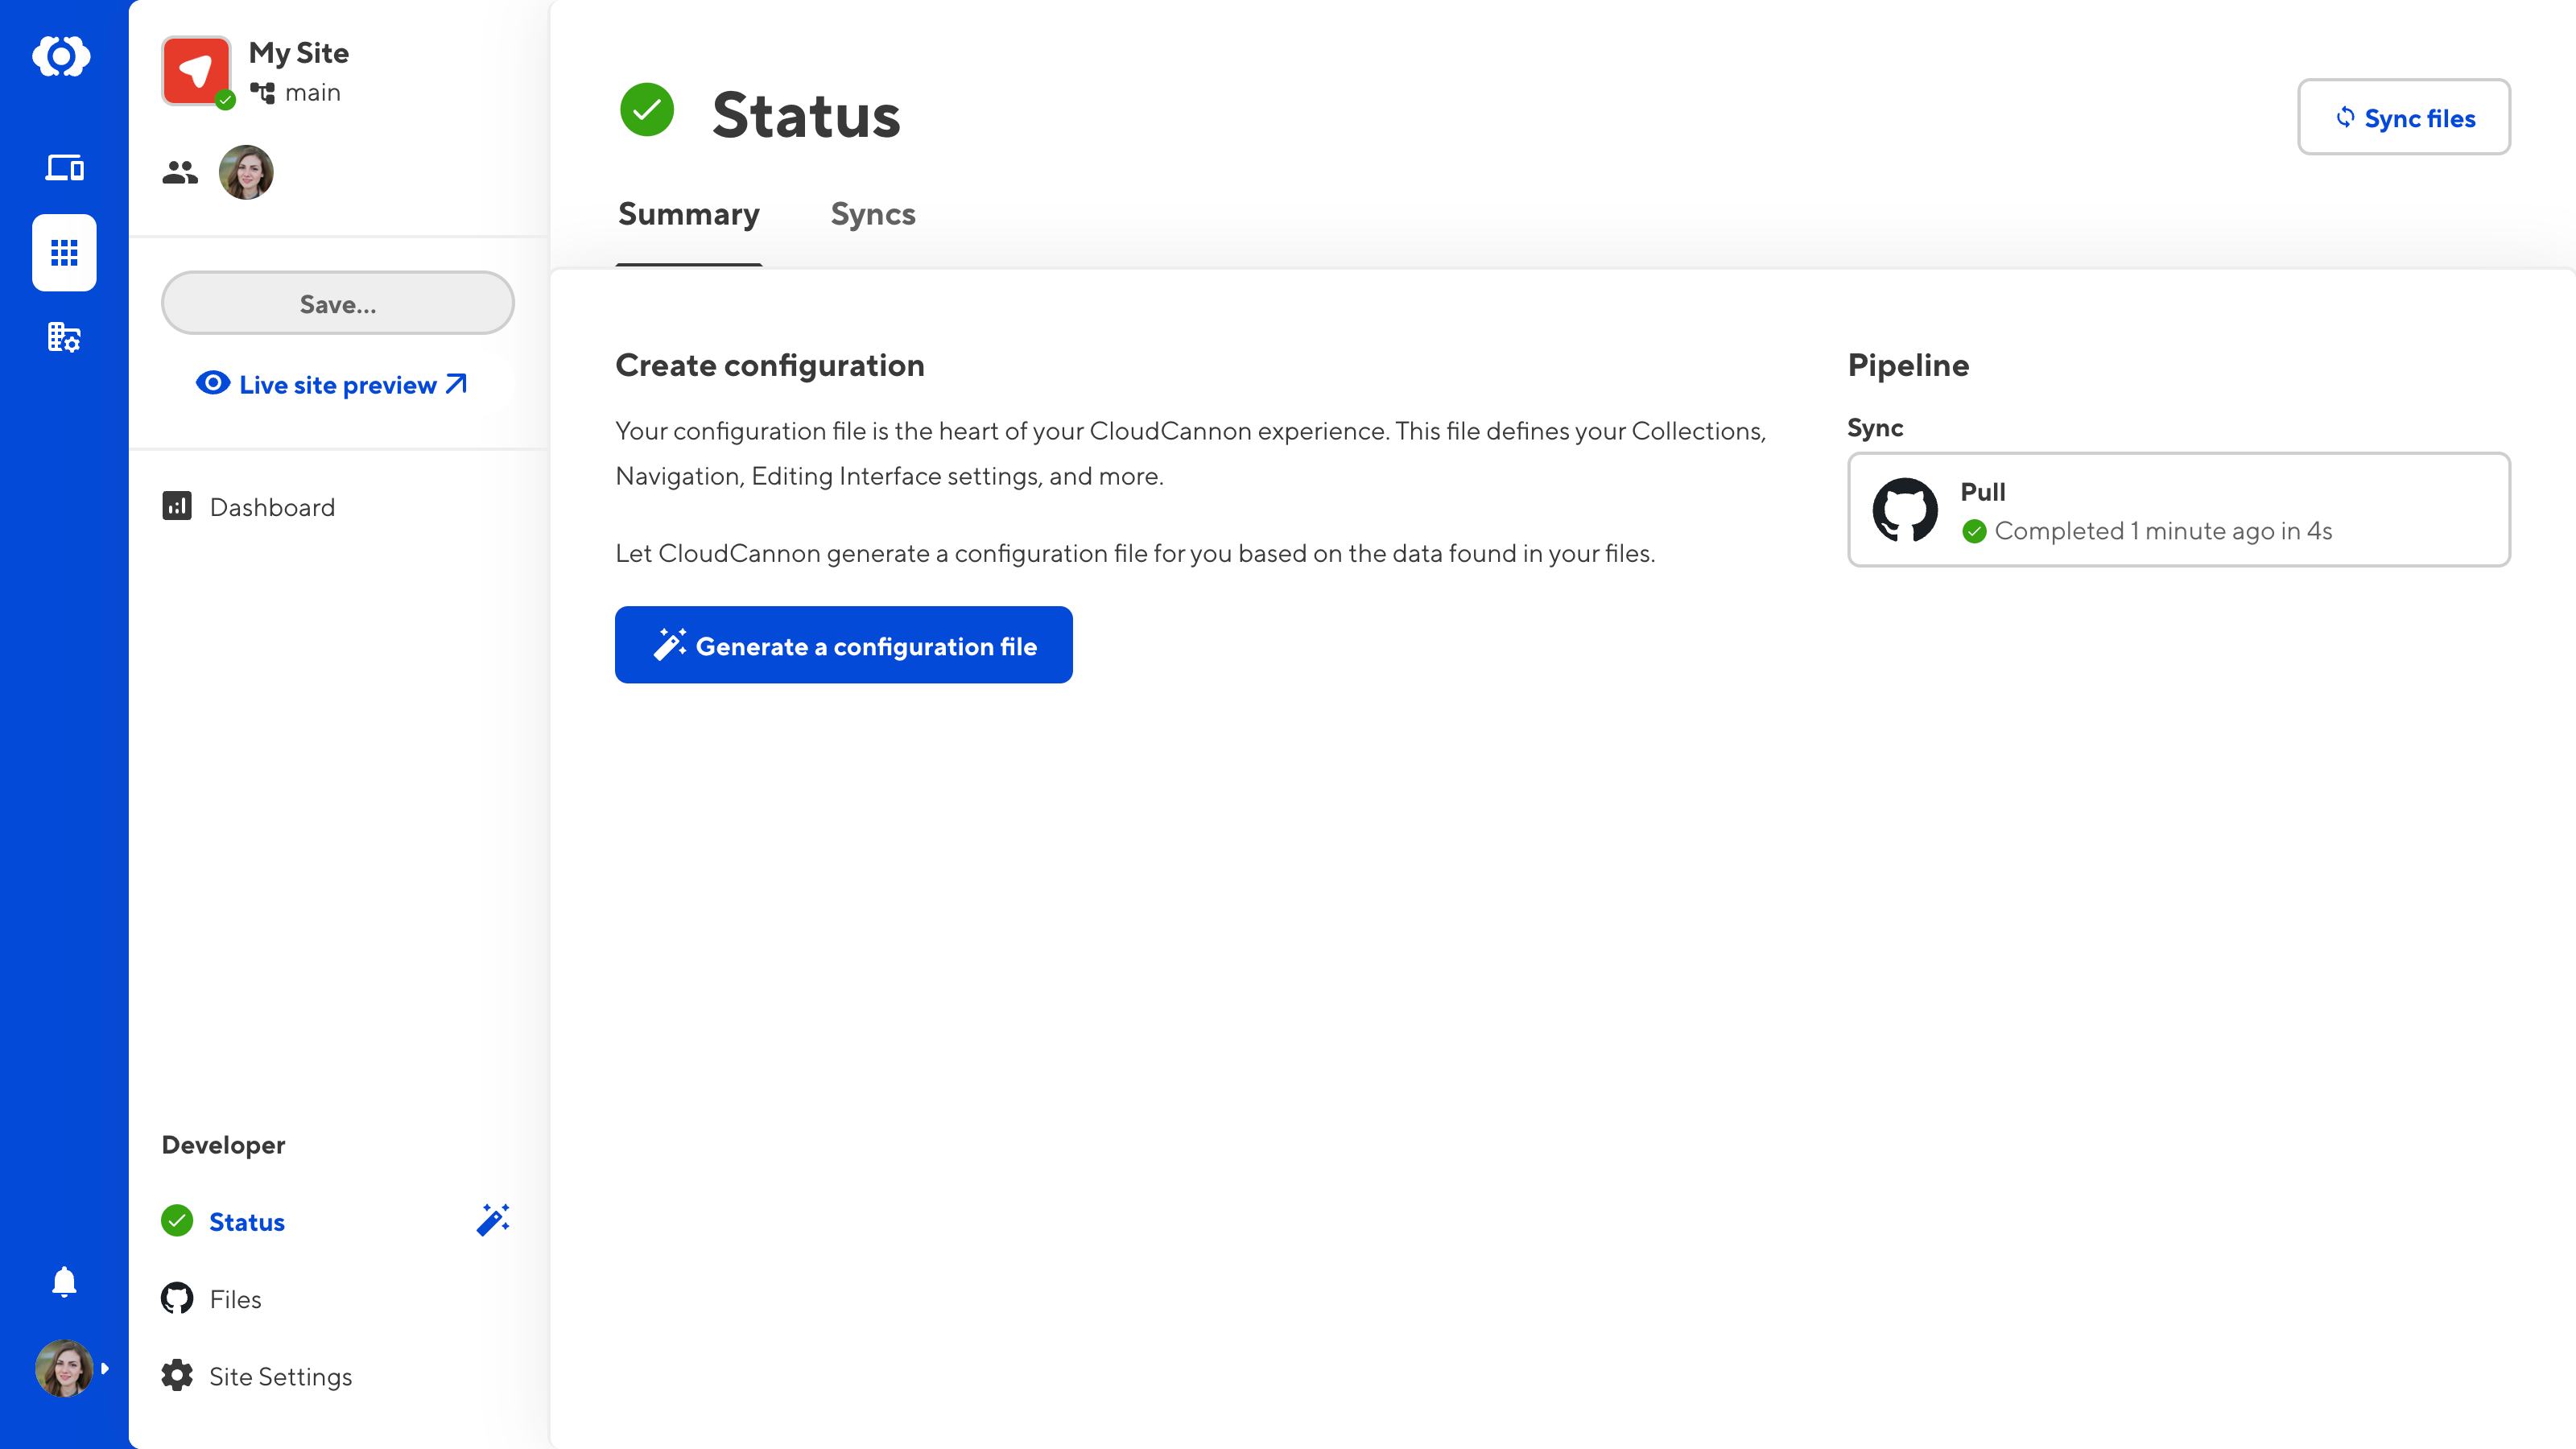
When you configured your site on Decap CMS, you will have set up and customized your CMS sidebar, media paths, and your content model. These settings will be stored in your Decap CMS config.yml file — usually stored in /admin/. CloudCannon stores these settings in a cloudcannon.config.* file (JSON, YML, and YAML are all supported), in your root directory.
CloudCannon can automatically create a cloudcannon.config.yml file for you, or you can create your own.
If you're creating your own, here’s how the major steps work on CloudCannon:
Set up content sections for the site sidebar
CloudCannon will automatically detect your pages, collections, and data files for most Hugo, 11ty, Astro, and Jekyll sites. In addition to this, you can customize the icon each content section displays with, the sort order, whether new items can be added, and other options to fine-tune the sidebar.
You can also define custom collections, choose which collections are shown in the sidebar, and override the automatic CloudCannon detection, if you’d prefer.
Some SSGs don’t have strong conventions around folder structure, so if CloudCannon can’t automatically detect your site content, your configuration should be straightforward, at a minimum defining the path to the content folder and name.
Set up correct paths for media and DAM files
By default on CloudCannon, files are uploaded to a folder called /uploads/ in your source directory; when a DAM is selected, files will be uploaded to /dam_uploads/ by default. You can override this with configuration to your own paths and even add your own variables like {date:year}, {date:month}, [collection], or {categories|slugify} to keep things organized.
CloudCannon configuration works as a cascade. You can set global defaults and override them for specific collections or files, which gives you complete control over how each file is edited.
Configure your content model
Your content model dictates how content editors manage all the structured content across the site. In Decap CMS, you will have built out your collections setting, which determines how content types and editor fields generate files and content.
CloudCannon has similar functionality with different terminology. There are three ingredients for creating flexible content models:
- Schemas — A template (markdown or HTML) that’s used to populate new files with your desired content model. Broadly similar in scope to Decap CMS’s collections setting within the
config.ymlfile. - Structures — Define your own components, each with their own content model. Content editors use these components to build, rearrange, and reorganize even the most complex pages.
- Inputs — Configure a wide range of options on your fields throughout your site. Use this to customize the editing experience of front matter and data files. Set the type, label, comment, and other options for a field that corresponds with a front matter field. Similar in scope to Decap CMS’s ‘Widgets’.
Conveniently, all default Decap CMS Widgets except Map have a corresponding Input type or option on CloudCannon:
| Decap CMS Widgets | CloudCannon Inputs |
|---|---|
| Boolean | Switch |
| Code | Code |
| Color | Color |
| Date | Date |
| Datetime | Datetime |
| File | File |
| Hidden | Hidden option |
| Image | Image |
| List | Array (plain) and Structures (configurable) |
| Map | No default equivalent (yet!) |
| Markdown | Markdown |
| Number | Number |
| Object | Object |
| Relation | Select and Collections |
| Select | Select |
Select (multiple: true) | Multiselect |
| String | Text |
| Text | Textarea |
A sample CloudCannon config file might contain the following:
# CloudCannon configuration
_inputs:
  title:
    type: text
    comment: The title of your page.
_select_data:
  colors:
    - Red
    - Green
    - Blue

# Base path to your site source files
source: src

# The subpath your built output files are mounted at
base_url: /documentation

# Populates collections for navigation and metadata in the editor
collections_config:
  people:
    # Base path for files in this collection, relative to source
    path: content/people

    # Whether this collection produces output files or not
    output: true

    # Collection-level configuration
    name: Personnel
    _enabled_editors:
      - data
  posts:
    path: _posts
    output: true
  pages:
    name: Main pages

# Generates the data for select and multiselect inputs matching these names
data_config:
  # Populates data with authors from an data file with the matching name
  authors: true
  offices: true

paths:
  # The default location for newly uploaded files, relative to source
  uploads: assets/uploads

  # The path to site data files, relative to source
  data: _data

  # The path to site layout files, relative to source
layouts: _layoutsOnce your config file is complete, you’re all set! Now let’s move on to making this site really sing, for everyone on your team.
4. Unlock intuitive editing and page building for clients and content teams Direct link to this section
We’ve created an open-source framework called Bookshop to speed up development and reduce maintenance for component-based websites. Bookshop natively supports the templating engines of Astro, Hugo, Eleventy, Jekyll, and SvelteKit, so it’s a small learning curve if you’re already using these SSGs. Its real magic comes with its tight integration with CloudCannon, which enables visual editing of content populated from front matter. If you’re getting started with CloudCannon, we’d highly recommend adding Bookshop to your workflow.
CloudCannon provides a basic level of editing by default. To fine-tune intuitive editing options for your content editors or client sites, depending on your use case and users’ technical abilities, you can look at the following configurable options:
- Inputs — Choose and configure the editing interfaces (Visual Editor, Content Editor, Source Editor, and Data Editor) for different content types.
- Structures — Create your own components, which editors can use to build their own pages.
- Editable regions — Add buttons and links to the visual editing interface to link to data in the front matter, collections or data files.
5. Invite your team Direct link to this section
Why use a CMS without a team to share it with? You can now invite everyone who needs access to the site, including clients, content editors, marketers, and developers. Guide them through the editing interfaces and they’ll be up to speed in no time.

6. Configure your hosting (optional) Direct link to this section
When a developer pushes a change to the repository or a content editor saves updated content on CloudCannon, CloudCannon automatically starts a build. When the build completes, it’s pushed to CloudCannon’s production-grade global hosting. All sites on CloudCannon come with their own generated domain name (in the format adjective-noun.cloudvent.net), which you can use as a testing or staging environment — or you can point your own domain at CloudCannon’s servers for your production website.
Welcome! Direct link to this section
We’d love to hear from you — and we’re always ready to talk about static sites. If you want to make sure CloudCannon can handle your use case or have questions about your migration, reach out to our team for a demo call and we’ll help you get set up.
Test your website on CloudCannon today
Give your content team full autonomy on your developer-approved tech stack with CloudCannon.