Hugo SEO Best Practices
 By Bryce Wray
Hugo is a popular static site generator used for a variety of blogs, marketing websites, and documentation websites. Search engine optimization (SEO) is often top-of-mind for these use cases, and there are many techniques you can perform on a Hugo site to improve your site’s ranking on the market-dominating Google and other search engines.
The basics of SEO Direct link to this section
The days of keyword-stuffing, spammy backlink schemes, and article-spinning to boost SEO are long behind us. Now, SEO essentially comes down to two imperatives:
- Structuring website content, including meta content, in a way that makes it easy for search engines to index.
- Creating high-quality, sharable content that answers the searcher’s query.
This tutorial’s primary focus is how to optimize a Hugo site’s content structure for how search engines work. As a developer, this is the item over which you have the most control (since the responsibility for content belongs to your content team, as we’ll discuss at the end). So let’s get into it.
Set the title Direct link to this section
The title is one of the most important things to get right for each page on the site. It’s the top line of what Google shows in search results:
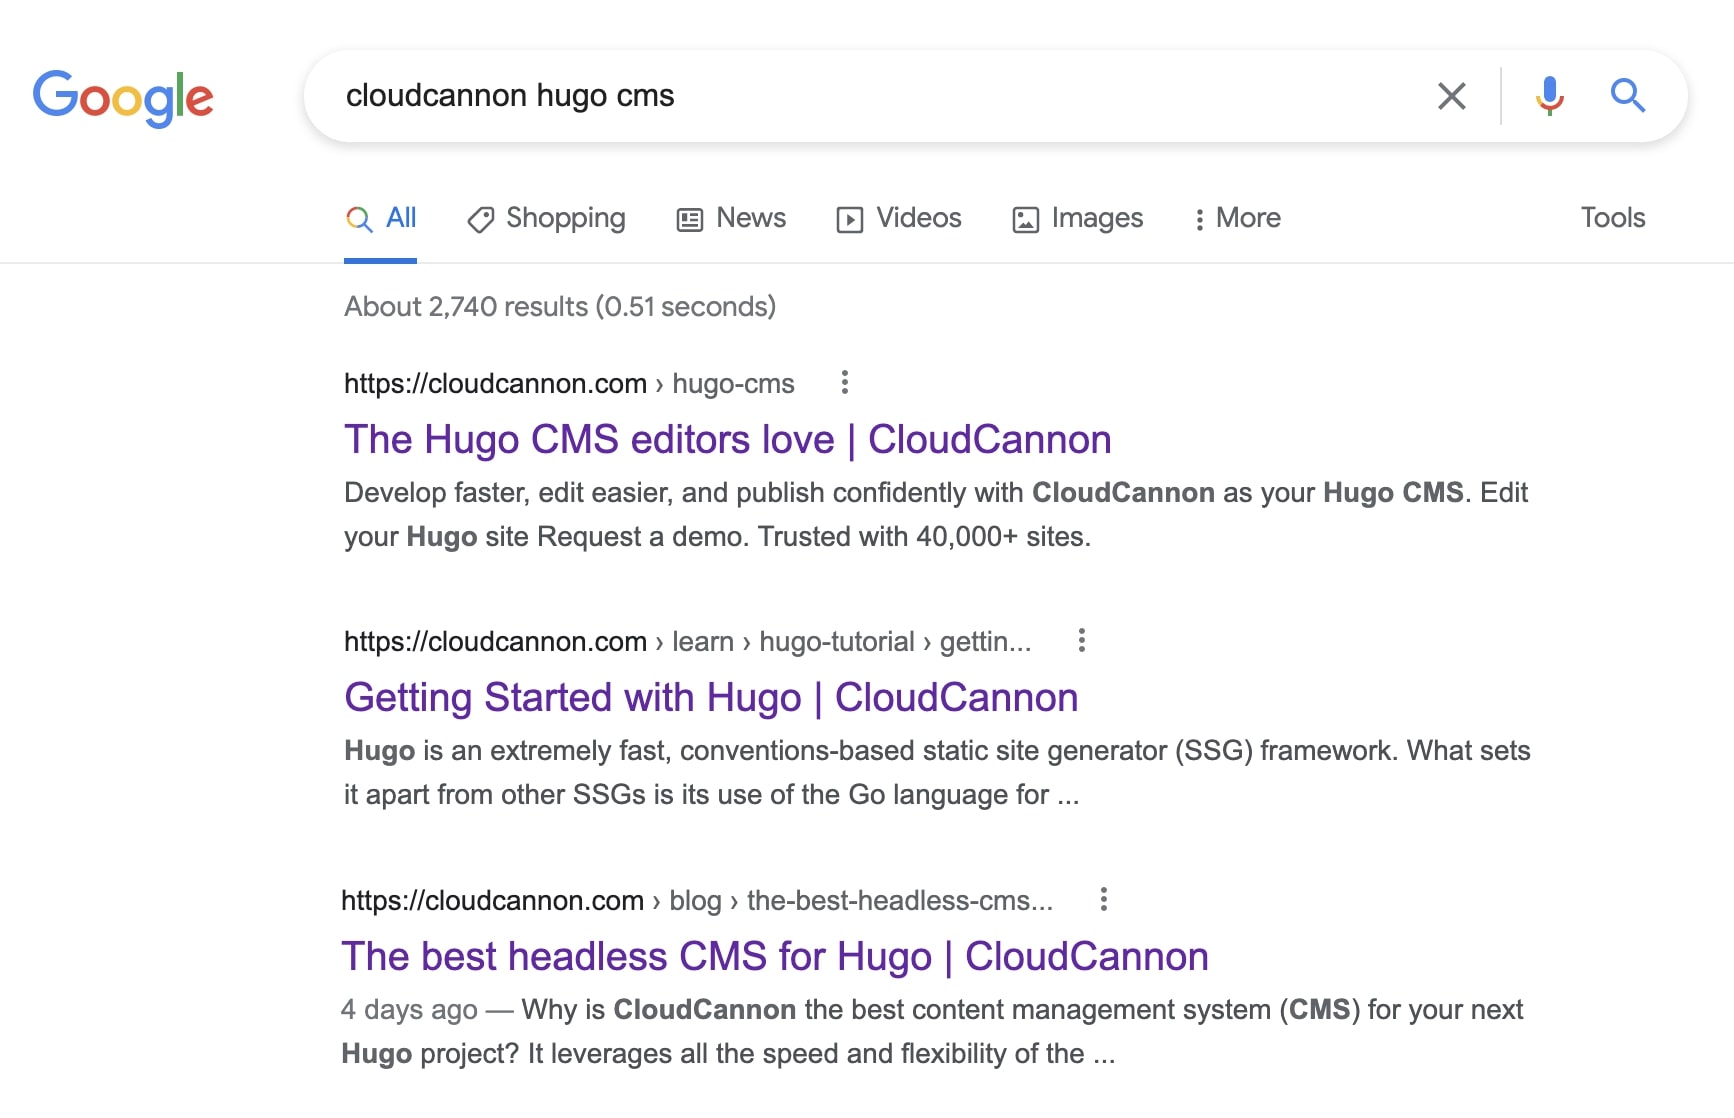
It’s also a key ranking factor for search engines, so any targeted keywords must be in the title. In Hugo, the configuration file — usually config.toml — will, by default, have a field where you can set the site’s global title:
title = "Penny's Pet Presents"Each content page also should have a title set in its front matter and, again, the title should include keywords you wish to target (Hugo supports front matter in YAML, TOML, and JSON formats, and we’ll use YAML-formatted front matter throughout this tutorial):
title: "Red dog chew toy"Then, to show the appropriate title in the layout, you can use conditionals:
<title>
 {{- if .IsHome -}}
   Home | {{ .Site.Title }}
 {{- else if .Params.hide_site_title -}}
   {{ .Page.Title }}
 {{- else if .Page.Title -}}
   {{ .Page.Title }} | {{ .Site.Title }}
 {{- else -}}
   {{ .Site.Title }}
 {{- end -}}
</title>
The if / else if / else conditionals are optional; here, we’re demonstrating the flexibility Hugo gives you to control the title from the front matter. In this example, if you set hide_site_title: true in a page’s front matter, the page’s title will be only the page title without any part of the site-wide title from config.toml. (Note: the dashes/hyphens within the Hugo curly brackets, like {{- or -}}, eliminate unnecessary white space in the resulting HTML.)
Set the meta description Direct link to this section
Usually, a web page’s meta description is what will appear in the body text for the page’s listing on search engines. Its length should be within a range of 150–160 characters, if possible, and 100 characters at the very least.
With a Hugo site, specify a site-wide description in config.toml:
[params]
  Description = "The place on the web where pet parents from around the world can find the perfect gifts for their furry, feathered, and finny pals of all shapes and sizes."
Each content page should have its own distinct description within its front matter:
description: "A red chew toy that any furry friend will enjoy, molded with our patented PennyPlastix technology to last through years of slobbery love."Then, to make sure each page has it, put this in a site-wide head in layouts/_default/baseof.html:
{{- if .IsHome -}}
 <meta name="description" content="{{ site.Params.Description }}" />
{{- else -}}
 <meta name="description" content="{{ .Params.Description }}" />
{{- end }}
This provides the site-wide description from config.toml for the home page and a page-specific description for any other page. Note that the .isHome variable above is true in the context of the homepage (i.e. your index.html page).
Set the canonical URL Direct link to this section
Setting the canonical URL helps guard against confusion from duplication of the content elsewhere (even on the same site). In essence, it tells search engines, “This location is what you should consider an authoritative, original source for its content.”
<link rel="canonical" href="{{ .Permalink }}" />If there will be instances when it’s necessary to override a page’s default permalink with a custom canonical URL, add a conditional to handle that via a field in the front matter. For example, perhaps the site has permission to use another site’s content as long as its HTML specifies the canonical URL for the content is at the other site. This could appear in the relevant page’s front matter:
canonical: https://en.wikipedia.org/wiki/DogThen, in the head:
{{- if isset .Params "canonical" -}}
  <link rel="canonical" href="{{ .Params.canonical }}" />
{{- else -}}
  <link rel="canonical" href="{{ .Permalink }}" />
{{- end }}
Use pagination meta tags Direct link to this section
Hugo makes paginating content simple, and there are some meta tags you can add to help search engines understand a site’s pagination pages.
First, add link rel="prev" to indicate the previous page in the set of pagination pages and link rel="next" for the next page. Then use absURL to add a canonical URL, so search engines will treat each pagination page as an individual page:
{{- if .Paginator -}}
 {{- if .Paginator.HasPrev -}}
   <link rel="prev" href="{{ .Paginator.Prev.URL | absURL }}" />
 {{- end -}}
 {{- if .Paginator.HasNext -}}
   <link rel="prev" href="{{ .Paginator.Next.URL | absURL }}" />
 {{- end -}}
{{- end }}
While Google ignores prev and next link relationships, the Bing search engine — the default search engine on Microsoft Edge — does use them to discover new pages (but not to group or rank them). They’re also useful for enhancing accessibility. We’ll get deeper into accessibility later in this tutorial.
Manage sitemaps Direct link to this section
By default, Hugo produces a standard sitemap, which appears at the website’s /sitemap.xml URL. This alerts search engines’ crawler bots to the site’s content. You may also want to set up an HTML sitemap, linked within site-wide navigation — perhaps in the footer — for visitors’ convenience, as mentioned earlier in the section about 404 pages. Here is just one example of a layouts/sitemap/single.html template for this purpose:
{{- define "main" -}}

<div class="sitemapDiv">
  <h1>Sitemap</h1>
  <h2>Main pages</h2>
  <ul>
    <li><a href="{{ site.BaseURL }}">Home page</a></li>
    <li><a href="{{ site.BaseURL }}about/">About us</li>
    <li><a href="{{ site.BaseURL }}privacy/">Our privacy policy</a></li>
    <li><a href="{{ site.BaseURL }}contact/">How to contact us</a></li>
  </ul>
  <h2>Products</h2>
  <ul>
  {{- range where site.RegularPages "Type" "articles" -}}
    <li><strong><a href="{{ .Permalink }}">{{ .Title | .Page.RenderString }}</a></strong><br />
    <span class="description">{{ .Description | .Page.RenderString }}</span></li>
  {{- end -}}
  </ul>
</div>

{{- end -}}
Create a helpful 404 page Direct link to this section
It doesn’t matter whether someone reaches the site’s 404 page because of miskeying, a page that really is missing, or some other reason; it’s important to customize your 404 page so that it doesn’t just announce the 404, but also provides some navigation to the rest of the site. And don’t redirect 404s to your home page; that’s a common mistake and a very SEO-unfriendly one, because it sends the wrong signal to search engines’ crawler bots.
The easiest way to handle 404s on a Hugo site is to create a layouts/404.html template that includes the same navigation as any other page in the site, and perhaps one or more other helpful links. Here’s a bare example, which obviously assumes the existence of a site-wide layouts/_default/baseof.html template as well as a layouts/sitemap.html template:
{{- define "main" -}}
 <div class="FourOhFourCentered">
   <h1>Page not found</h1>
   <p>Sorry, that page isn't on this site.</p>
   <p class="bottom">Please use the navigation menu above, or the <a href="/sitemap/">sitemap</a> linked below, to find another page.</p>
 </div>
{{- end }}
Your hosting provider will likely have a convention for providing a 404 page. SSG-aware hosting providers such as CloudCannon, Netlify, Vercel, GitHub Pages, and CloudFlare Pages all expect a file called /404.html. More General hosting providers or software such as Apache, Nginx, AWS S3, Digital Ocean, or Azure static web might require specific configuration to set the 404 page.
Make it mobile-friendly: responsiveness and performance Direct link to this section
Since 2015, Google’s ever-changing search algorithm has favored mobile-friendly sites. That’s why, at the very minimum, you should include this in the site-wide head:
<meta name="viewport" content="width=device-width, initial-scale=1.0">This advises browsers — and search engines’ crawler bots — that the page adapts to all devices.
Ideally, you’ll prove that viewport tag true by also building the site with responsive web design, providing a good user experience on as many screen sizes as possible. This includes making sure that images not only resize properly to fit all screens but also, for the benefit of those on poorer connections, receive proper compression for the best combination of reasonably small file sizes and highest quality. Similarly, higher-performing pages receive better rankings. All other factors being equal, that provides a major SEO advantage for a wisely built static website compared to a traditional, code-bloat-ridden site. Google measures a site’s mobile-friendliness with its page experience algorithm; you can measure it through the open-source Lighthouse tool, part of the Web Inspector built into Chromium-based browsers.
Explaining precisely how to fulfill these requirements, in Hugo or any other static site generator, is beyond the scope of this tutorial — with one exception: you should know that a Hugo site teamed with CloudCannon’s Git-based CMS will exist on a stunningly fast content delivery network, delivering maximum worldwide performance.
Provide for social tags and the Open Graph protocol Direct link to this section
When you share website links through social media platforms, those links’ resulting appearance on those platforms depends in large part on the site’s meta tags for Twitter, specifically, and more generally for the Open Graph protocol. Originally, Facebook created Open Graph for its own purposes; but, since then, the protocol has become more commonly accepted for web-wise use as a way to standardize the presentation of a page’s content. The og: you’ll see in some examples below refers to the Open Graph protocol.
As was true for the meta description tag, these will vary depending on whether they’re for the home page or internal pages.
Specify the following in config.toml:
[params]
  Twitter_Image = "/images/pennys-logo-twitter.jpg"
  Twitter_Site = "@PennysPetPresents"
  Image = "/images/pennys-logo.jpg"
(If one image will suffice for both Twitter and Open Graph, that’s fine; in this example, we’re specifying separate files.)
Then, add in each content page’s front matter, as appropriate:
featured_image: "red-chew-toy-2304.jpg"
author_twitter_handle: "@JaneDoePPP" # if desired
og_type: "article"
Finally, in the site-wide head, add:
<meta name="twitter:card" content="summary_large_image" />
<meta name="twitter:site" content="{{ site.Params.Twitter_Site }}" />
{{- if .IsHome -}}
 <meta name="og:title" content="{{ site.Title }}" />
 <meta property="og:type" content="website" />
 <meta property="og:description" content="{{ site.Params.Description }}" />
 <meta property="og:url" content="{{ site.BaseURL }}" />
 <meta name="og:image" content="{{ site.Params.Image }}" />
 <meta name="twitter:creator" content="{{ .site.Params.Twitter_Site }}" />
 <meta name="twitter:title" content="{{ site.Title" />
 {{- if isset site.Params.Twitter_Image -}}
   <meta name="twitter:image" content="{{ site.Params.Twitter_Image" />
 {{- else -}}
   <meta name="twitter:image" content="{{ .site.Params.Image }}" />
   {{- end -}}
 {{- end -}}
{{- else -}}
 <meta name="og:title" content="{{ Page.Title }}" />
 {{- if isset .Params.og_type -}}
   <meta property="og:type" content="{{ .Params.og_type }}" />
 {{- else -}}
   <meta property="og:type" content="website" />
 {{- end -}}
 <meta property="og:description" content="{{ .Params.Description }}" />
 <meta property="og:url" content="{{ .Page.Permalink }}" />
 {{- if isset .Params.Featured_image -}}
   <meta name="og:image/" content="{{ .Params.Featured_image }}" />
   <meta name="twitter:image" content="{{ .Params.Featured_image }}" />
 {{- else -}}
   <meta name="og:image" content="{{ .site.Params.Image }}" />
   <meta name="twitter:image" content="{{ .site.Params.Image }}" />
 {{- end -}}
 {{- if isset .Params.Author_twitter_handle -}}
   <meta name="twitter:creator" content="{{ .Params.Author_twitter_handle }}" />
 {{- else -}}
   <meta name="twitter:creator" content="{{ site.Params.Twitter_Site }}" />
 {{- end -}}
 <meta name="twitter:title" content="{{ .Page.Title }}" />
{{- end }}
(For better organization, you can incorporate these conditionals within the others that may already be in the head rather than leaving them distinct like this. We have shown them this way to make it clearer what you would add in this section. If you would prefer to keep your base templates cleaner, you could also use a partial to keep this code separate.)
Optimize external links Direct link to this section
Once search results do bring people to the site, you can help keep them there longer by optimizing the behavior of links so that:
- Going to an internal link opens it in the same browser window/tab.
- Going to an external link opens it in a different browser window/tab, increasing the likelihood that the visitor will return to your site after viewing the external content.
To accomplish this, create layouts/_default/_markup/render-link.html:
<a href="{{ .Destination | safeURL }}"{{ with .Title}} title="{{ . }}"{{ end }}{{ if strings.HasPrefix .Destination "http" }} target="_blank" rel="nofollow noopener noreferrer"{{ end }}>{{ .Text | safeHTML }}</a>Then, ensure that all internal links are truly internal links — e.g., <a href="/sales/">Sales Department</a> — rather than links that begin with https:// or http://.
The target="_blank" section of the link is what causes it to open in a new tab. It's also worth adding a few words here regarding the rel="nofollow noopener noreferrer" part of the link. These days, most search engines’ ranking algorithms tend to ignore these rel values, but they can serve other purposes:
nofollowtells search engines they shouldn’t use your link to “endorse” the external site’s authority or importance and, thus, help that site’s rankings. Historically this was important to add if you were linking to a site you didn’t want to be associated with. Now days, Google uses this as a ‘hint’ and it may still choose to associate your sites together.noopenerprovides security for the visitor against any malware that somehow could be inserted in the new window/tab, viatarget="_blank", long after you’ve completed building the site.noreferrerkeeps the external site’s analytics from showing that your site is linking there; so, if you want the external site’s owners to see who’s providing them this traffic, don’t include thenoreferrerattribute.
Take care of robots.txt Direct link to this section
A website’s robots.txt file tells search engines which URLs their crawler bots may access. The bots don’t always honor this file’s provisions, but it’s still good practice to put robots.txt in place for “well-behaved” search engines. This entry in config.toml will generate robots.txt automatically:
enableRobotsTXT = trueBy default, the resulting robots.txt file will have only one line:
User-agent: *This tells all search engines that it’s okay for them to crawl the entire site.
By the way, if it’s necessary to exclude any web pages from being crawled by Google and most other search engines (although, again, some engines may not honor this), add the following to the `head` within each of those pages:
<meta name="robots" content="noindex">
<meta name="googlebot" content="noindex">
You could automate this content by including indicative front matter, such as noindex: true, and then using a conditional to check for its presence and act accordingly, much as you saw in earlier examples involving conditionals.
Build for accessibility Direct link to this section
Although Google’s current position is that a web page’s accessibility isn’t truly a concern for SEO, there have been hints that this could change in the future. Still, even if that may never happen, following best practices as a developer means creating websites so that all visitors, regardless of their abled status, can use the site as fully as possible. (A maximally accessible website will also help guard against potential legal action in most jurisdictions.) At the very least, you should try to ensure::
- Every image has a valid
alttag which accurately, yet concisely, describes what the image shows. If an image is considered to be only “decorative” (e.g., a box with the dominant color of your logo), itsalttag should bealt="". - Every element has any applicable ARIA attribute(s).
- It’s possible to navigate through most, if not every, element of every page using only keyboard input.
For a full accessibility scan of your website you can use a tool like Wave or WebPage Speed.
Organize the content Direct link to this section
Search engines evaluate a site based on not only the quality of its content but also how well-organized that content is. Applying the various meta tags we’ve already discussed will require a significant degree of organizational planning, such as deciding which items go into each page’s front matter in Hugo. This also includes what people perceive when they assess how the site’s pages are related and connected to each other. Just as it’s important to put targeted keywords in titles, it’s also best to use them in section names and file names. A link like /products/ctg2339s9a/sku67934/ is much less helpful and memorable than one like /products/dog-toys/red-chew-toy/. With the content management power that Hugo gives you, particularly through sections, you’re uniquely enabled to bring about such site structures.
It’s worth remembering that, other considerations aside, clearer information architecture on a site will attract more repeat visits, because it makes it easier for visitors to find the content they’re seeking.
Create and edit high-quality content Direct link to this section
It’s the job of your content writers and marketing team to create and edit the high-quality content that will further optimize the site for search. (Updating existing content can help improve its page ranking with search engines, like Google, which privilege “fresh” content.) The key to getting more of that fresh, quality content published on your site — and getting it updated as quickly and easily as possible — is having a content publishing platform and a process that empowers editors. If the site requires a Hugo CMS, consider CloudCannon. It allows you to import your Hugo site from a remote Git repository, so content writers can update content completely inline, directly on the website.
Wrapping up Direct link to this section
There we have it — with the above advice and examples taken on board, your Hugo site will be optimized for SEO rankings on Google and other search engines. As search companies’ algorithms frequently change and new Hugo features become available, we’ll keep updating this tutorial, so feel free to bookmark it for future reference.
We’re consistently adding more tutorials on using Hugo’s powerful capabilities, so stay tuned! Also, be sure to take advantage of the many other information-packed resources for other static site generators right here with CloudCannon.