Astro Content Collections: Typed Markdown
In this lesson you will learn how to use Astro Content Collections to output a list of blog posts.
 By Rodney Johnson
We are getting close to finishing the site we’re building in this Astro Tutorial. In the last lesson, we added blog posts. One thing missing is a list of blog posts on the home page, to make it easier for visitors to find content. Let’s build a blog roll in this lesson while taking a deeper dive into Astro Content Collections.
Auto type generation Direct link to this section
We had a brief introduction to Astro Content Collections when we added blog posts to the site. At the time, we mentioned that as well as providing utility functions, Astro Collections generate types for us. We found those auto generated types in .astro/types.d.ts. Take another look at the file, and you should see it now shows all three blog posts.
Since this file is generated automatically, there is no need to commit it to your Git repo. Astro probably already added it to your .gitignore file. If you are also running Prettier or other code formatters, though, consider adding the .astro folder there. As an example, your Prettier ignore file (.prettierignore) might look like this:
# EXAMPLE ONLY

dist/**
node_modules/**
pnpm-lock.yaml

# generated types
.astro/
Adding .astro/ instructs Prettier to ignore that folder when checking formatting. That will be super helpful if you decide to add formatting checks in your project Git hooks.
Astro content collection schema validation Direct link to this section
Another advantage Astro Content Collections bring is front matter validation. Astro lets you define a schema for front matter fields, so it can later let you know of any front matter inconsistencies (missing title field and such like). Your schema will also include the types each field should be, again helpful for making sure your content data are consistent.
Everything we have seen so far for Astro Content Collections has been self-configured; you just needed to make sure you put your collection-related files in the right folder. Schema validation, however, does require an extra configuration file. That’s to let Astro know what policy to enforce.
Collection configuration Direct link to this section
Astro looks for Content Collection configuration at src/content/config.ts. If it is missing, you can still use Content Collections, albeit without schemas. Create that config file and add this content:
import { defineCollection, z } from 'astro:content';

const blogCollection = defineCollection({
    schema: z.object({
        title: z.string(),
        description: z.string(),
        date: z.string(),
        draft: z.boolean()
    })
 });

export const collections = {
  'blog': blogCollection,
};
Here, we define a schema for the existing blog collection. We set the types for title, description, and date to string, while draft is Boolean. Save the file, then jump to the Terminal.

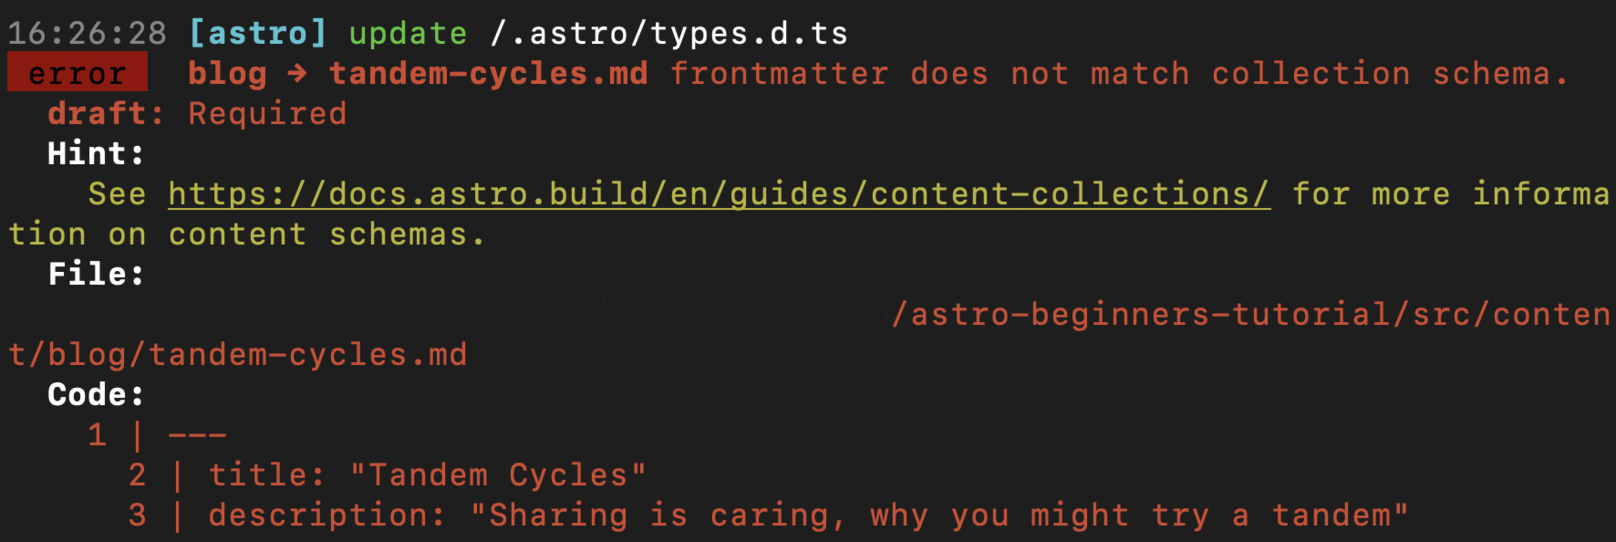
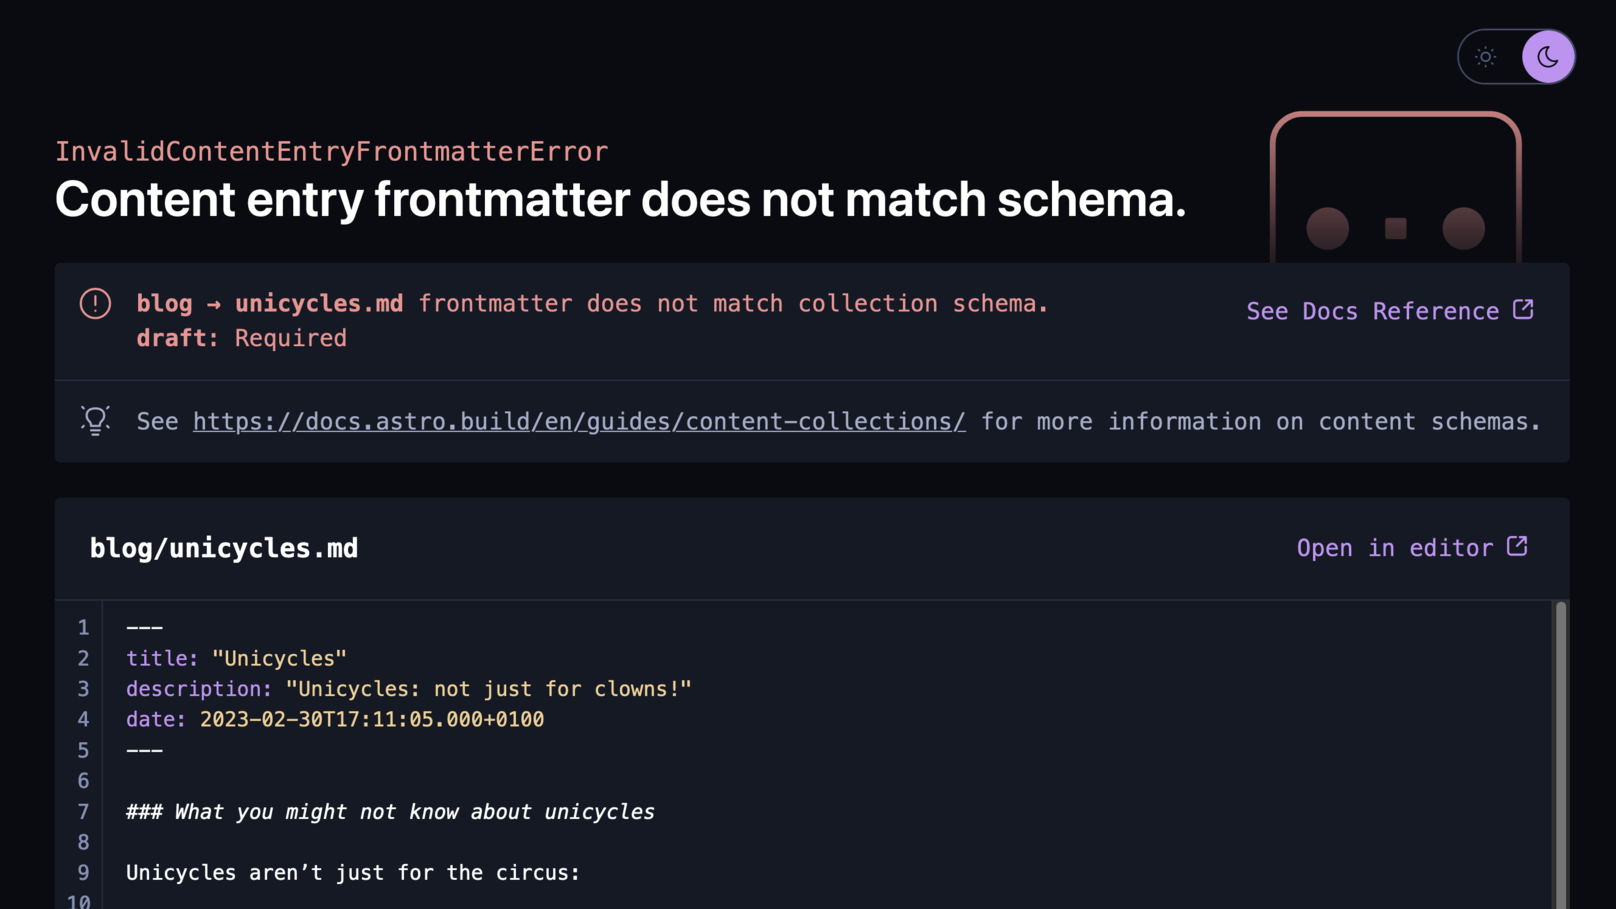
There is an error now, which was not there before! Where did it come from? By default, all fields in the schema are compulsory, and you might have noticed we did not set draft in the front matter for the tandem-cycles or unicycles posts. You have two ways to remedy this:
- keep the
draftfield compulsory and add it to posts missing it - update the schema to make the draft
fieldoptional
Making the field optional is as easy as chaining an optional() method call on the end of boolean():
const blogCollection = defineCollection({
    schema: z.object({
        // TRUNCATED...
        draft: z.boolean().optional()
    })
 });
Whichever method you chose, the errors should now be gone. Under the hood, Astro uses the Zod library to implement schemas. Zod handles far more sophisticated validation than we have here. As an example, you use z.string().url() if you want a front matter field to be a URL. Check Zod docs for this and more advanced features.
Astro collection APIs Direct link to this section
getCollection API
Direct link to this section
We saw the getCollection function briefly in the blog post template. Let’s take a closer look at some details here.
Astro lets you create multiple collections; you just need to create a folder for each collection under src/content. We named our folder blog, and that means our collection is also called blog.You were able to access the blog collection data with getCollection passing the collection name as an argument:
import { getCollection } from "astro:content"

posts = await getCollection("blog");
We also used the collection name to create a Props type alias for an individual post:
import type { CollectionEntry } from "astro:content";

type Props = CollectionEntry<"blog">;

const post: Props = Astro.props;
Note, getCollection returns a promise. Astro supports top-level await within .astro front matter. That means this code works “as-is”, without having to wrap it in an async block.
The promise resolves to an array, which now looks something like this, with an element for each post:
{
  posts: [
    {
      id: 'penny-farthing.md',
      slug: 'penny-farthing',
      body: '\n' +
        '### Some interesting penny-farthing facts\n' , // TRUNCATED...
      collection: 'blog',
      data: {
        title: 'Penny-Farthing',
        description: 'All about penny-farthings',
        date: '2023-04-30T17:11:05.000+0100',
        draft: false
      },
      render: [AsyncFunction: render]
    },
    {
      id: 'tandem-cycles.md',
      // TRUNCATED...
    },
    {
      id: 'unicycles.md',
      // TRUNCATED...
    }
  ]
}
getEntryBySlug API
Direct link to this section
If ever you need just a single blog post, rather than an array of all the Astro Collection content, there is a convenient alternative to getCollection: getEntryBySlug. getEntryBySlug takes the collection name and the slug of the entry you are requesting as arguments:
// EXAMPLE ONLY
const post = await getEntryBySlug('blog', 'penny-farthing');
More content collections Direct link to this section
To create a second (or even, third) Content Collection, you just add a new directory in src/content. Remember to add it to src/content/config.ts to get a schema.
Adding the blog roll Direct link to this section
To render the blog roll, we will need a title, description and publish date for each post. We have all of these (sourced from Markdown front matter) in the getCollection result. It’s impressive that you can pull up those data, for all posts, with just a single function call. Astro Content Collections save you writing quite a few lines of code!
Typically, blog rolls start with the most recent post. We can use the JavaScript Array.sort method to get them into order. Update the front matter section of src/pages/index.astro:
---
import { getCollection } from "astro:content";
import BaseLayout from "~/layouts/BaseLayout.astro";

// TRUNCATED...

const posts = (await getCollection("blog")).sort(
  (a, b) => Date.parse(b.data.date) - Date.parse(a.data.date)
);

---
The date field on posts is a string and Date.parse converts it to the number of milliseconds since January 1, 1970. We can then use the differences in this numerical value between posts for sorting.
Next, we want to render these data. As we did for contacts when importing JSON data for the contact page, we’ll use the Array.map method. Update the markup section of src/index.astro:
---
<BaseLayout description={description} title={title}>
  <main>
    <!-- TRUNCATED... -->

    <h2>Our recent blog posts</h2>
    <ul>
      {
        posts.map(({ data: { date, title, description }, slug }) => (
          <a href={slug}>
            <li>
              <h3>{title}</h3>
              <p class="description">{description}</p>
              <p>
                {new Date(date).toLocaleString("en", { dateStyle: "short" })}
              </p>
            </li>
          </a>
        ))
      }
    </ul>
  </main>
</BaseLayout>
toLocaleString displays the date in US format here. Update the language code to match your locale, if needed. For example, you might change "en" to "en-GB".
The blog roll styling does not look fantastic! Add a style element at the bottom of the src/pages.index.astro file:
<!-- ...TRUNCATED -->
<style>
  ul {
    list-style-type: none;
  }

  ul a {
    text-decoration: none;
    color: inherit;
  }

  li {
    padding: var(--spacing-2) var(--spacing-4) var(--spacing-4);
    border-radius: var(--spacing-1);
  }

  a .description {
    color: var(--colour-brand);
    text-decoration: underline;
  }

  li:focus,
  li:hover {
    background-color: var(--colour-theme-tint-80);
  }

  h3 {
    margin-block: var(--spacing-2);
  }

  p {
    font-size: var(--font-size-2);
  }
</style>
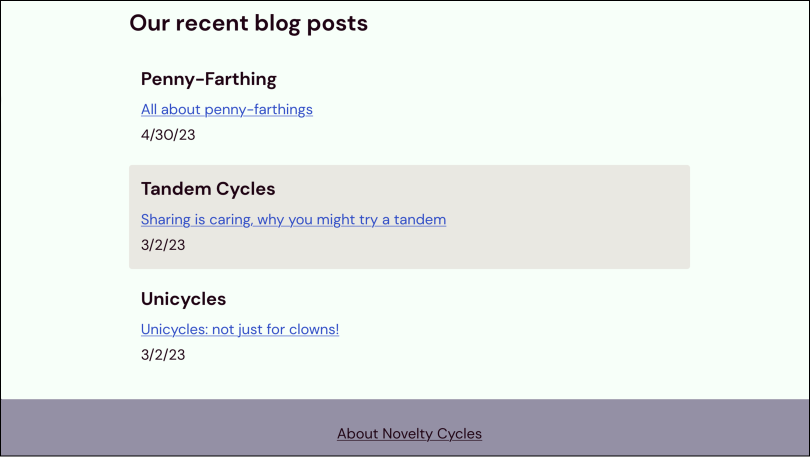
Your home page should now look something like this:

Wrapping up Direct link to this section
We only have one more lesson left in our Astro Beginners’ Tutorial series! Hopefully, this lesson helped cement your Astro Content Collections understanding. Don’t worry if it is not all 100% clear yet. In the final lesson, we add an RSS feed to the Astro site. That will grant us a further opportunity to use Content Collections. Can’t wait to tell you about adding non-HTML resources to your Astro site in the next one!
Lessons in this Tutorial
Astro Beginner Tutorial Series