A Site is where you see, edit, and review all your website files. Sites are core to your CloudCannon experience and are where you and your content teams will spend the majority of your time.
The features of a Site are likely why you are looking for a CMS in the first place. Sites allow you to:
- See all your files in user-friendly editing interfaces, without the need to know Markdown, HTML, or Git.
- Organize files to create a more intuitive experience for your content creators.
- Create review processes for saving changes to your content.
- Track the who, when, and why for each change to your website.
In this step of the guide, we'll create your first Site by syncing your website files to CloudCannon from your Git repository and point out important UI during a tour of your new Site.
Using a Git provider#
When you create a Site, CloudCannon first needs to sync your website files from their current location. This could be your local computer storage, or a Git repository maintained using one of CloudCannon's supported Git providers: GitHub, GitLab, or Bitbucket.
We highly recommend using a Git provider for better security, version control, and collaboration.
This guide will cover how to create a Site from files stored in a Git repository.
Create your first Site#
Let's walk through how to authenticate your Git provider, select a repository and branch, name your Site, and sync your files. If you already have at least one Site on CloudCannon and are using this guide to create another, most of the instructions will be the same; however, some pages or UI may look different.
In the previous step of this guide, we introduced you to your Organization Home page and the Getting Started: Setting up your Organization in-app guide. The next task in this guide is Create a Site.

Click the Create your first Site button. CloudCannon will open the Create a Site page.
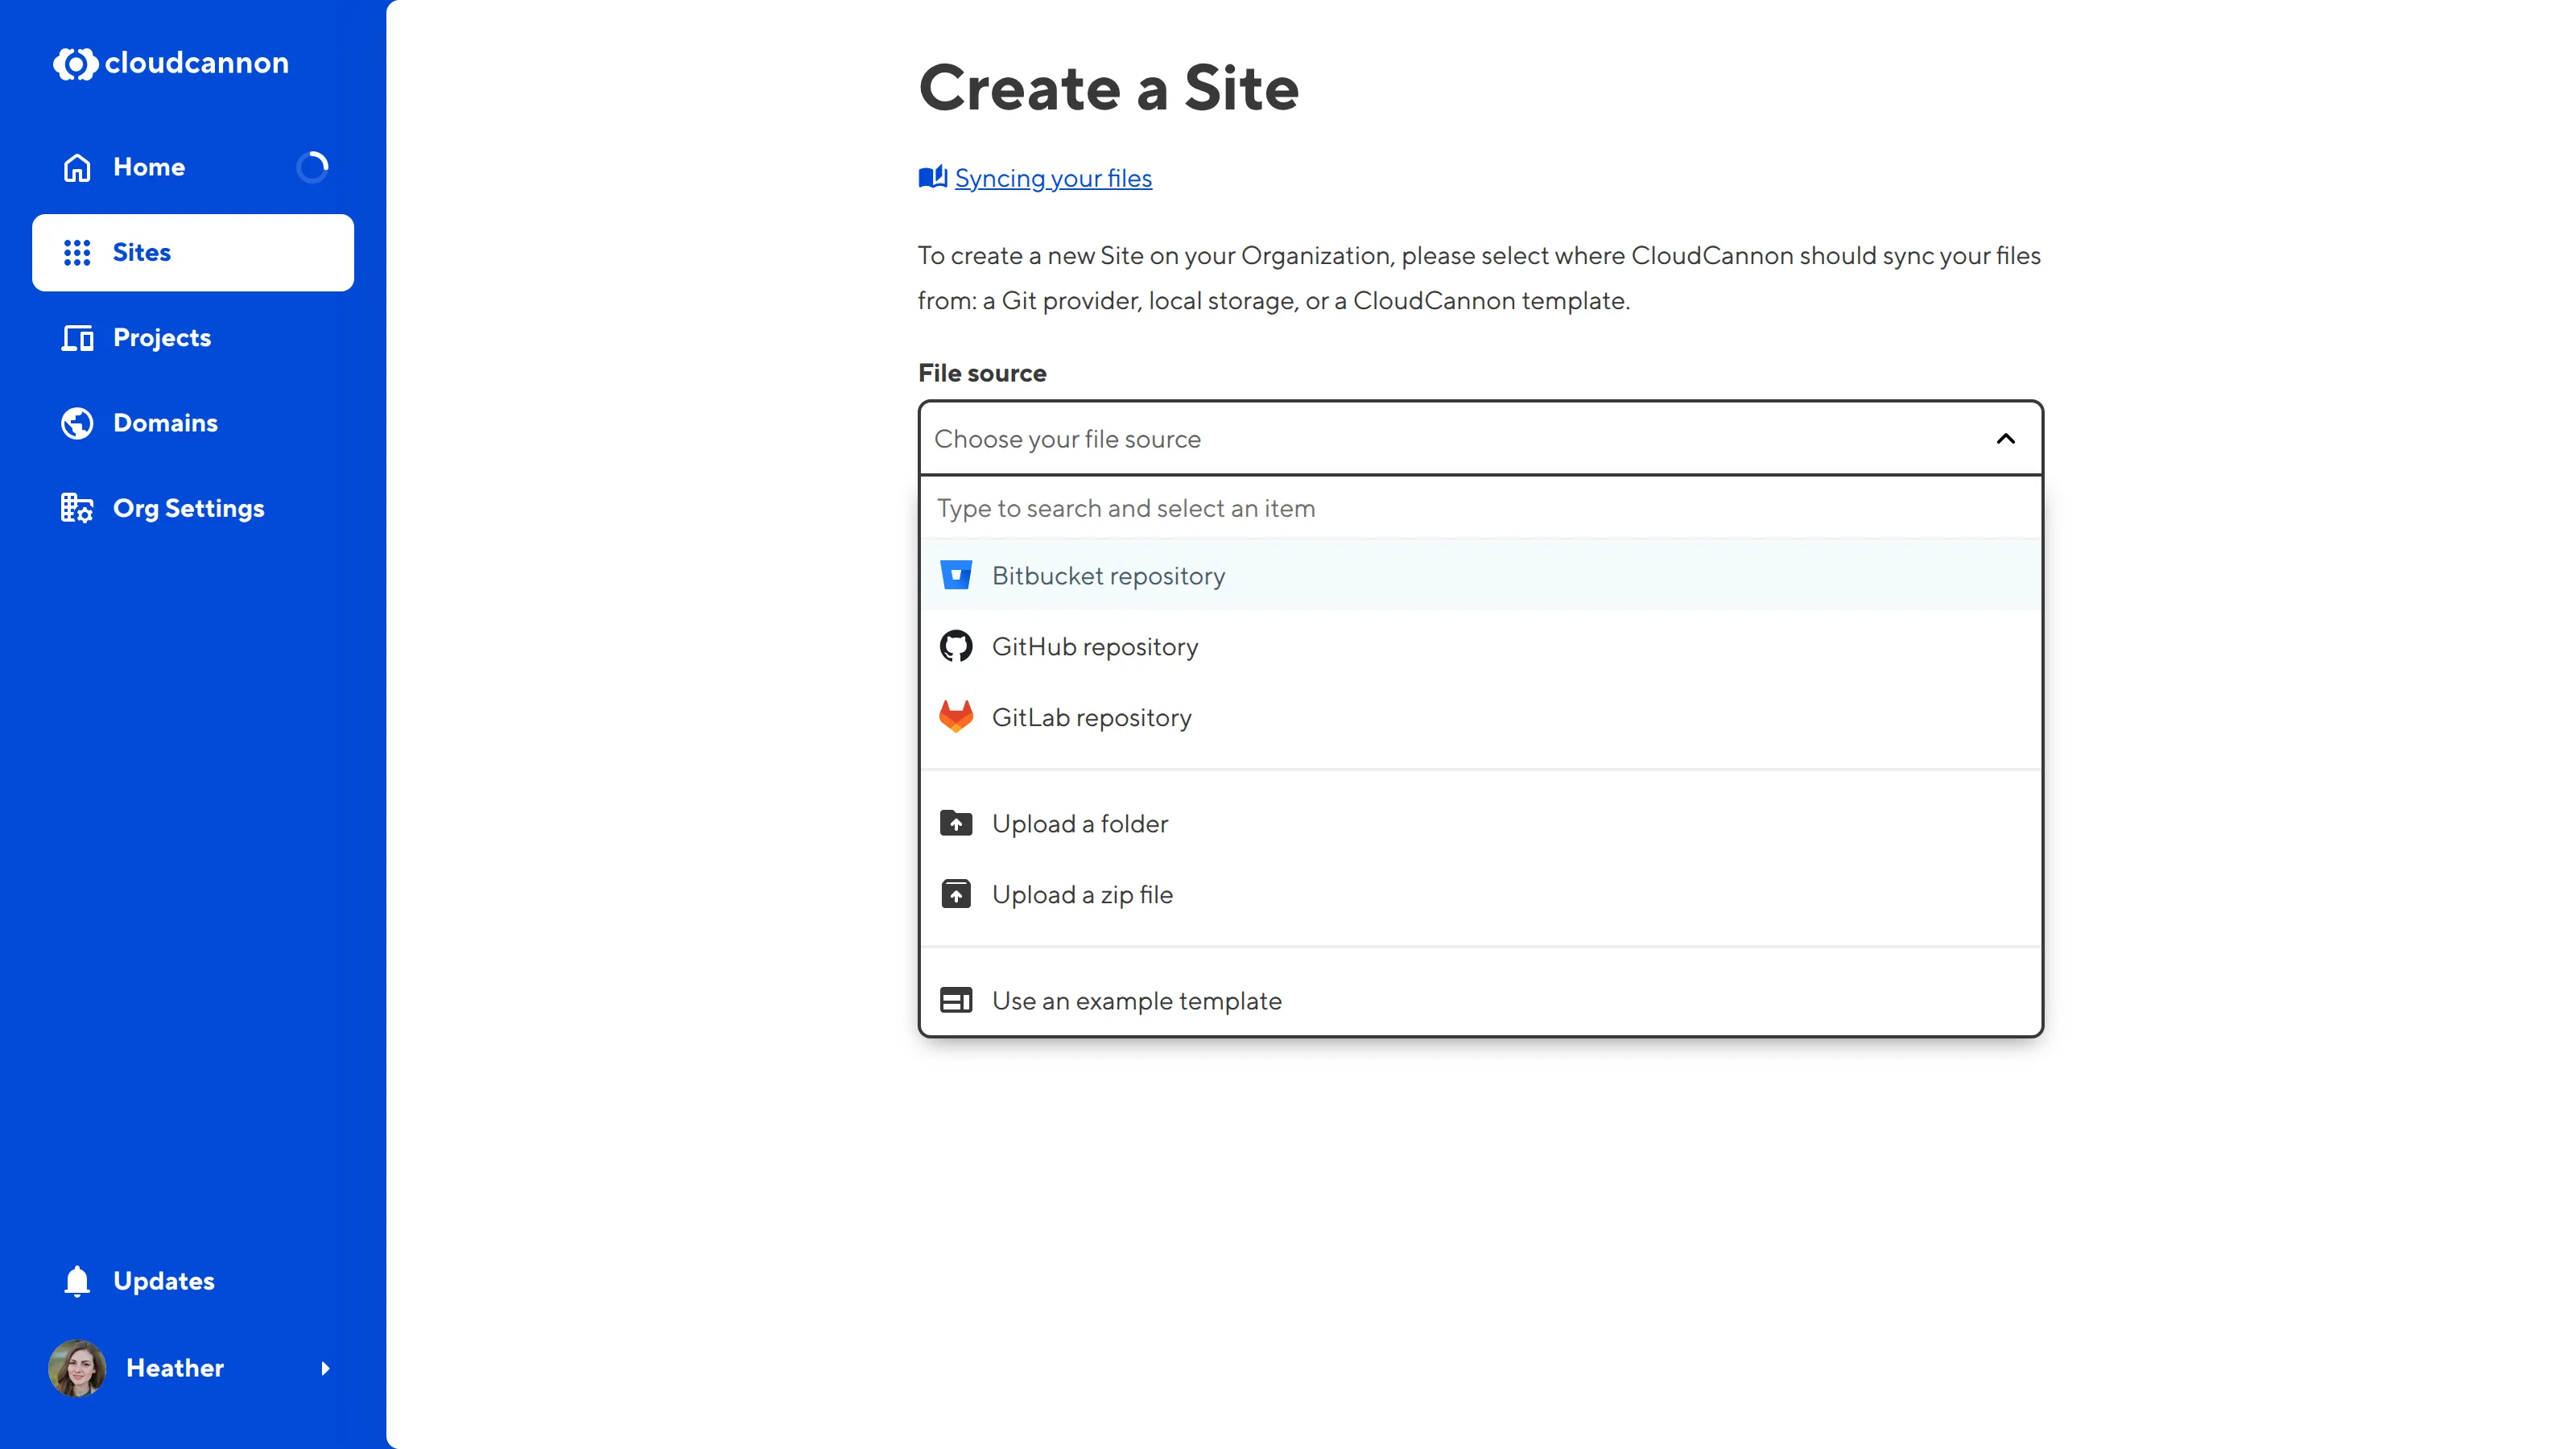
Here, you can use the File source dropdown to select your Git provider.
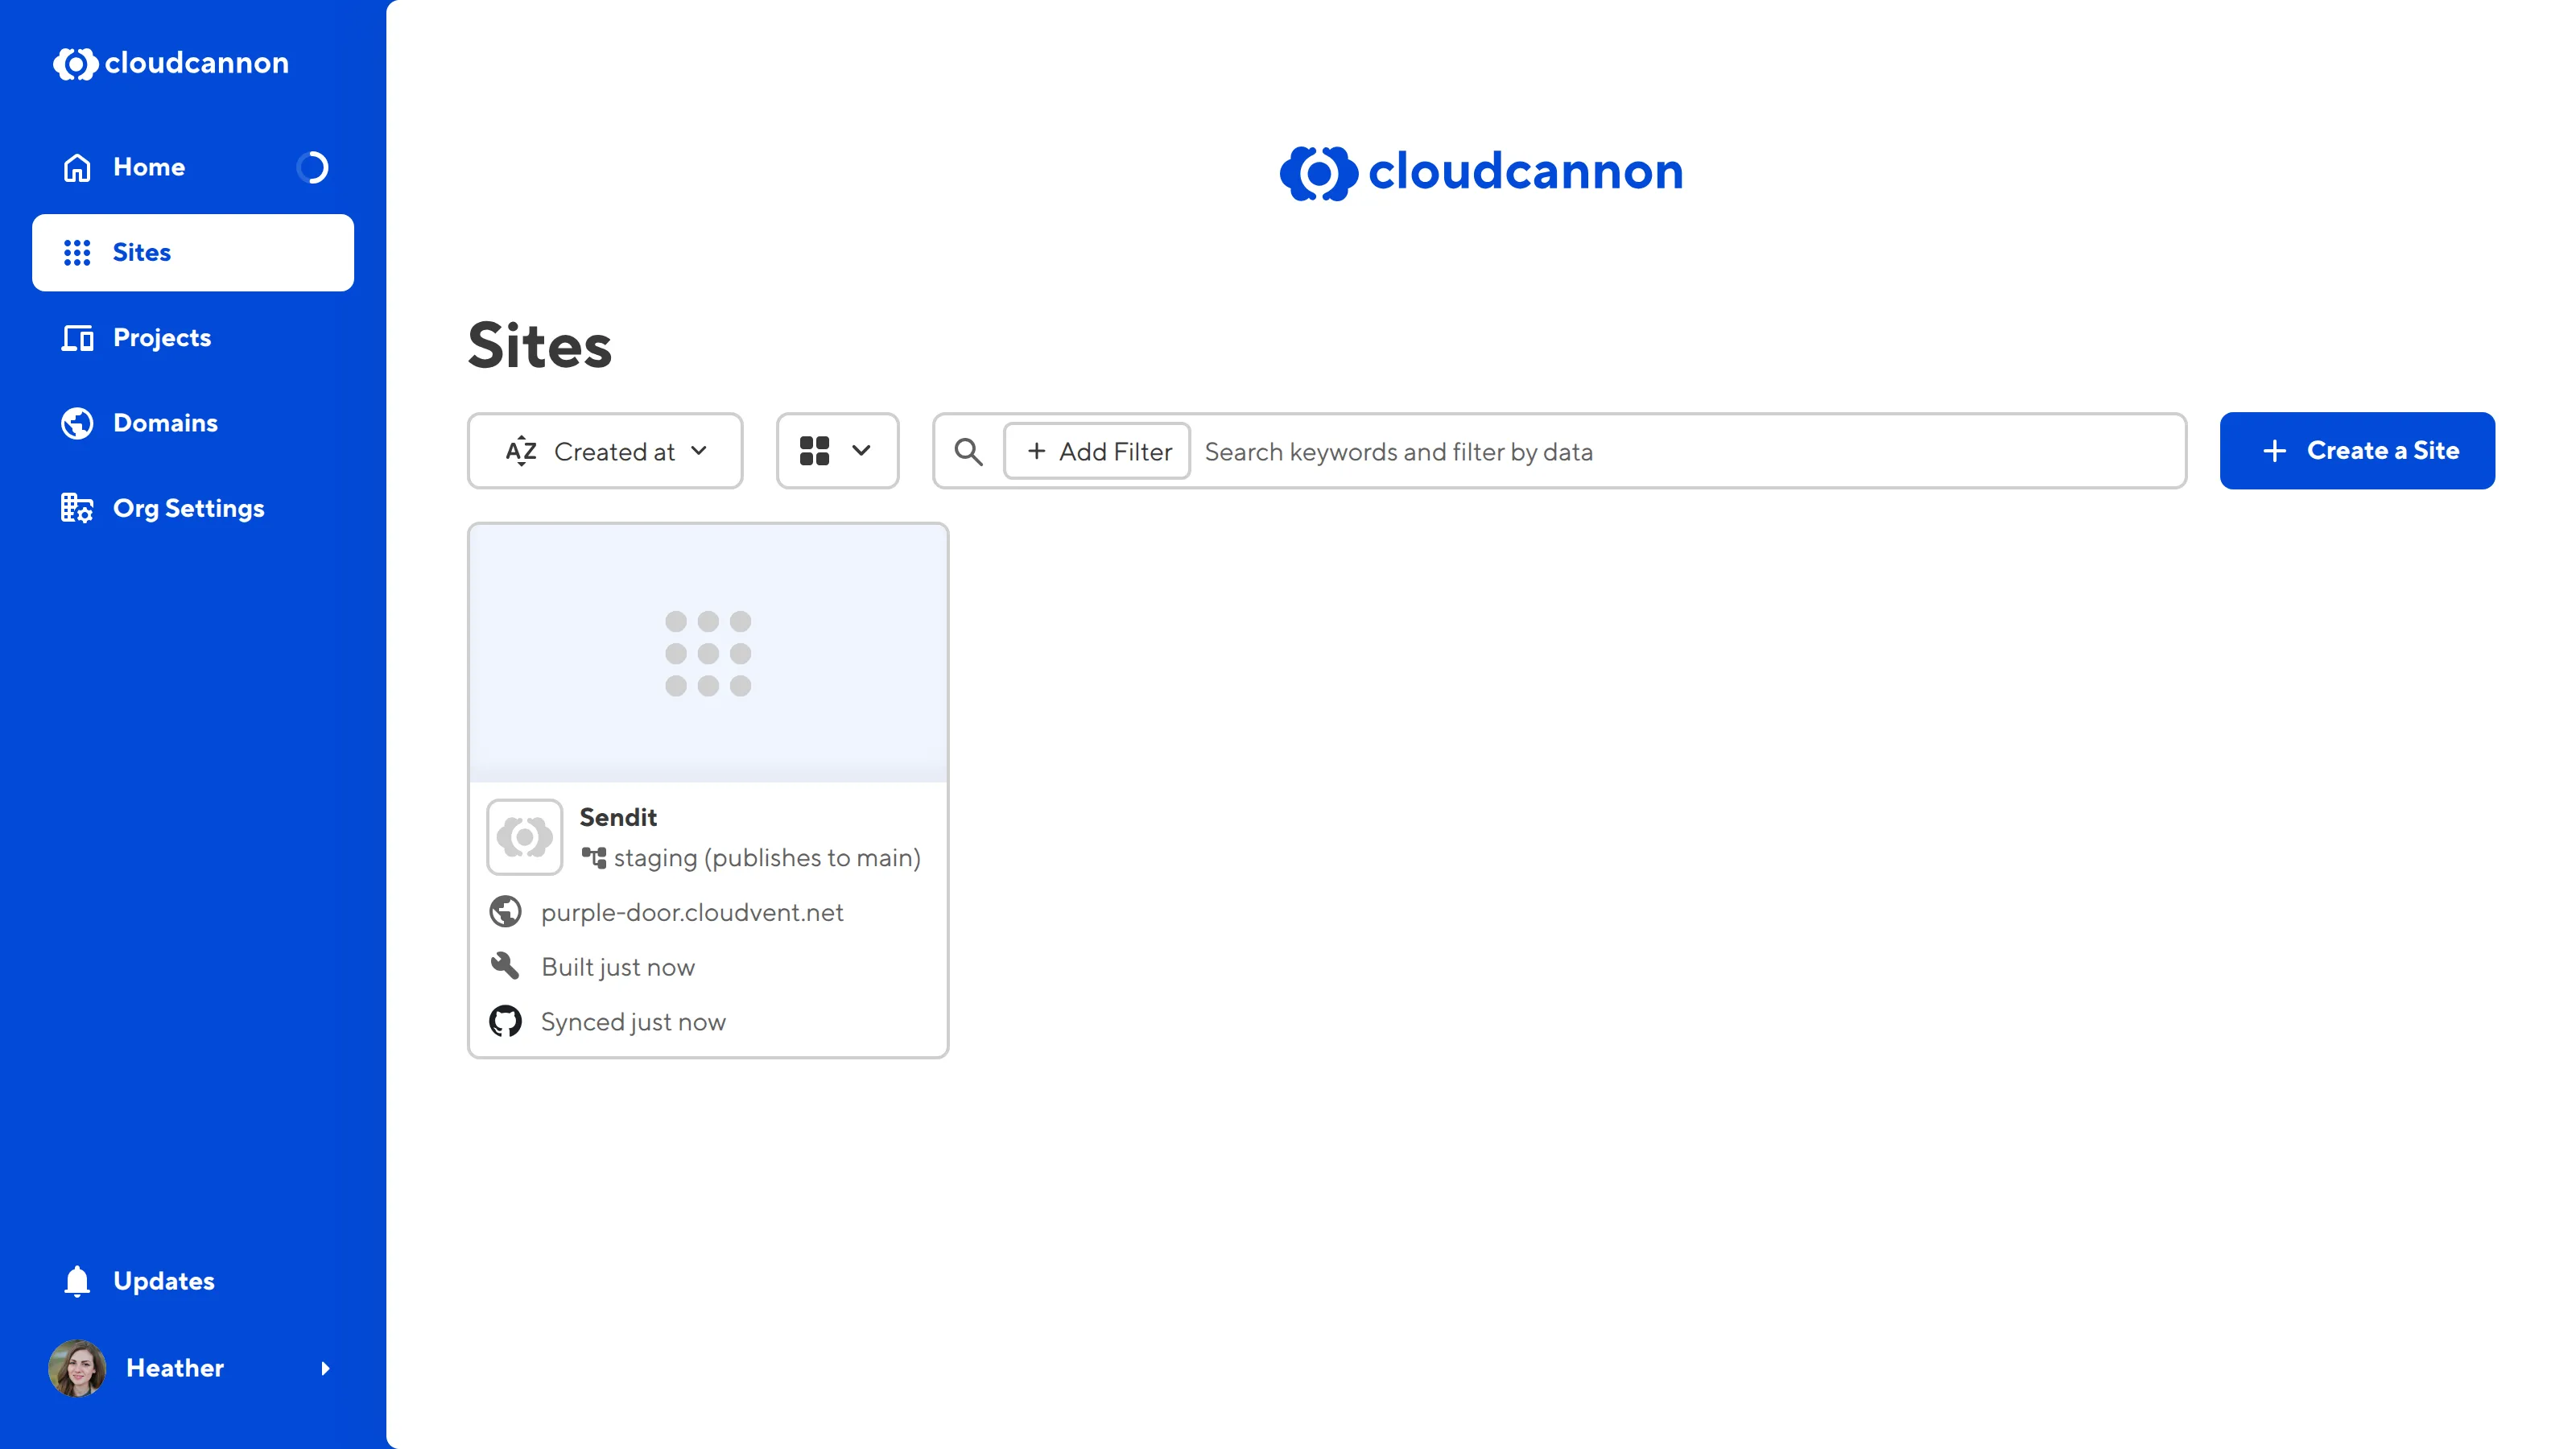
If you already have one or more Sites associated with your Organization, the Create a Site task may not appear on your Organization Home page. Instead, click the Sites button in the App Sidebar to open the Sites Browser. You can add a new Site to CloudCannon using the + Create a Site button at the top right of the Sites Browser.
Authenticate your Git provider#
For CloudCannon to sync your files, you must give it permission to access your Git provider. You can see which Git providers are authenticated by a green shield icon next to the option in the File source dropdown.

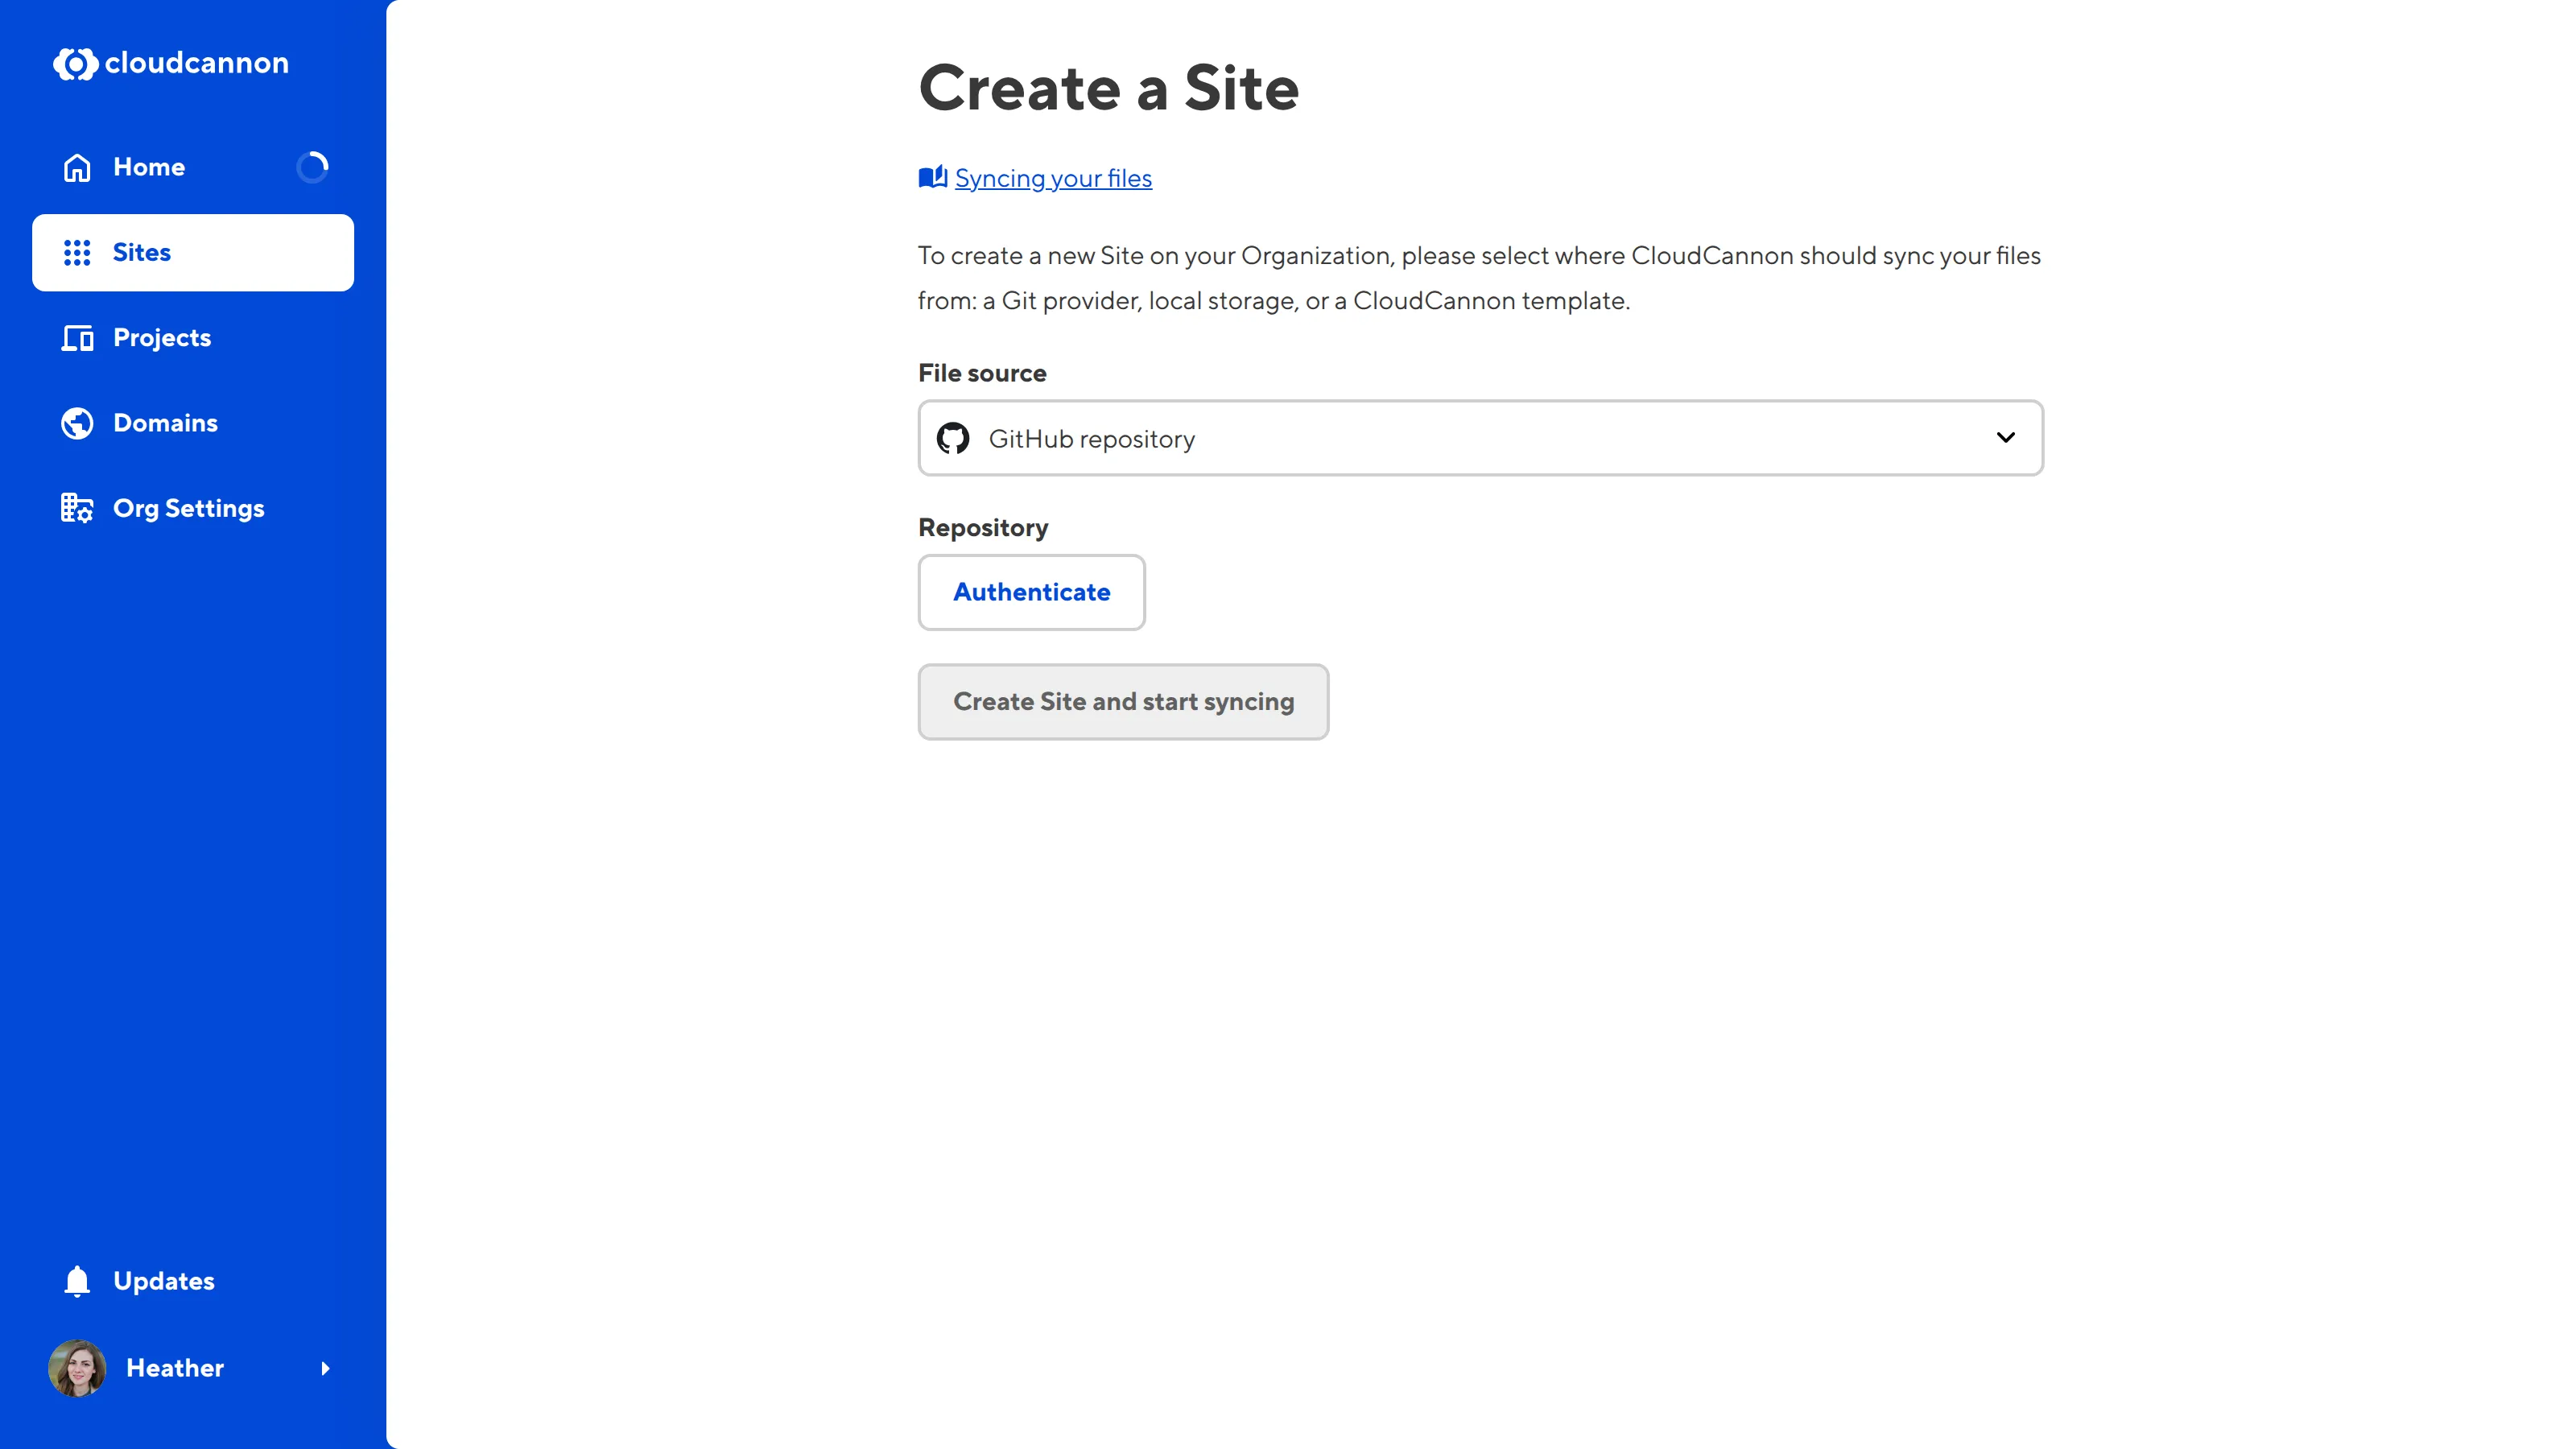
When you select an unauthenticated Git provider using the File source dropdown, CloudCannon will show you the Authenticate button.
Click this button and CloudCannon will forward you to your Git provider login screen. Follow your Git provider's instructions to authenticate access, then return to the Create a Site page on CloudCannon.
You only need to authenticate your Git provider once; CloudCannon will remember it for all other Sites you create.
Select your repository and branch#
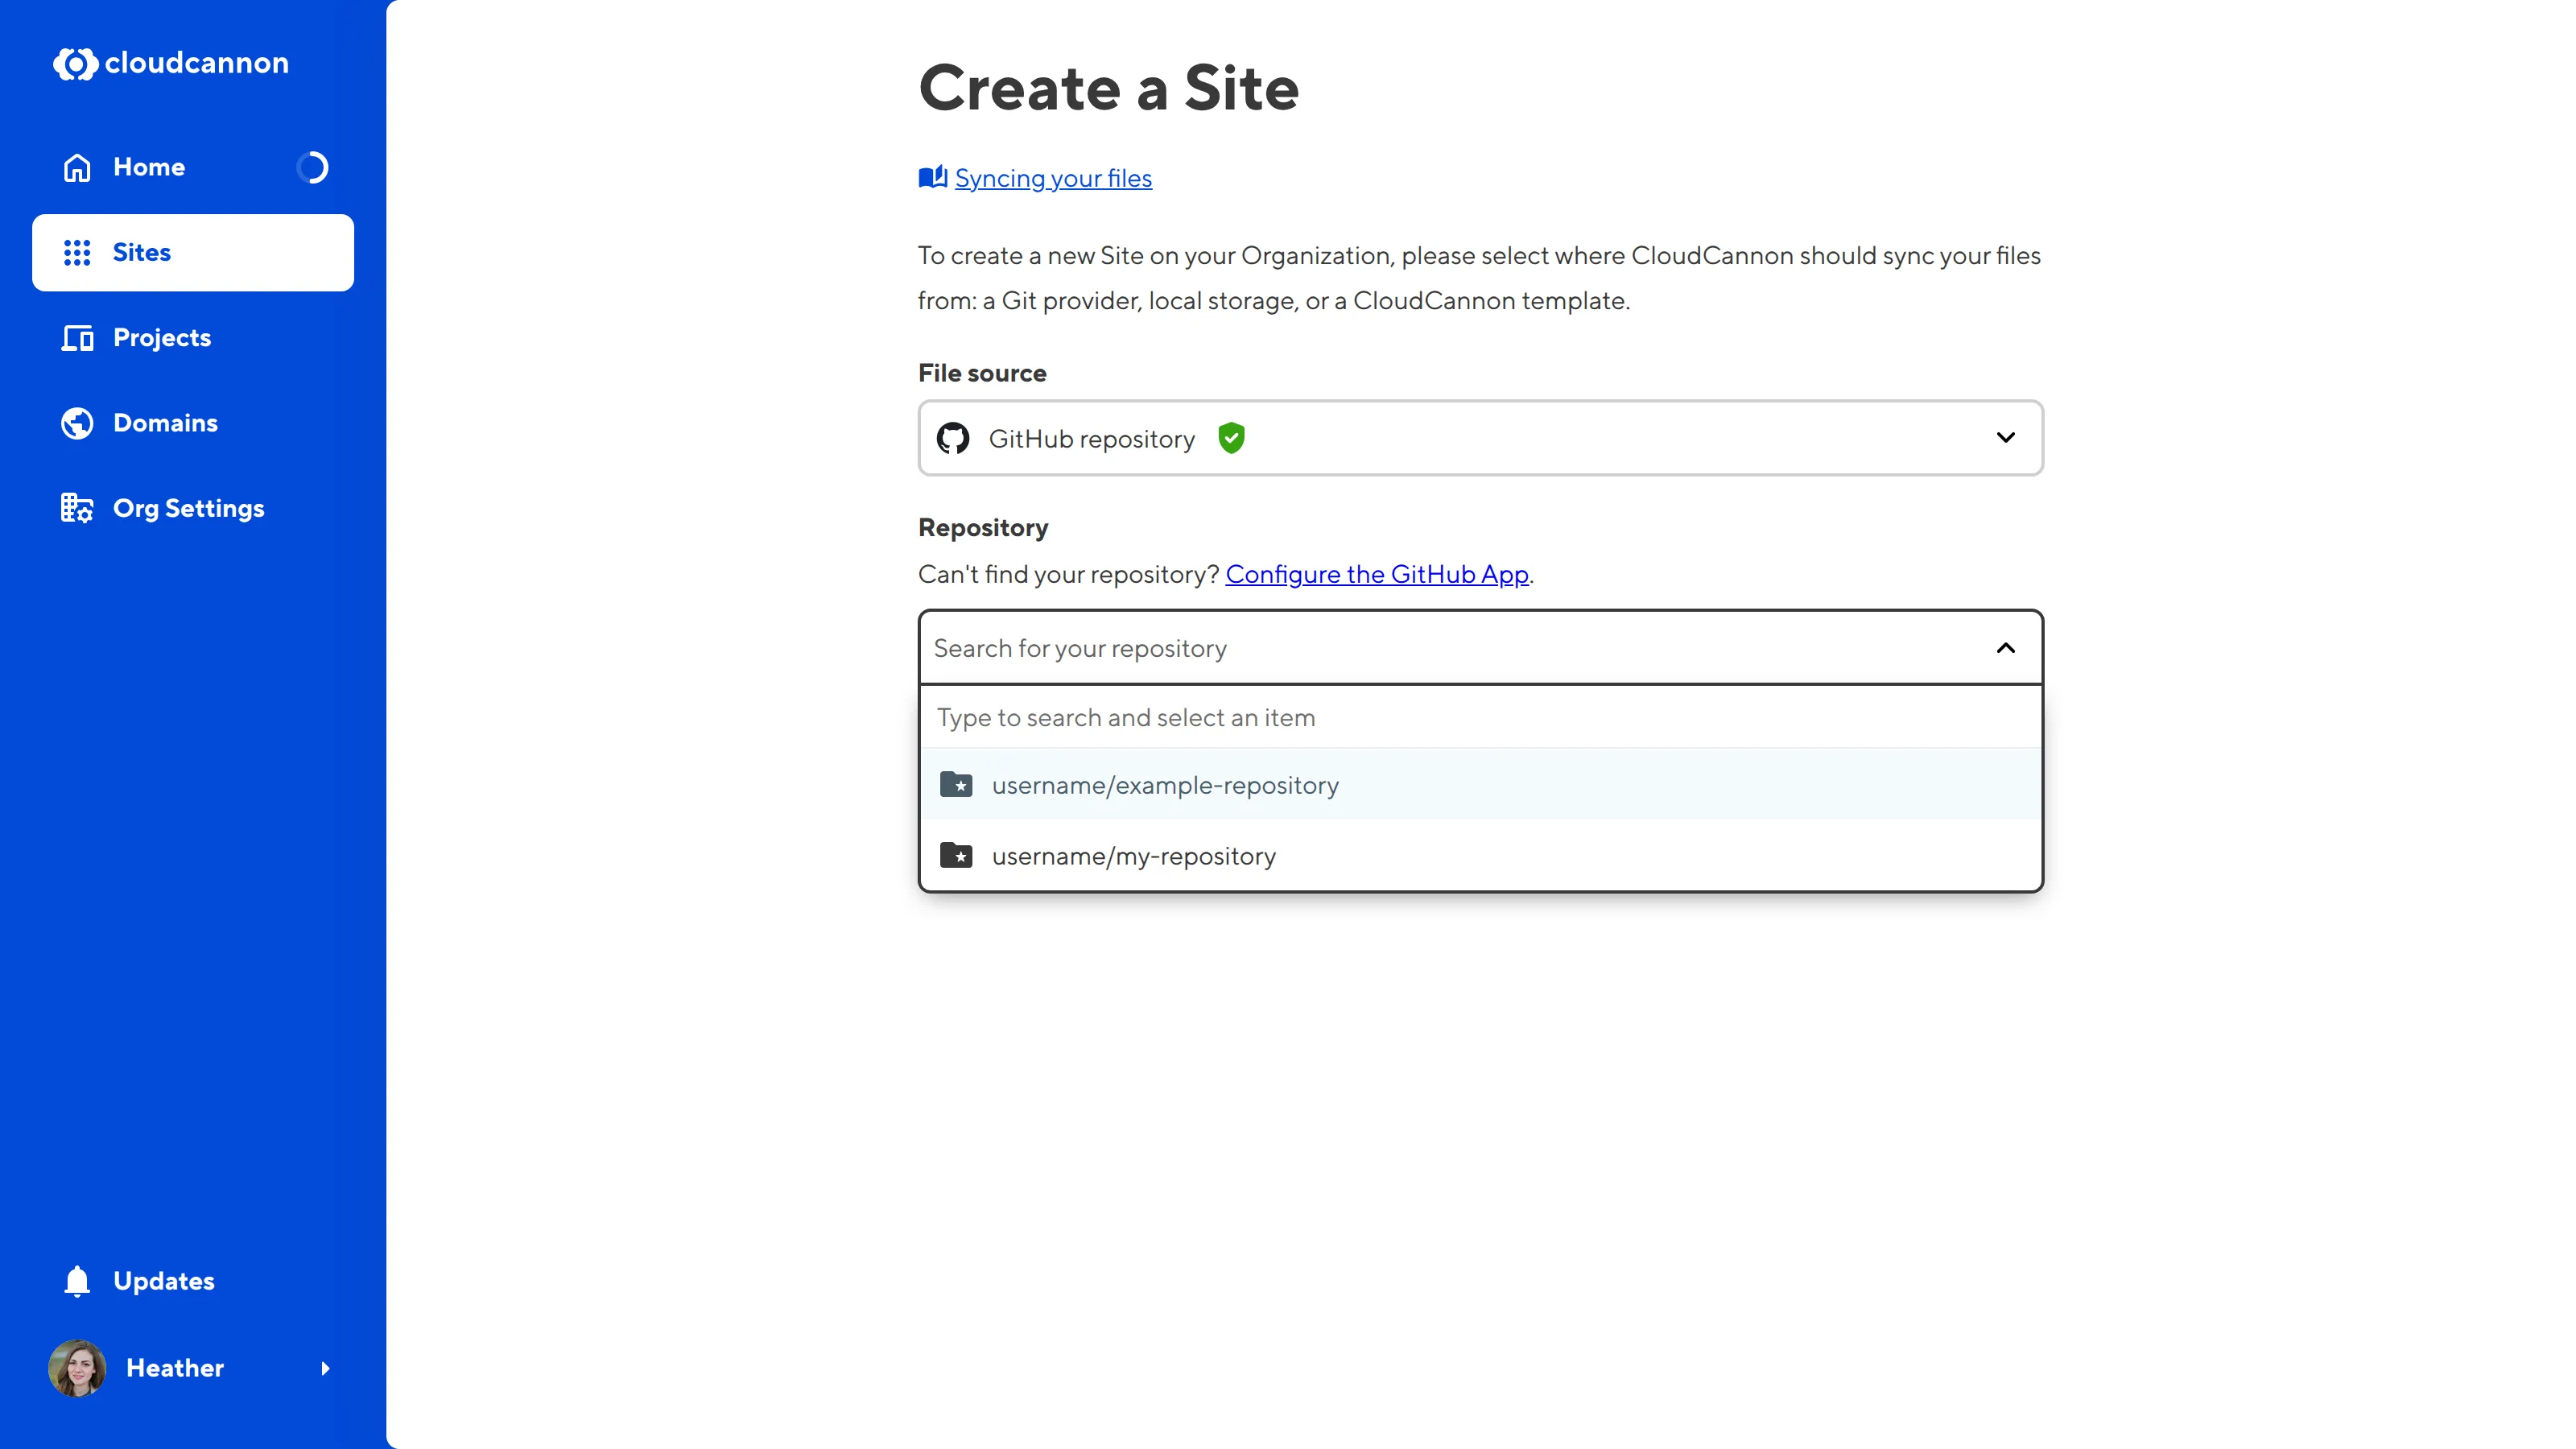
Once you have selected an authenticated Git provider using the File source dropdown, the Create a Site page will show a Repository dropdown and Branch Setup section. The Repository dropdown will list all the available repositories from your authenticated Git provider account.
Select the correct repository from the list. You can type in the Repository text field to filter your options, if necessary.
As a Git-based CMS, CloudCannon uses branching for better security and version control, as well as to enable your team to work on updates in parallel. Each Site on CloudCannon is connected to a branch of your Git repository.
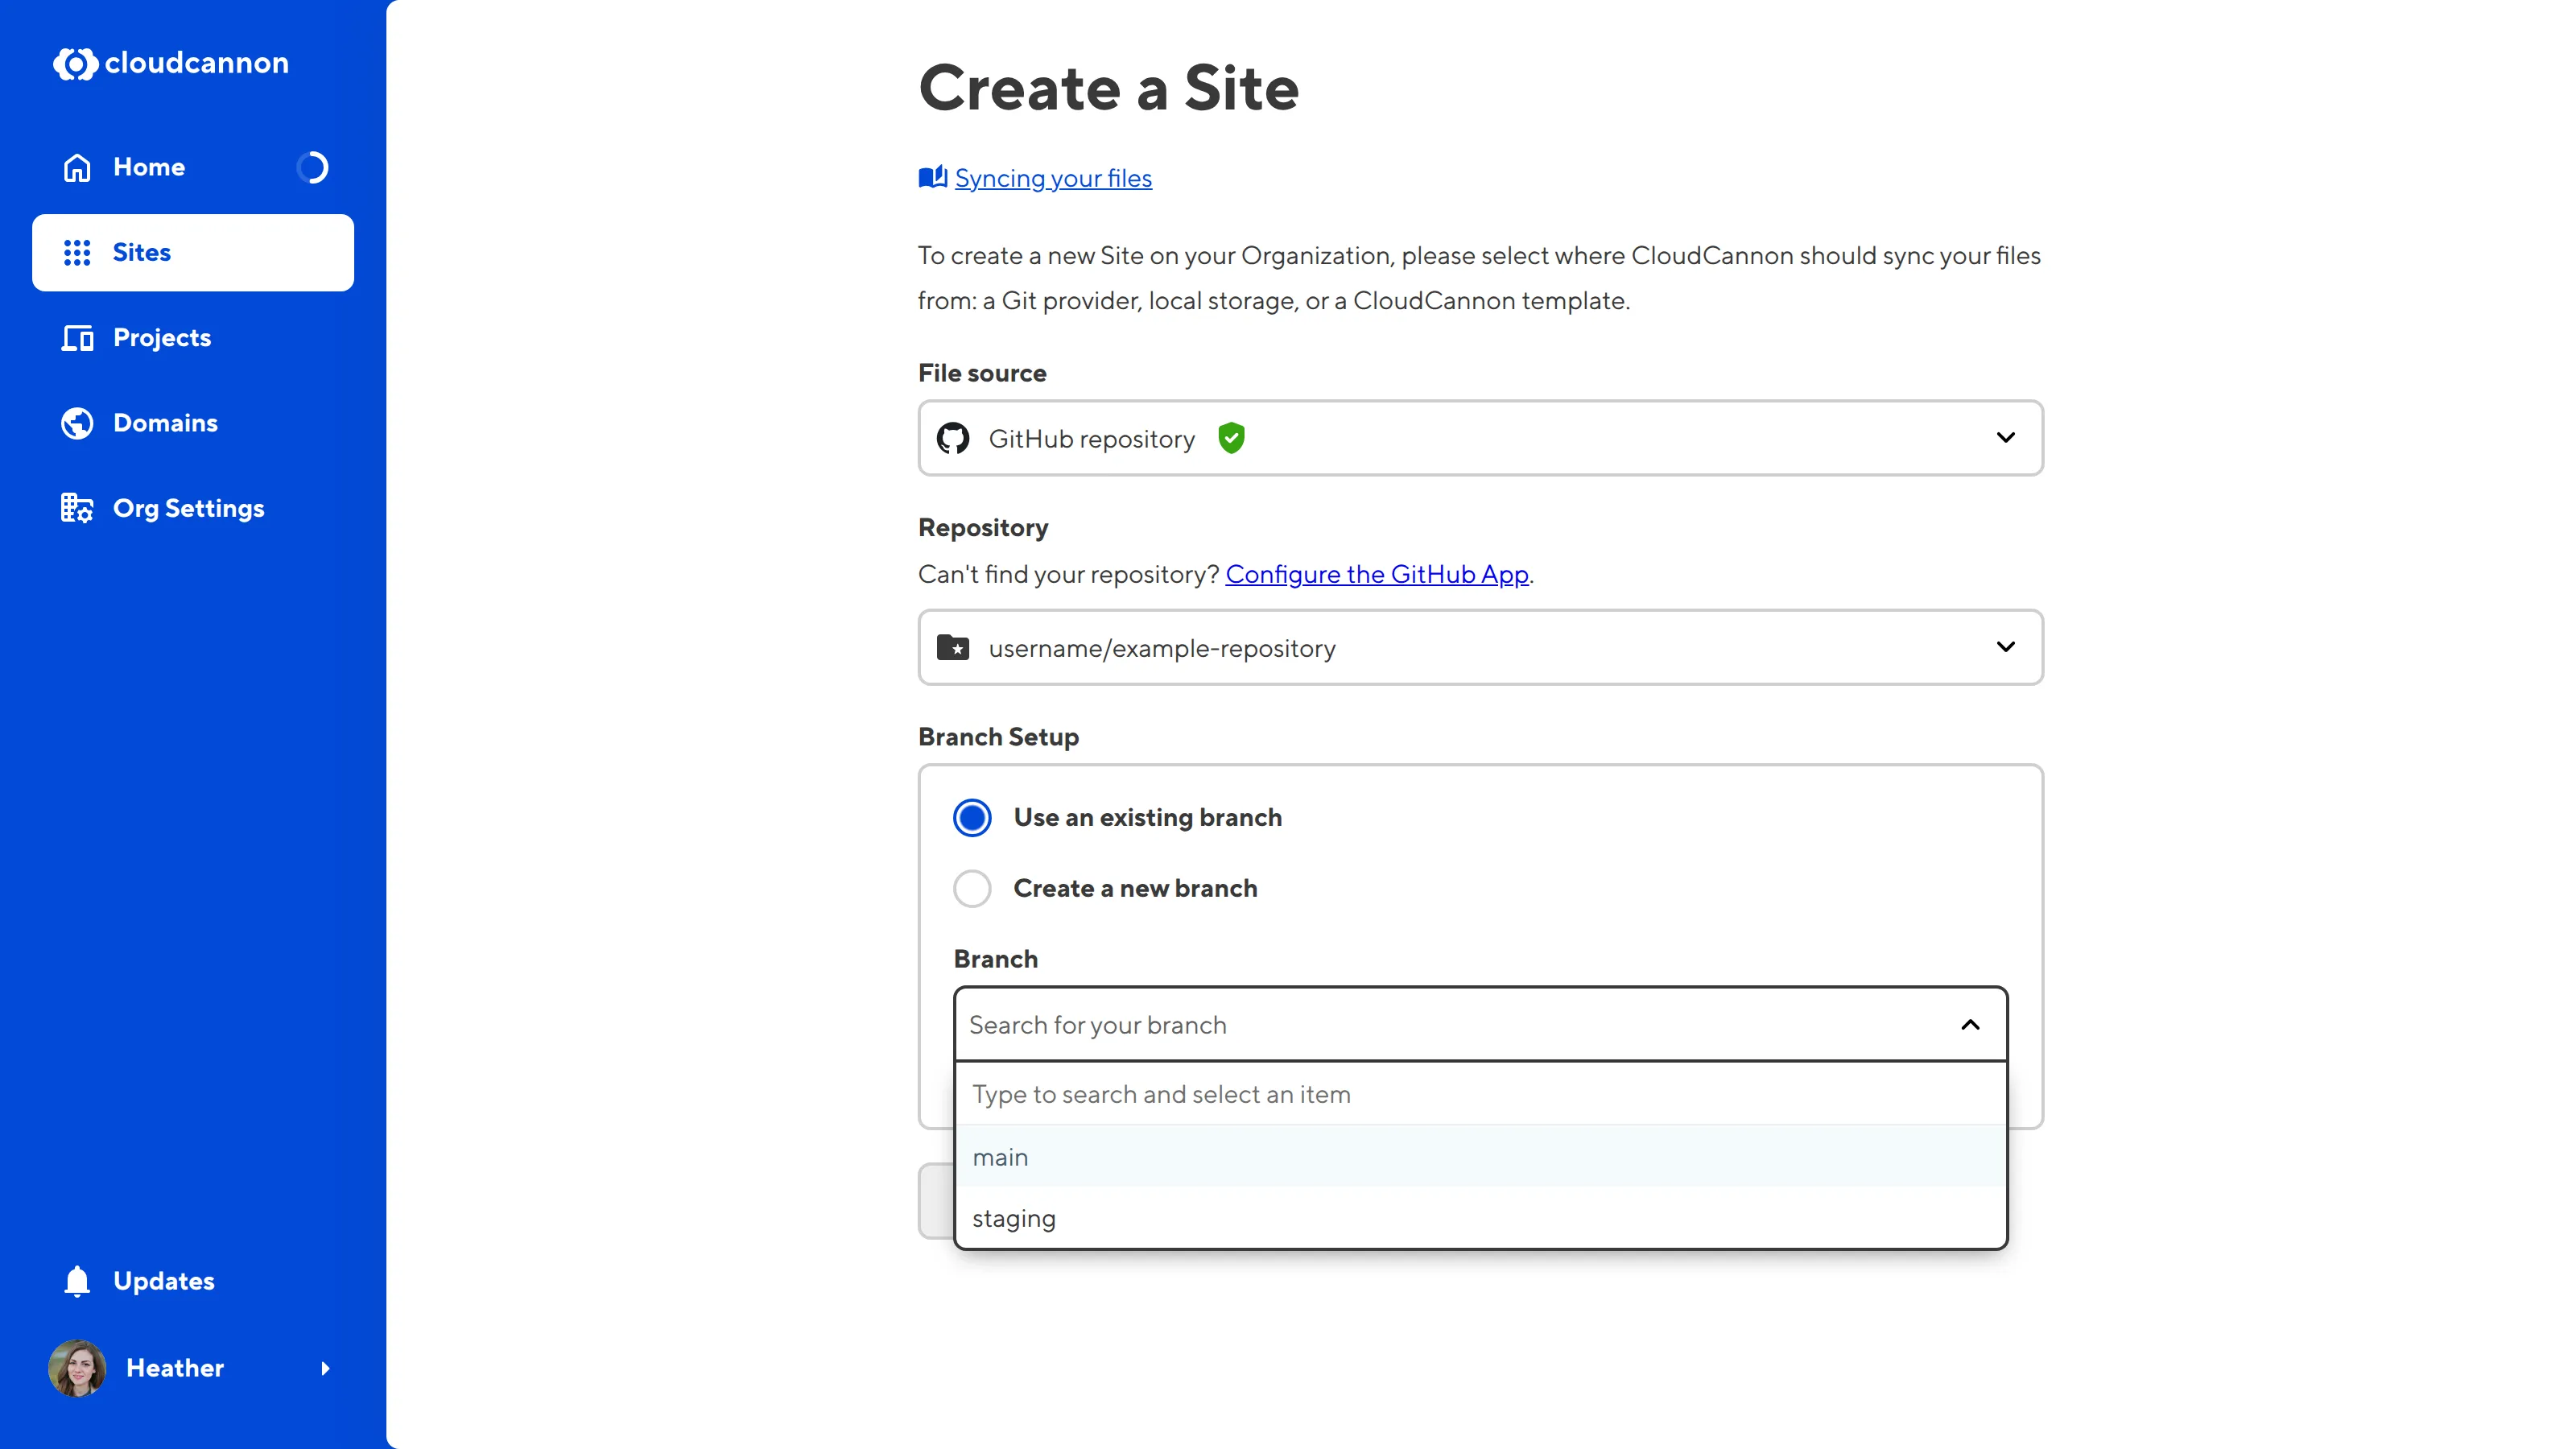
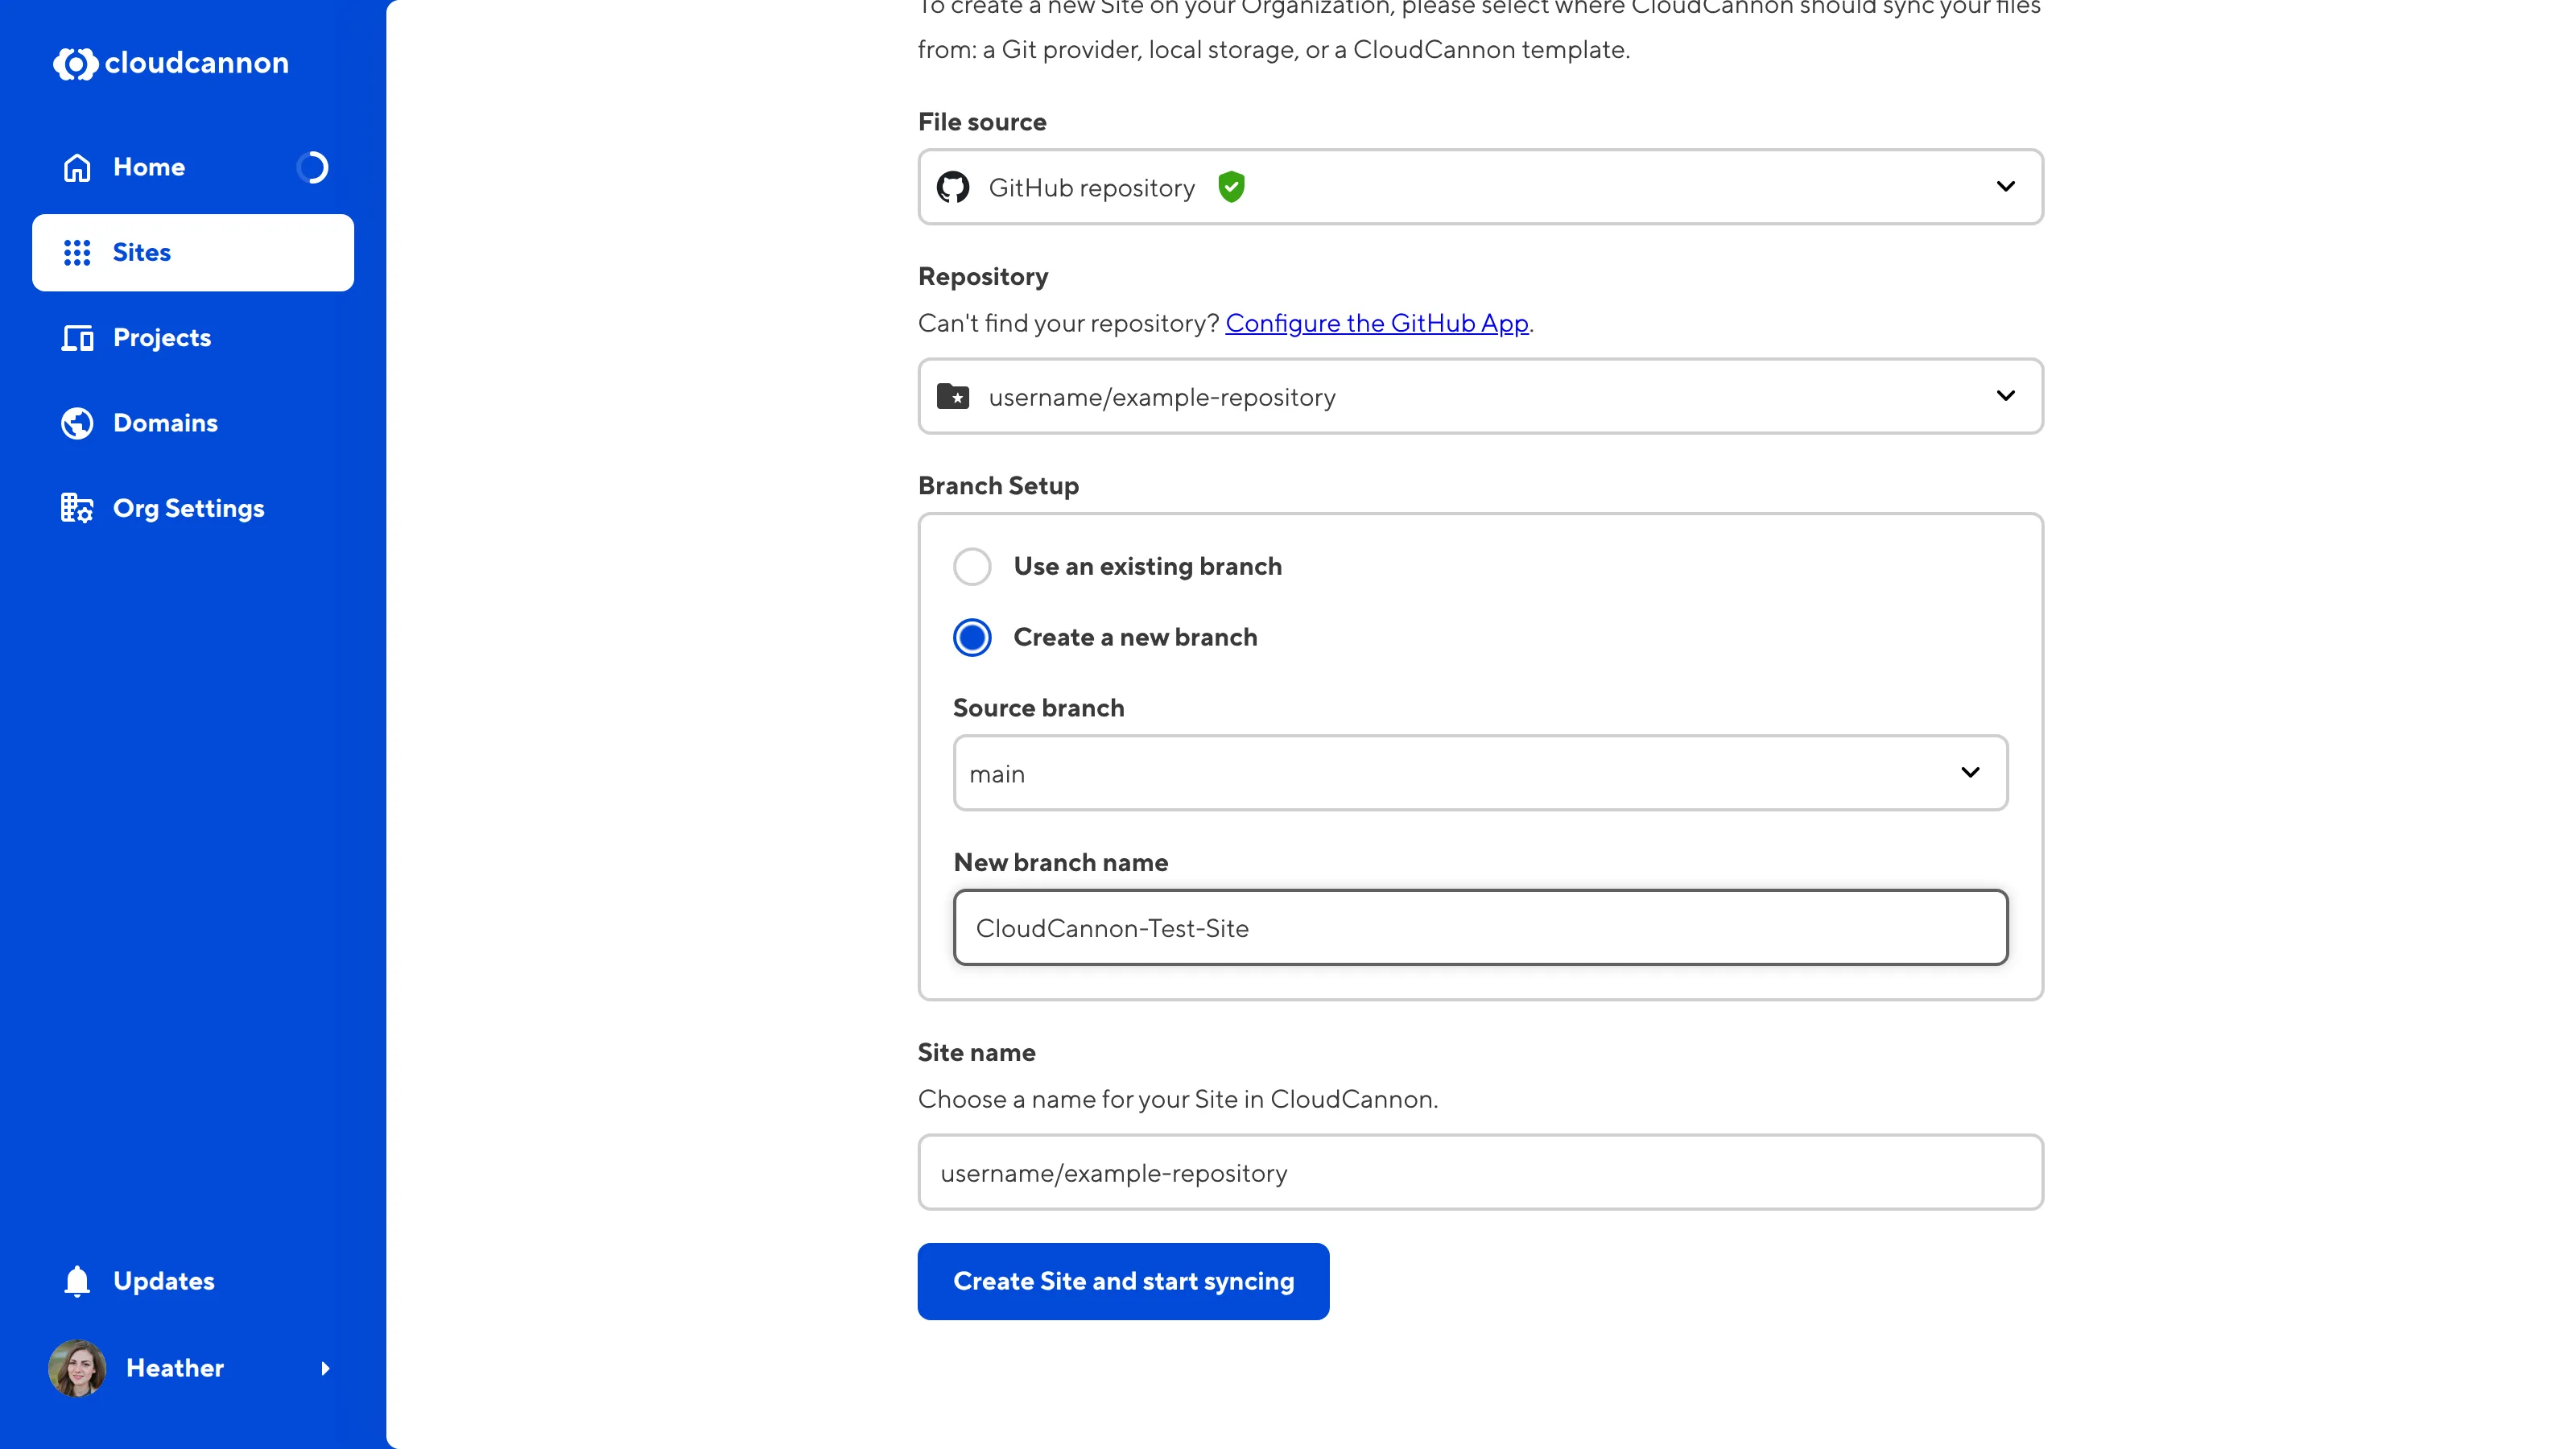
Use the Branch setup radio buttons to select either Use an existing branch or Create a new branch. You will most likely want to use an existing branch, but if you want to try CloudCannon without impacting your existing work, you can create a new one.
If you select Use an existing branch, use the Branch dropdown to select a branch from your repository.
If you select Create a new branch, use the Source branch dropdown to select which branch from your repository to copy and enter a name for your new branch in the New branch name text field.
Name your Site#
The Site name text field determines the name for your Site in CloudCannon. This won't affect your repository or branch in your Git provider.
CloudCannon will automatically populate this field with the name of your repository, but you can choose any name for your Site. We recommend choosing a simple name that provides information about the purpose of the Site (e.g., "CloudCannon Marketing Website", "Production: CloudCannon Documentation", "Staging: CloudCannon Documentation").
Use the Site name field to add a name for your Site.
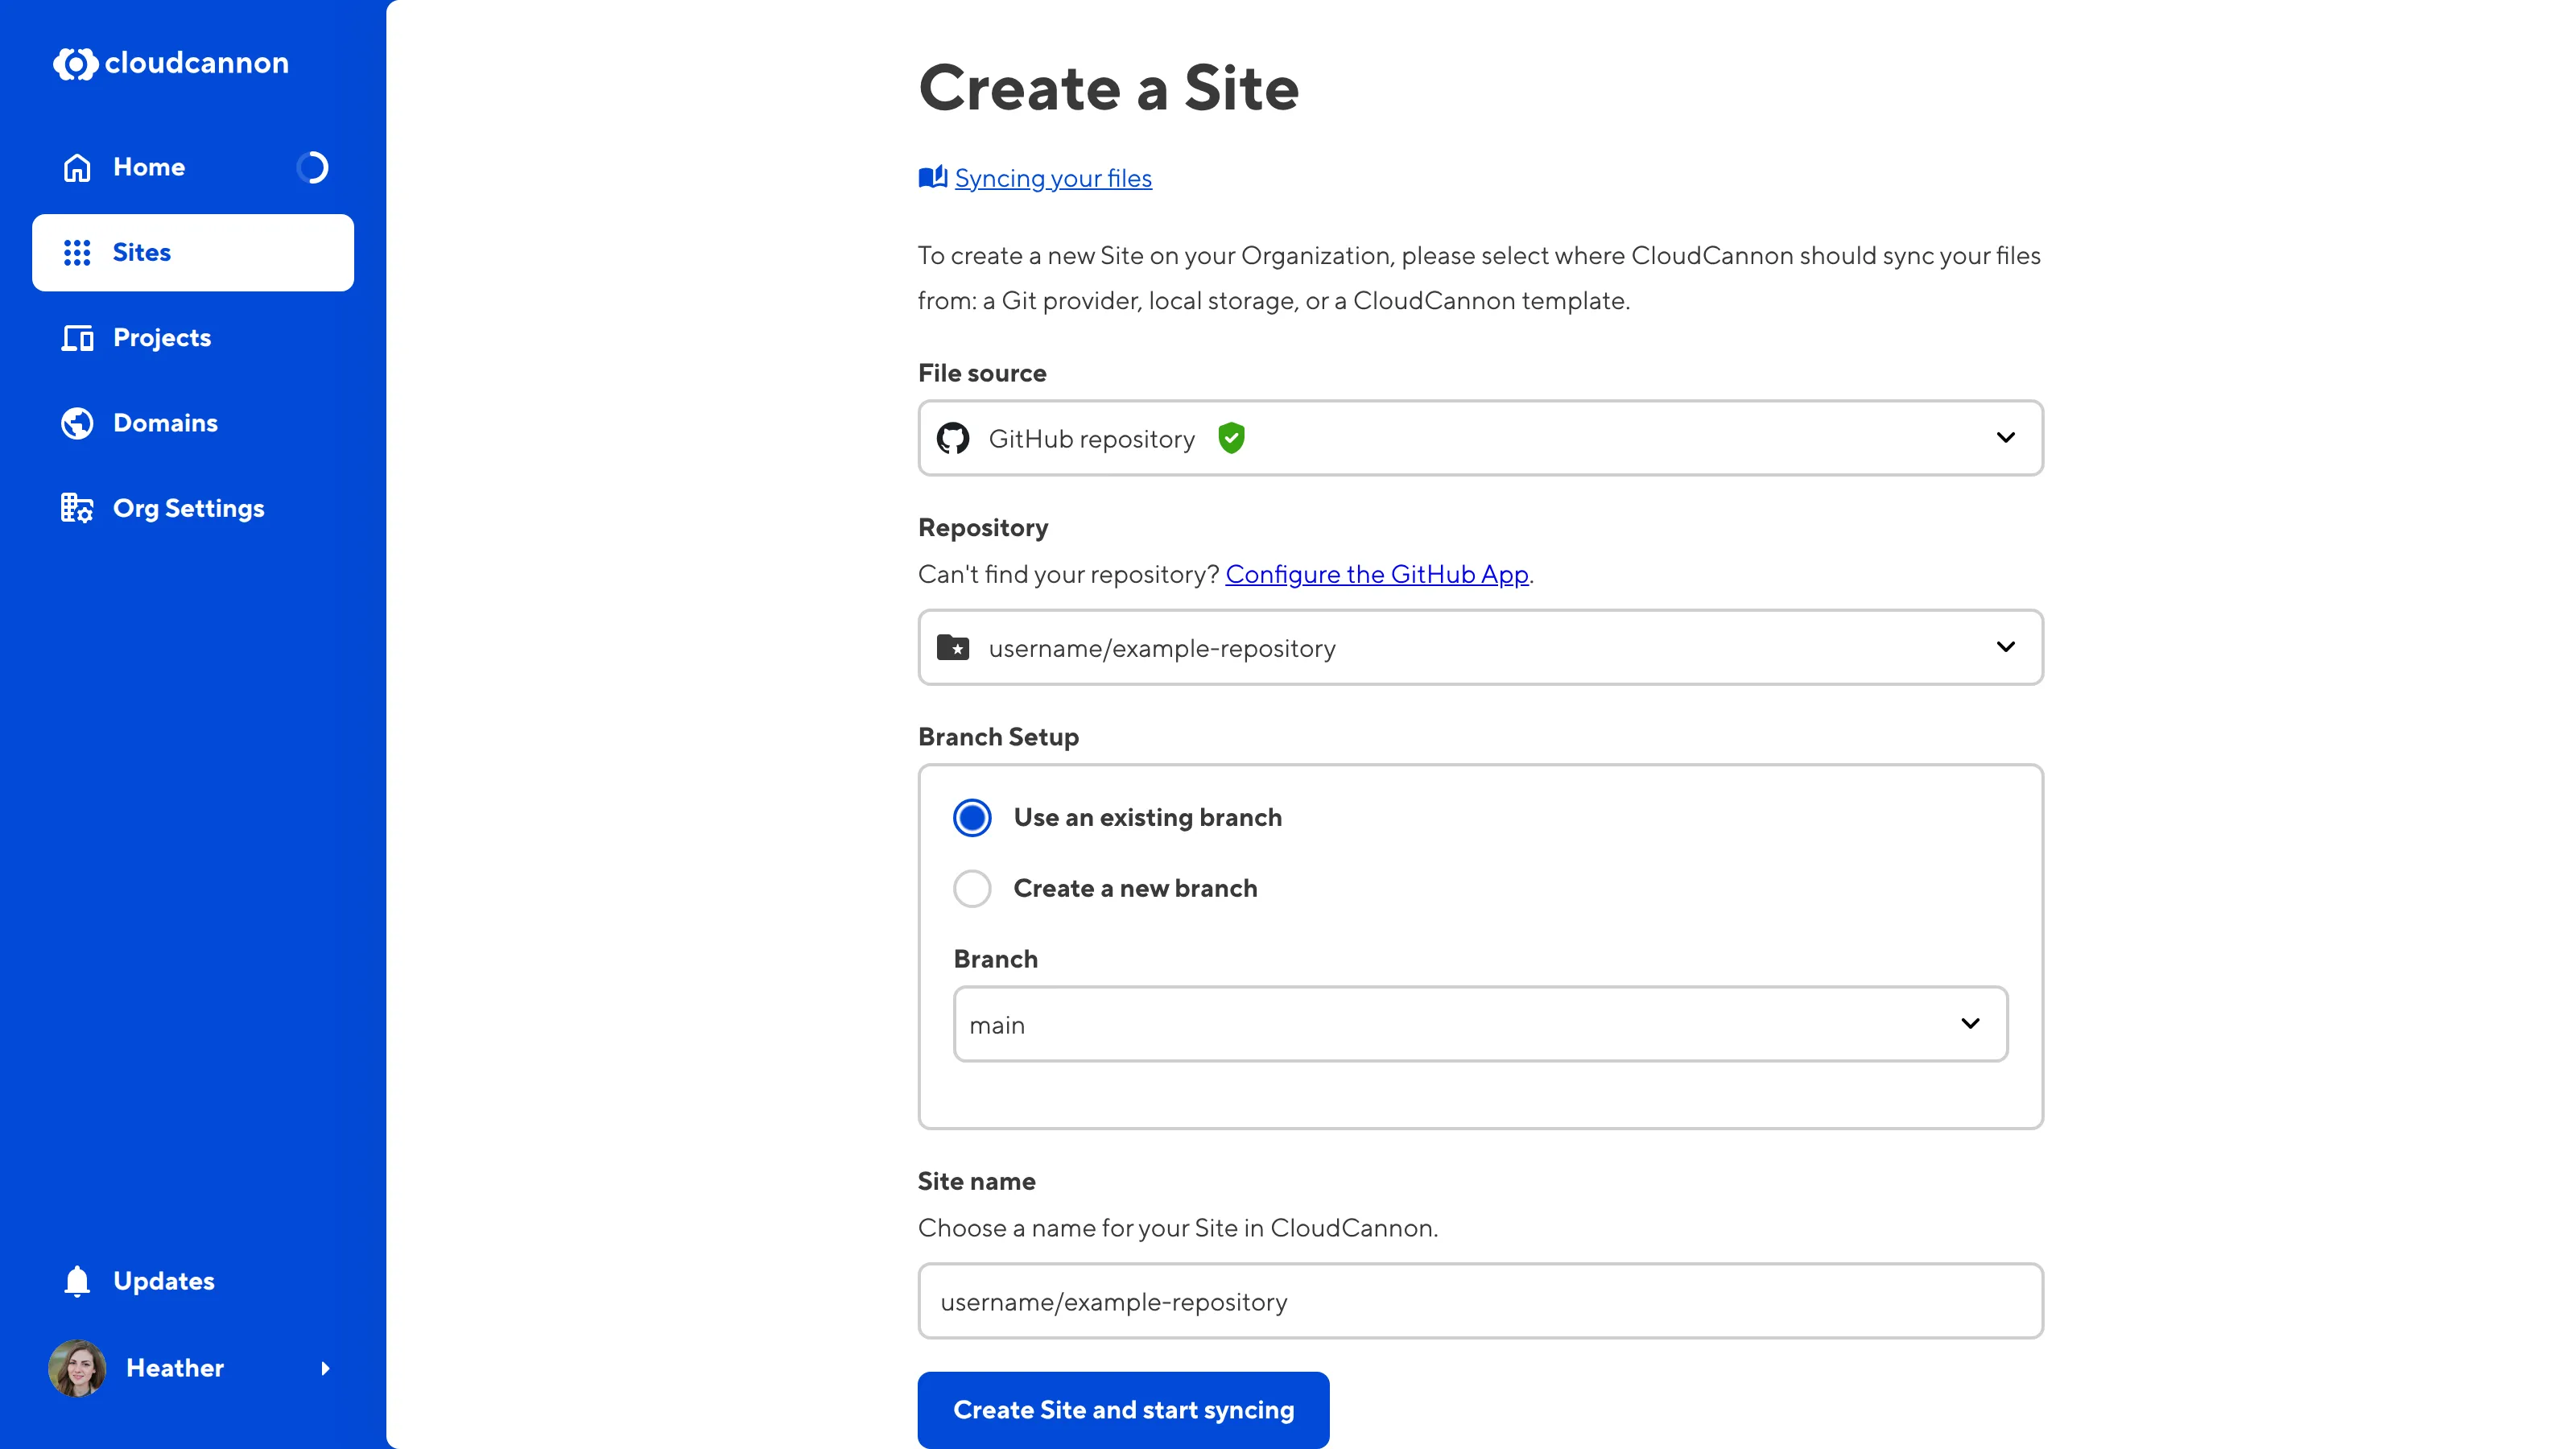
Click the Create Site and start syncing button at the bottom of the page.
CloudCannon will sync your files#
CloudCannon will begin syncing your files from your Git provider and open your Site Dashboard.
On your Site Dashboard, you'll see another in-app guide: Getting Started with Editing. This guide focuses on setting up the basics of your Site.
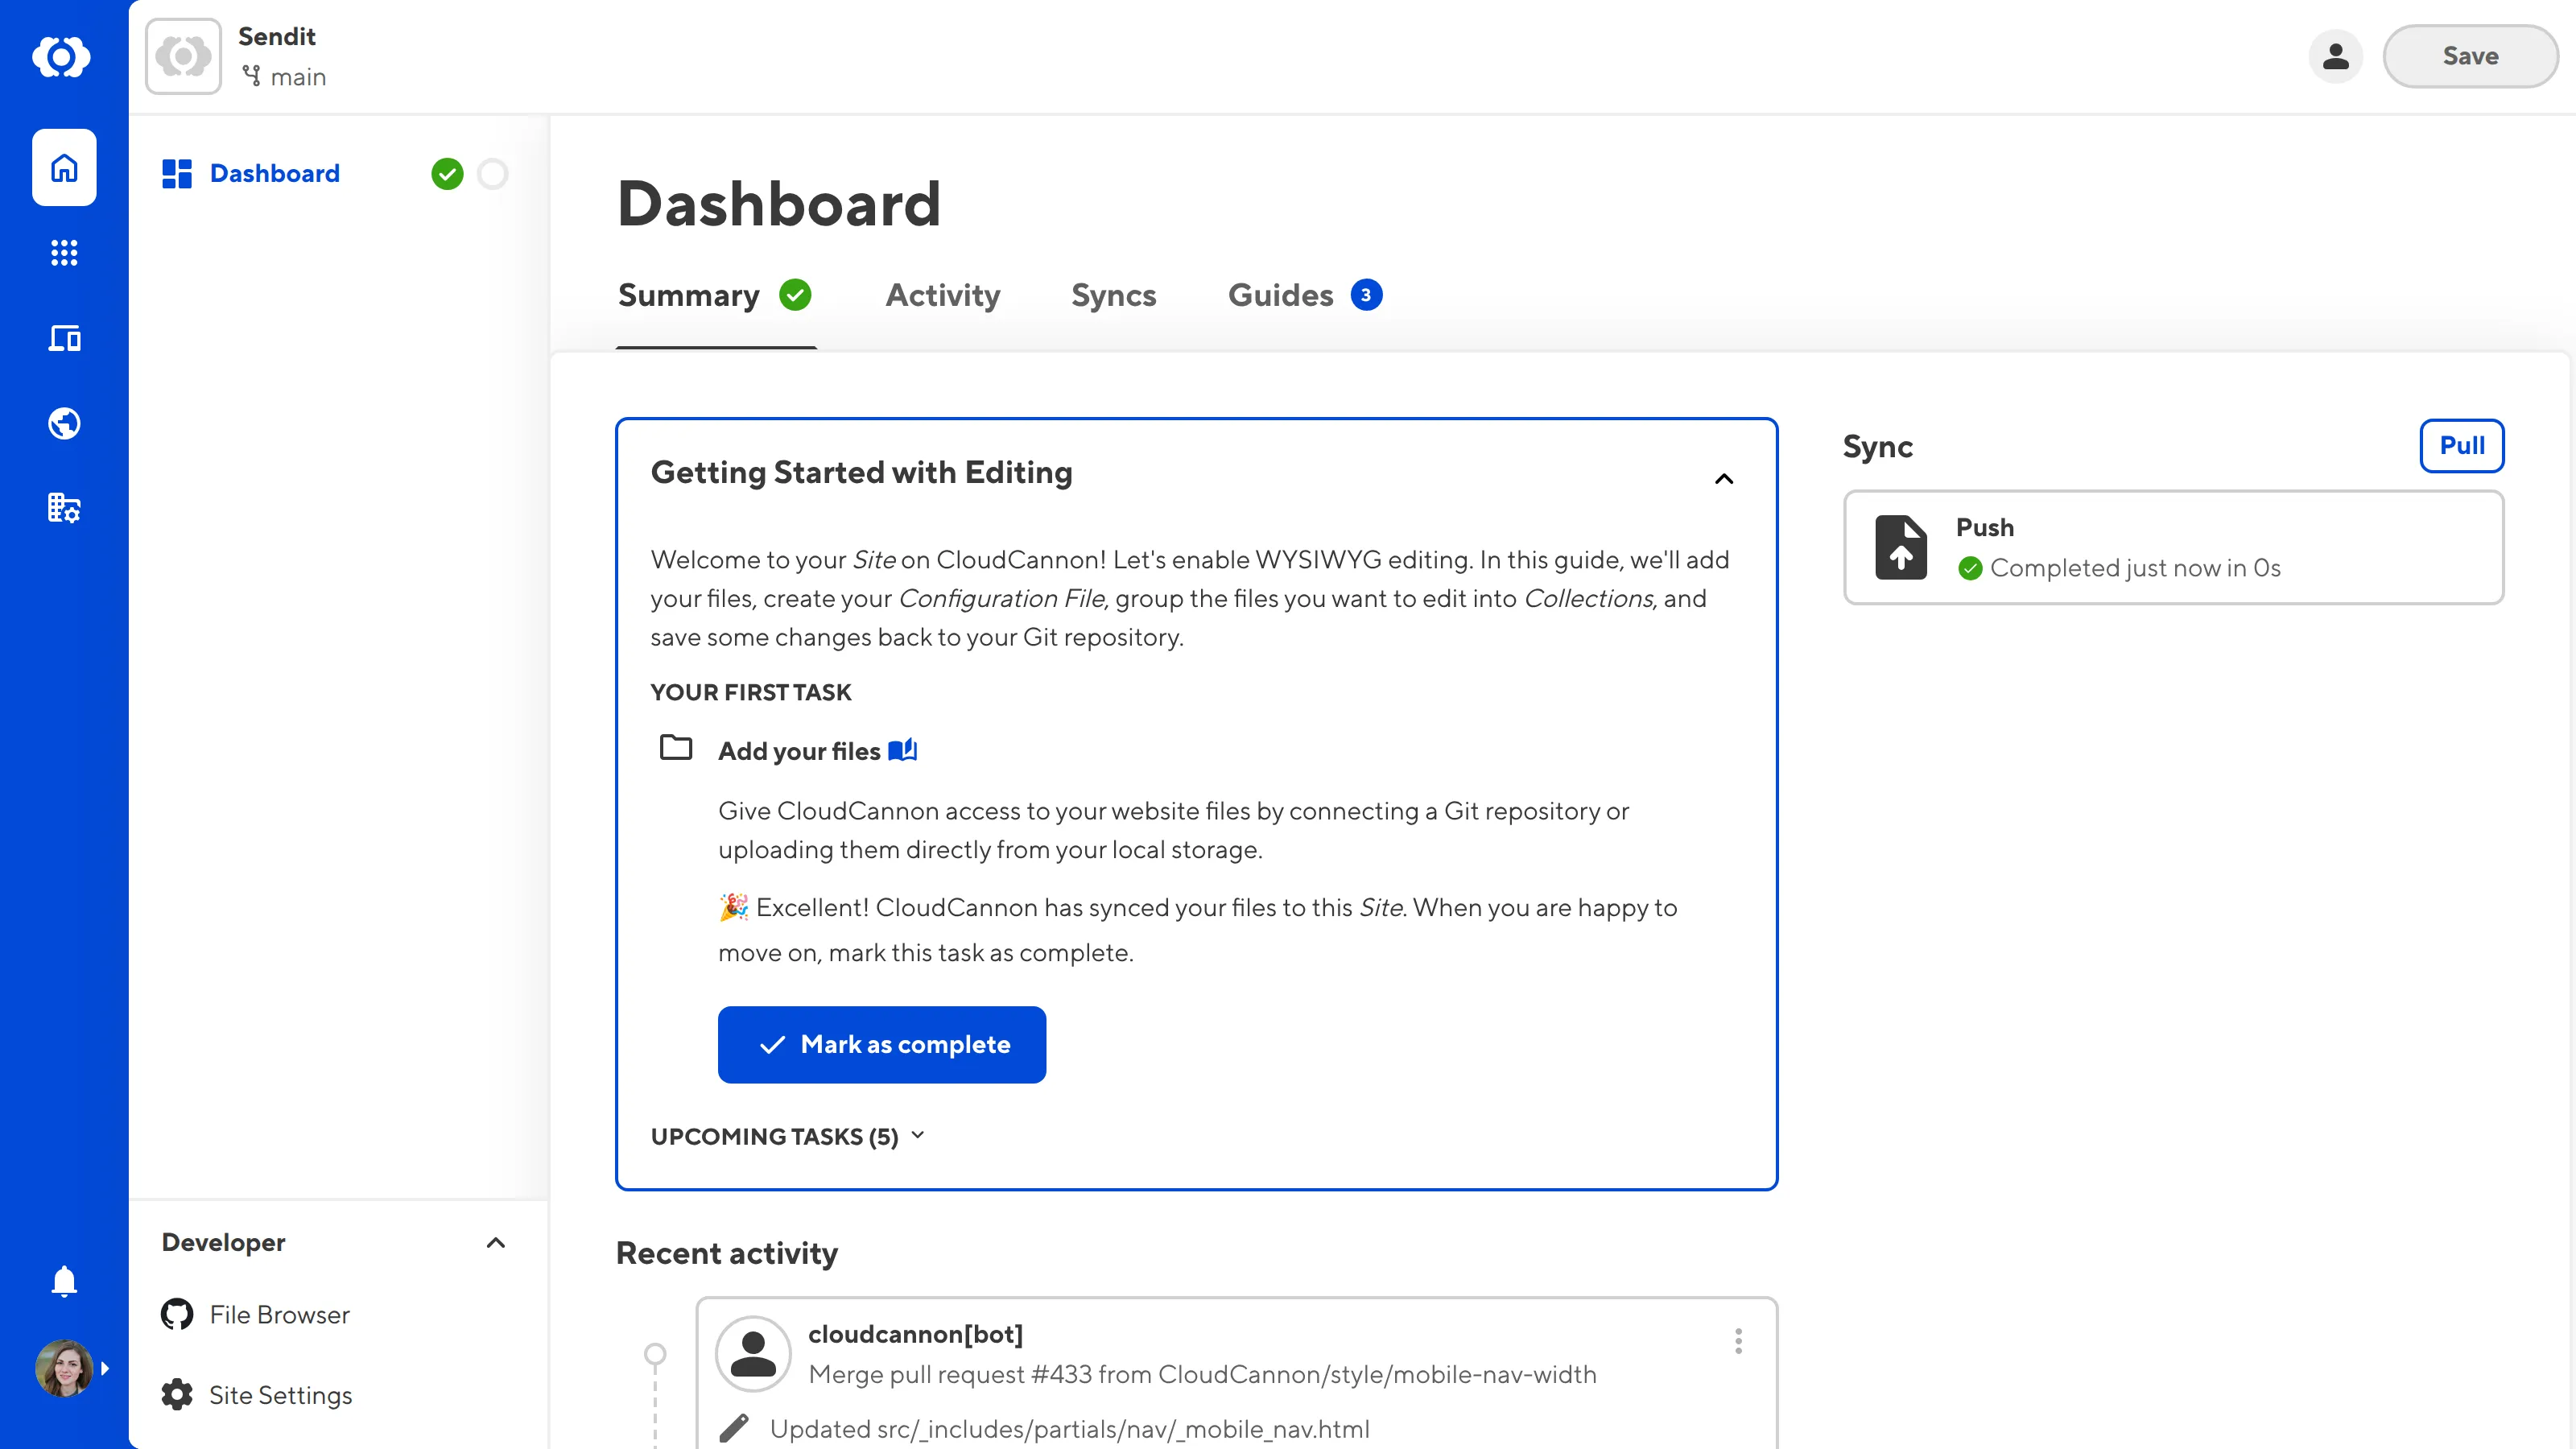
The first task in the Getting Started with Editing in-app guide is to Add your files. As CloudCannon is already syncing your files from your Git repository, you should see an in progress message under this step. This process is usually quick, but it may take a few minutes for larger repositories.
Once CloudCannon has finished syncing, this step of the guide will update and allow you to mark the task as complete.

In the next step of this guide, we'll look at your new Site and introduce you to some important UI.