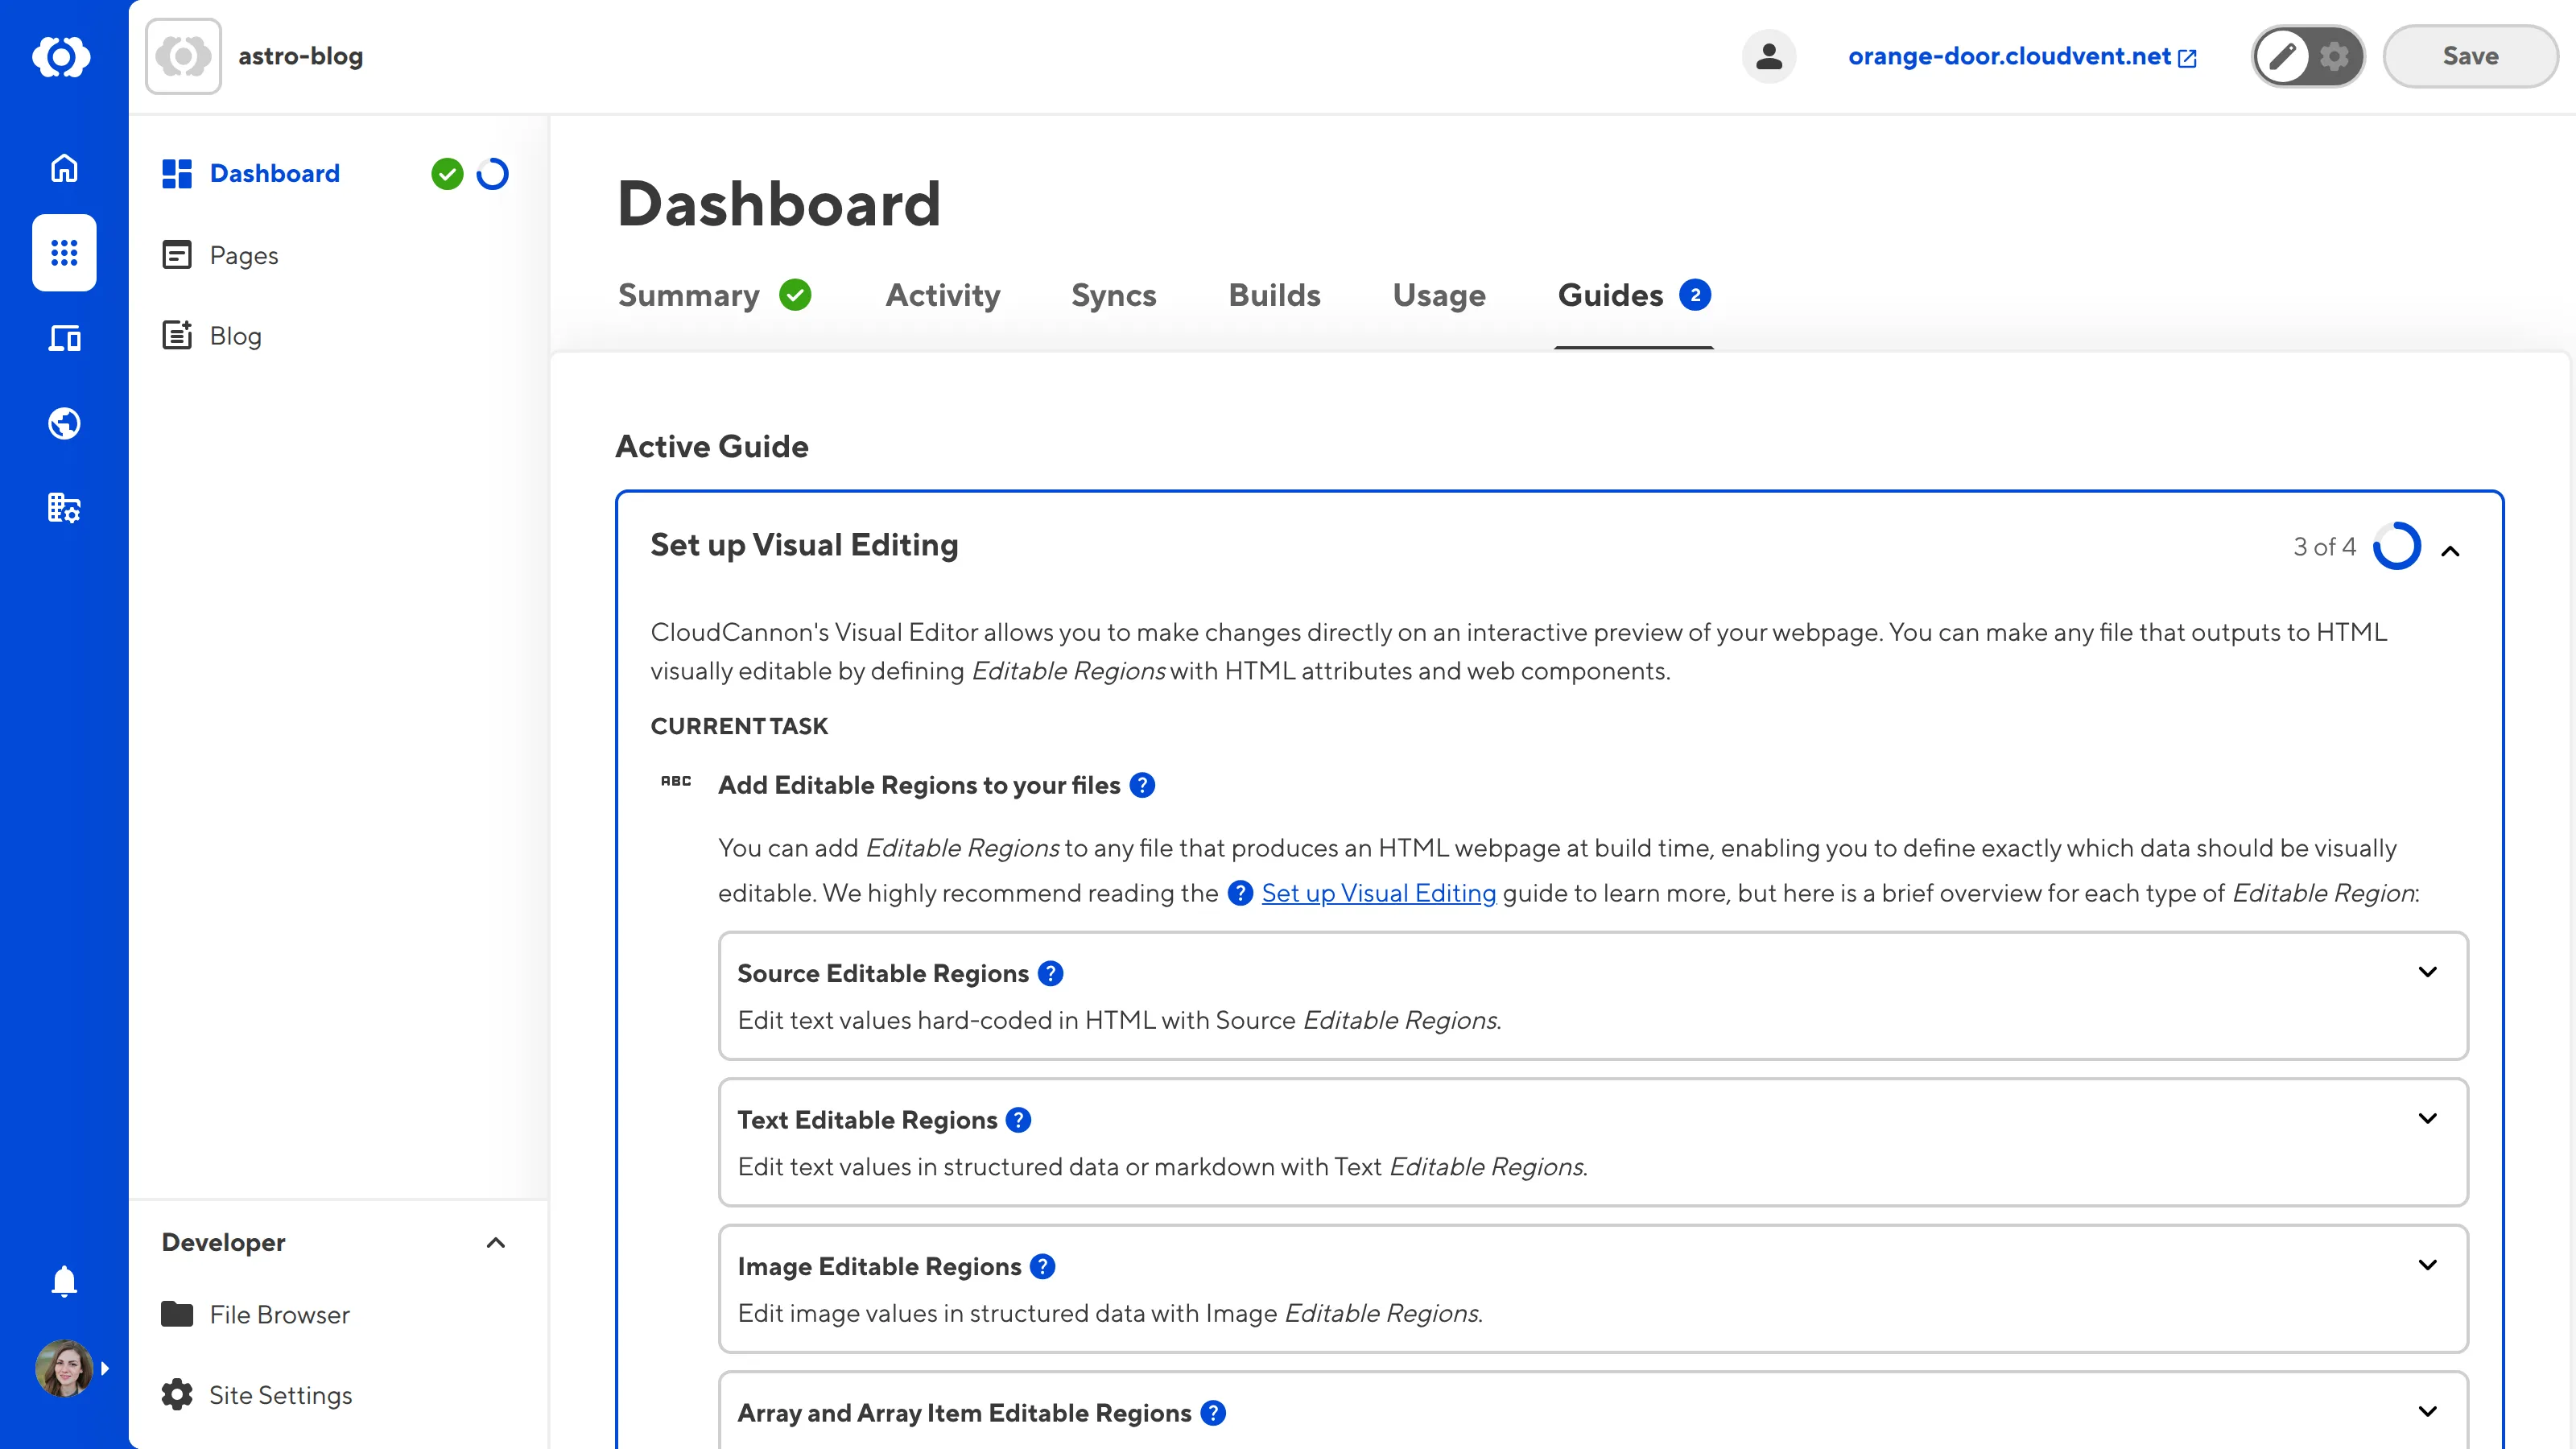
Welcome to CloudCannon's Set up Visual Editing guide!
This guide covers everything you need to configure to edit files with CloudCannon's Visual Editor. Visual editing provides the most intuitive editing experience, allowing you to make changes directly on an interactive preview of your webpage.
With the Visual Editor, you can update plain text, rich text, and images inline on your page, edit, reorder, and remove array items (including page building), and navigate between your webpages just as you would on your live website. The biggest benefit of visual editing is that what you see in the Visual Editor is exactly what your visitors will see on a webpage. This means you can make decisions about your content in context.
In this guide, we'll cover:
- How the Visual Editor works.
- How to generate the previews of your webpages by building your Site through CloudCannon.
- How to check your Collection files output to an HTML webpage.
- How to define editable regions on a webpage for your content managers to use in the Visual Editor.
Before we begin, this guide assumes that you have completed the Getting Started with Editing in-app guide, know the correct build settings for your Site, and are comfortable editing HTML layouts, either in CloudCannon's Source Editor or your local development environment.
This guide has an in-app counterpart, Set up Visual Editing, which you can find on the Guides tab of your Site Dashboard. We recommend you mark the in-app guide as active now, so you can follow configuration prompts in CloudCannon.

Don't have WYSIWYG editing set up yet?
If you aren't quite ready to configure Visual Editing, check out our Getting Started guide!