The next task in the Getting Started with Editing in-app guide is Tour a Collection Browser, which will point out important UI in the Collection Browser. If you would rather continue configuring CloudCannon, feel free to skip this task.

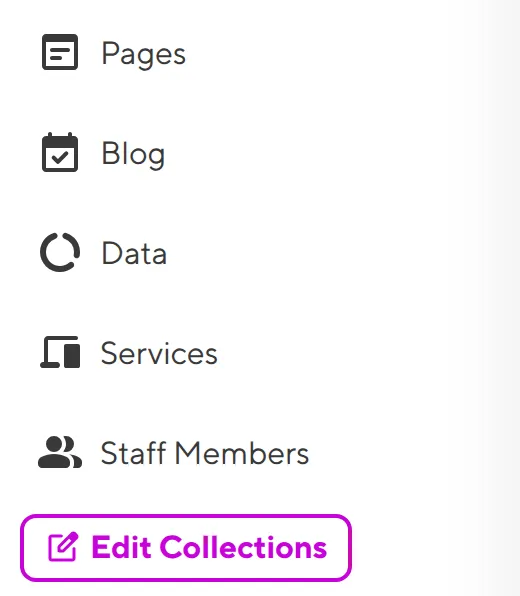
The Collections you selected in the Edit Collections modal are visible in your Site Navigation. Click on a Collection to open the Collection Browser.
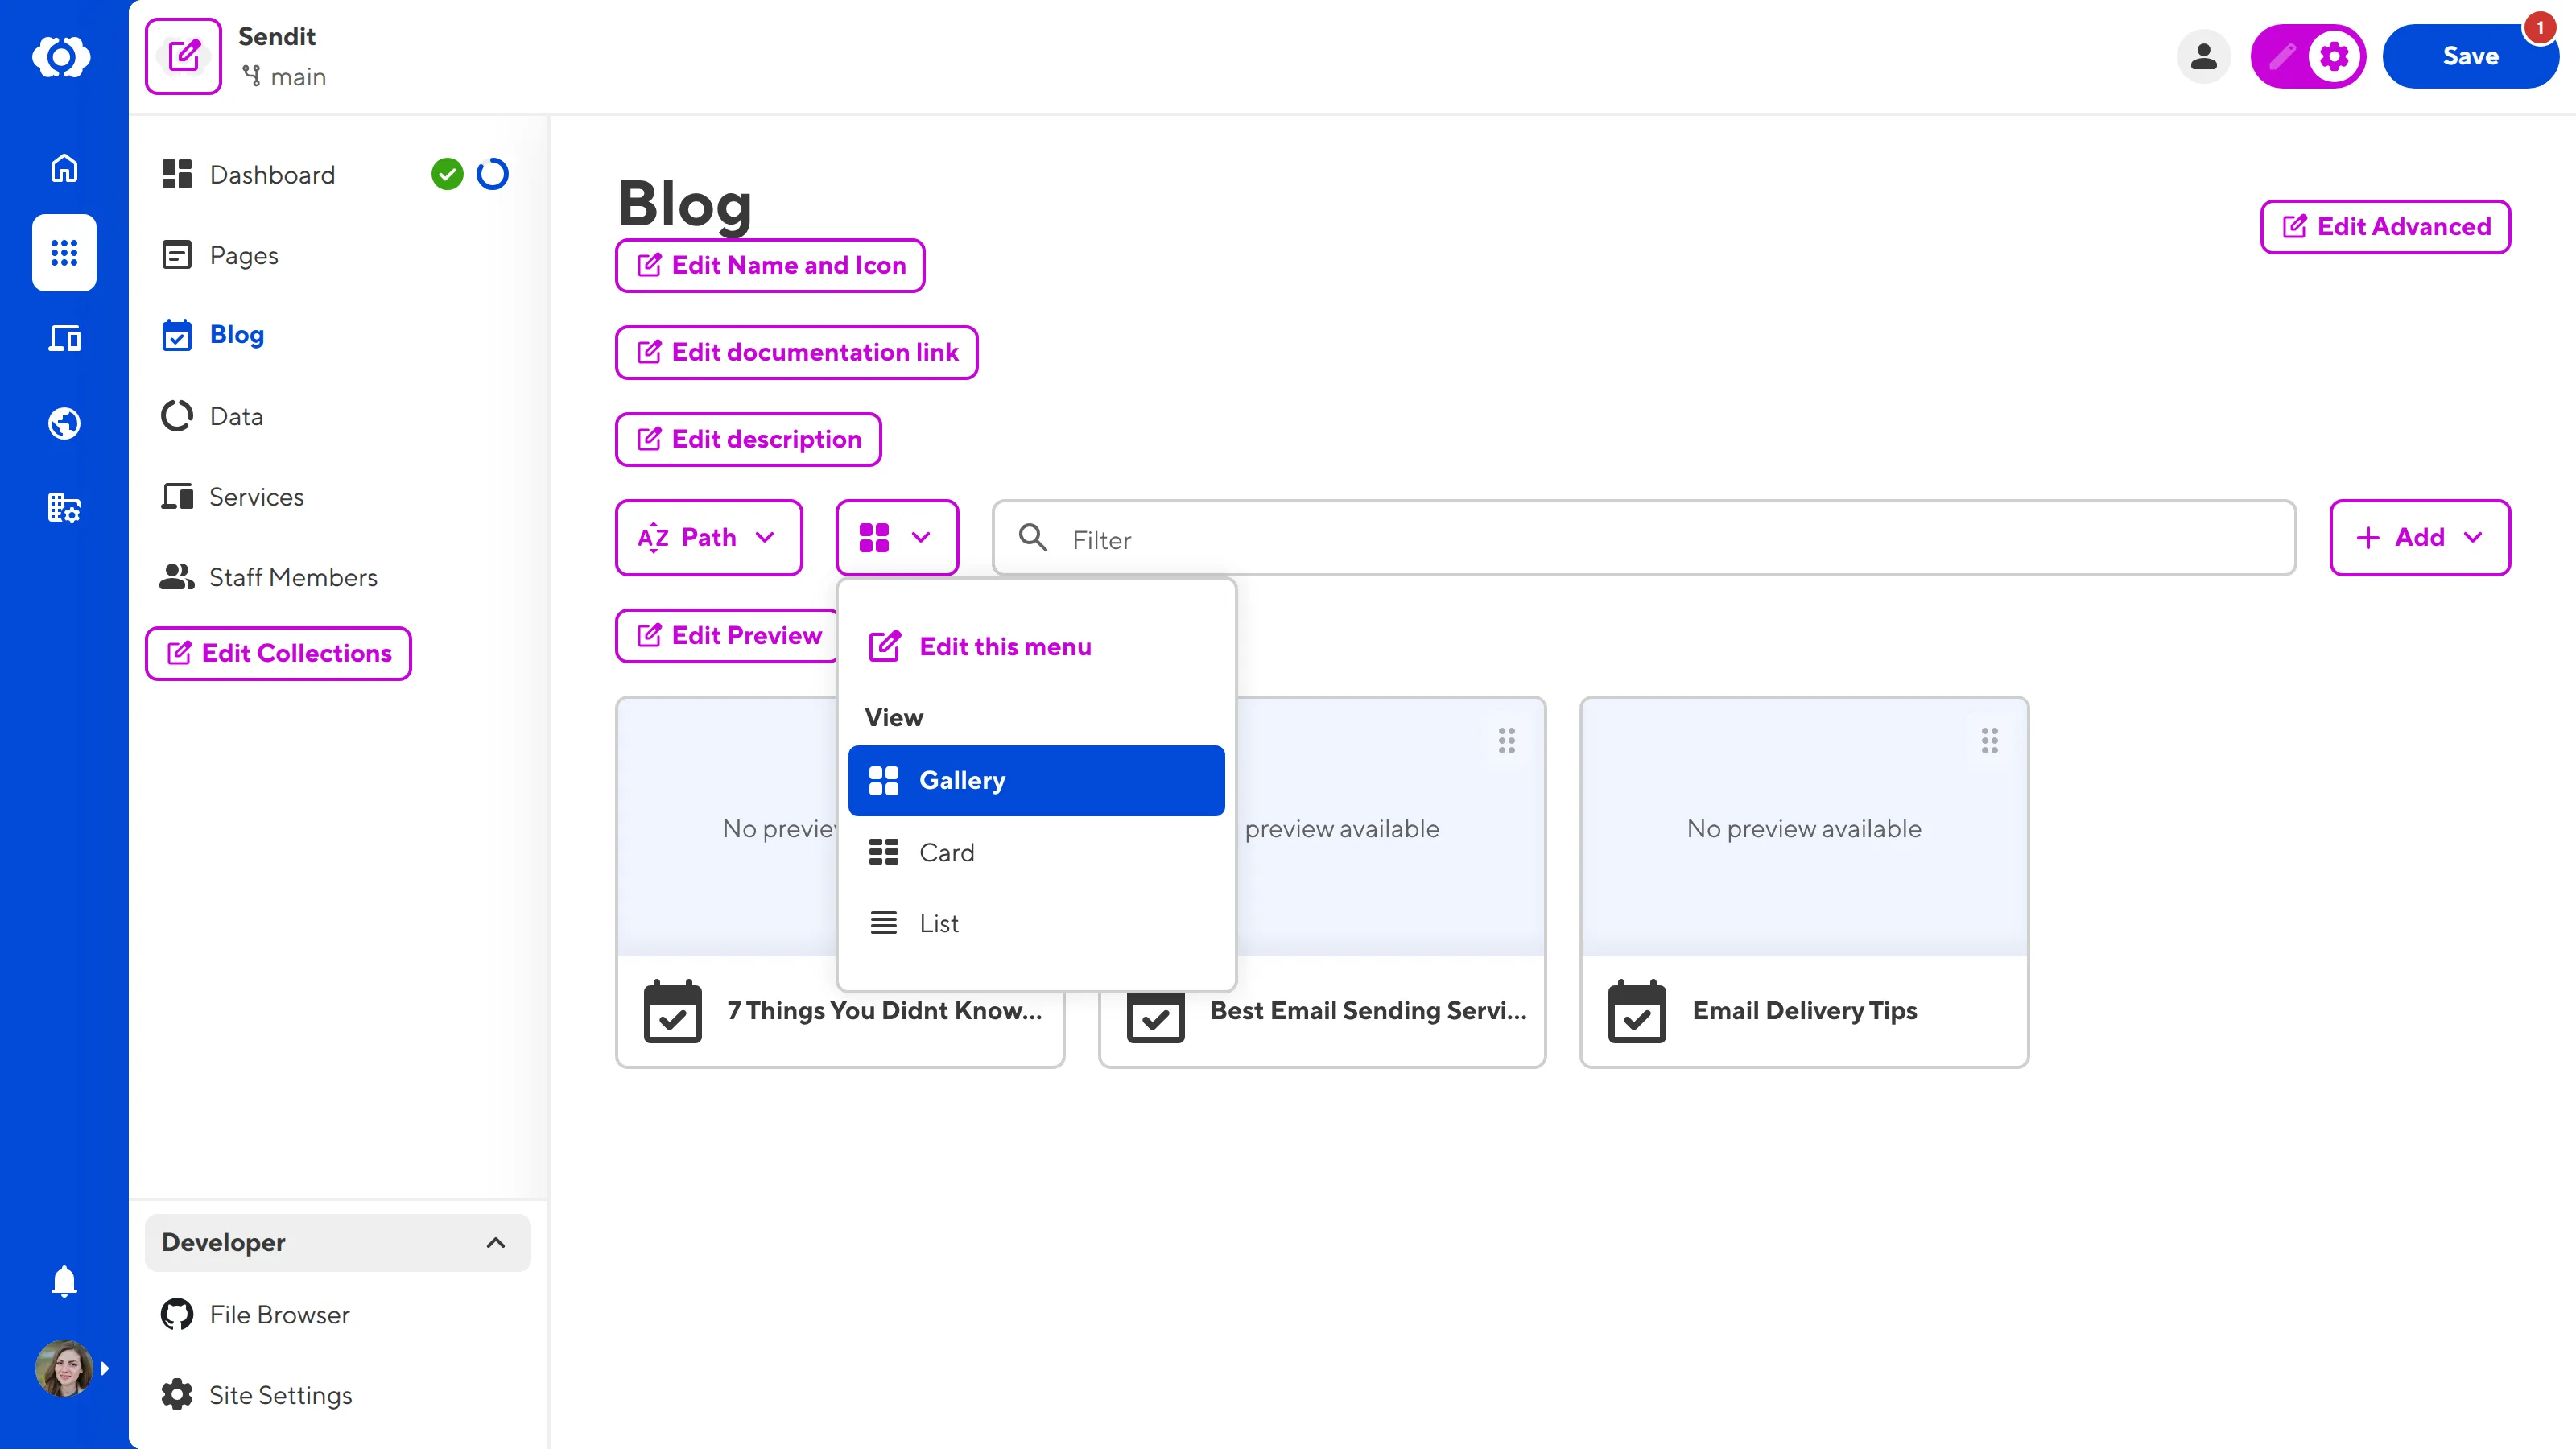
You may notice that several UI elements in your Collections Browser are purple. That's because these elements are all configurable, allowing you to customize your CloudCannon experience using Configuration Mode.
For now, let's hide this UI by clicking on the purple Configuration Mode switch on the right of your Site Header to turn it off.

Your Collection Browser allows you to browse, sort, and filter your Collection files, add new ones, and perform file actions like cloning or deleting.
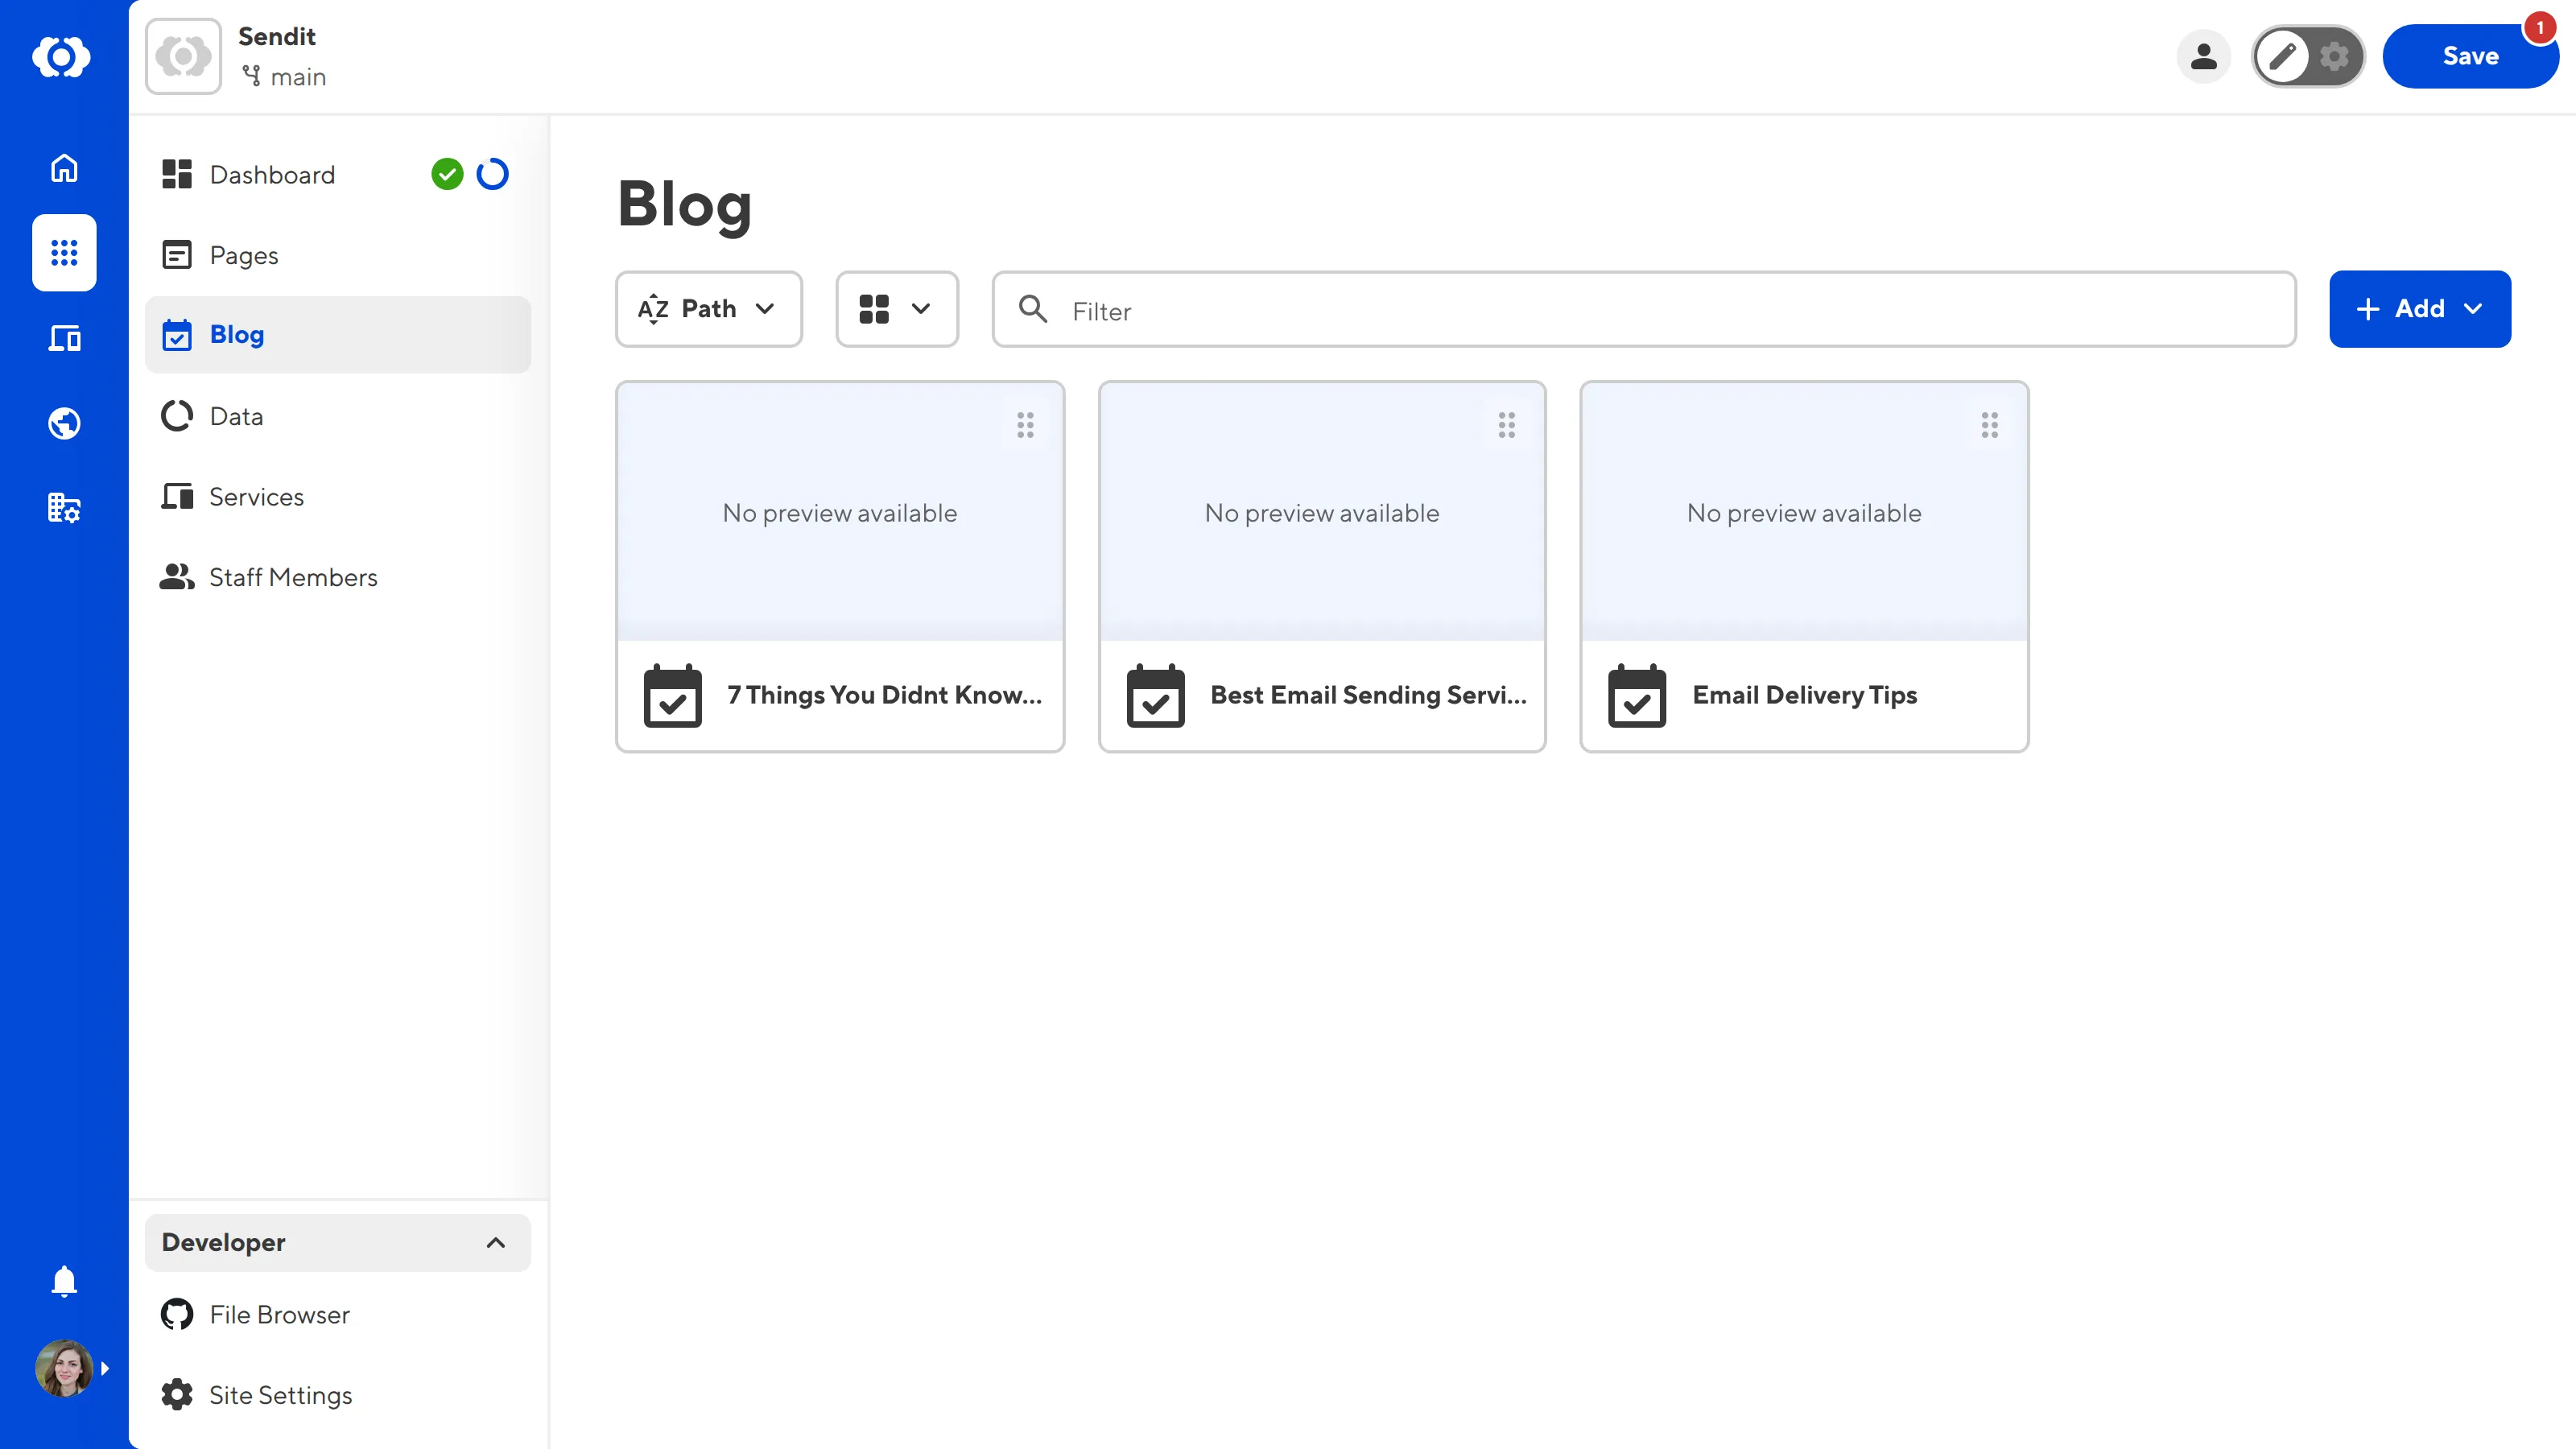
At the top of your Collection Browser, underneath your Site Header, is the Collection Header. This section contains important identifying information about your Collection, such as the Name, and Documentation Link or Description (if configured).
Under the Collection Header are the Collection Browser Controls: the Sort menu, View menu, Filter text field, and the + Add menu.

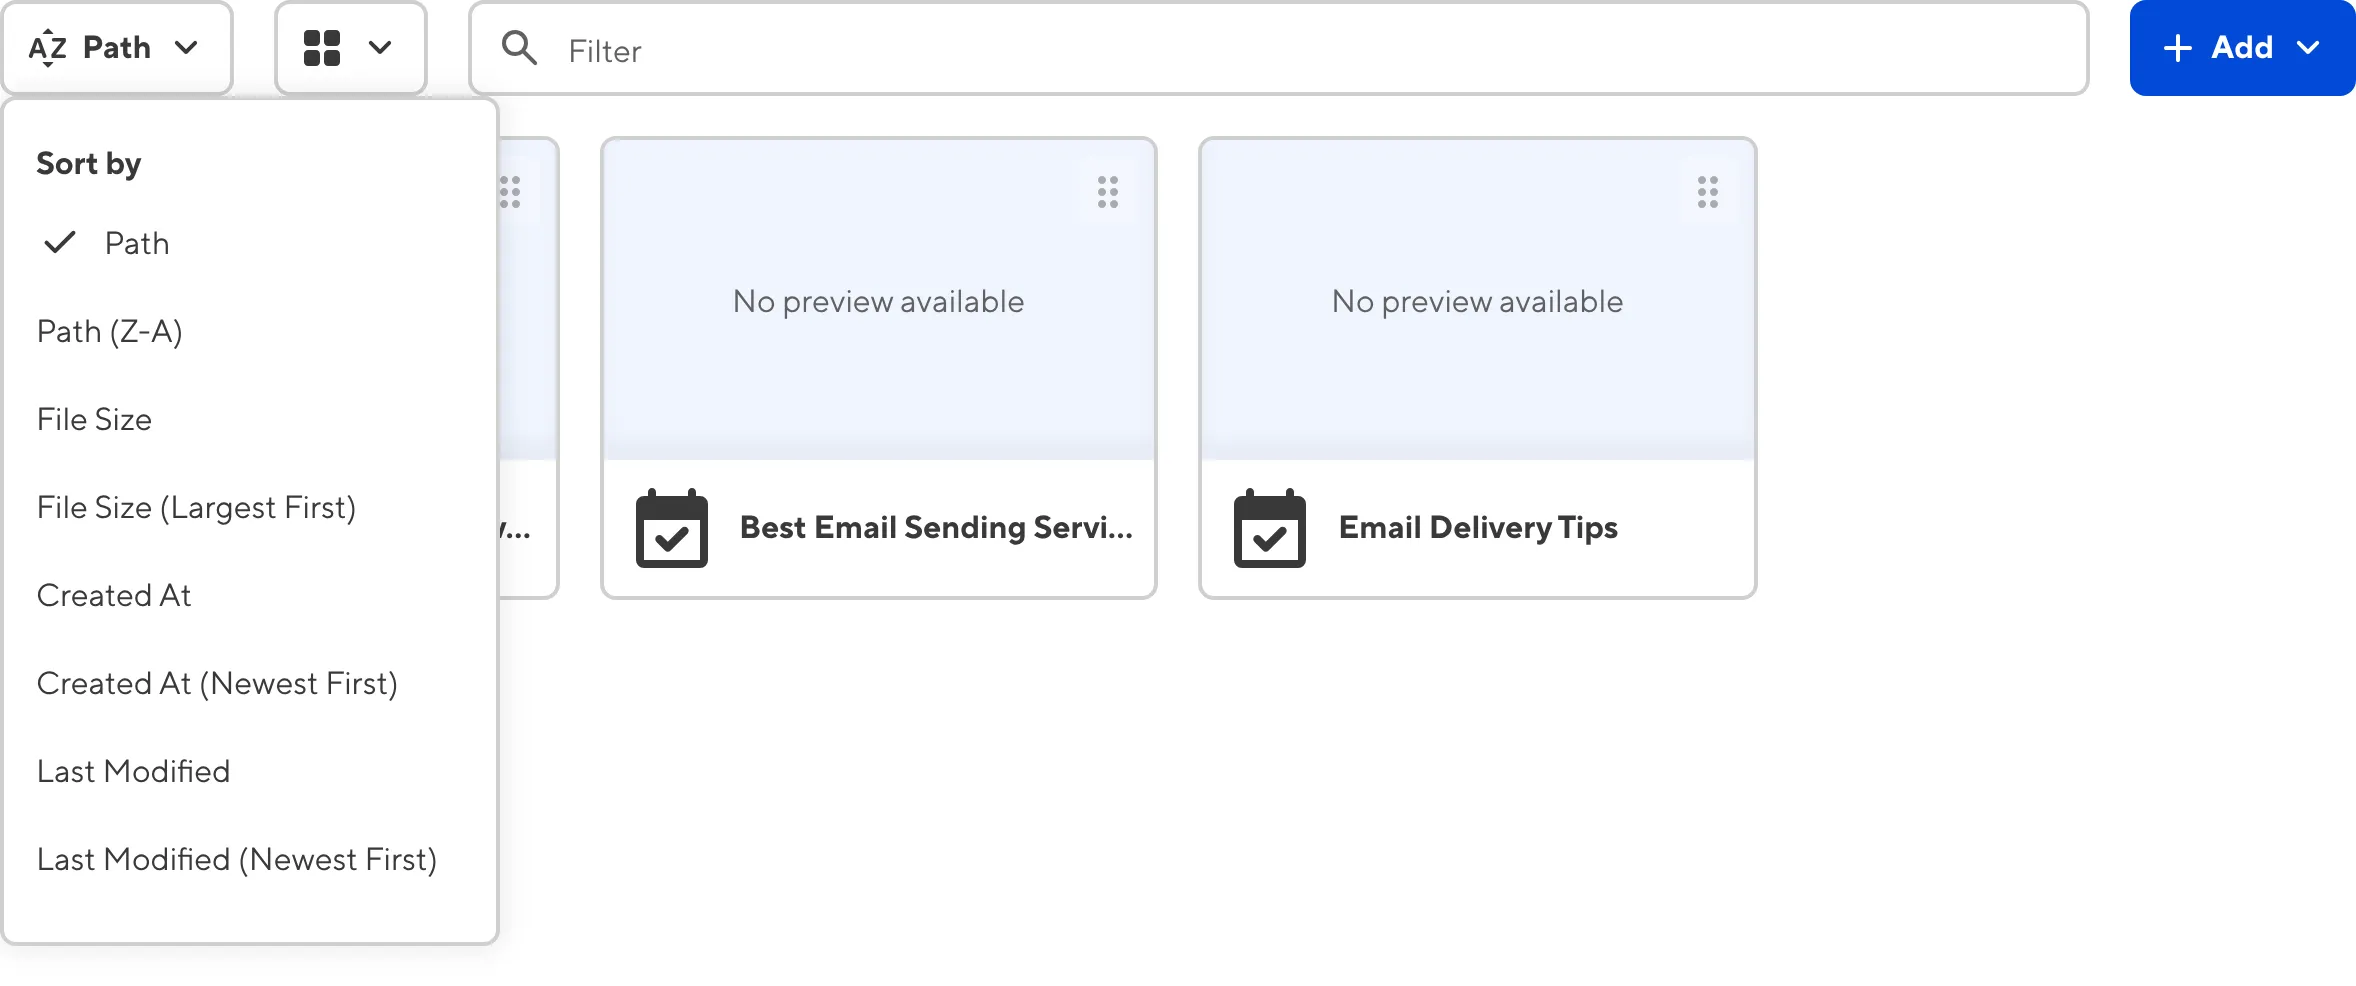
The Sort menu allows you to change how CloudCannon sorts your Collection files. By default, you can sort your files alphabetically by file path, or numerically by file size, date and time of file creation, or date and time the file was last modified.
The View menu allows you to change how your files appear in the Collection Browser. You can switch between three view options: List, Card, and Gallery.

The default view in your Collection Browser is the Gallery view. When the Gallery view option is selected, the Collection Browser displays the file name, file path (if it is an output Collection), the icon for the Collection, and has a gallery section for each file in a rectangular Card. The gallery section of the Card can display an image from within the file or a preview screenshot of the webpage.
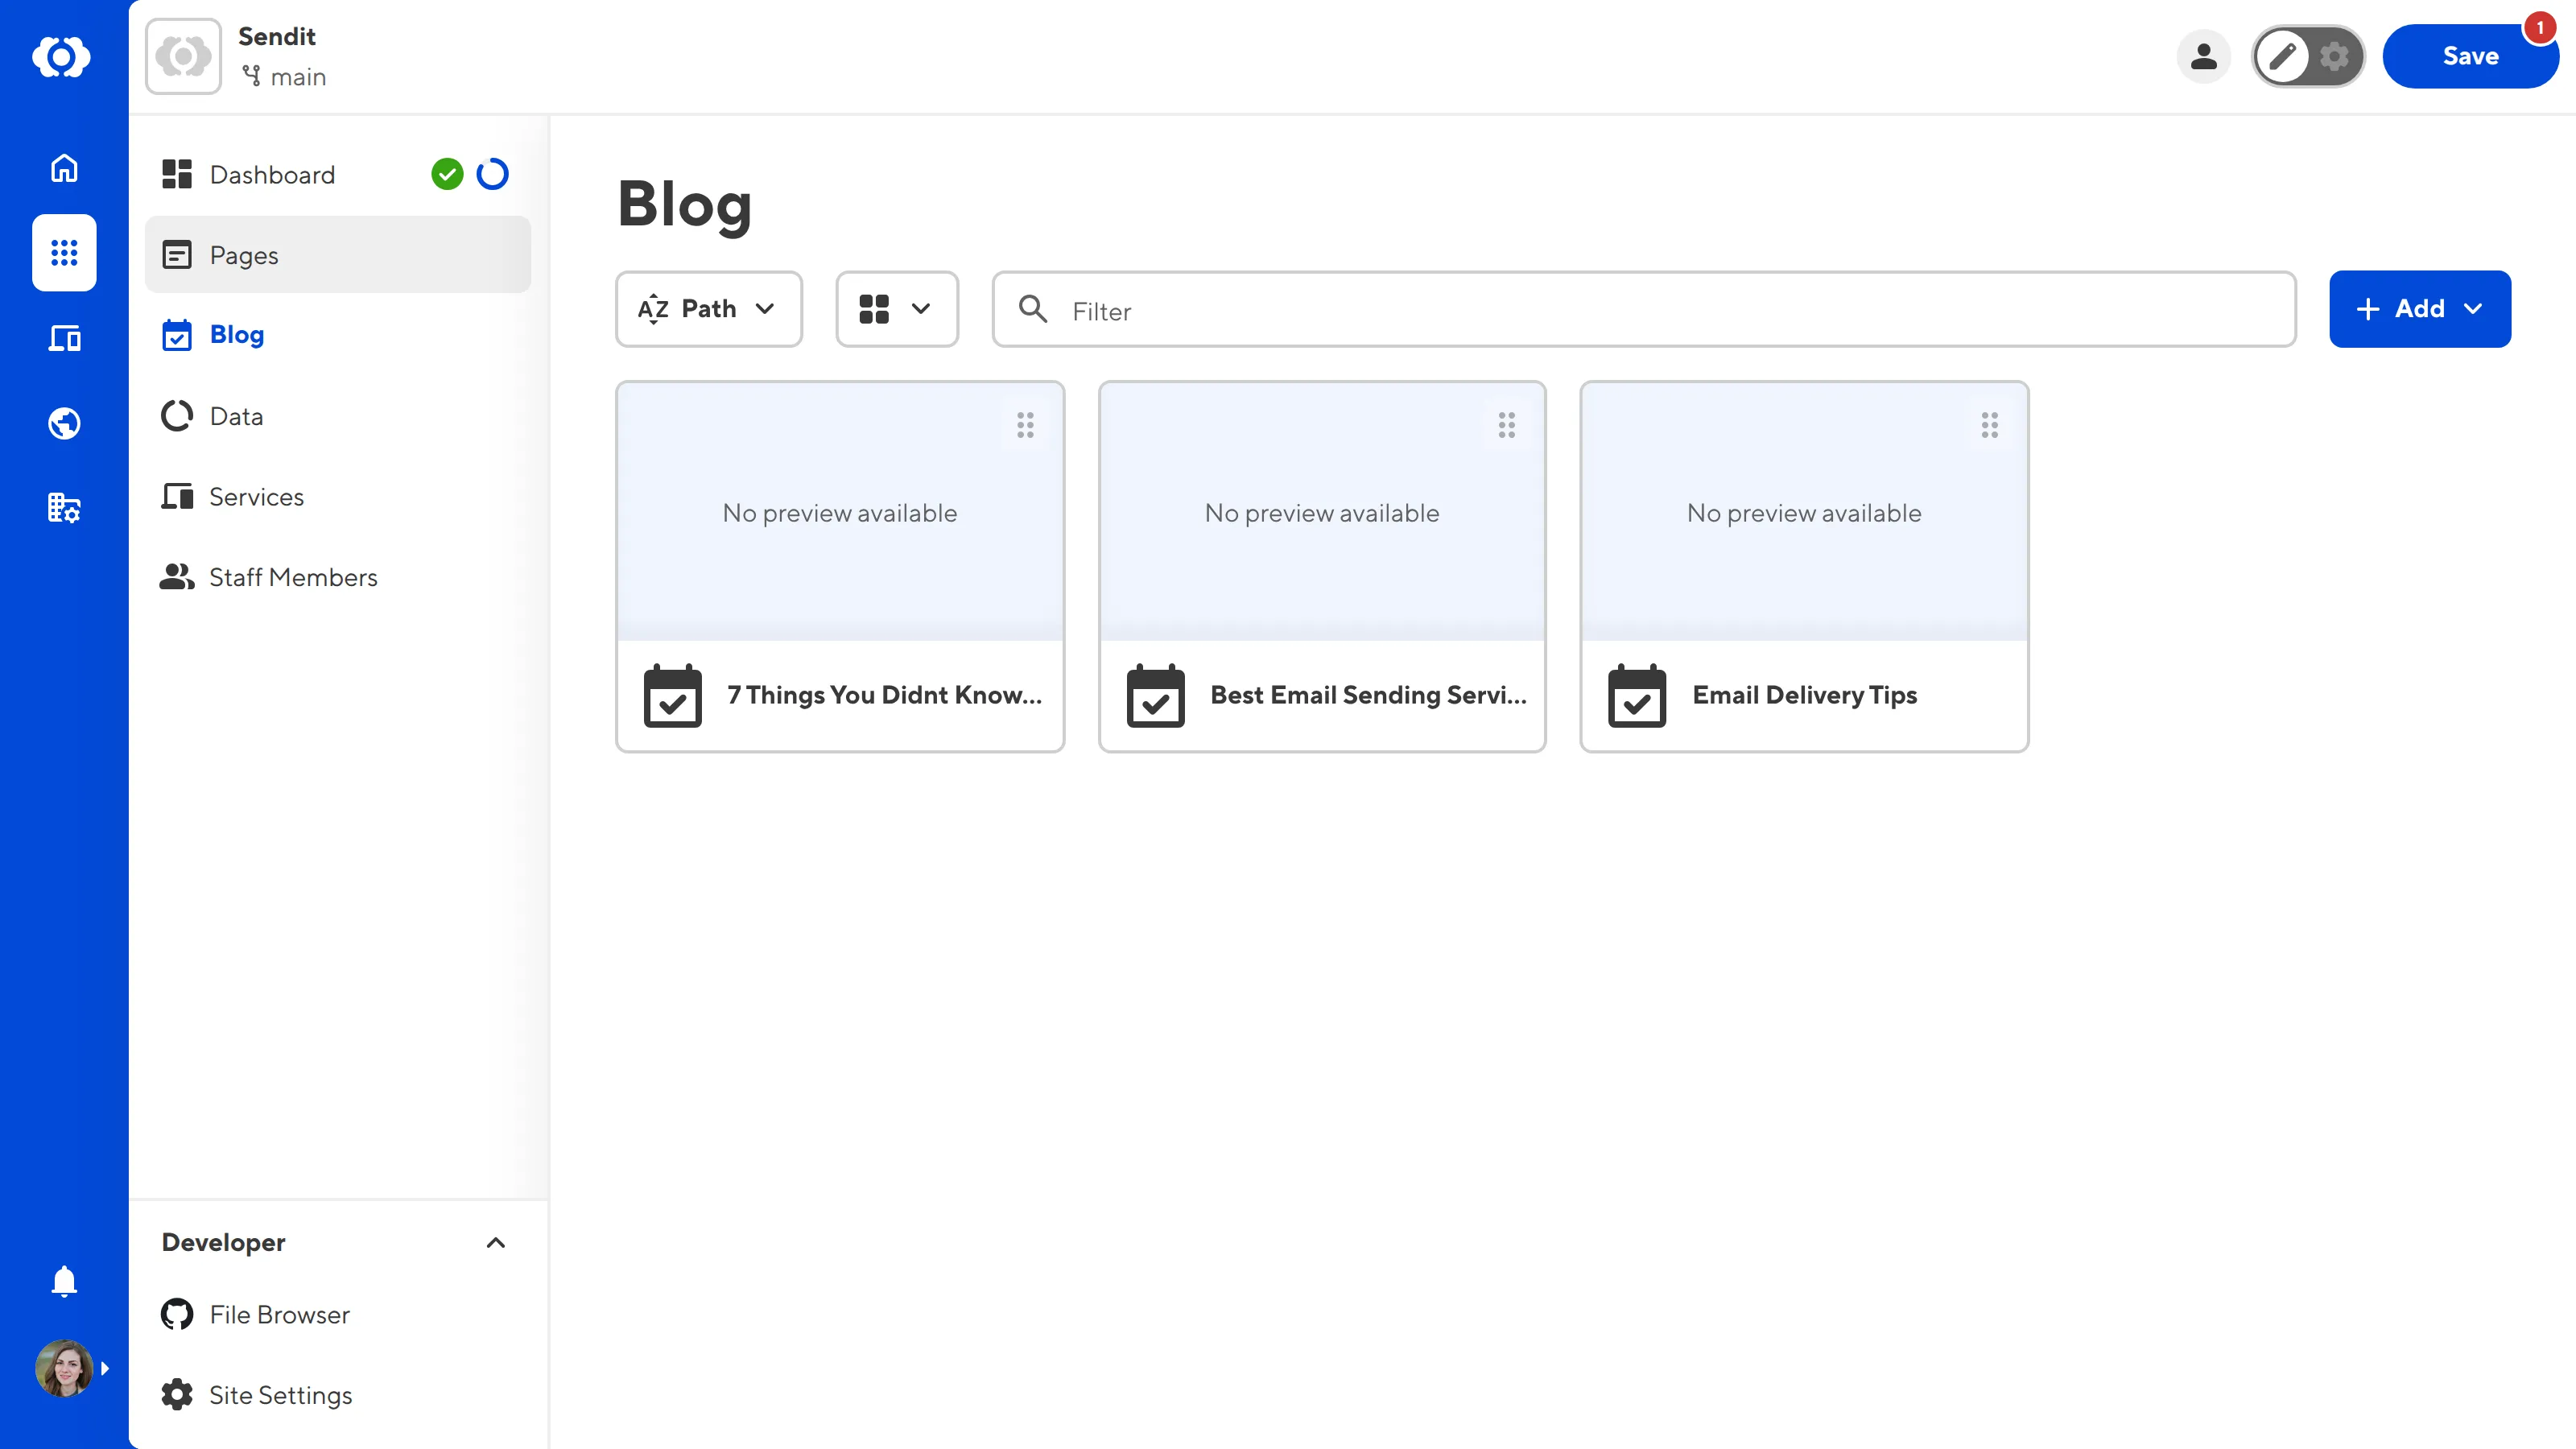
The gallery section of your File Card can also display a "No preview available" or "Failed to load image" warning.
"No preview available" indicates that the preview screenshot has not been configured. This will be the case for Sites that have not been built. We'll cover screenshots more in the Set up Visual Editing guide.
"Failed to load image" indicates that an error has occurred, and CloudCannon could not load the preview screenshot. Refreshing your browser may fix this.
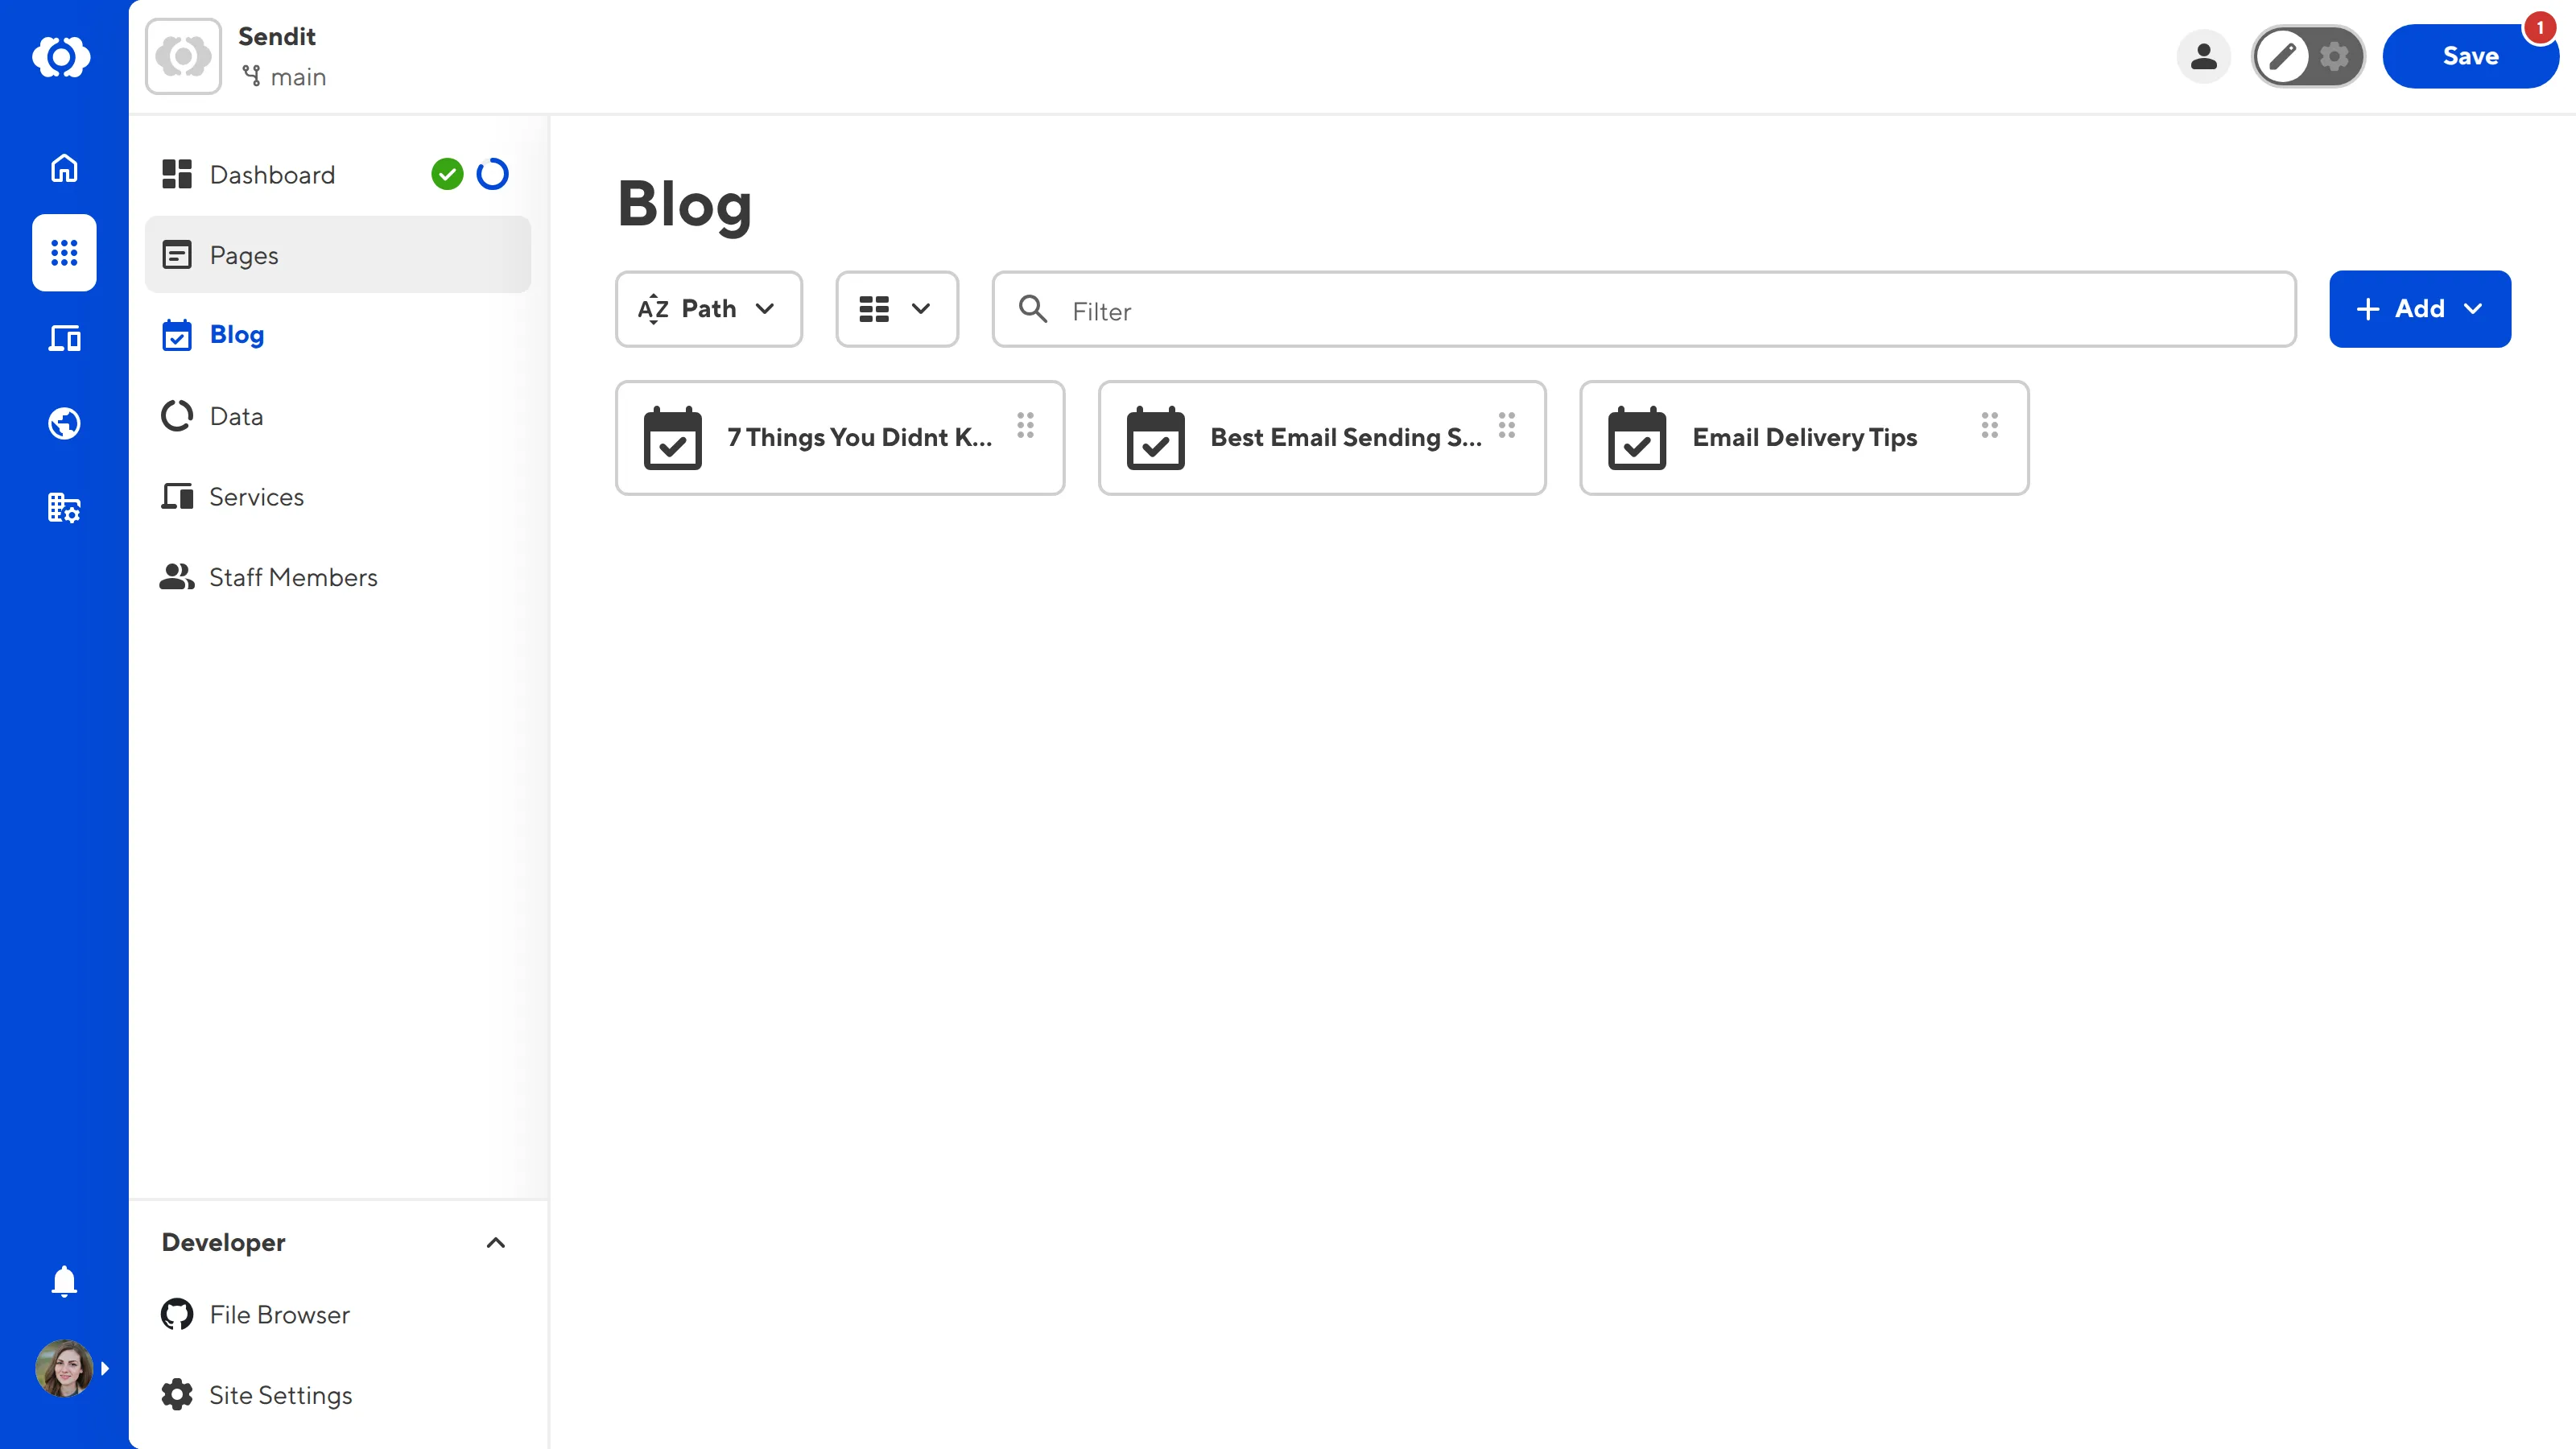
When the Card view option is selected, the Collection Browser displays the file name, file path, and the icon for the Collection for each file in a rectangular Card. This is similar to the Gallery view, except without a section for an image.
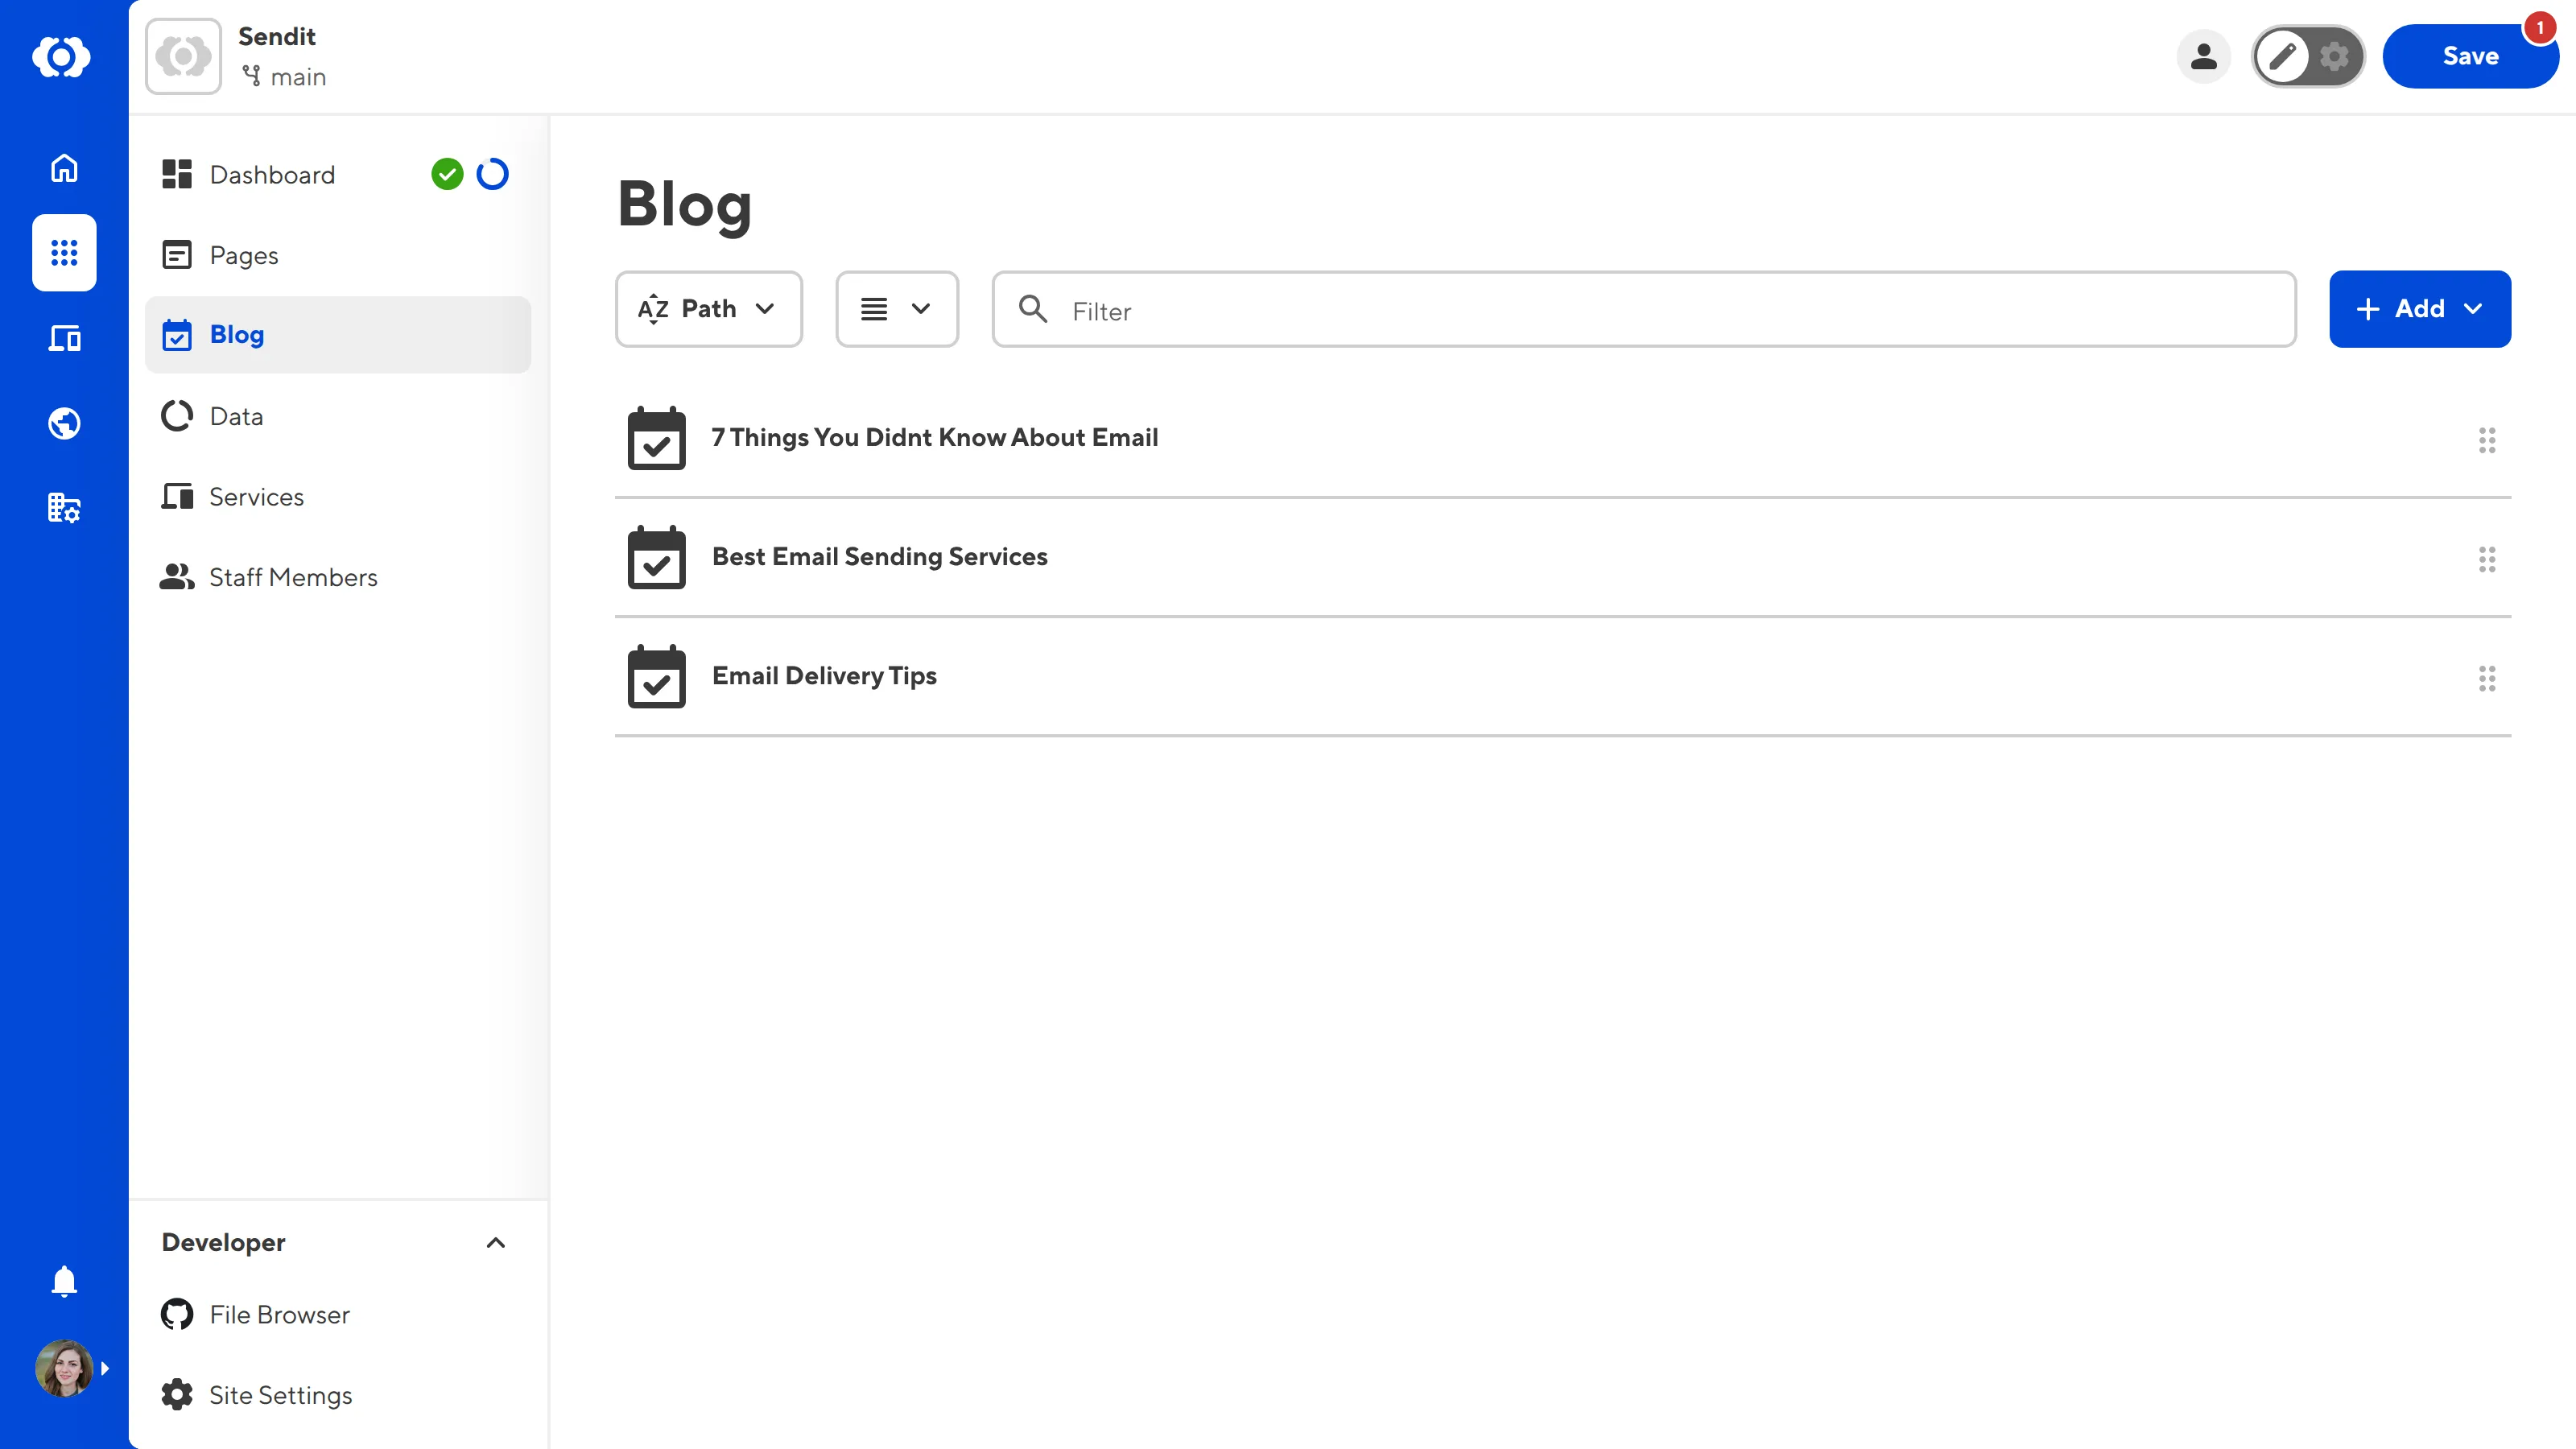
When the List view option is selected, the Collection Browser displays the file name, file path, and the icon for the Collection for each file in a horizontal Card.
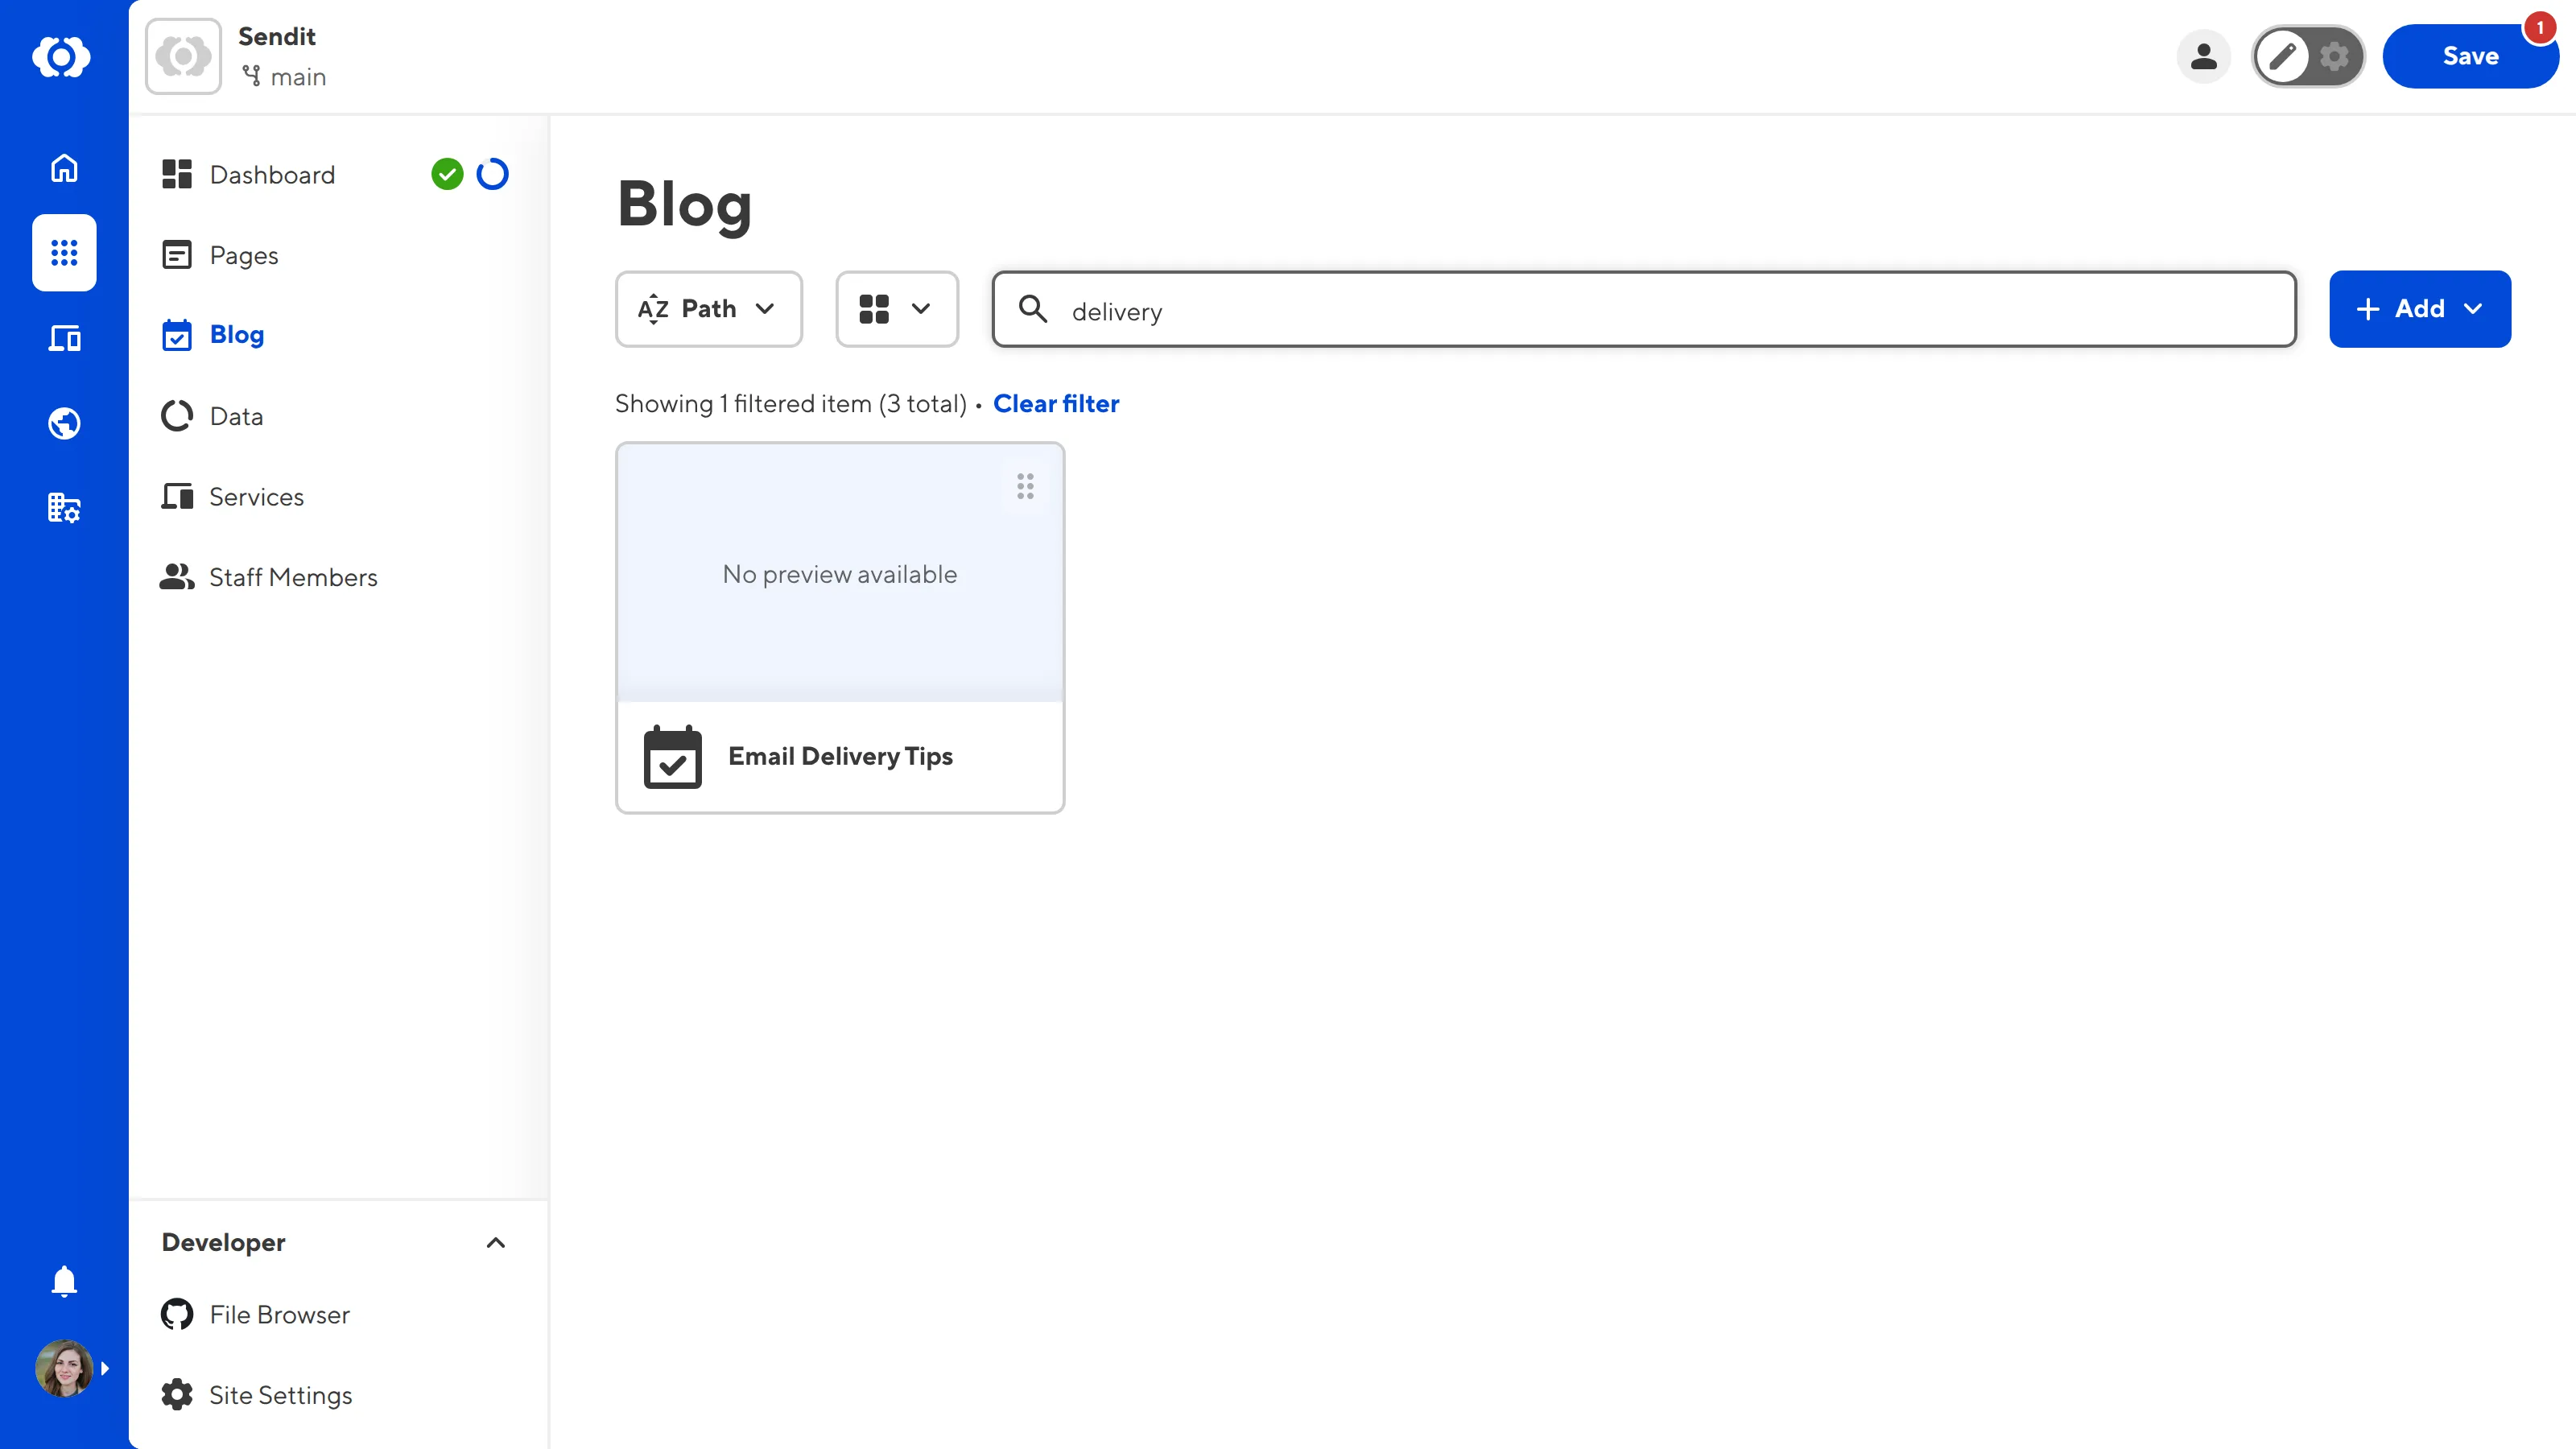
By typing in the Filter text field, you can filter your Collection files to show file paths that match a given string.
The + Add button allows you to add new files and folders to a Collection, which you can save back to your Git repository.

In the next step of this guide, we'll cover how to save your Configuration File back to your Git repository.