Before you can use the Visual Editor, you must have at least one successful build on CloudCannon.
Let's configure your build settings and complete a successful build. If you have already met these requirements, such as by completing the Host your website on the Internet guide, you can skip this step of the guide.
Configure your build#
To build your Site, CloudCannon needs to know a few details about how your website functions.
Click the Configure your build button in your in-app guide under the Configure your Site's build settings task.

CloudCannon will open the Configure your build modal.
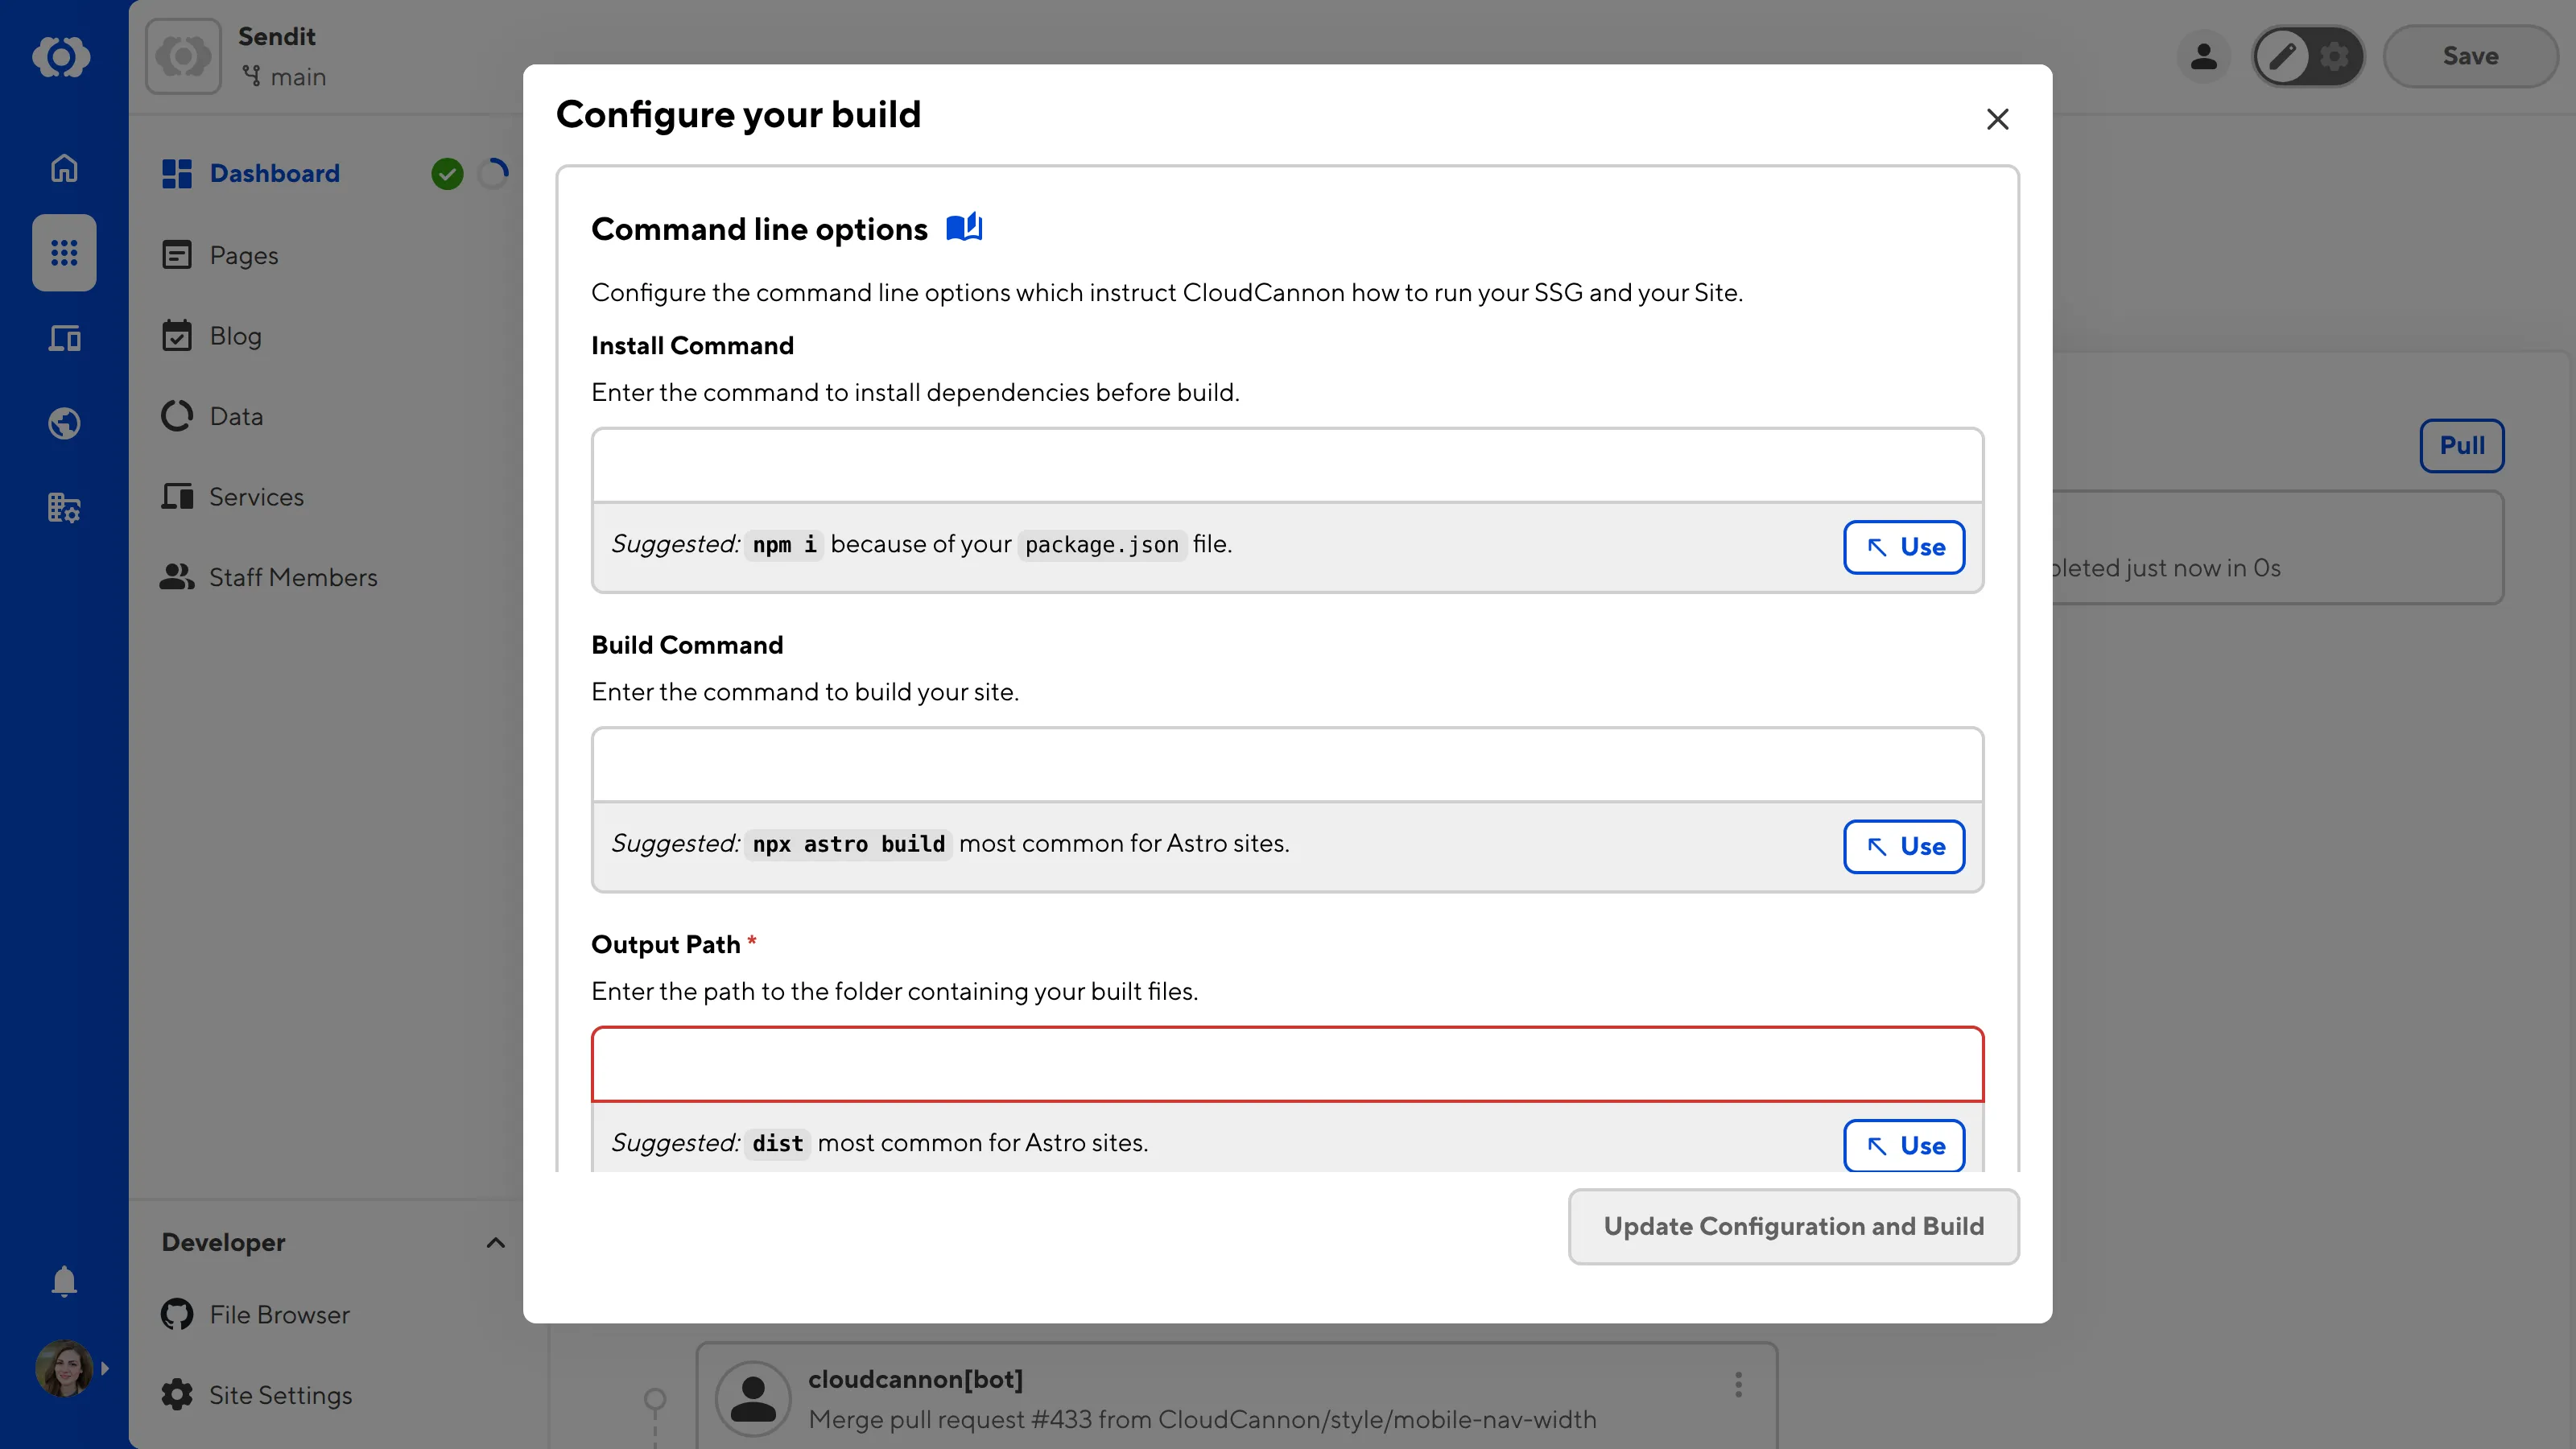
CloudCannon can make suggestions for your build settings based on the SSG your Site uses and the contents of your files. You can enter your own build settings or accept a suggestion by clicking the Use button, and CloudCannon will populate the text field. If you are unsure about the correct build settings for your Site, please contact your developer or reach out to our friendly support team.

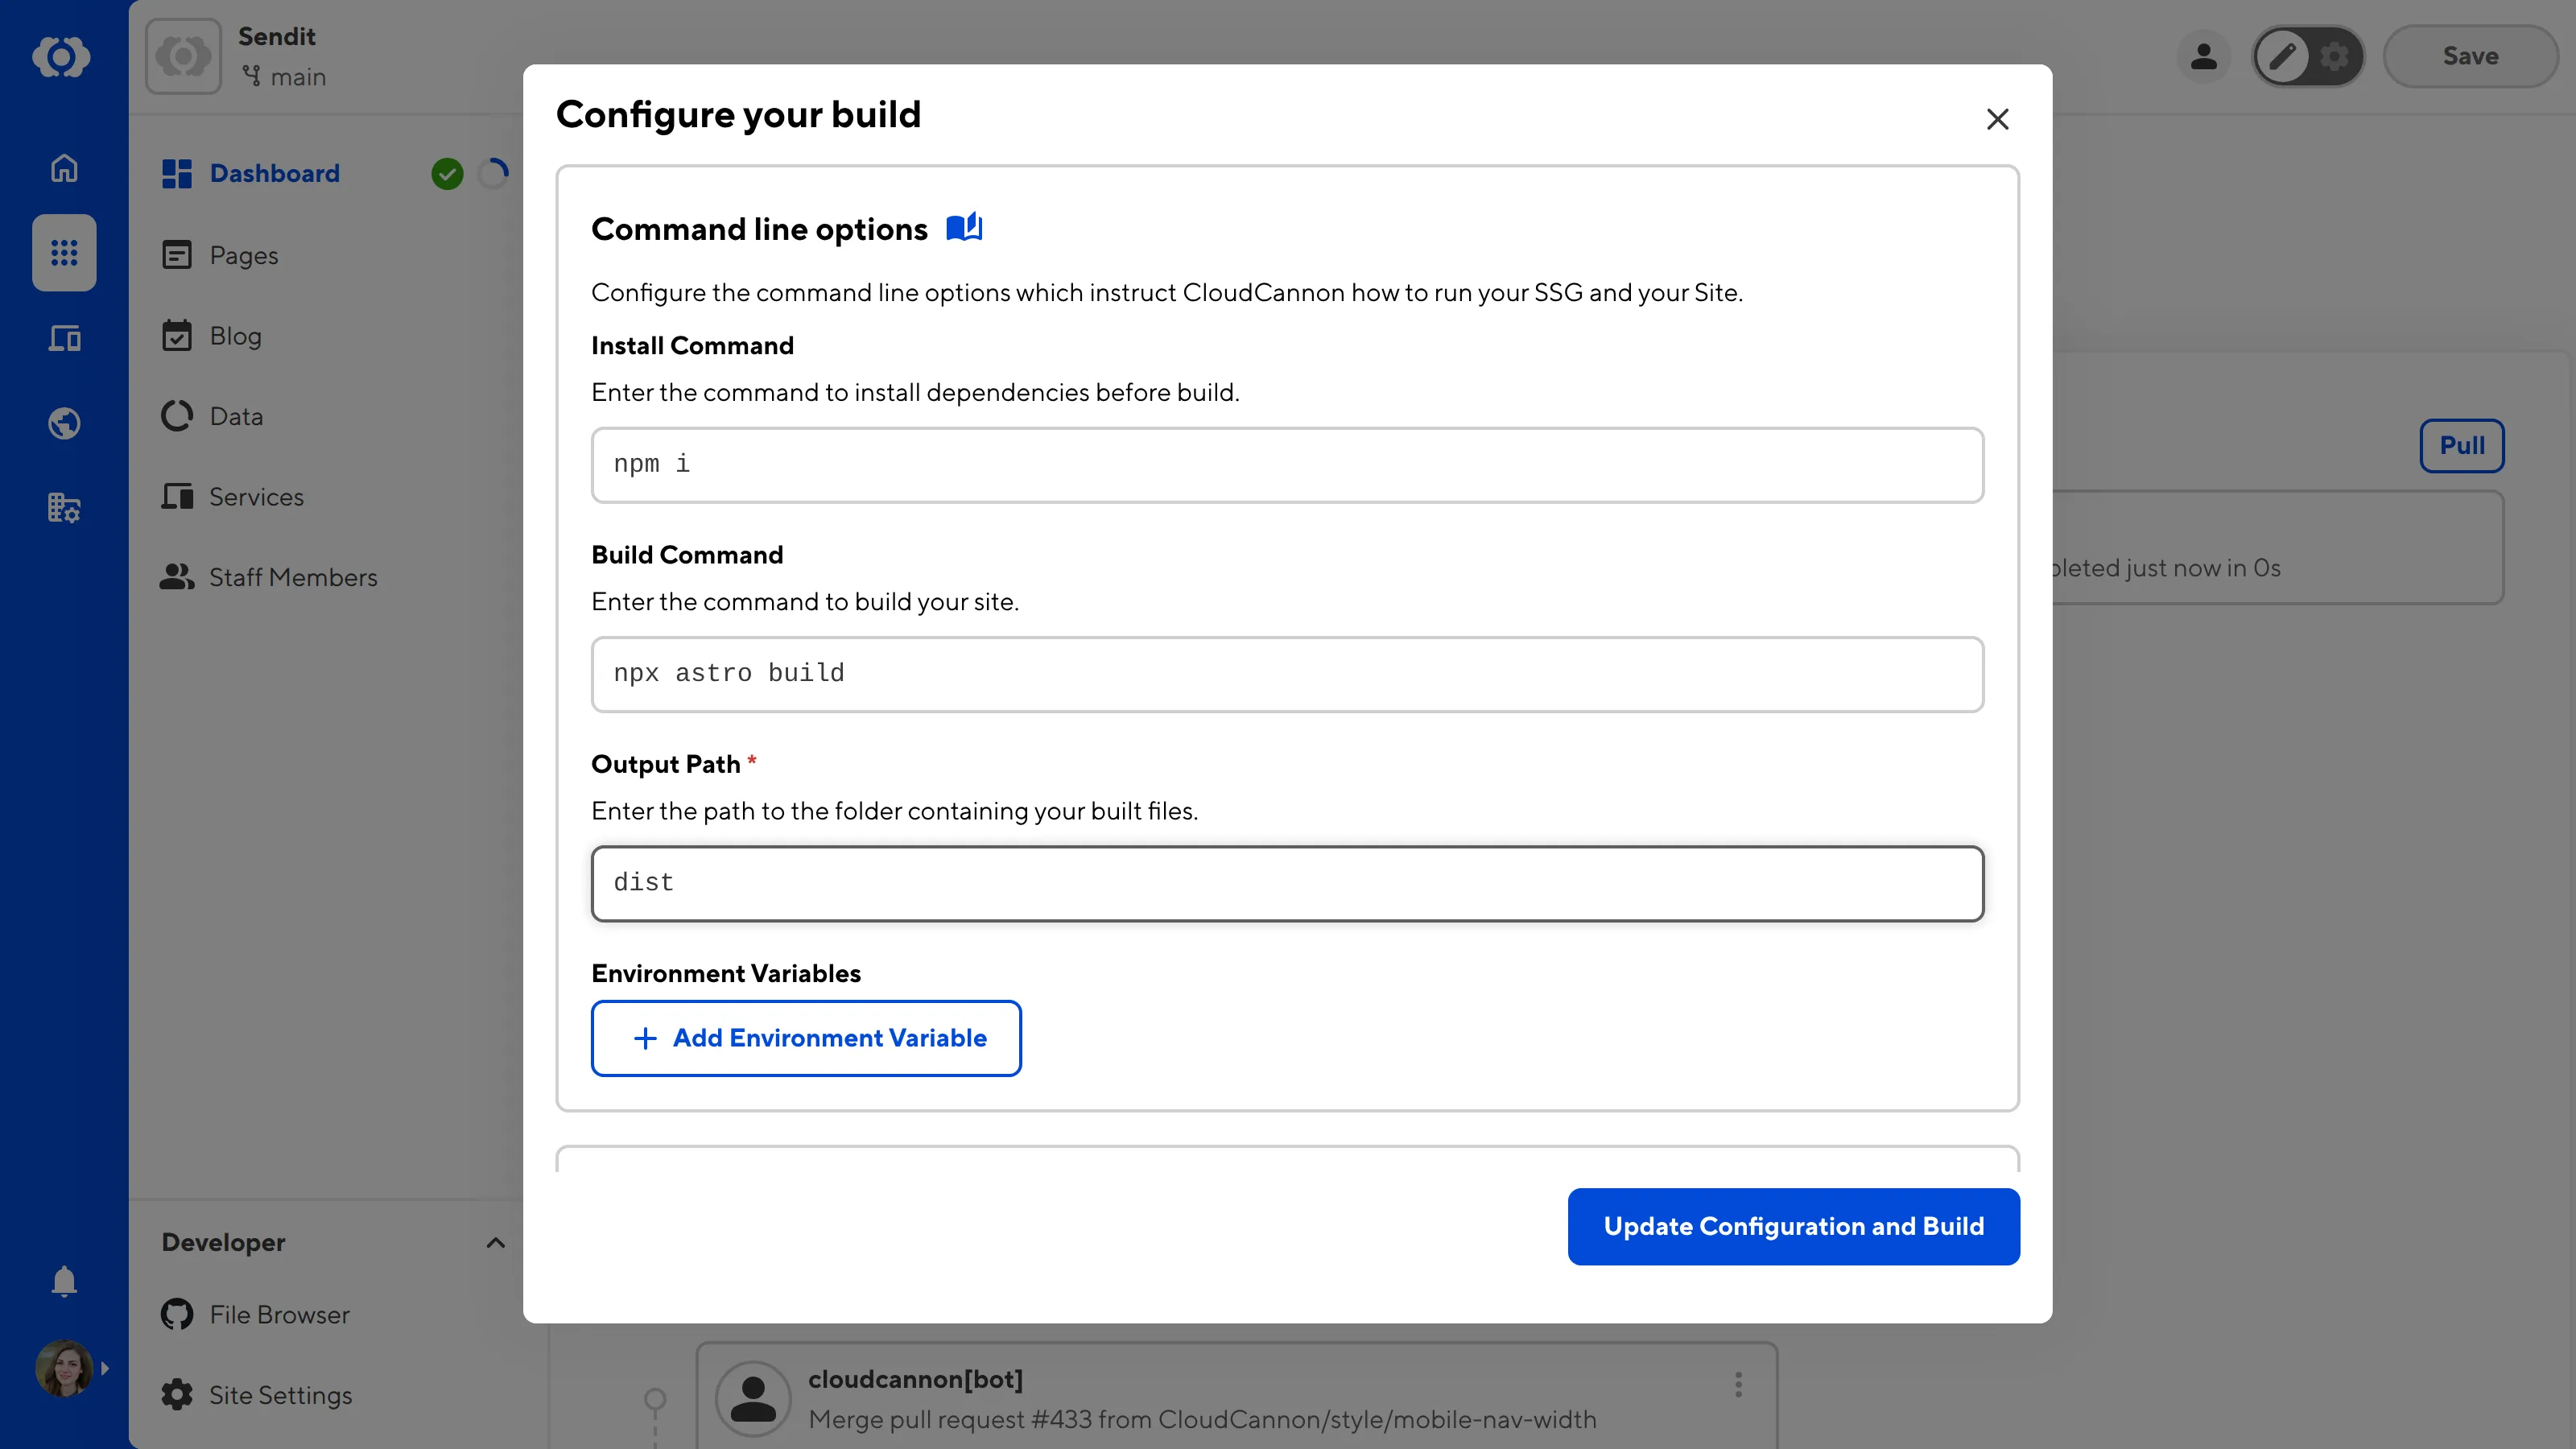
Under the Command line options section, enter your Install Command, Build Command, Output Path, and Environment Variables. CloudCannon requires a value for Output Path.
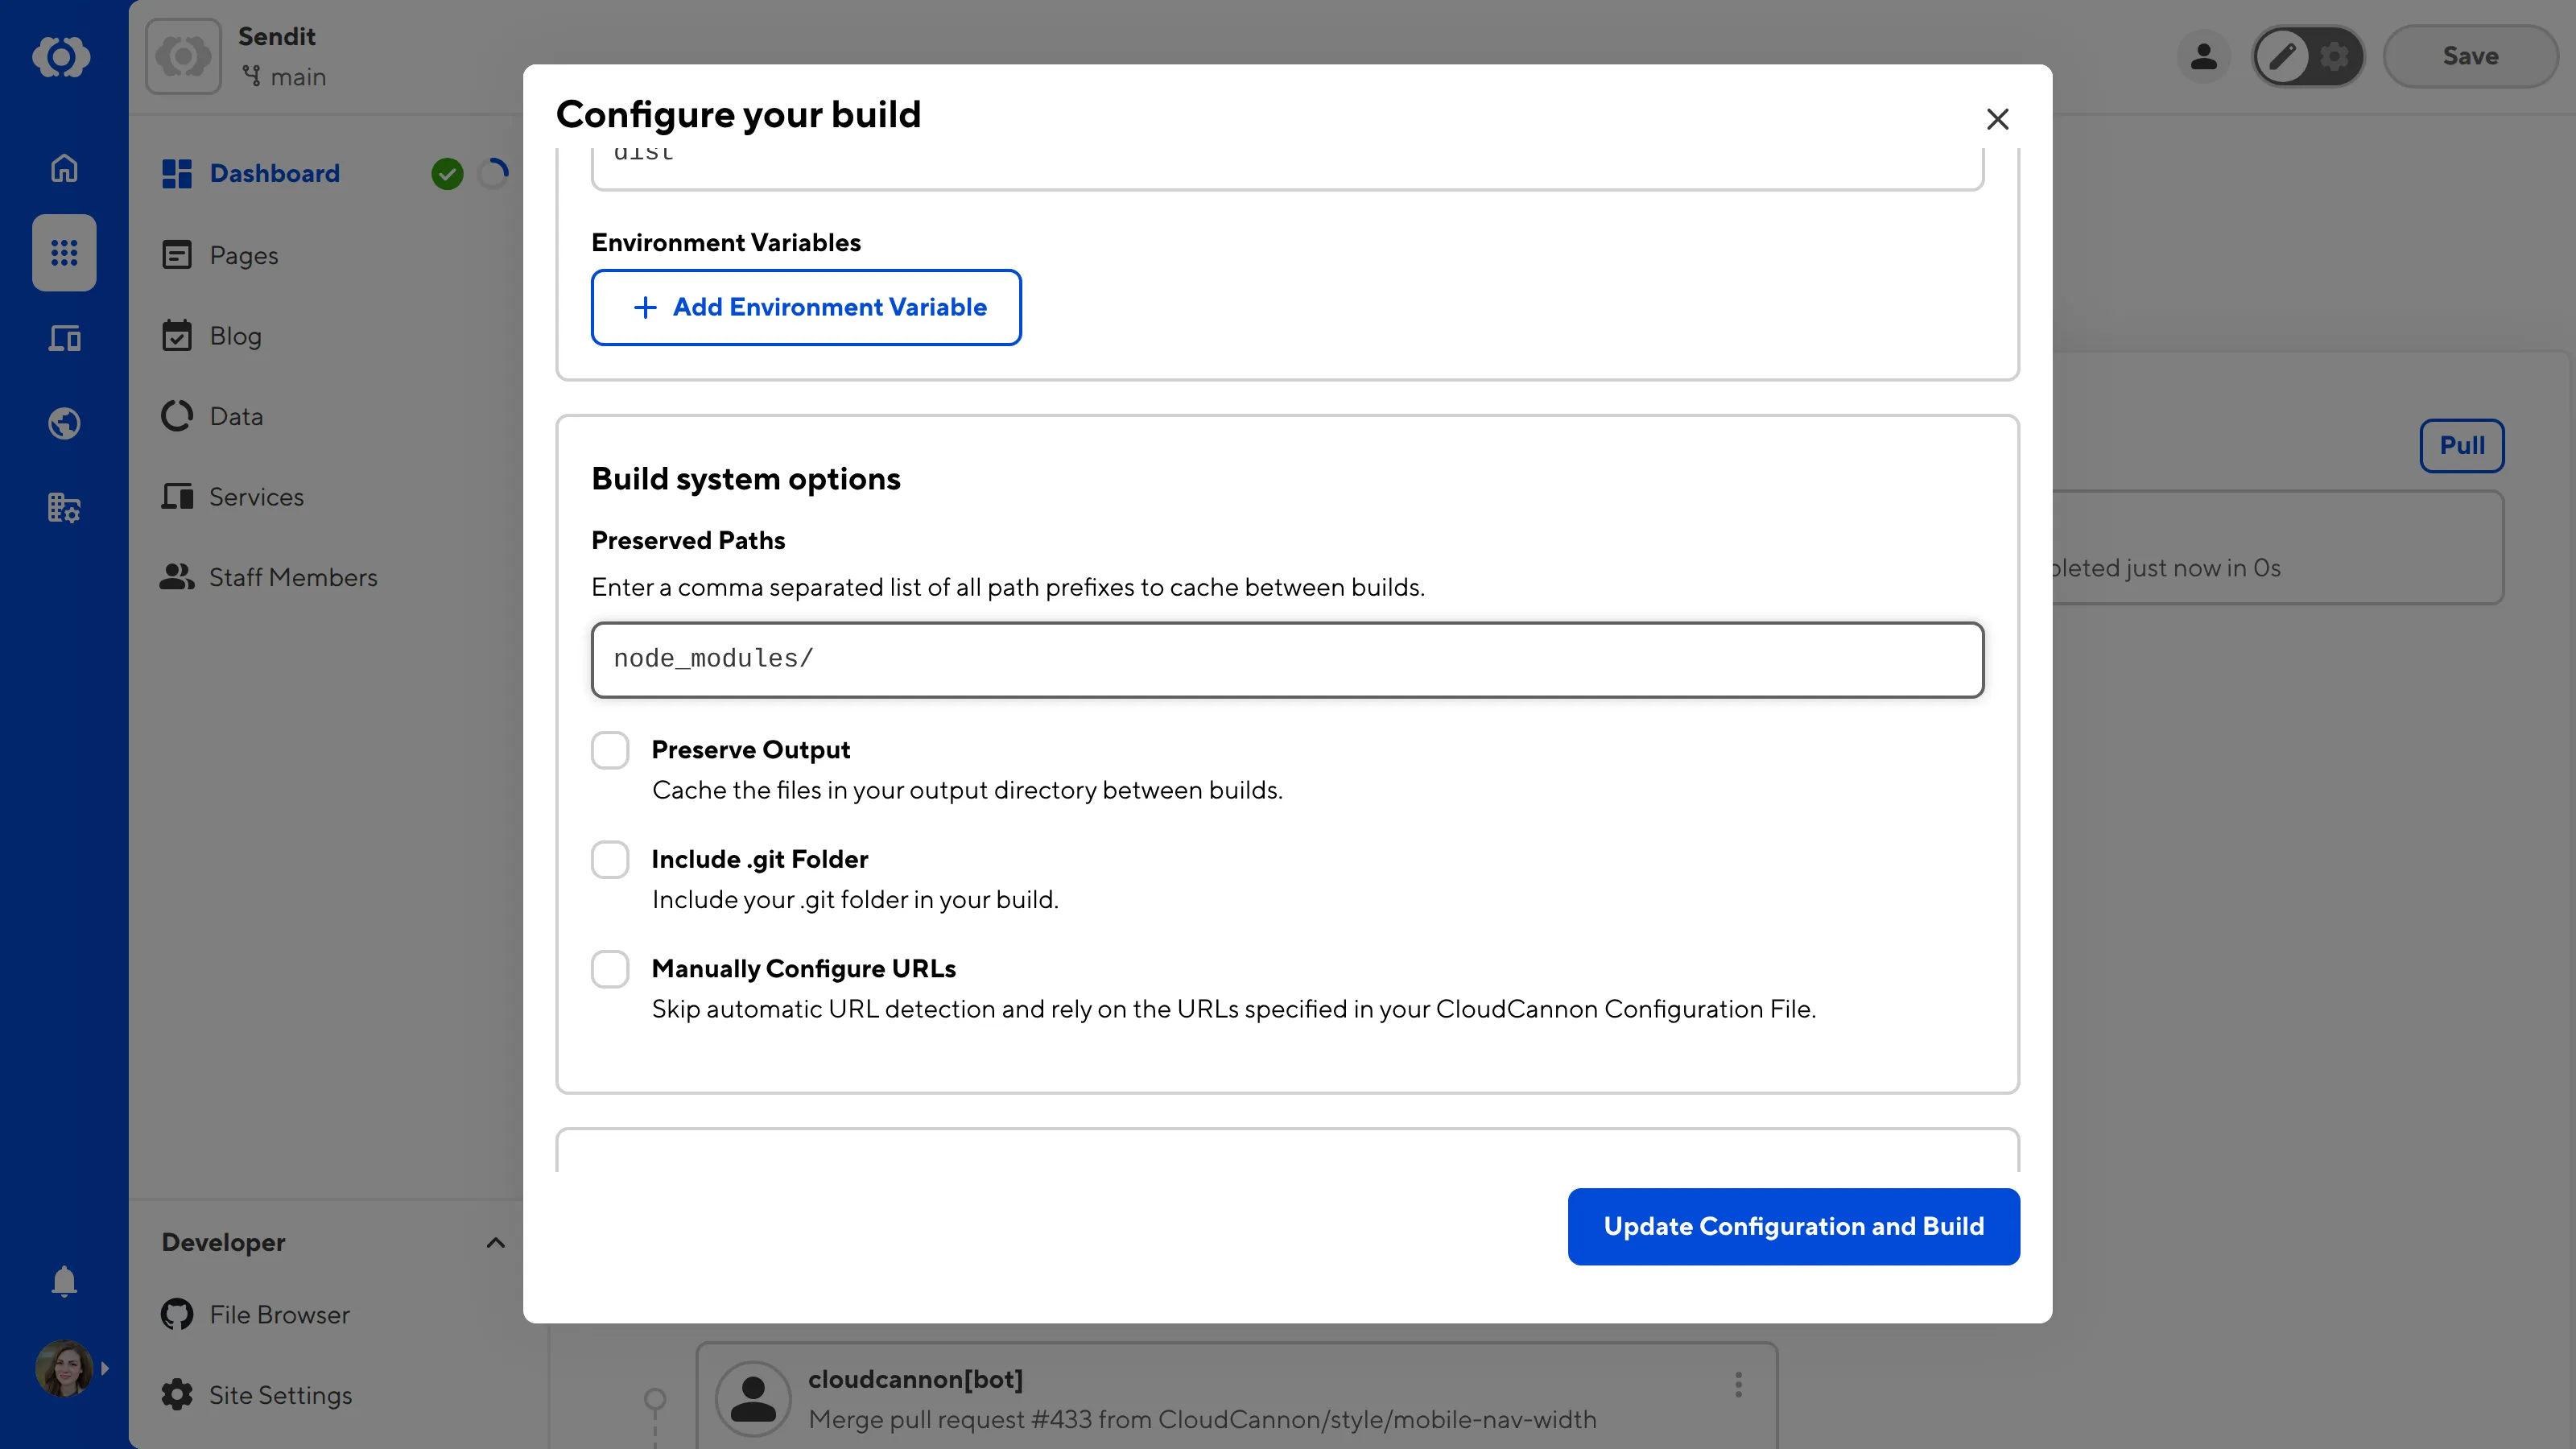
Under the Build system options section, enter your Preserved Paths, and choose whether you want to enable the Preserve Output, Include .git folder, and Manually Configure URLs settings.
Finally, under the Library Versions section, review the versions of Hugo, Ruby, Node, and Deno. If your website uses any of these libraries, please ensure the version number is correct.
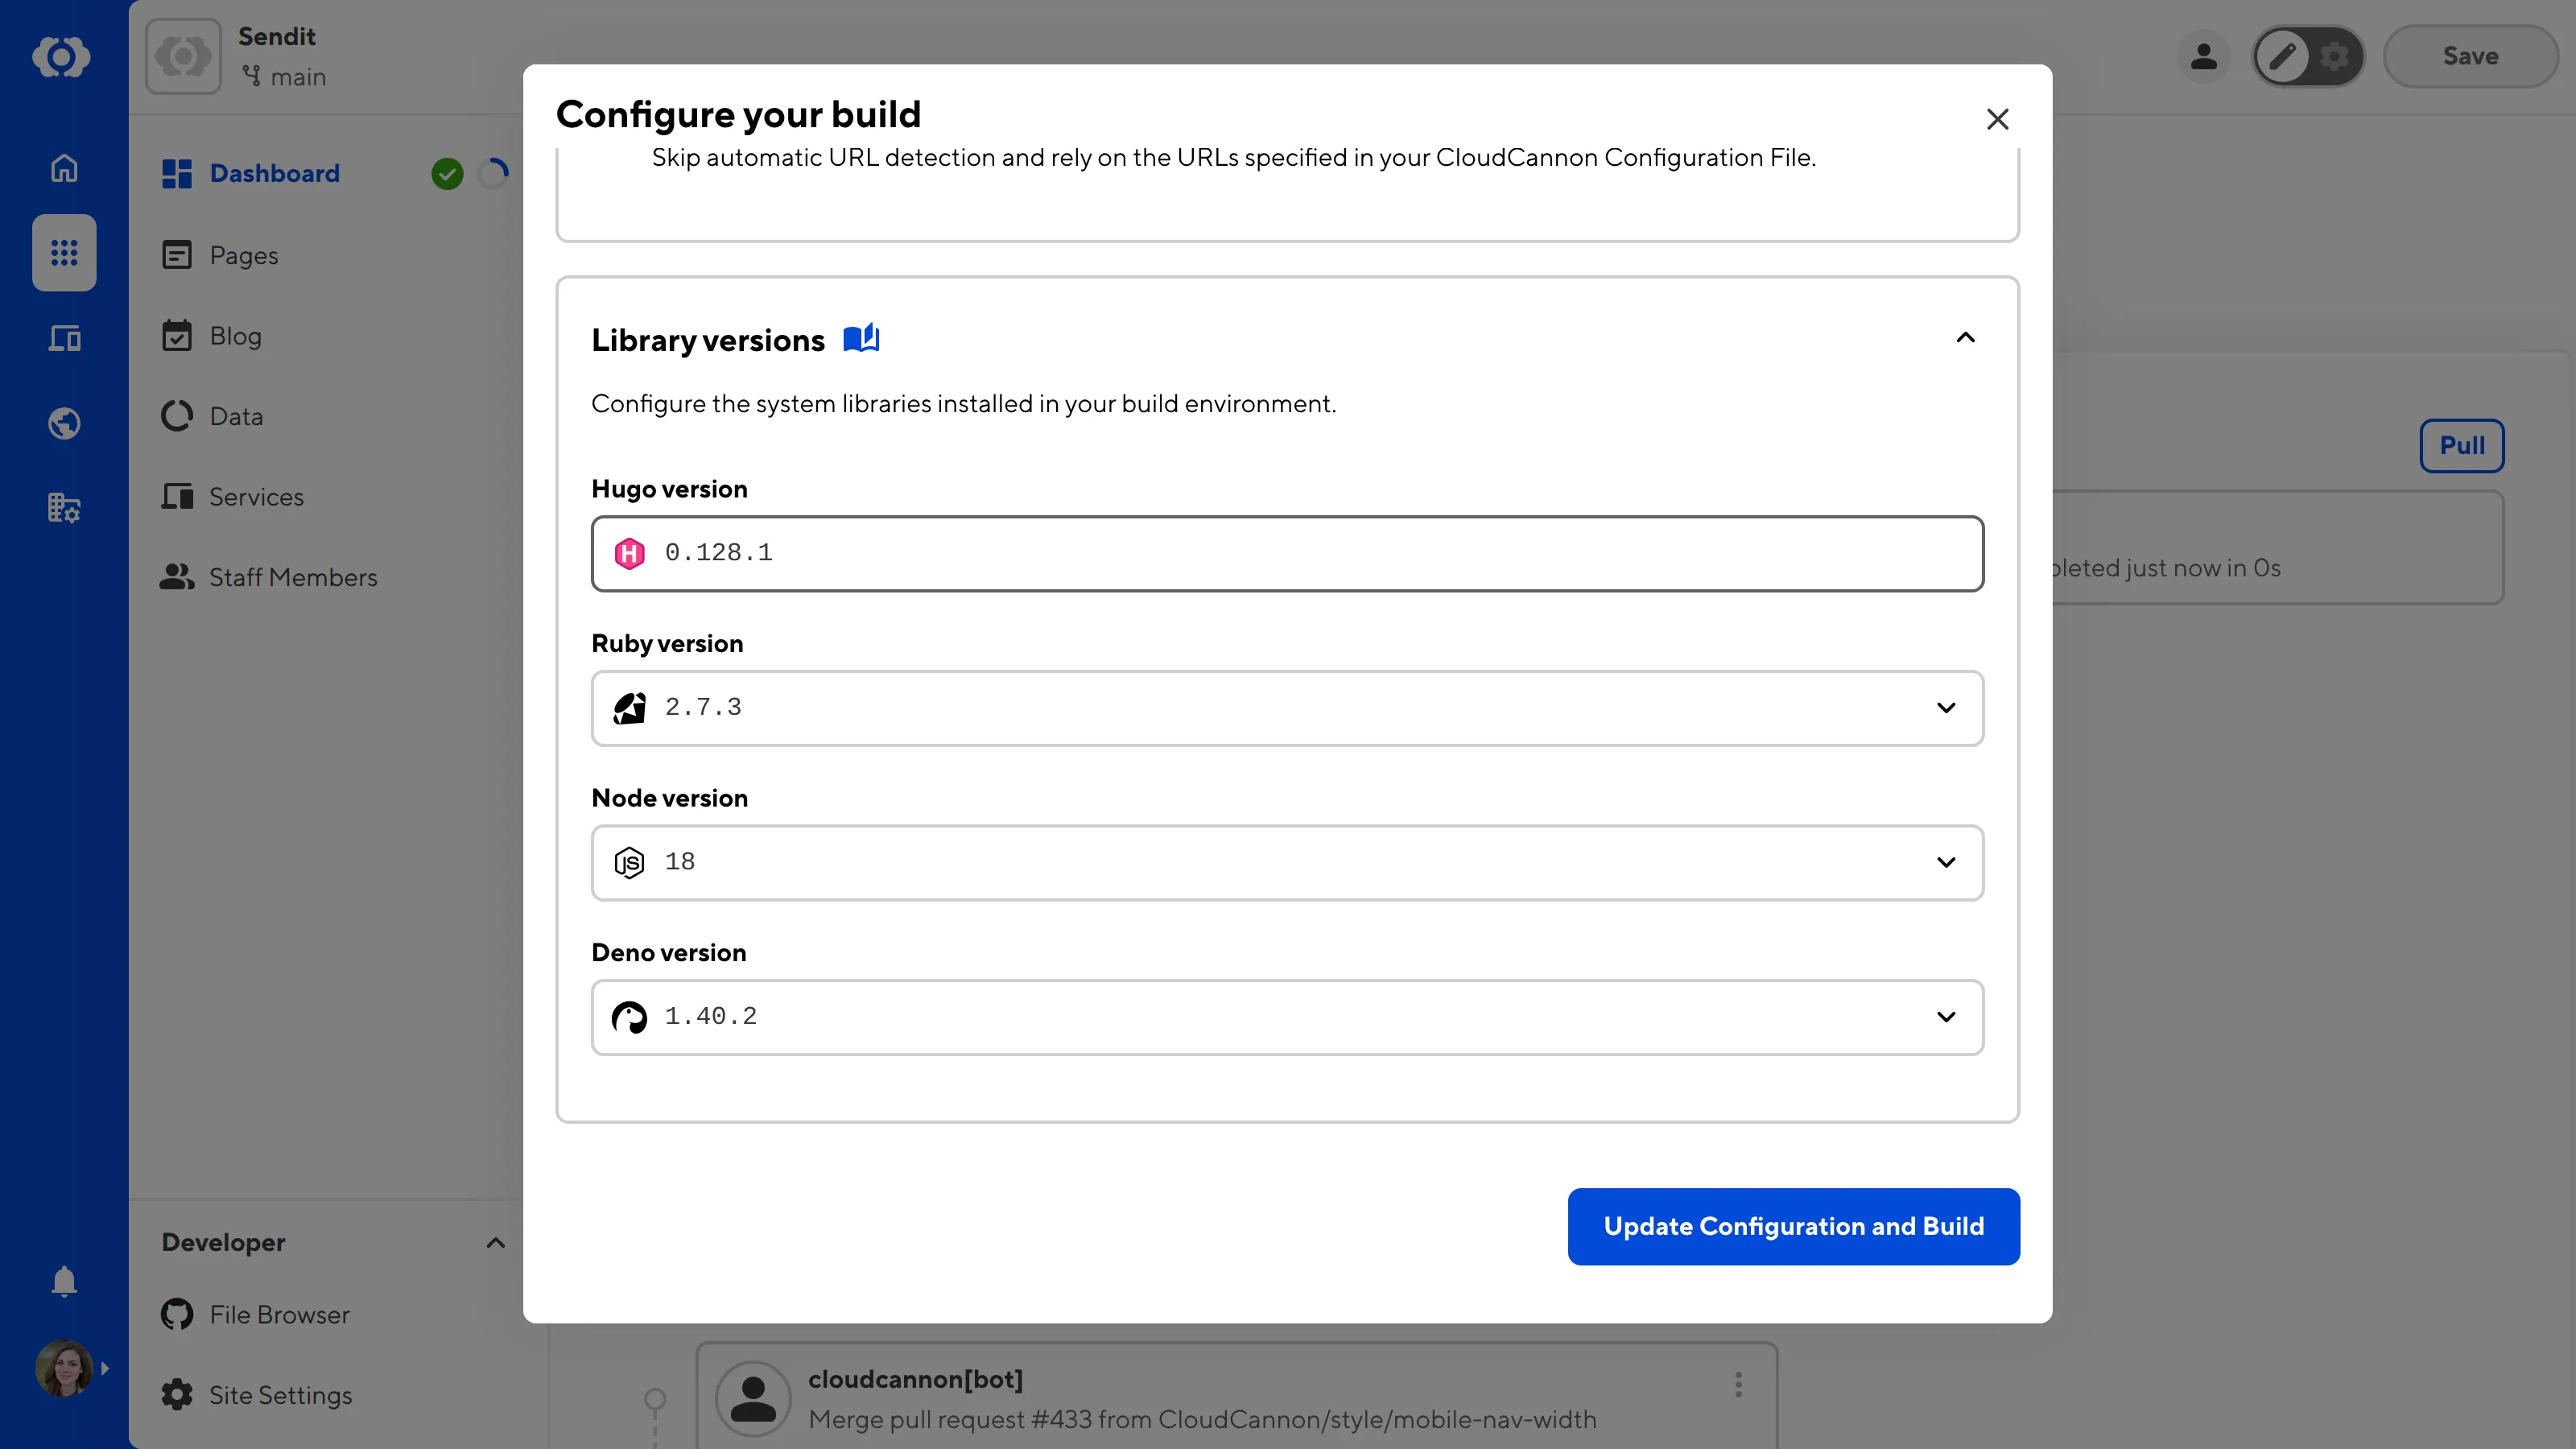
When you are happy with your answers, click the Update Configuration and Build button. CloudCannon will start your first Site build using the configuration you defined.
Your first build#
Your first Site build should start immediately.
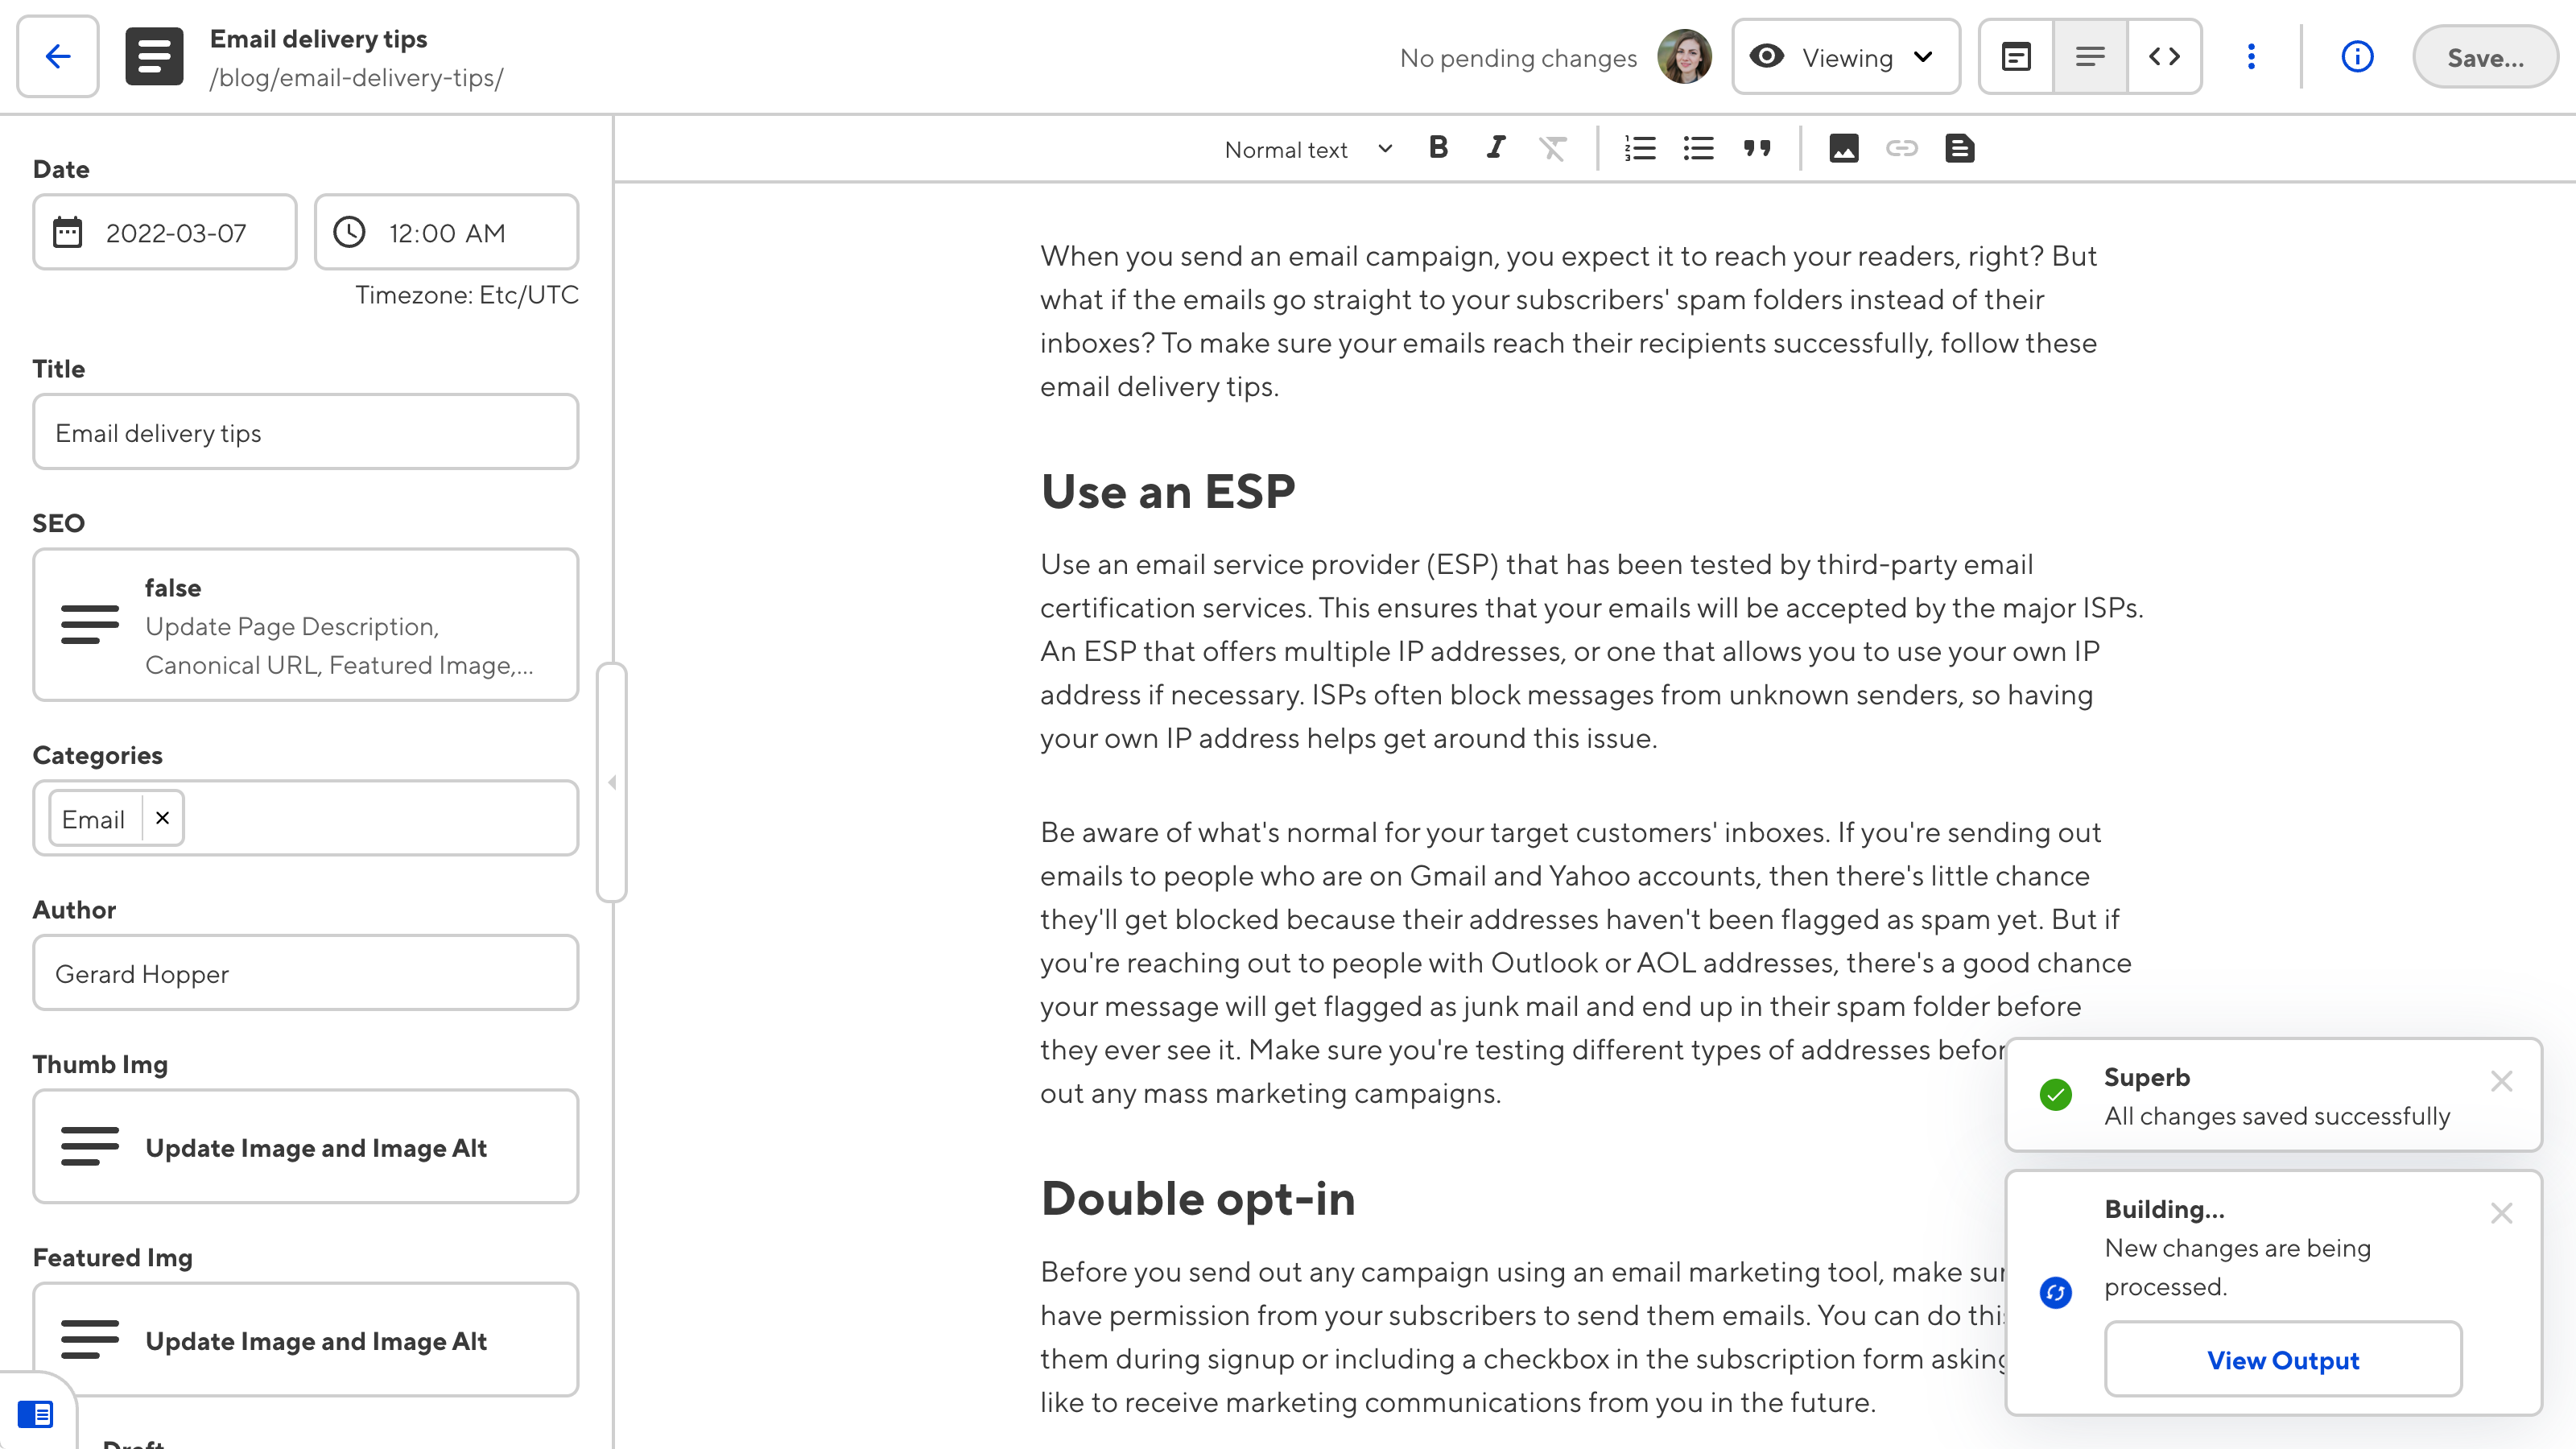
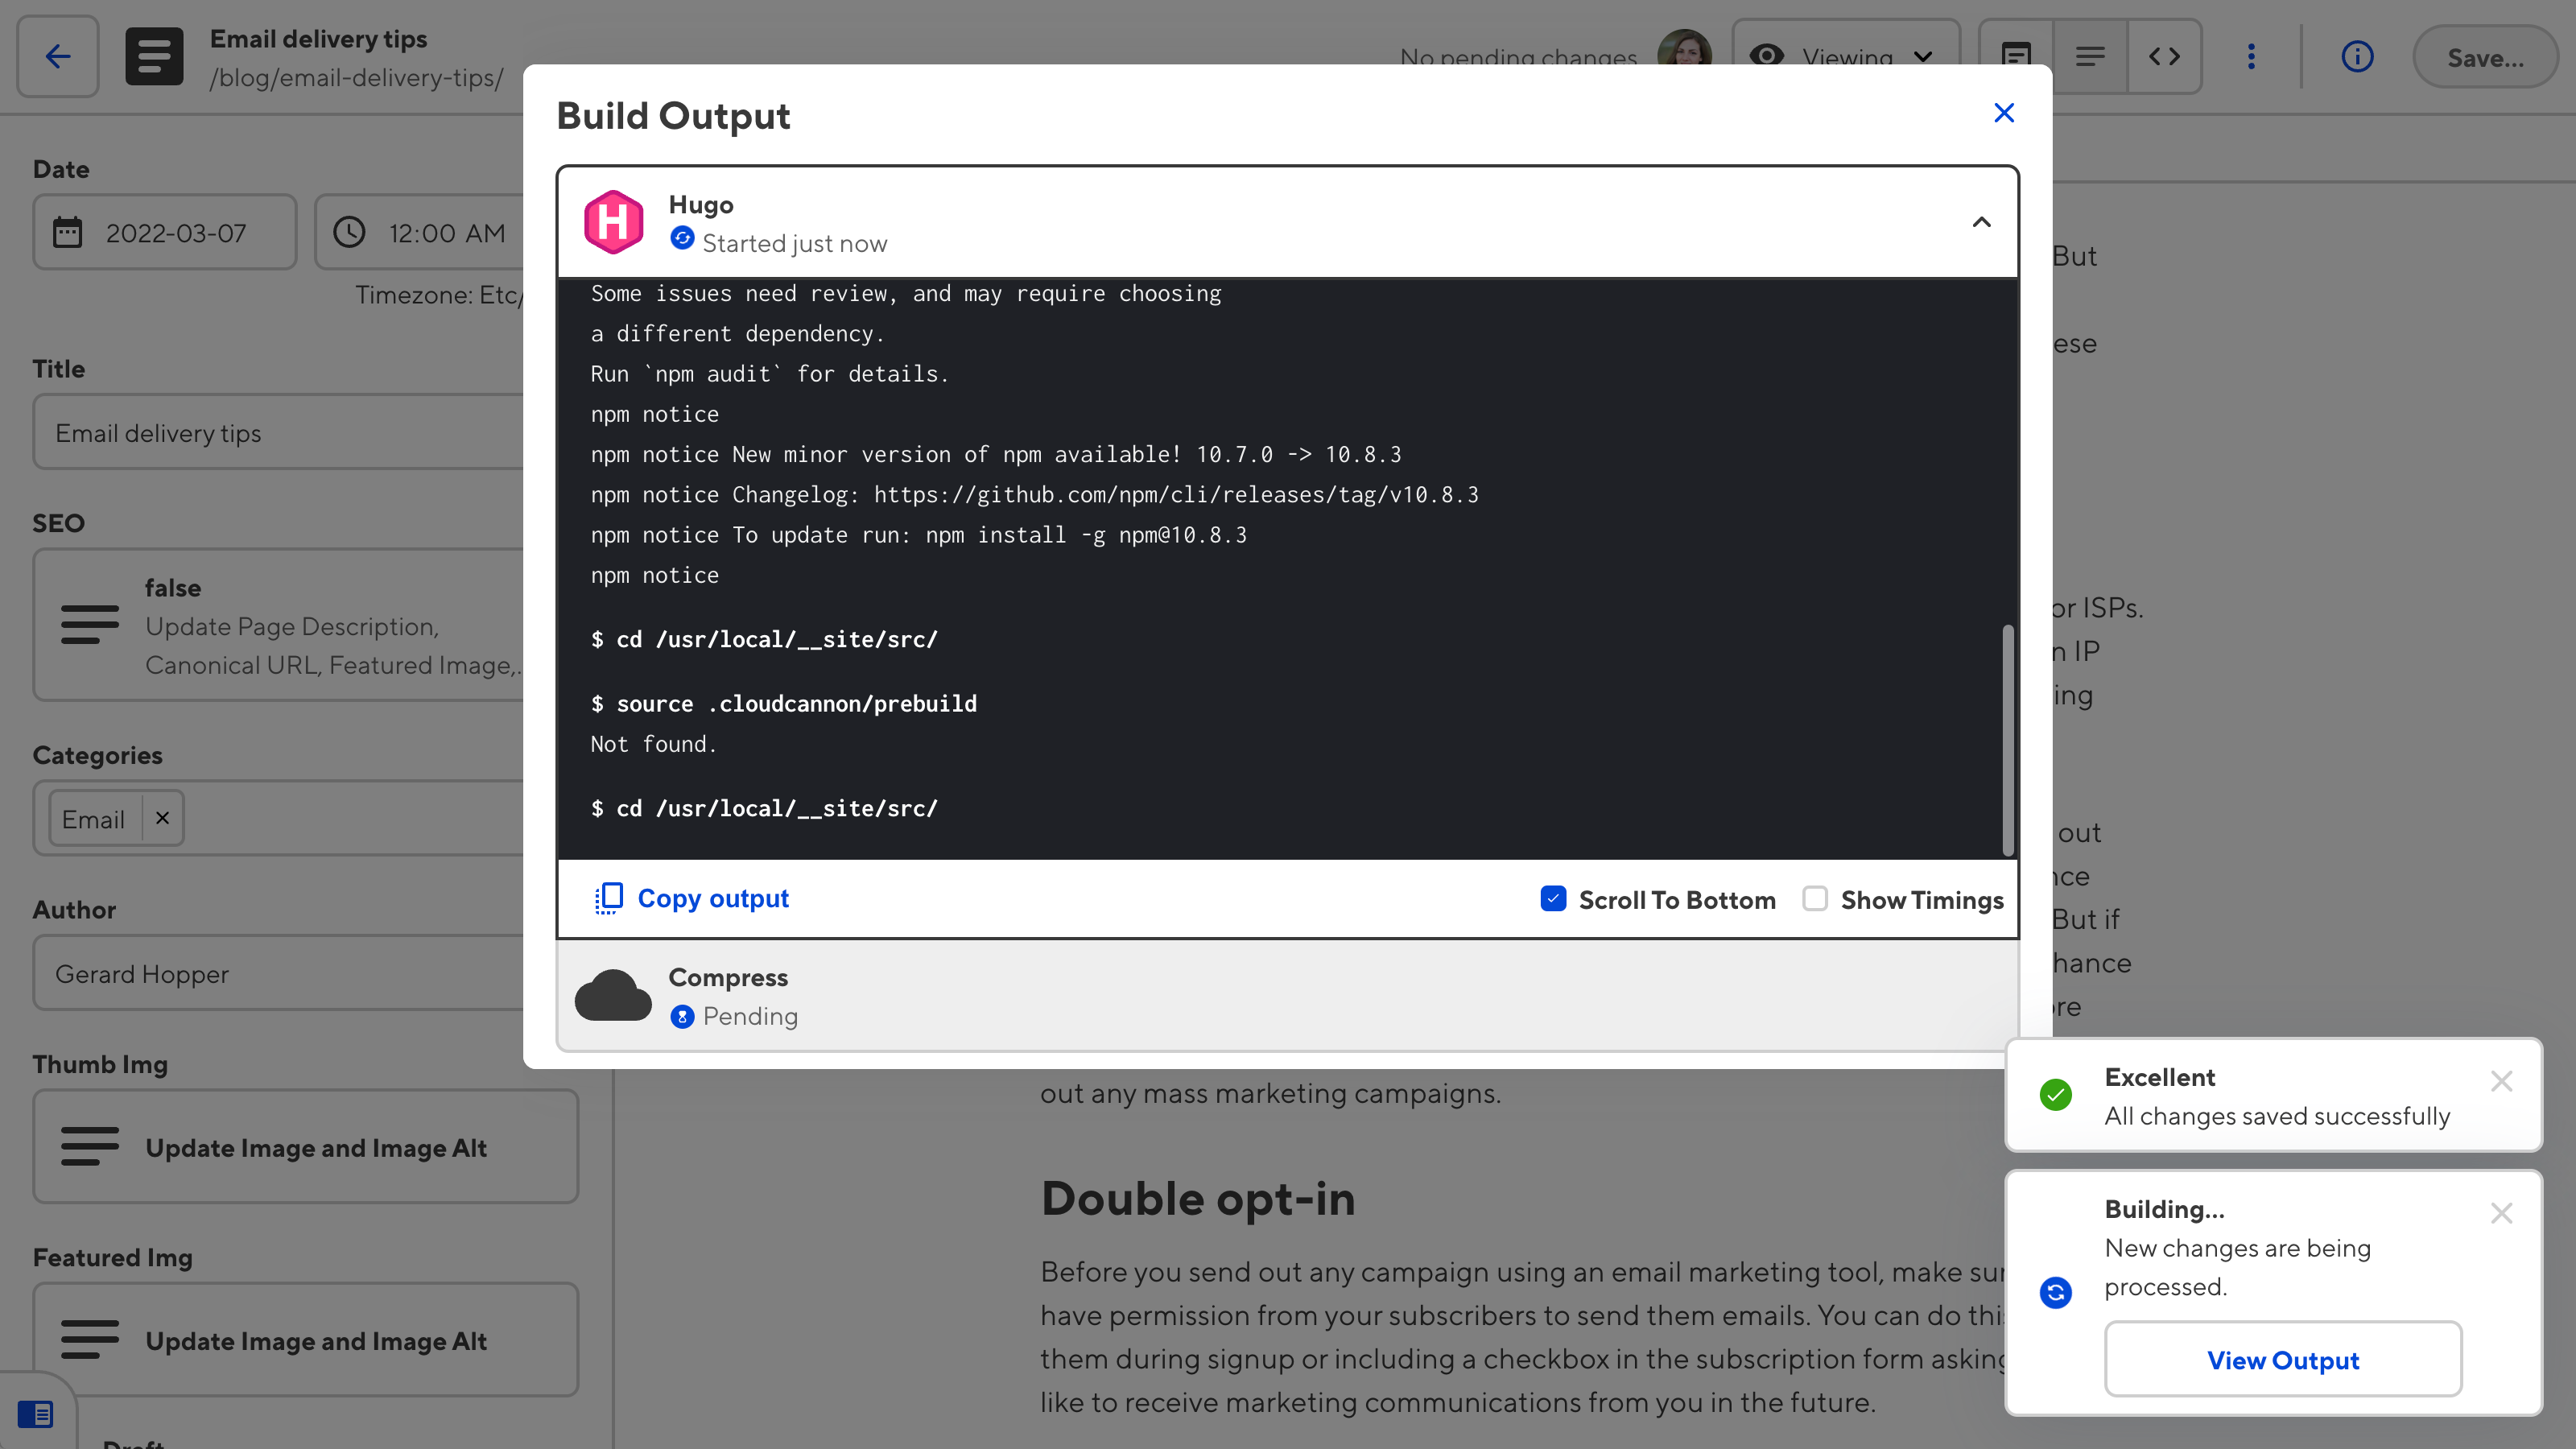
Whenever CloudCannon is building your Site, the Building... notification will appear in the bottom right of your screen. Clicking on the View output button on this notification will open the Build output modal.
The Build output modal displays the Build log for your current build. Build logs are useful for keeping track of your build progress and diagnosing any issues if your build fails.
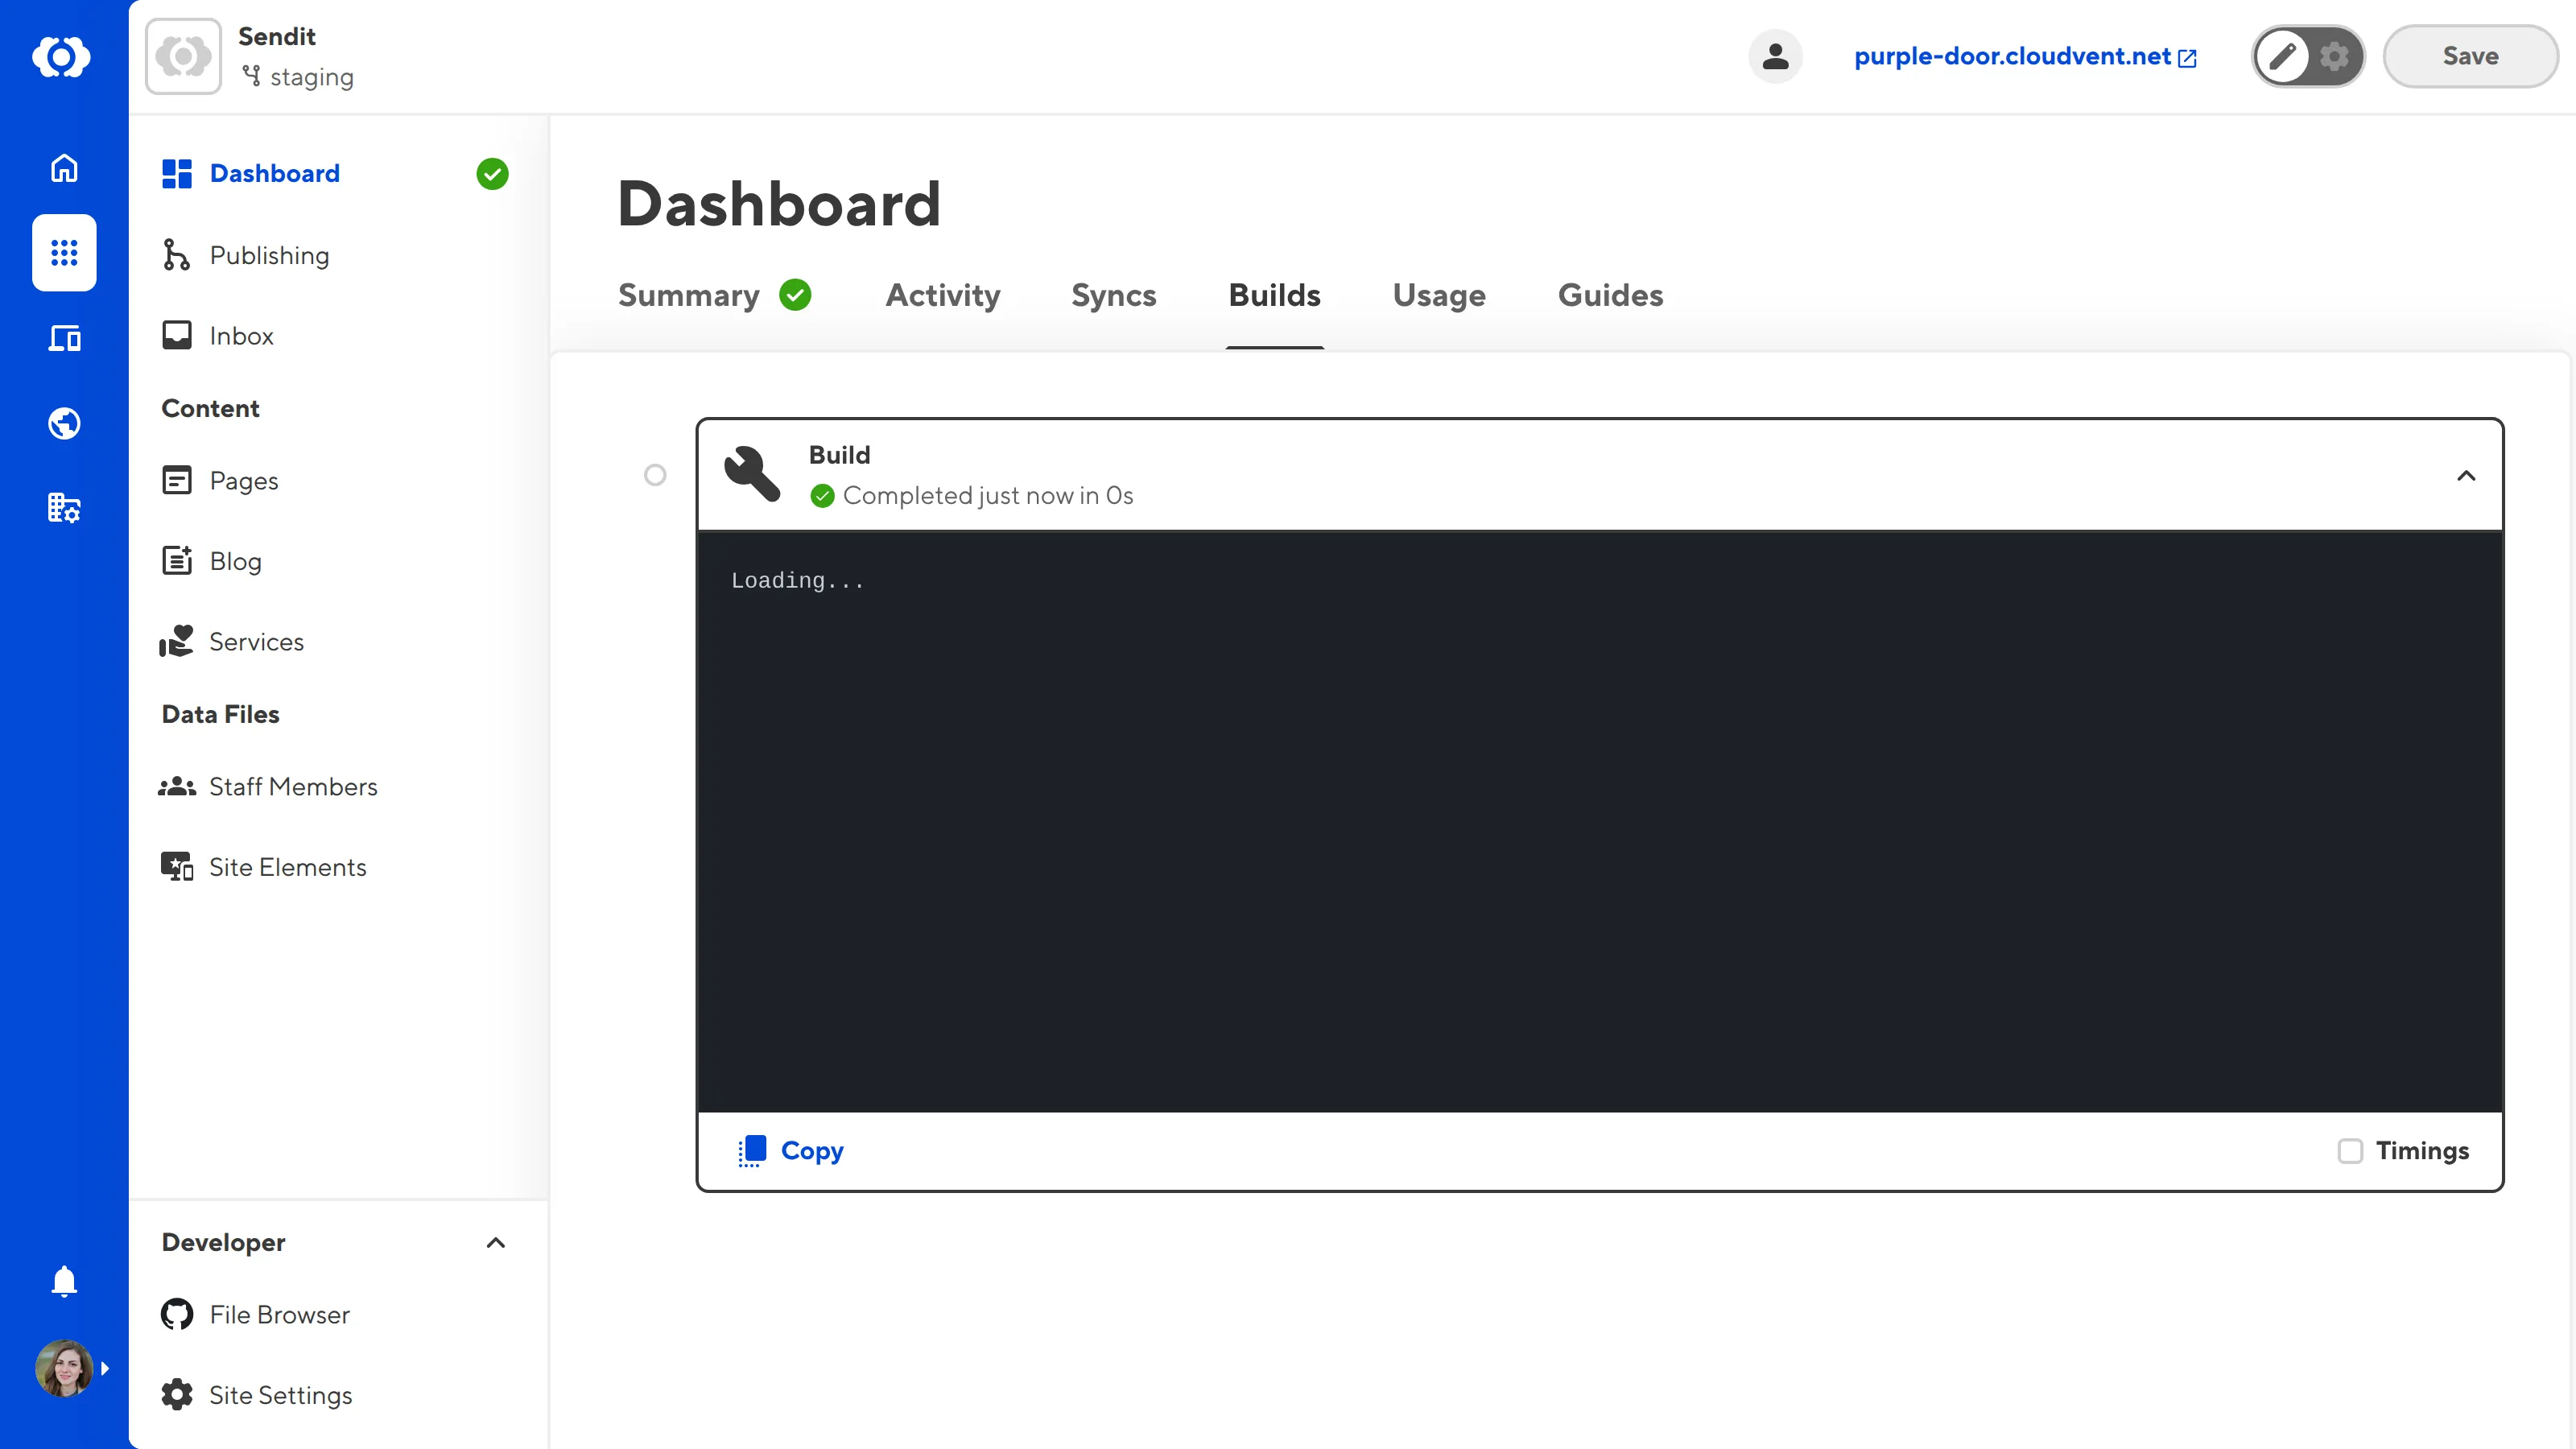
You can access a list of all your past Build logs on the Builds tab of your Site Dashboard. CloudCannon added this tab to your Dashboard after you configured your first build.
You can also see the progress of your most recent build on the Summary tab of your Dashboard, on the right under Build. You can trigger a new build at any time using the Rebuild button on the Site Dashboard or cancel a running build using the Cancel build button.
If your build fails, please reach out to our friendly support team.
Once you have a successful build, a link to your Testing Domain will appear in your Site Header. You can click on this to see your live website in a new tab.

In the next step of this guide, we'll take a look at your output files and make sure CloudCannon has generated all the webpage previews you need for the Visual Editor.