With the Rosey CloudCannon Connector The Rosey CloudCannon Connector is an optional package that connects Rosey's translation data to the CloudCannon Visual Editor, allowing editors to translate content inline without leaving the Visual Editor. It extends Rosey's build-time translation process with live editing support. CloudCannon's visual editing interface provides a user-friendly way of updating your website files on an interactive preview of your webpage. You can navigate around your website preview using links/buttons, as you would on the live version, and edit your content inline on the page, or with the data panel or sidebar. What you see in the Visual Editor is what your website visitors will see on your live webpages.Rosey CloudCannon Connector
Visual Editor
Use the locale switcher in the Visual Editor#
When your Site loads in the Visual Editor with the Connector installed, a floating locale switcher appears in the corner of the preview.
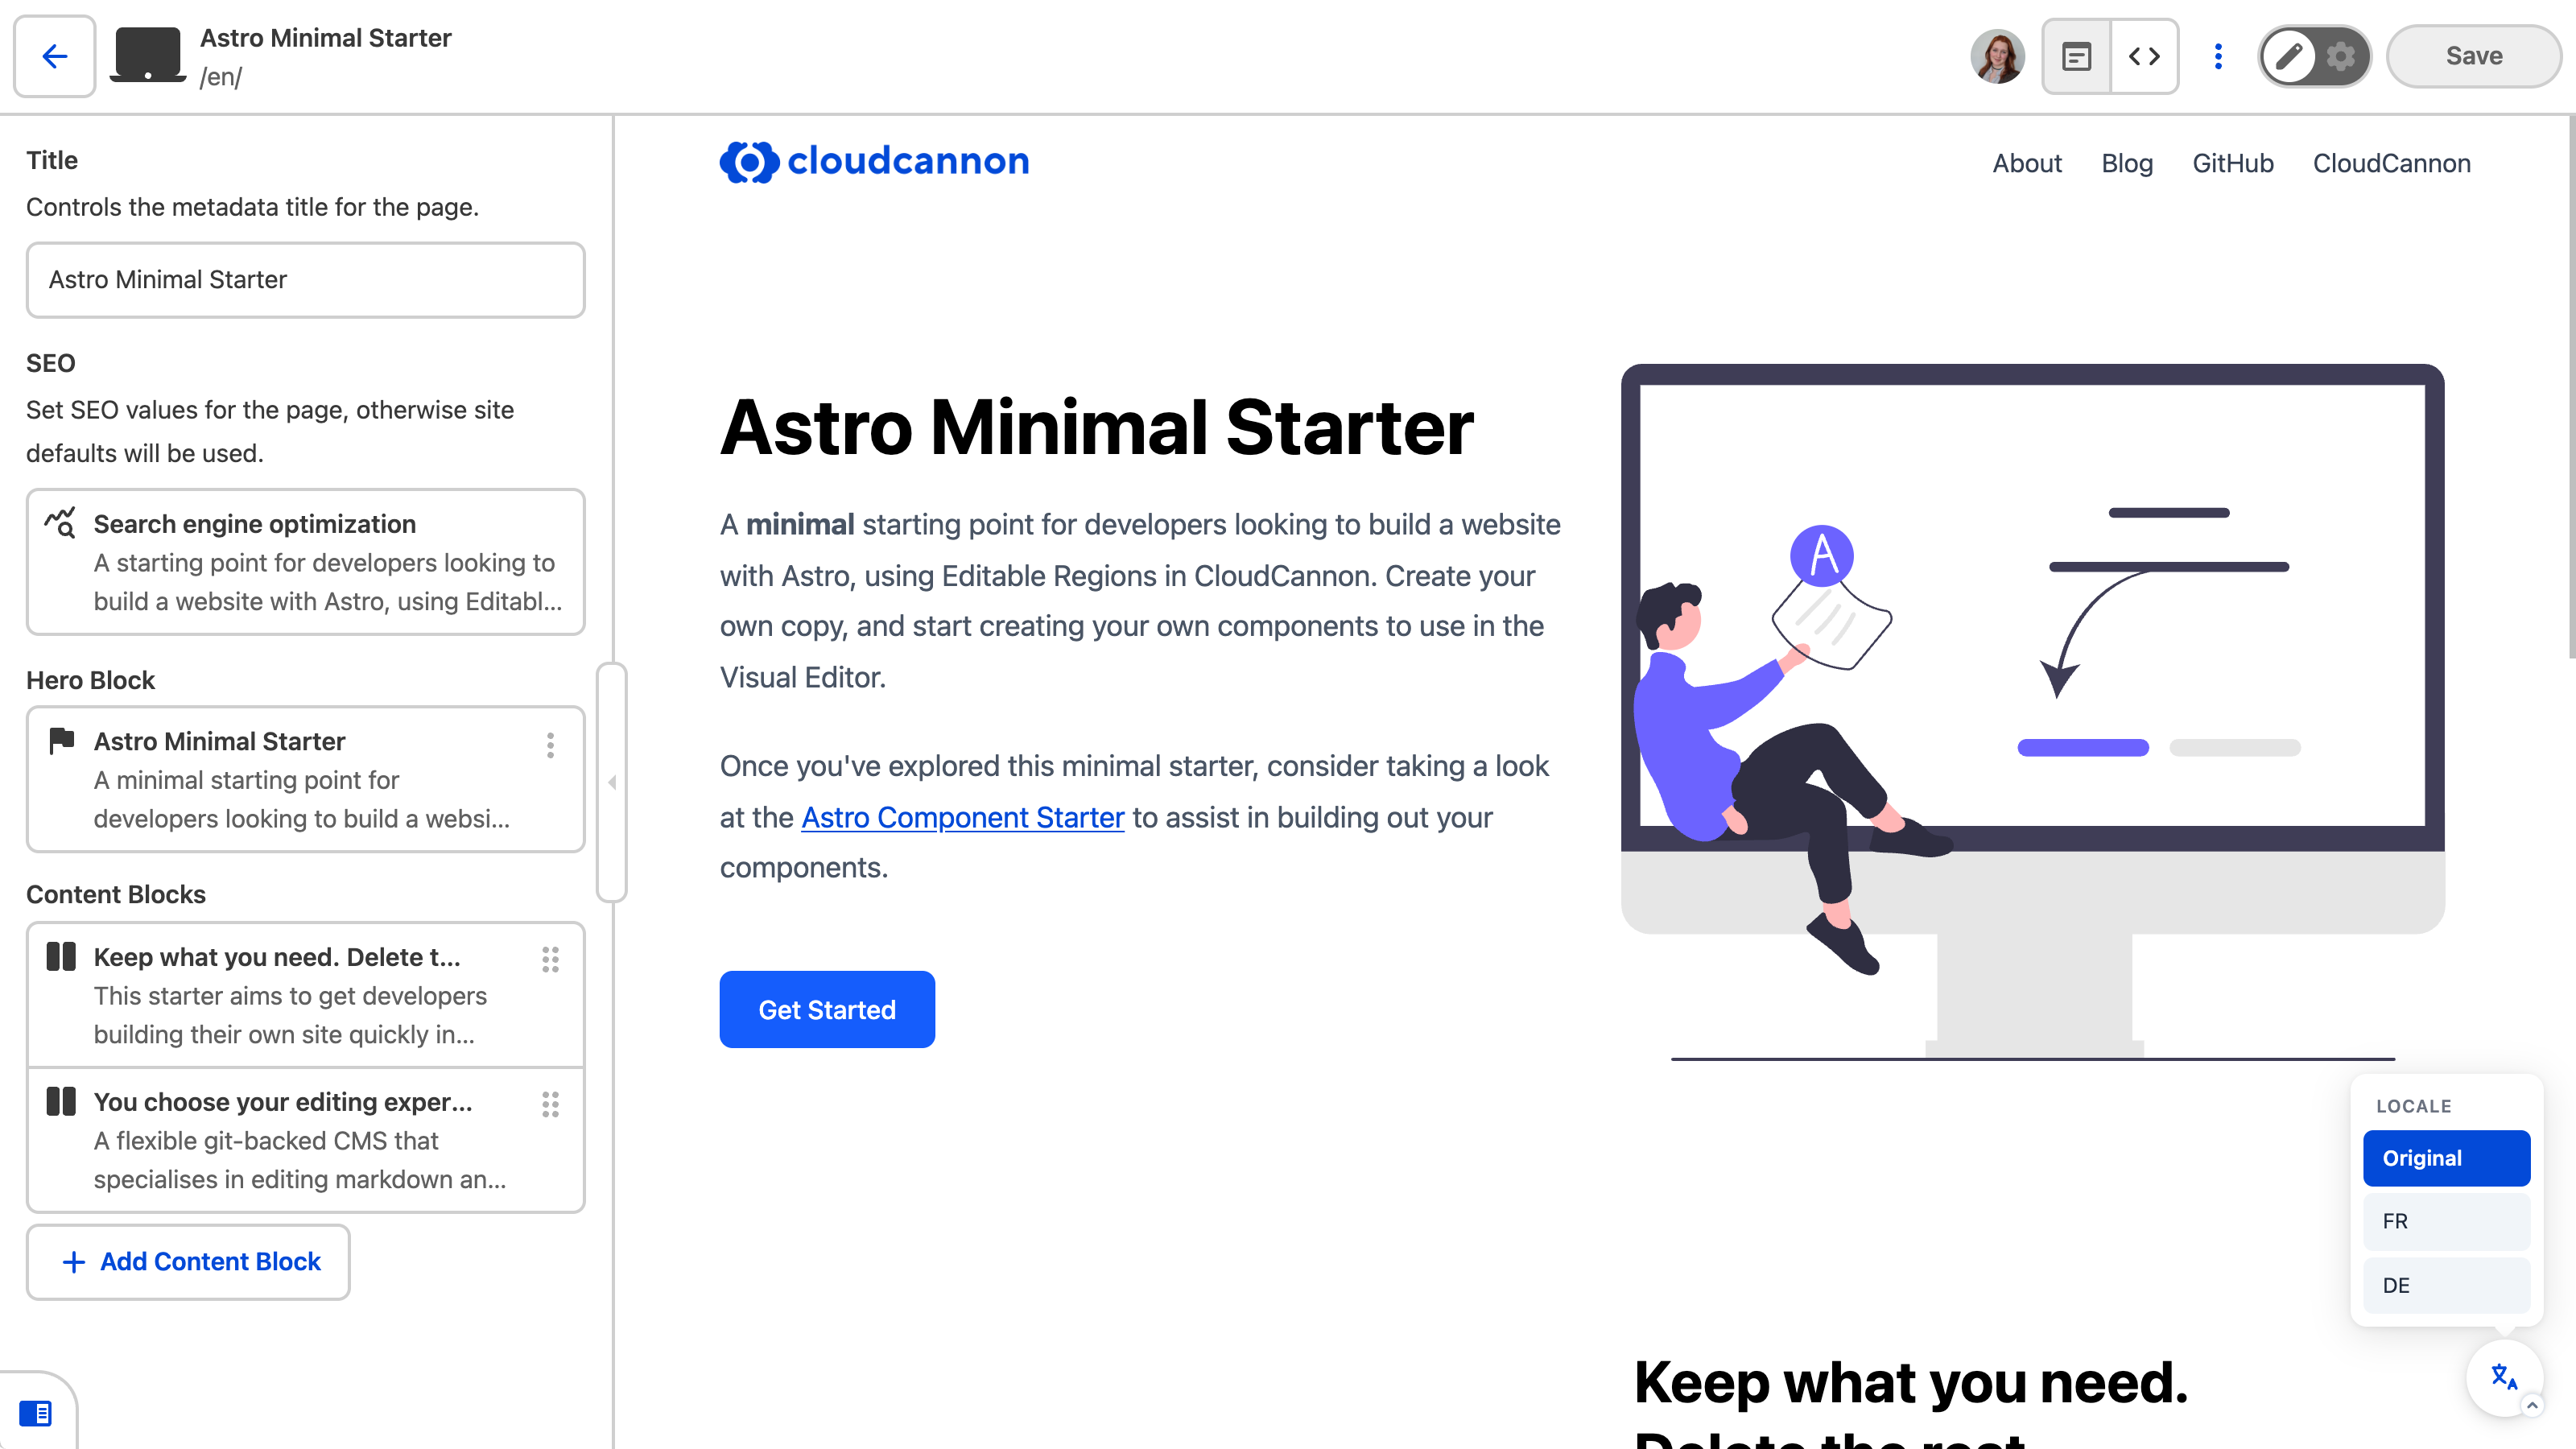
Click the locale switcher to open a list of your available locales. Selecting a locale reloads the preview in that language, showing the translated content inline.
Edit translations inline#
Click any element with a data-rosey attribute to open its inline translation input. The input shows the current source text and lets you enter or update the translation for the active locale.
When you save, the Connector writes the updated value back to the locale JSON file.
Resolve stale translations#
When source content changes after a translation has been saved, the Connector highlights the affected elements with amber dashed borders. A badge on the locale switcher shows how many stale translations exist on the current page.
To resolve a stale translation, click the highlighted element to open its inline translation input, review the updated source text, and enter a new translation. The amber highlight clears once the translation matches the current source text.
In the next step of this guide, we'll point you to further resources for extending and maintaining your multilingual Site.
