When Rosey Rosey is a tool for internationalization (i18n) that helps create multilingual static websites by managing translations and generating localized versions of content. Rosey integrates with CloudCannon for multilingual site management.Rosey
/en/about/ instead of /about/. This affects where the Visual Editor looks for your pages, and how your visitors reach your default language. You can address these issues by updating your Collection URLs so the Visual Editor can find your pages, and by configuring Rosey's URL options to control how your default language is served.
These configurations are independent — you can do one, both, or neither depending on your setup. Update your Collection URLs if you need the Visual Editor to work after a Rosey build. Configure Rosey's URL options only if the defaults don't suit your use case.
Fix the Visual Editor preview#
Rosey moves your output files to language-prefixed paths, but CloudCannon's default Collection URL configuration doesn't account for this prefix. CloudCannon uses the output URL to match each source file to its output file — if the output URL is wrong, the webpage preview in the Visual Editor CloudCannon's visual editing interface provides a user-friendly way of updating your website files on an interactive preview of your webpage. You can navigate around your website preview using links/buttons, as you would on the live version, and edit your content inline on the page, or with the data panel or sidebar. What you see in the Visual Editor is what your website visitors will see on your live webpages.Visual Editor
You can update your Collection URLs either through CloudCannon or by editing your Configuration File directly.
Update Collection URLs in CloudCannon
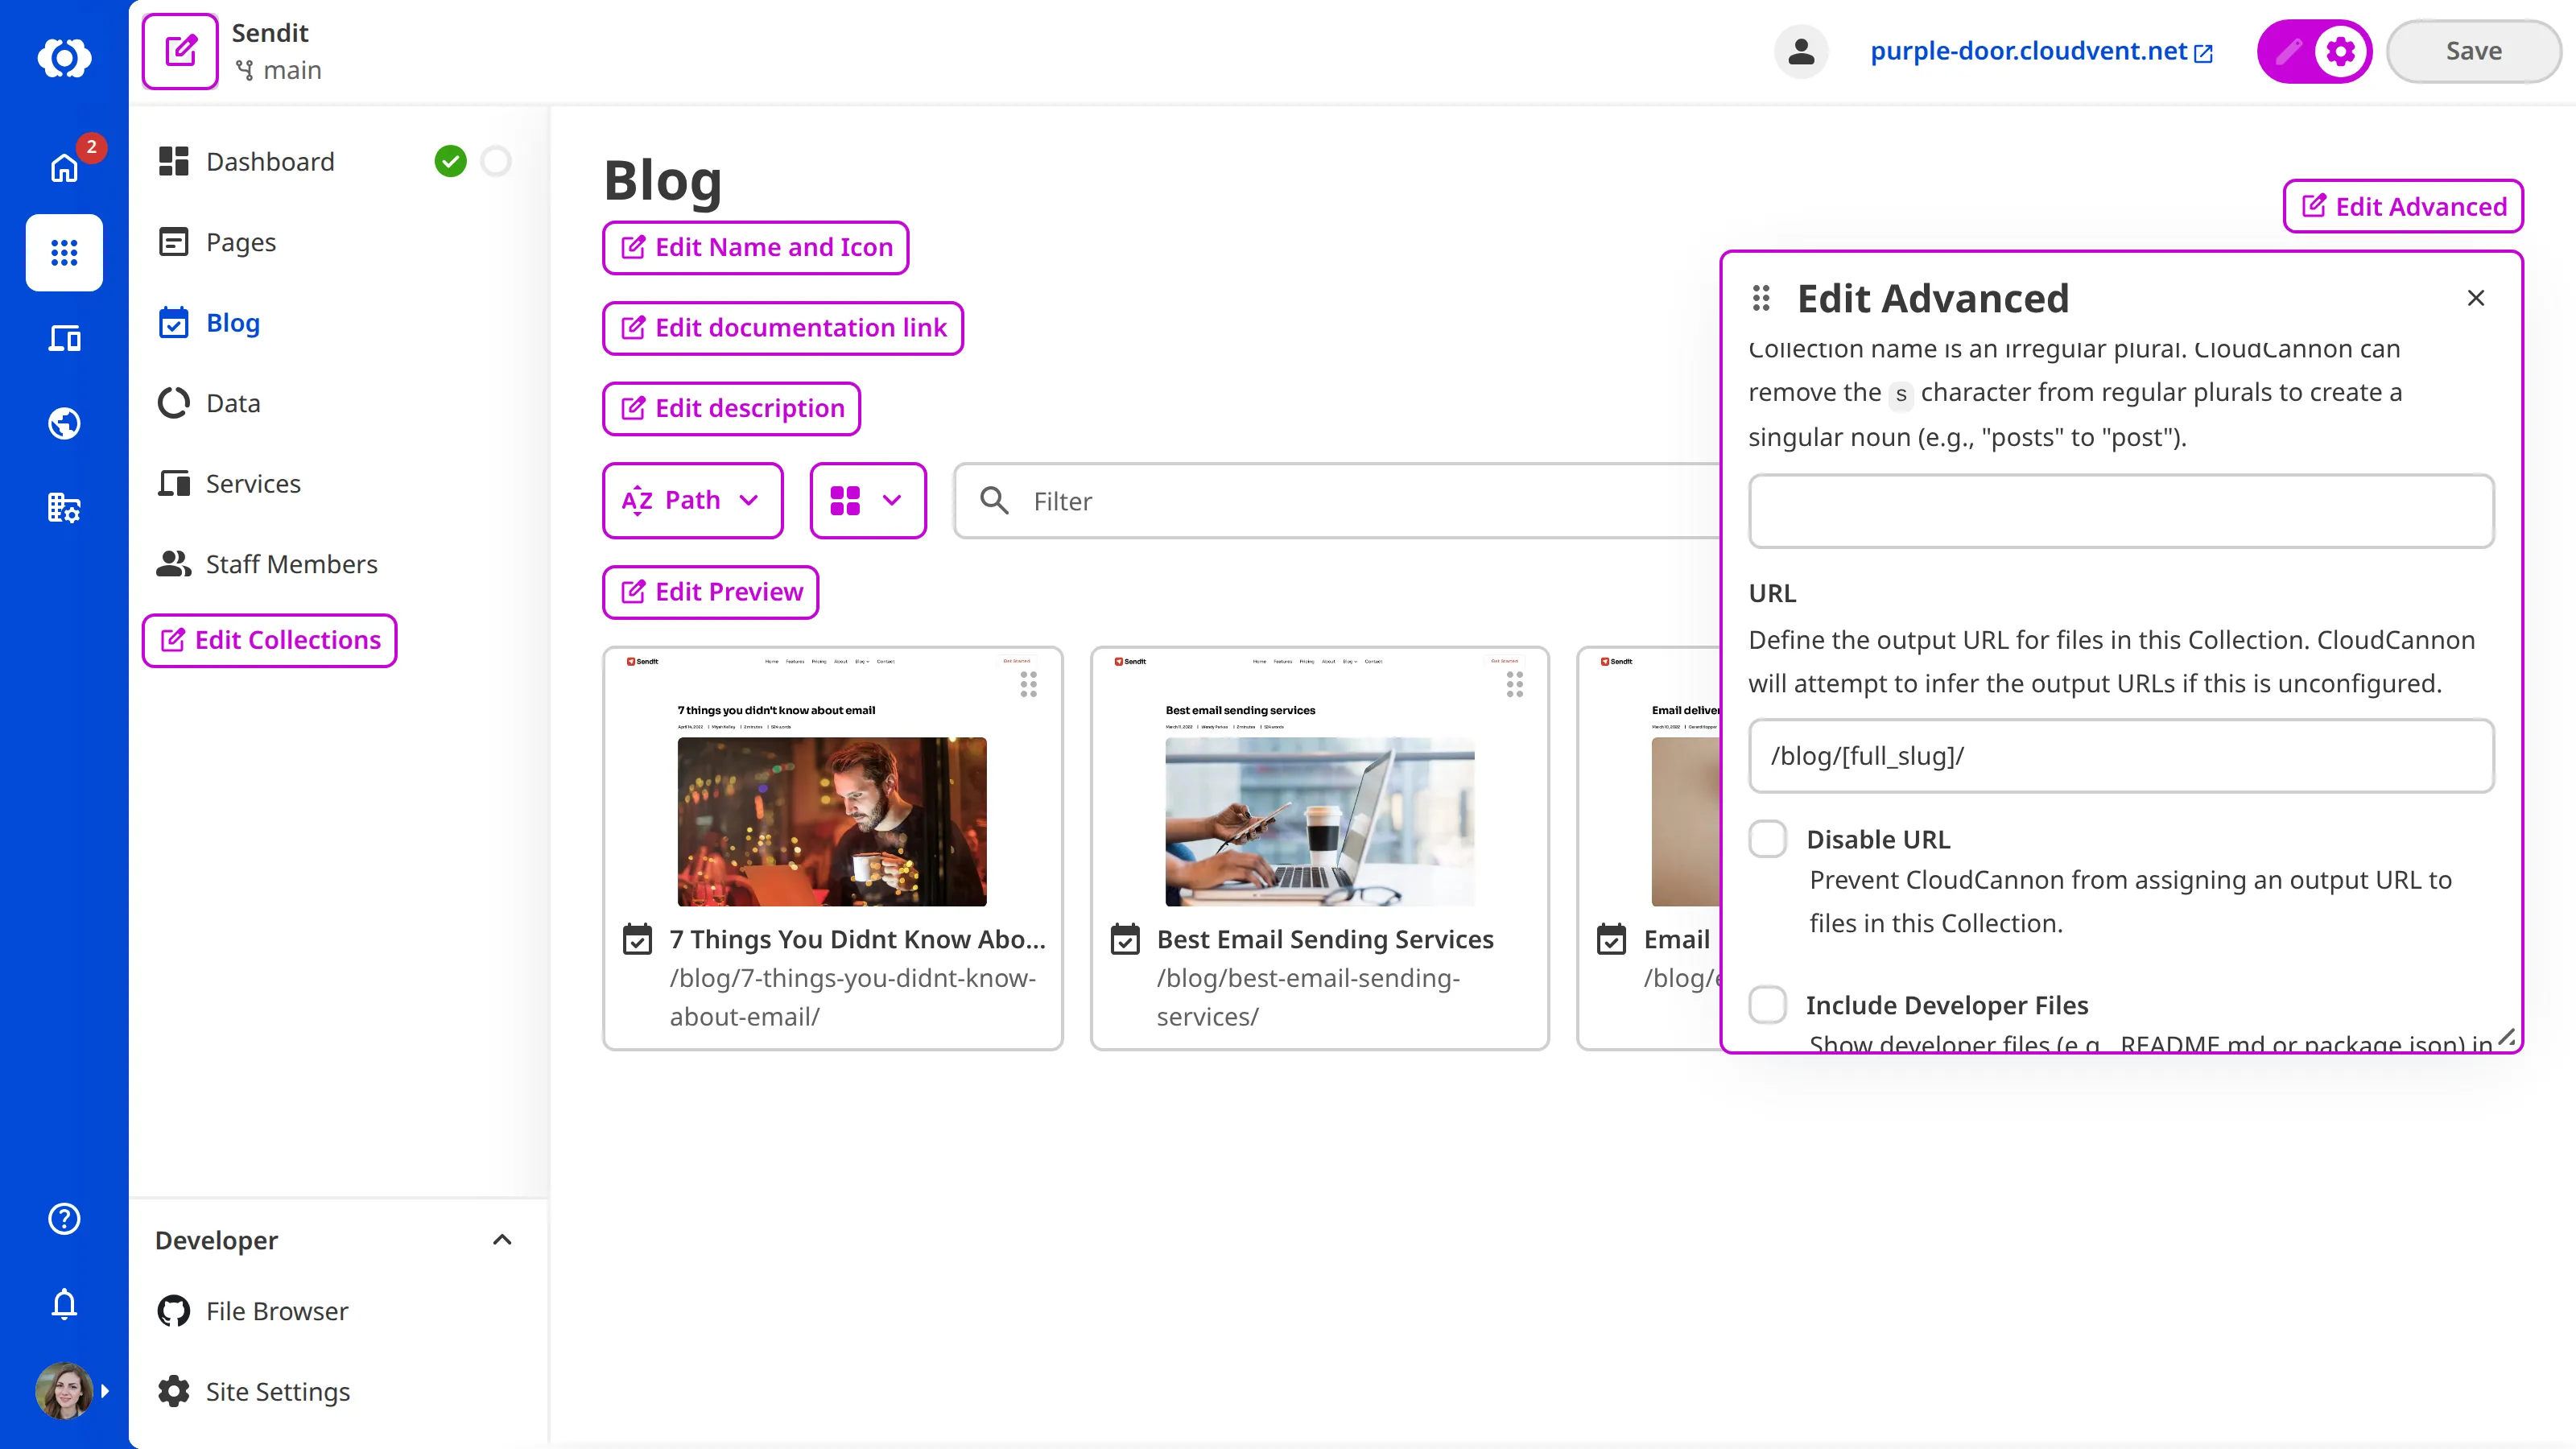
Navigate to the relevant Collection in the Collection Browser and enable Configuration Mode using the switch on the right of the Site Header — purple Edit Configuration buttons will appear. Click Edit Advanced in the top right to open the Edit Advanced data panel. Enter your language-prefixed URL template in the URL field — for example, /en/[slug]/ — then save your Site. Repeat this process for each Collection in your Site.
Update Collection URLs in your Configuration File
To update your Collection URLs without using CloudCannon, edit the url key for each Collection in your cloudcannon.config.yml.
collections_config:
  pages:
    url: /en/[slug]/
{
"collections_config": {
"pages": {
"url": "/en/[slug]/"
}
}
}Add a url entry for each Collection in your Site, replacing en with your default locale code. Once you've updated the url for each Collection, the Visual Editor will load your pages correctly after every build.
Use a staging workflow instead#
If you prefer to keep your Collection URLs un-prefixed, you can use a staging workflow as an alternative — running Rosey only on your production branch and using a separate branch for content editing. See the staging workflow guide for guidance on configuring this in CloudCannon.
The staging workflow is incompatible with the Rosey CloudCannon Connector The Rosey CloudCannon Connector is an optional package that connects Rosey's translation data to the CloudCannon Visual Editor, allowing editors to translate content inline without leaving the Visual Editor. It extends Rosey's build-time translation process with live editing support.Rosey CloudCannon Connector
To restrict Rosey to your production branch, replace the postbuild script from the previous step with this version, which wraps the build in an environment variable check:
if [[ $TRANSLATE == "true" ]];
then
  echo "Translating site with Rosey"
  mv ./_site ./_untranslated_site
  npx rosey build --source _untranslated_site --dest _site
fiThen add a TRANSLATE environment variable with the value true on your production Site in CloudCannon. You can do this in the Environment variables section under Build in your Site Settings. Leave the variable unset on your staging Site — Rosey won't run on any build where TRANSLATE is not true, which keeps the Visual Editor working correctly on your editing branch.
Keep your default language at the root path#
Rosey also gives you control over how the default language's URLs are structured. Rosey uses en as the default language unless you set a different value using the default_language key in your rosey.yml.
source: _site
tag: data-rosey
default_language: frBy default, Rosey places your default language under a language code prefix (for example, /en/index.html) and generates a redirect page at /index.html that sends visitors to the correct locale. If you'd prefer your default language to live at the root path — for example, /index.html instead of /en/index.html — you can set the default_language_at_root option in your rosey.yml.
source: _site
tag: data-rosey
default_language: en
default_language_at_root: trueIf your default language isn't en, set both keys together:
source: _site
tag: data-rosey
default_language: fr
default_language_at_root: trueSetting default_language_at_root disables Rosey's redirect page. Without the redirect page at /index.html, visitors arriving at the root of your Site won't be automatically sent to their locale — your default language content will be served there instead. Make sure this trade-off suits your use case before enabling this option.
With your Collection URLs configured, Rosey will build and serve a localized version of each page for every locale you've set up. This completes the Rosey section of the guide — your Site now has full multilingual support.
In the next step of this guide, we'll introduce the Rosey CloudCannon Connector — an optional add-on that lets you edit translations inline in the Visual Editor.
