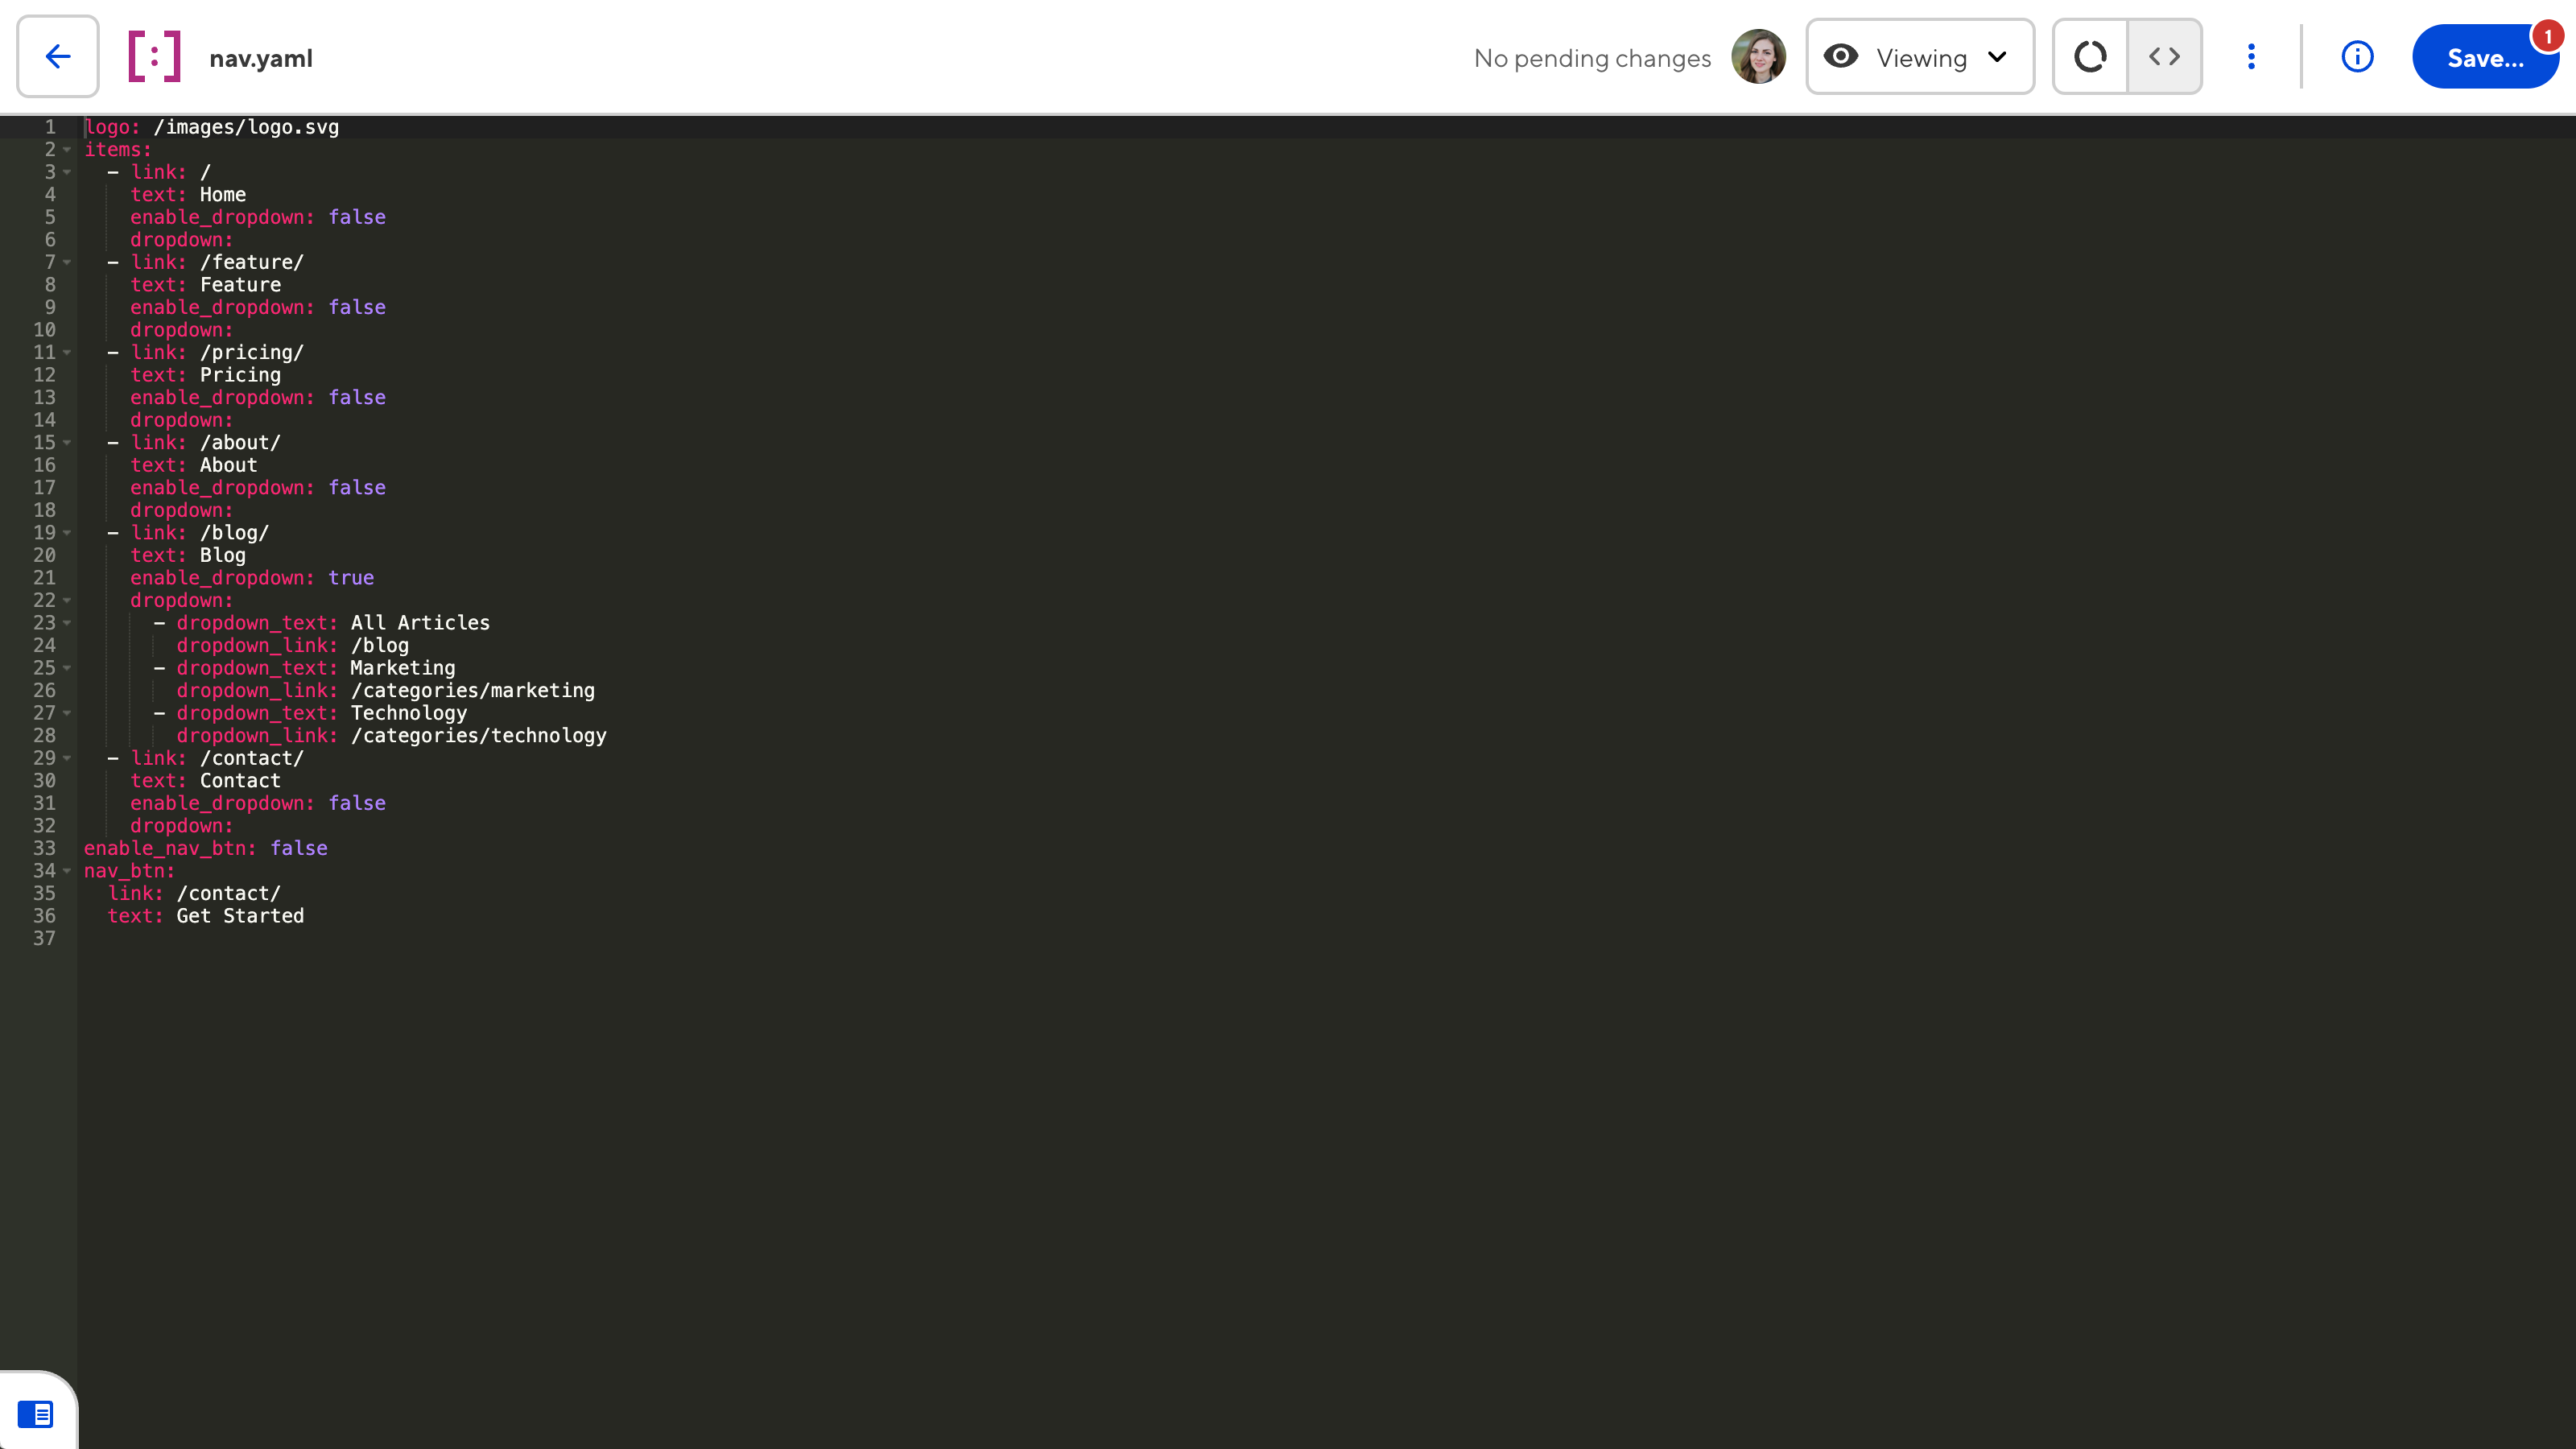
Once you have created your CloudCannon configuration file, CloudCannon will return you to the Summary tab of the Status page.
This page will prompt you to set up your Build configuration, but don't worry about that for now. Building is an optional part of setting up your Site. We'll cover build configuration in later in this guide.
For now, let's take a tour of CloudCannon!
In this guide we'll look at Sendit, a website template hosted through CloudCannon, but feel free to follow along with your own Site and content.
Site Navigation#
Your Site Navigation is the gray sidebar on the left of the app, next to your App Navigation. The Site Navigation sidebar contains information and tools you will use often.
Your Site Navigation contains:
- Projects dropdown — If your Site is part of a Project, the Projects dropdown shows you which Project your Site belongs to and which Sites (if any) it publishes to.
- Site icon, Site name, and branch name — These are your basic Site details, so you know which Site you are editing.
- Avatars — The avatars for any team members active on your Site. Clicking on an avatar will show a list of files they have open, with an eye icon for file they are Viewing and a pencil for Editing.
- The Save button — Opens the Review your changes modal and allows you to commit changes to your Git repository.
- The Publish button — If your Site has a Publish Branch, this button allows you to create a Pull Request or immediately merge your changes from this Site to any Sites it publishes to.
- The Live site preview button — Opens your Testing Domain or your Custom Domain, if you have one.
- Site Dashboard — Your Site home page, showing a preview of your last build and recent activity on your Site.
- Collections — Groups of related content, such as a folder of blog articles, Staff Member profiles, or product pages.
- Developer Tools — Tools for managing your Site, including the Status page, file browser, and Site Settings.
Dashboard#
The Dashboard is the first item below the Site Navigation header. You Dashboard is the first place you arrive when you open a Site in CloudCannon and gives you and overview of your Site.
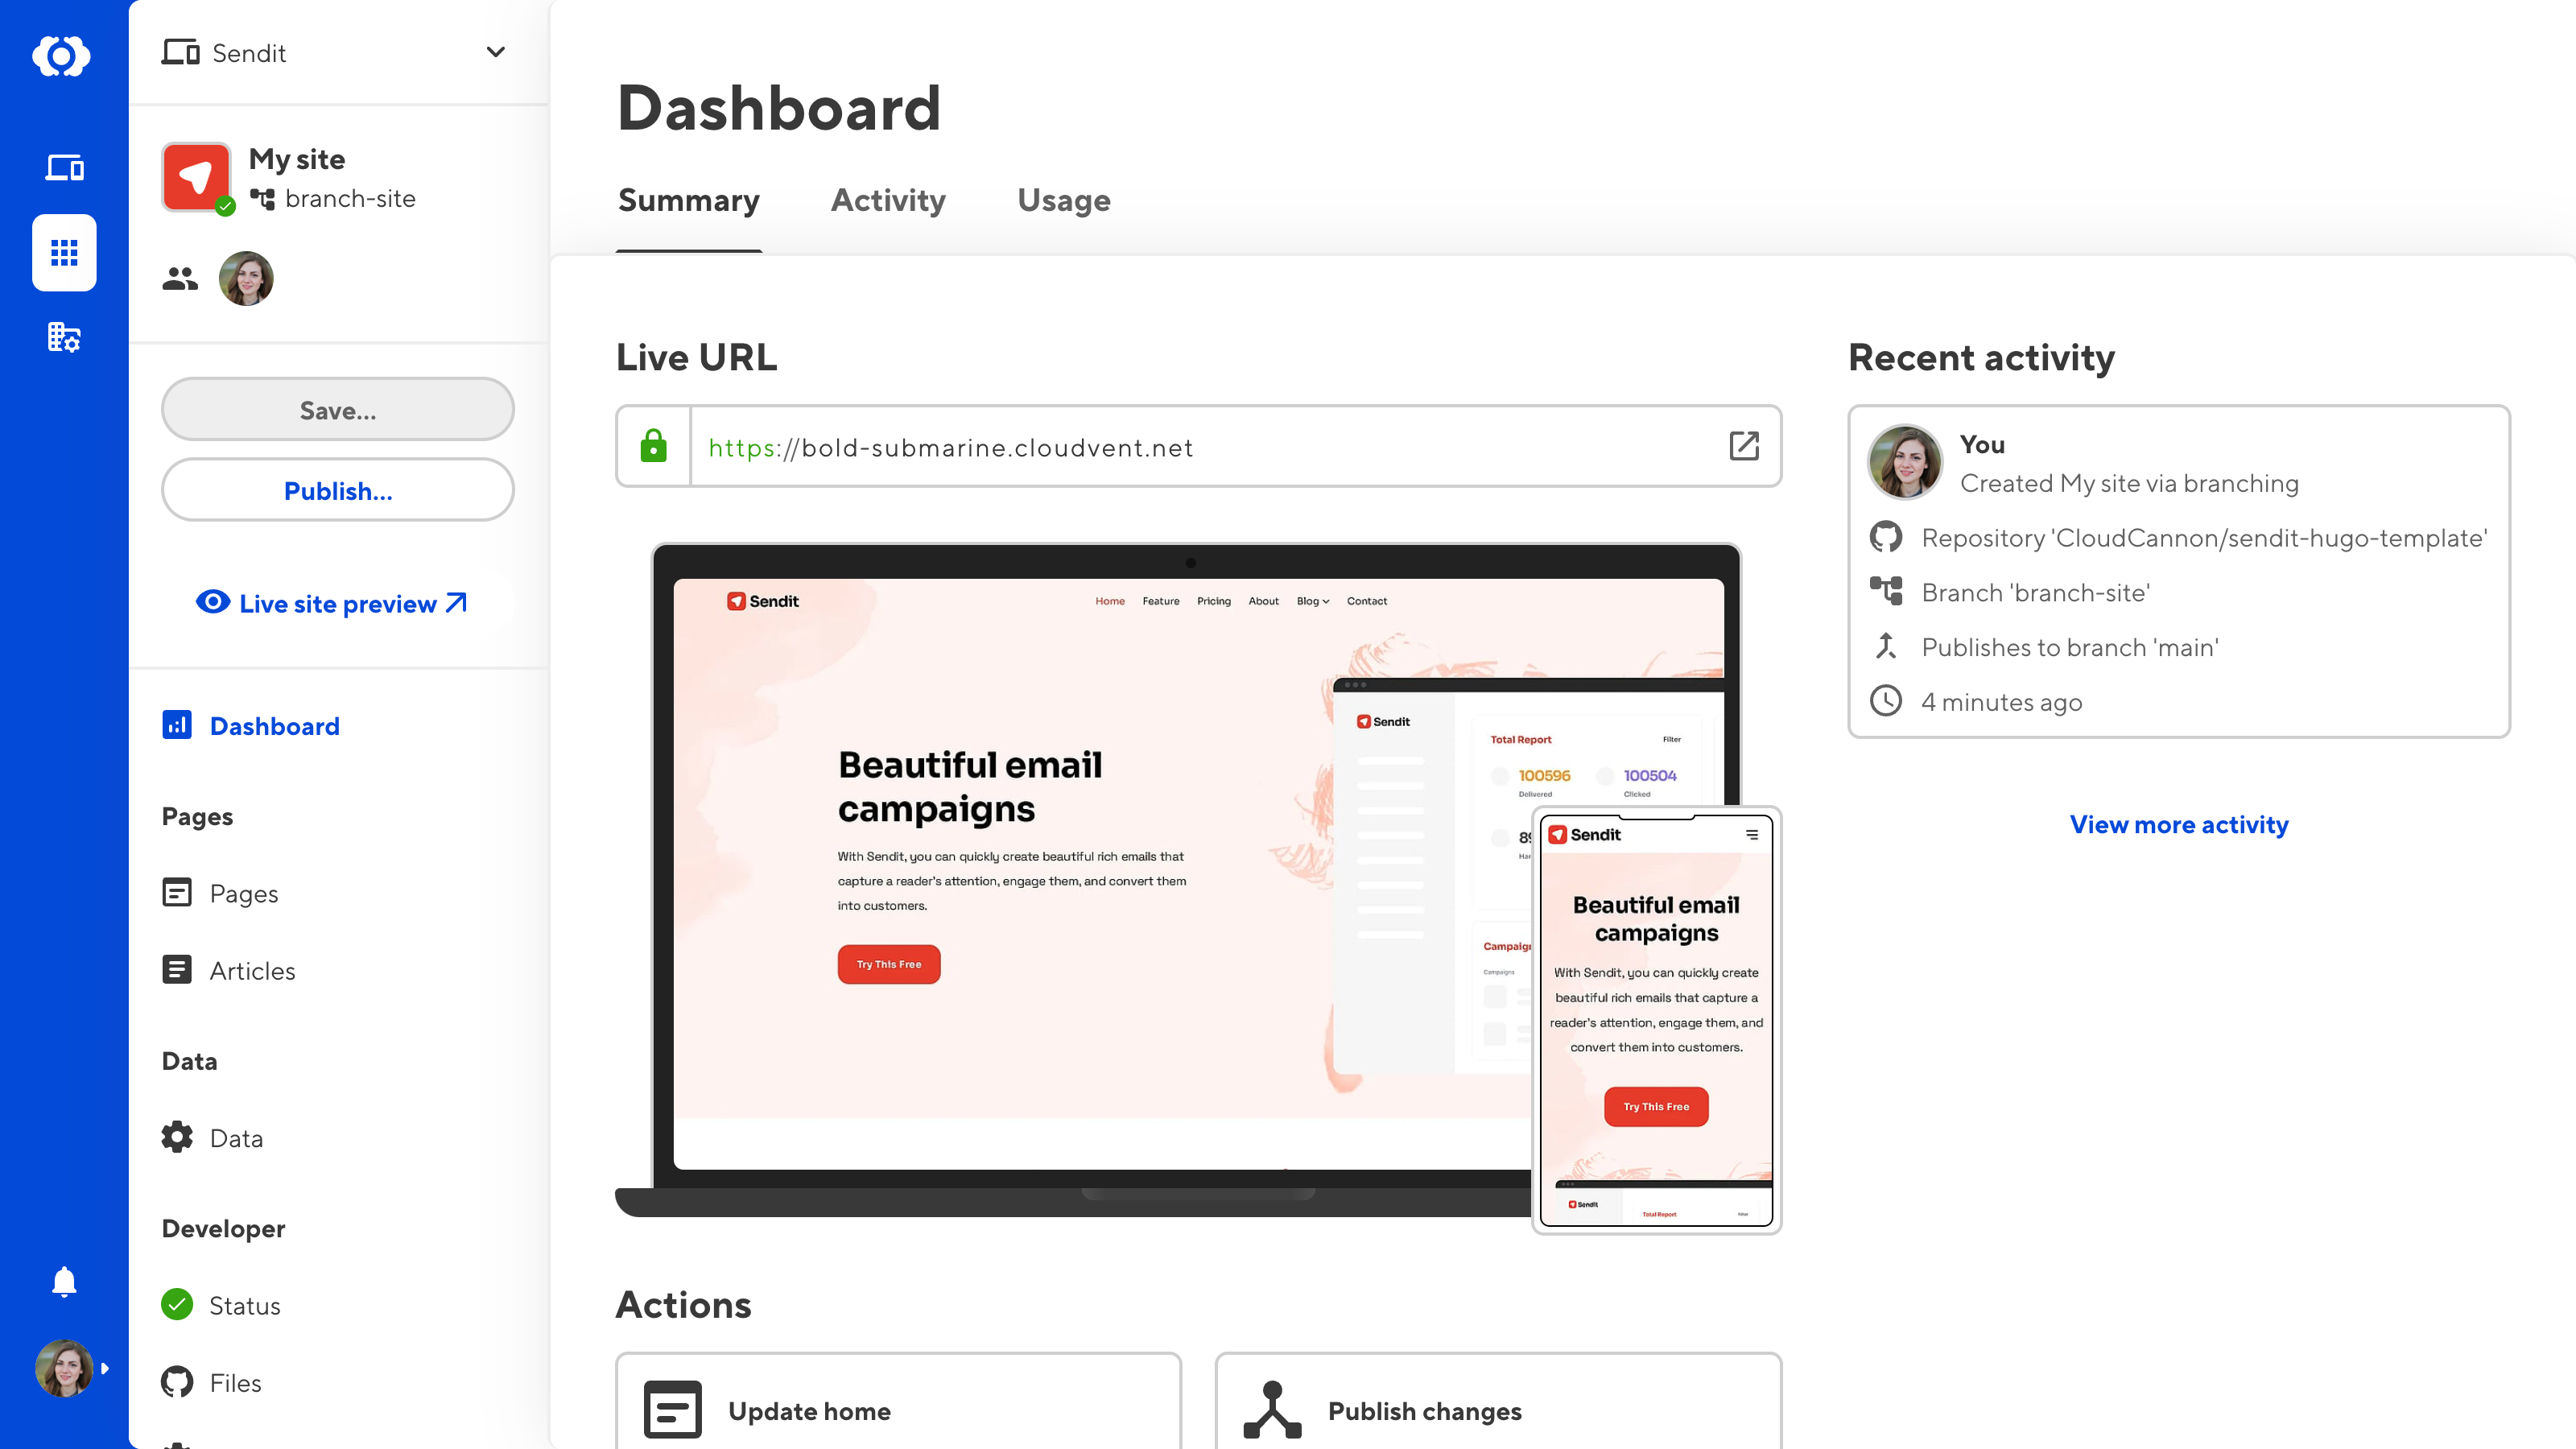
There are three tabs on your Dashboard: Summary, Activity, and Usage.
On the Summary tab you'll find your Live URL (either the Testing Domain or your Custom Domain, if you have one), a preview of your Site's homepage generated during your last build, and a list of recent activity on your Site. There will also be buttons to open your home page in the Visual Editor, the Publishing page, and recently opened files.
Because you have not built your Site yet, the preview of your homepage will be missing. We'll cover building your Site later in this guide.
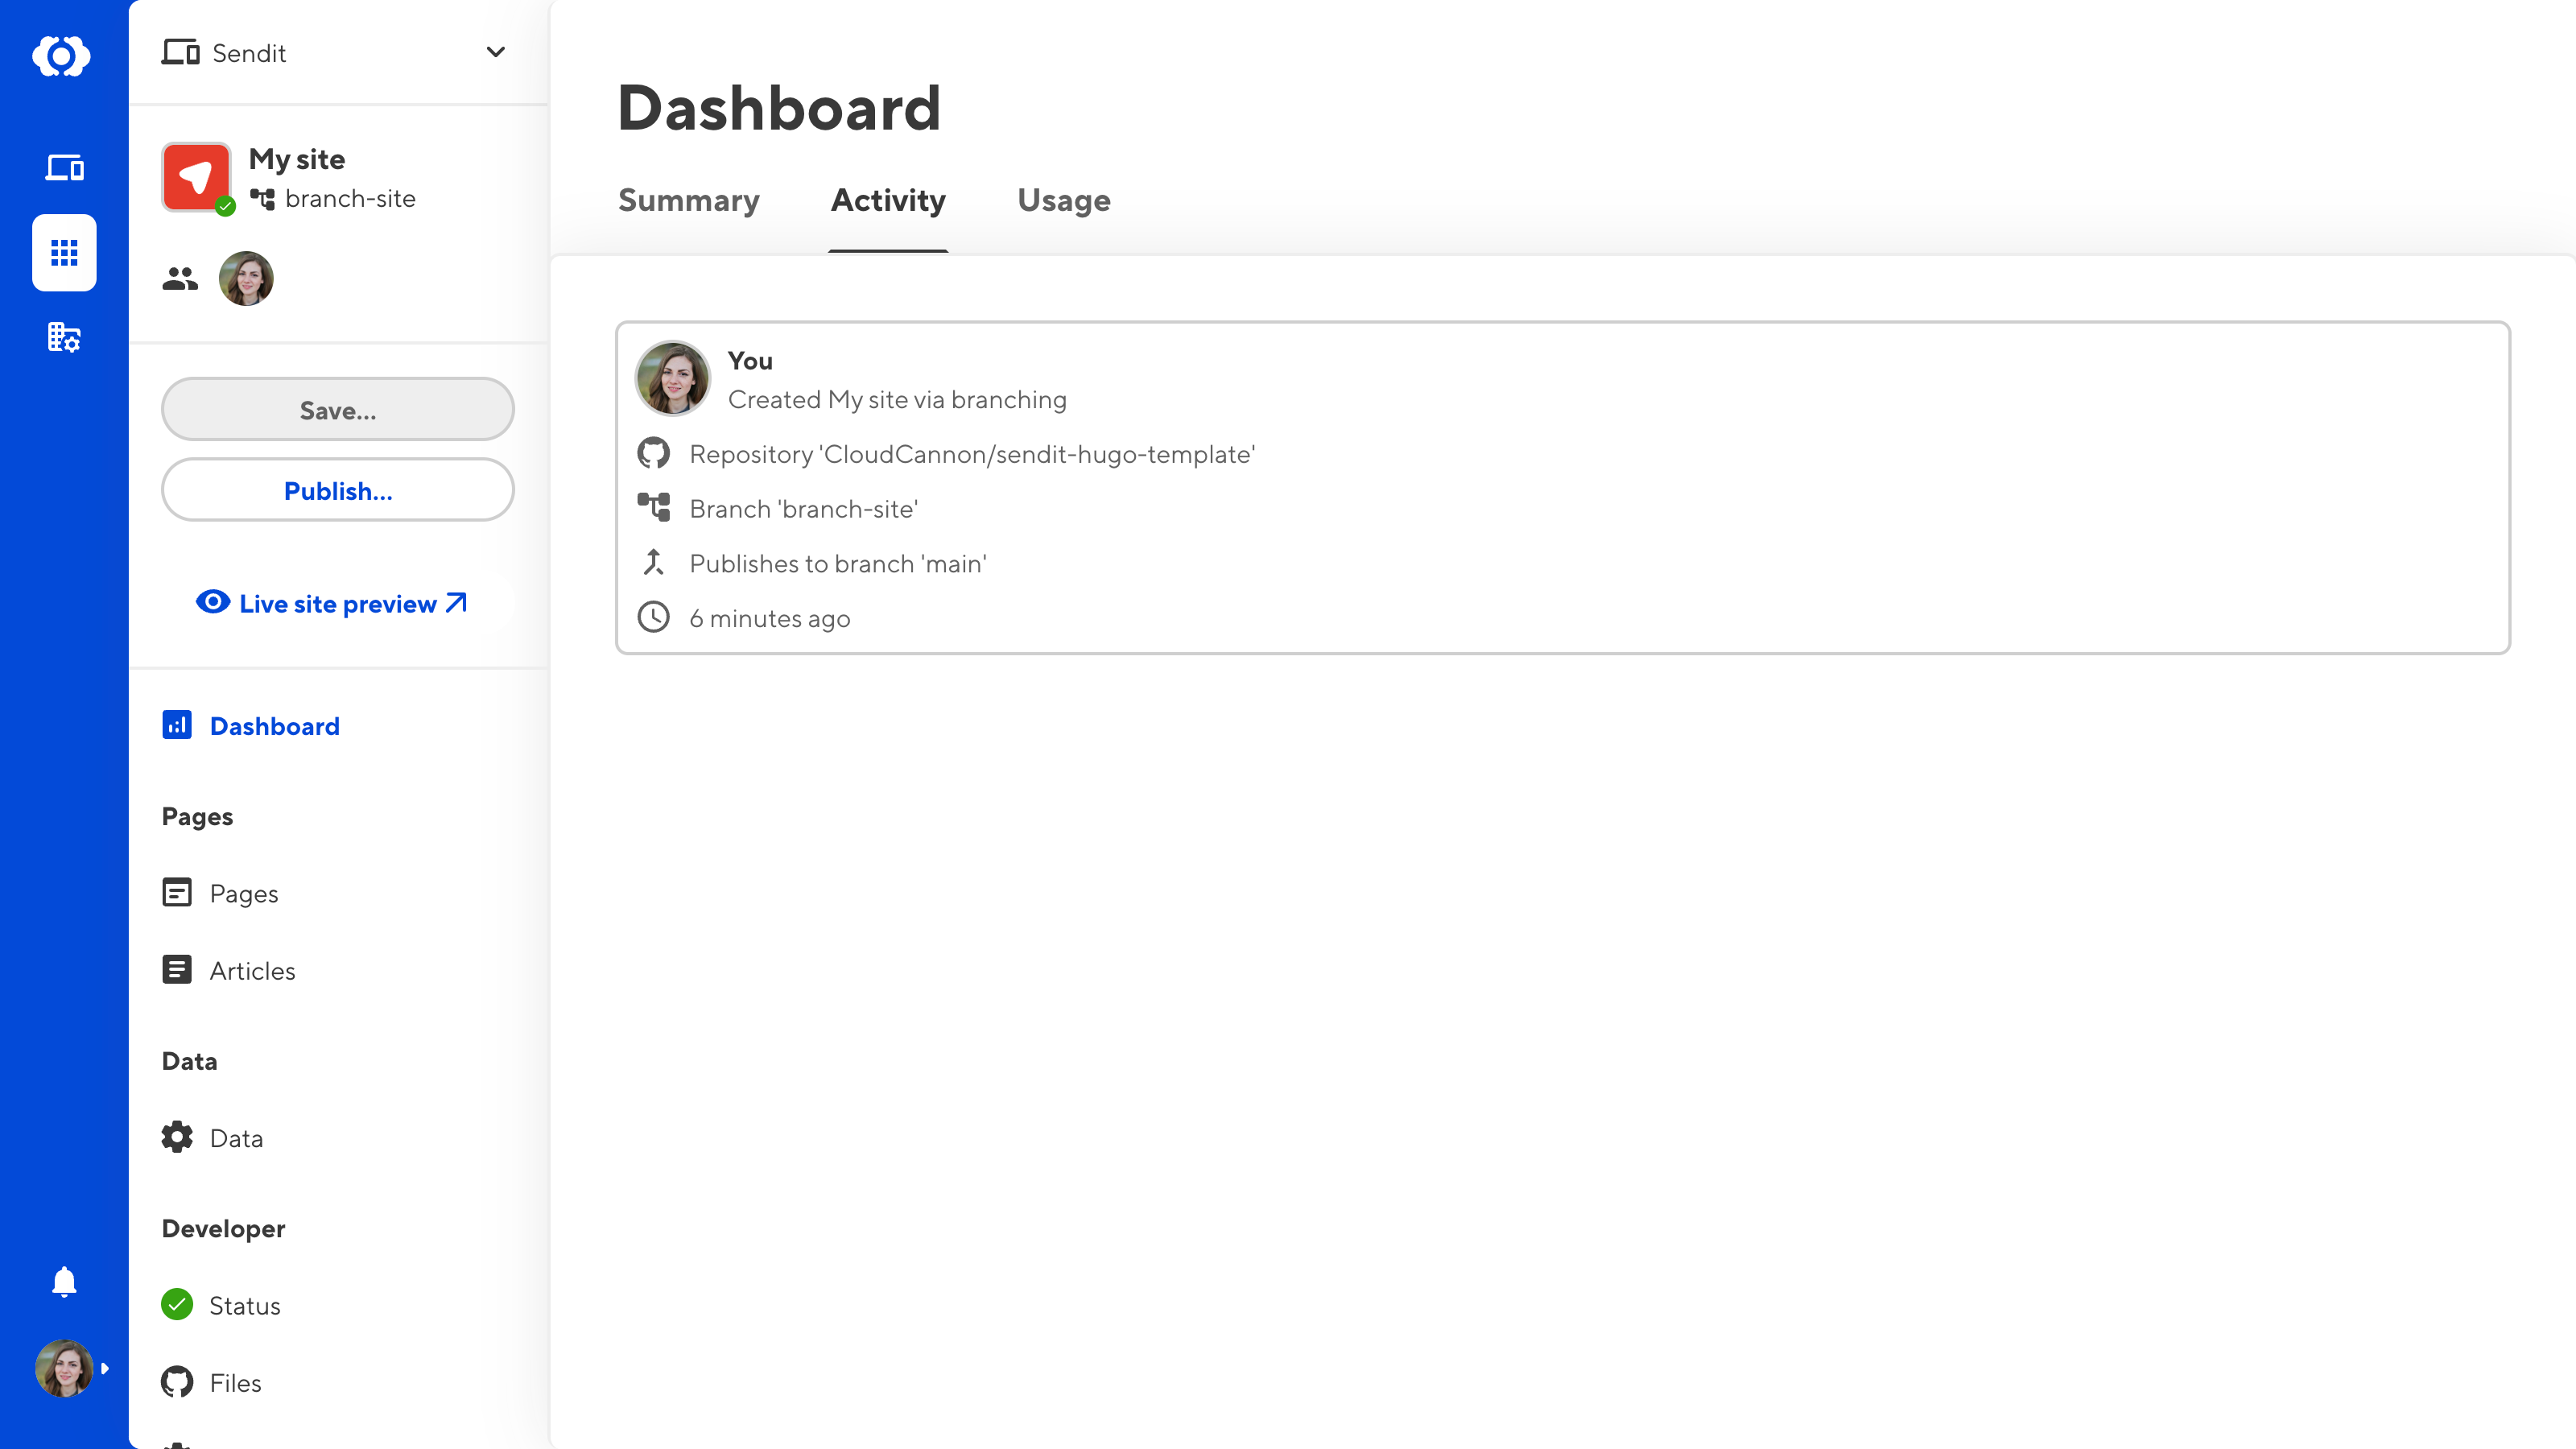
On the Activity tab you'll find more paginated activity in reverse chronological order for every change to your content or settings.
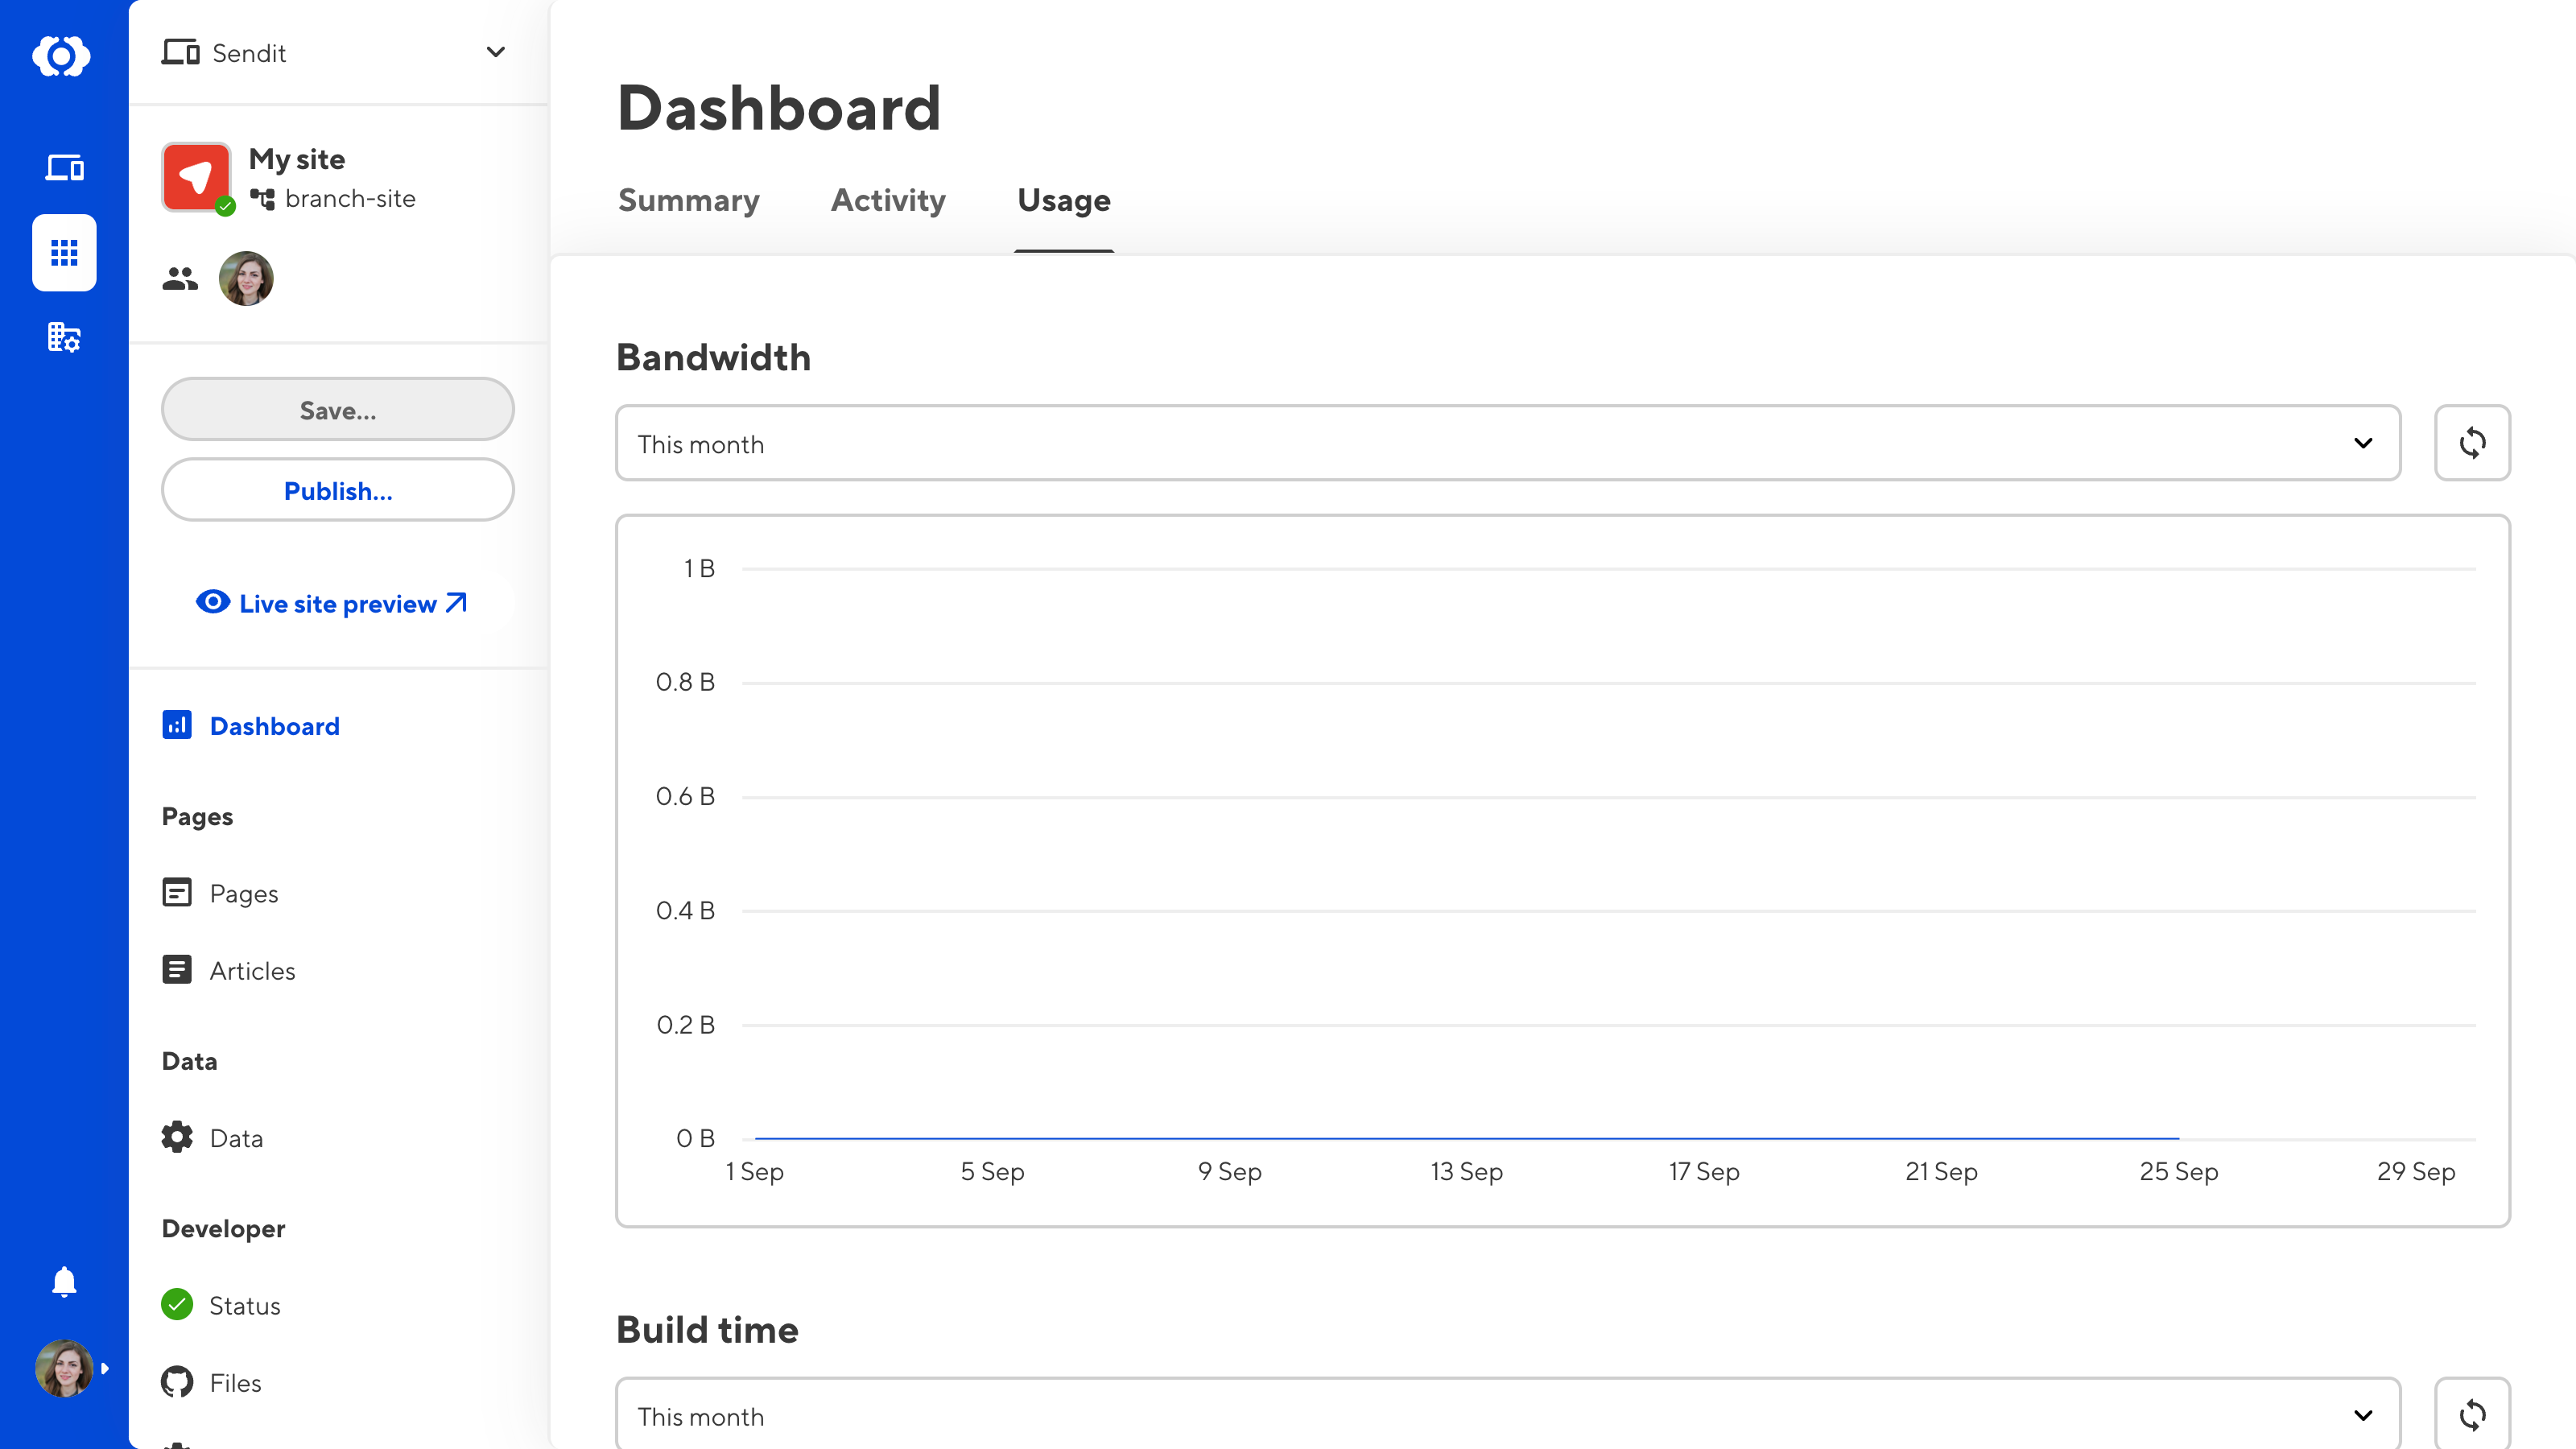
On the Usage tab you'll find your current bandwidth and build time utilization. If your plan has limited build time, you can use this tab to monitor your usage allowance.
Collections#
All your Collections are the are listed in your Site Navigation. We encountered Collections in the configuration file section of this guide, but if you need a reminder, a Collection is a group of related content (e.g., a folder of blog article or product descriptions).
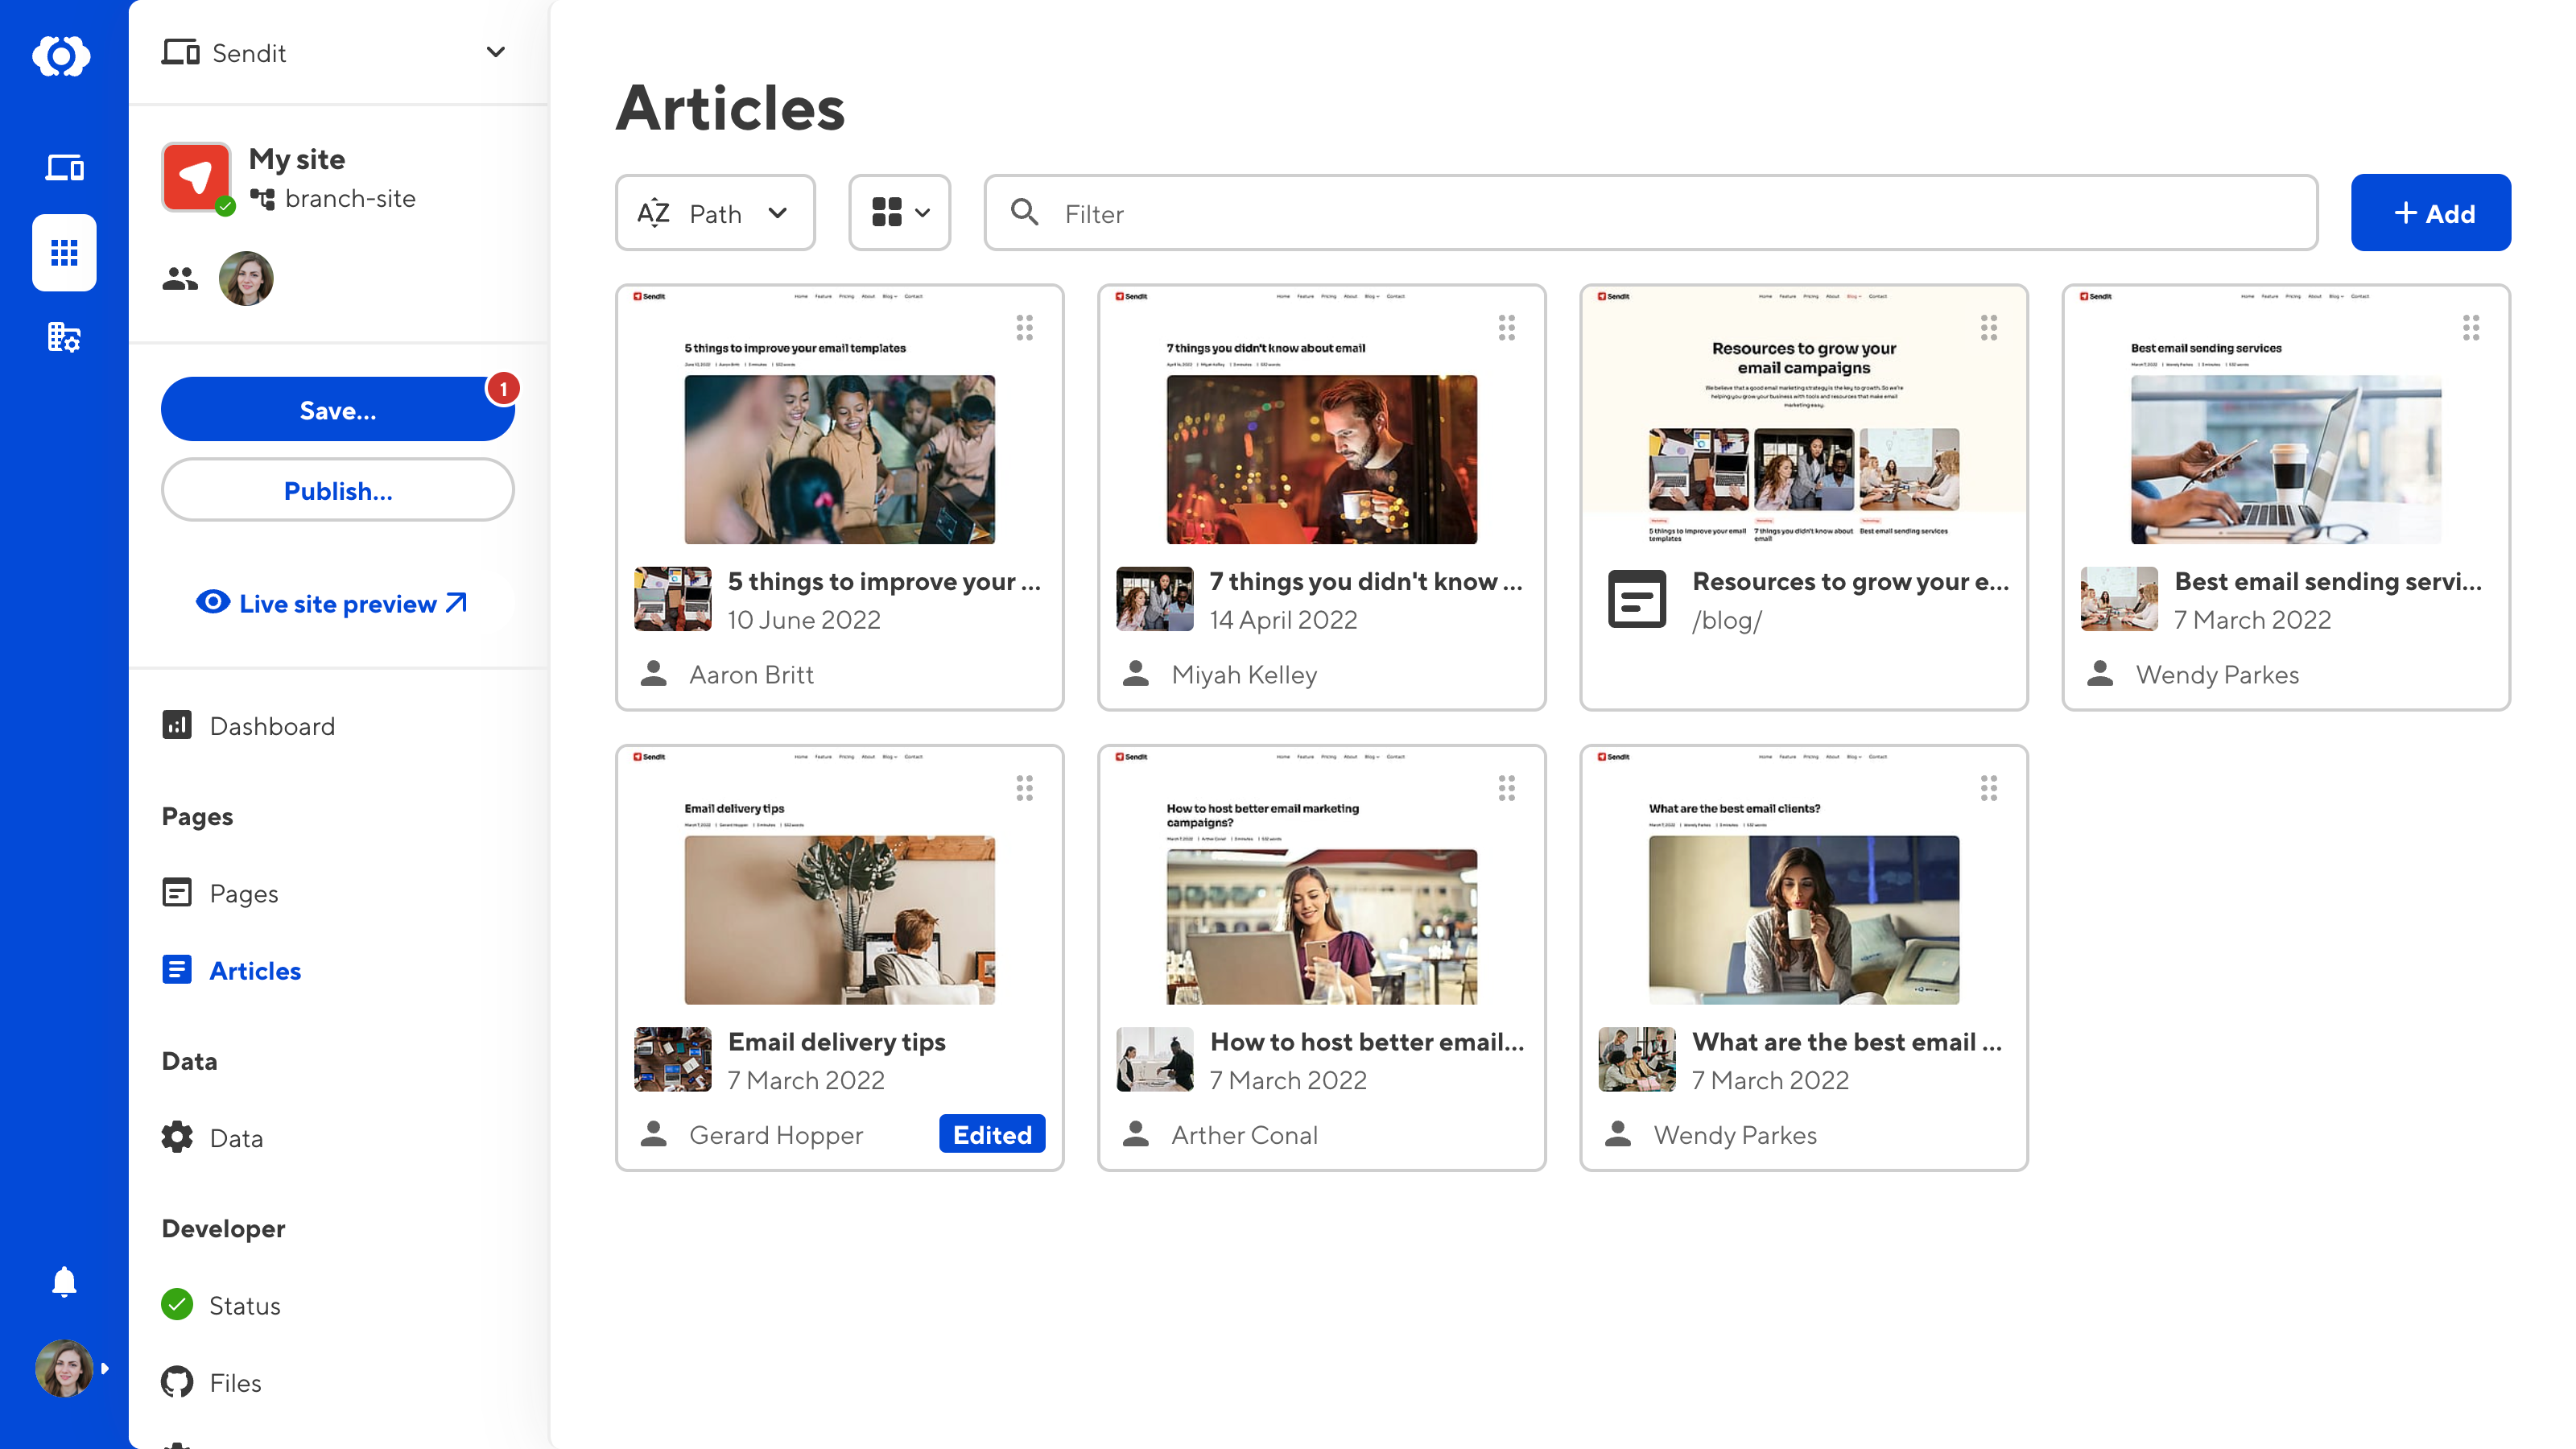
Clicking a Collection in your Site Navigation will open the Collection browser. Every file in that collection is represented here by a file card, with a preview (generated at build time), name, and metadata for that file. Clicking on a file will open it in one of CloudCannon's editing interfaces.
We'll cover how to configure your Collections further later in this guide.
Developer Tools#
Under the Developer Tools heading you will find links to the Status page, the file browser, and Site Settings.
You're already familiar with the Status page — it's been your home for onboarding so far! There are four tabs on the Status page: Summary, Syncs, Builds, and Build Deploys.
The Summary tab has a Needs Attention notice if CloudCannon detects an issue with your Site configuration, a Suggestions section for how to configure your Site, and a link to Support. Your most recent Sync and Build are on the right of the page. The Syncs, Builds, and Build Deploys tabs shows more logs in reverse chronological order.
The Files item in your Site Navigation will open your file browser. This browser shows all the source files for your Site, using the same file structure as your Git repository.
The Site Settings page is where you will find all your CloudCannon settings. These include your settings for your files, builds, hosting, sharing, and more.
Developer tools are important for managing your Site beyond just it's content. These pages are only available to team members with specific permissions. We'll cover permissions and Permission Groups in the Collaboration section of this guide.
Editing interfaces#
CloudCannon has four editing interfaces: the Visual Editor, Content Editor, Data Editor, and Source Editor. Each interface provides a different editing experience, with tools specific to particular file types.
Later in this guide we'll dive deeper into how to configure each editing interface.
Visual Editor#
The Visual Editor is the most intuitive way to edit content in CloudCannon, using an interactive preview of your site. You can navigate your pages as you would on your live site and edit directly onto the page. This editing interface works for any file that outputs to an HTML page on your site.
Depending on your SSG and site configuration, you may not have access to the Visual Editor for all files.
The Visual Editor uses the sidebar or Data Panels for managing front matter content, each with customizable inputs to give your editing team a more intuitive interface.

CloudCannon requires you to build your Site to use the Visual Editor. We'll cover how to build your Site later in this guide.
Content Editor#
The Content Editor is a rich text editor for markup files. This editor is useful if you want a distraction-free, clean writing interface, particularly for blog posts and other content with a simple layout. You can configure the WYSIWYG toolbar for your Content Editor to ensure you have all the tools you need and edit structured data in the front matter of your markup files using the sidebar.
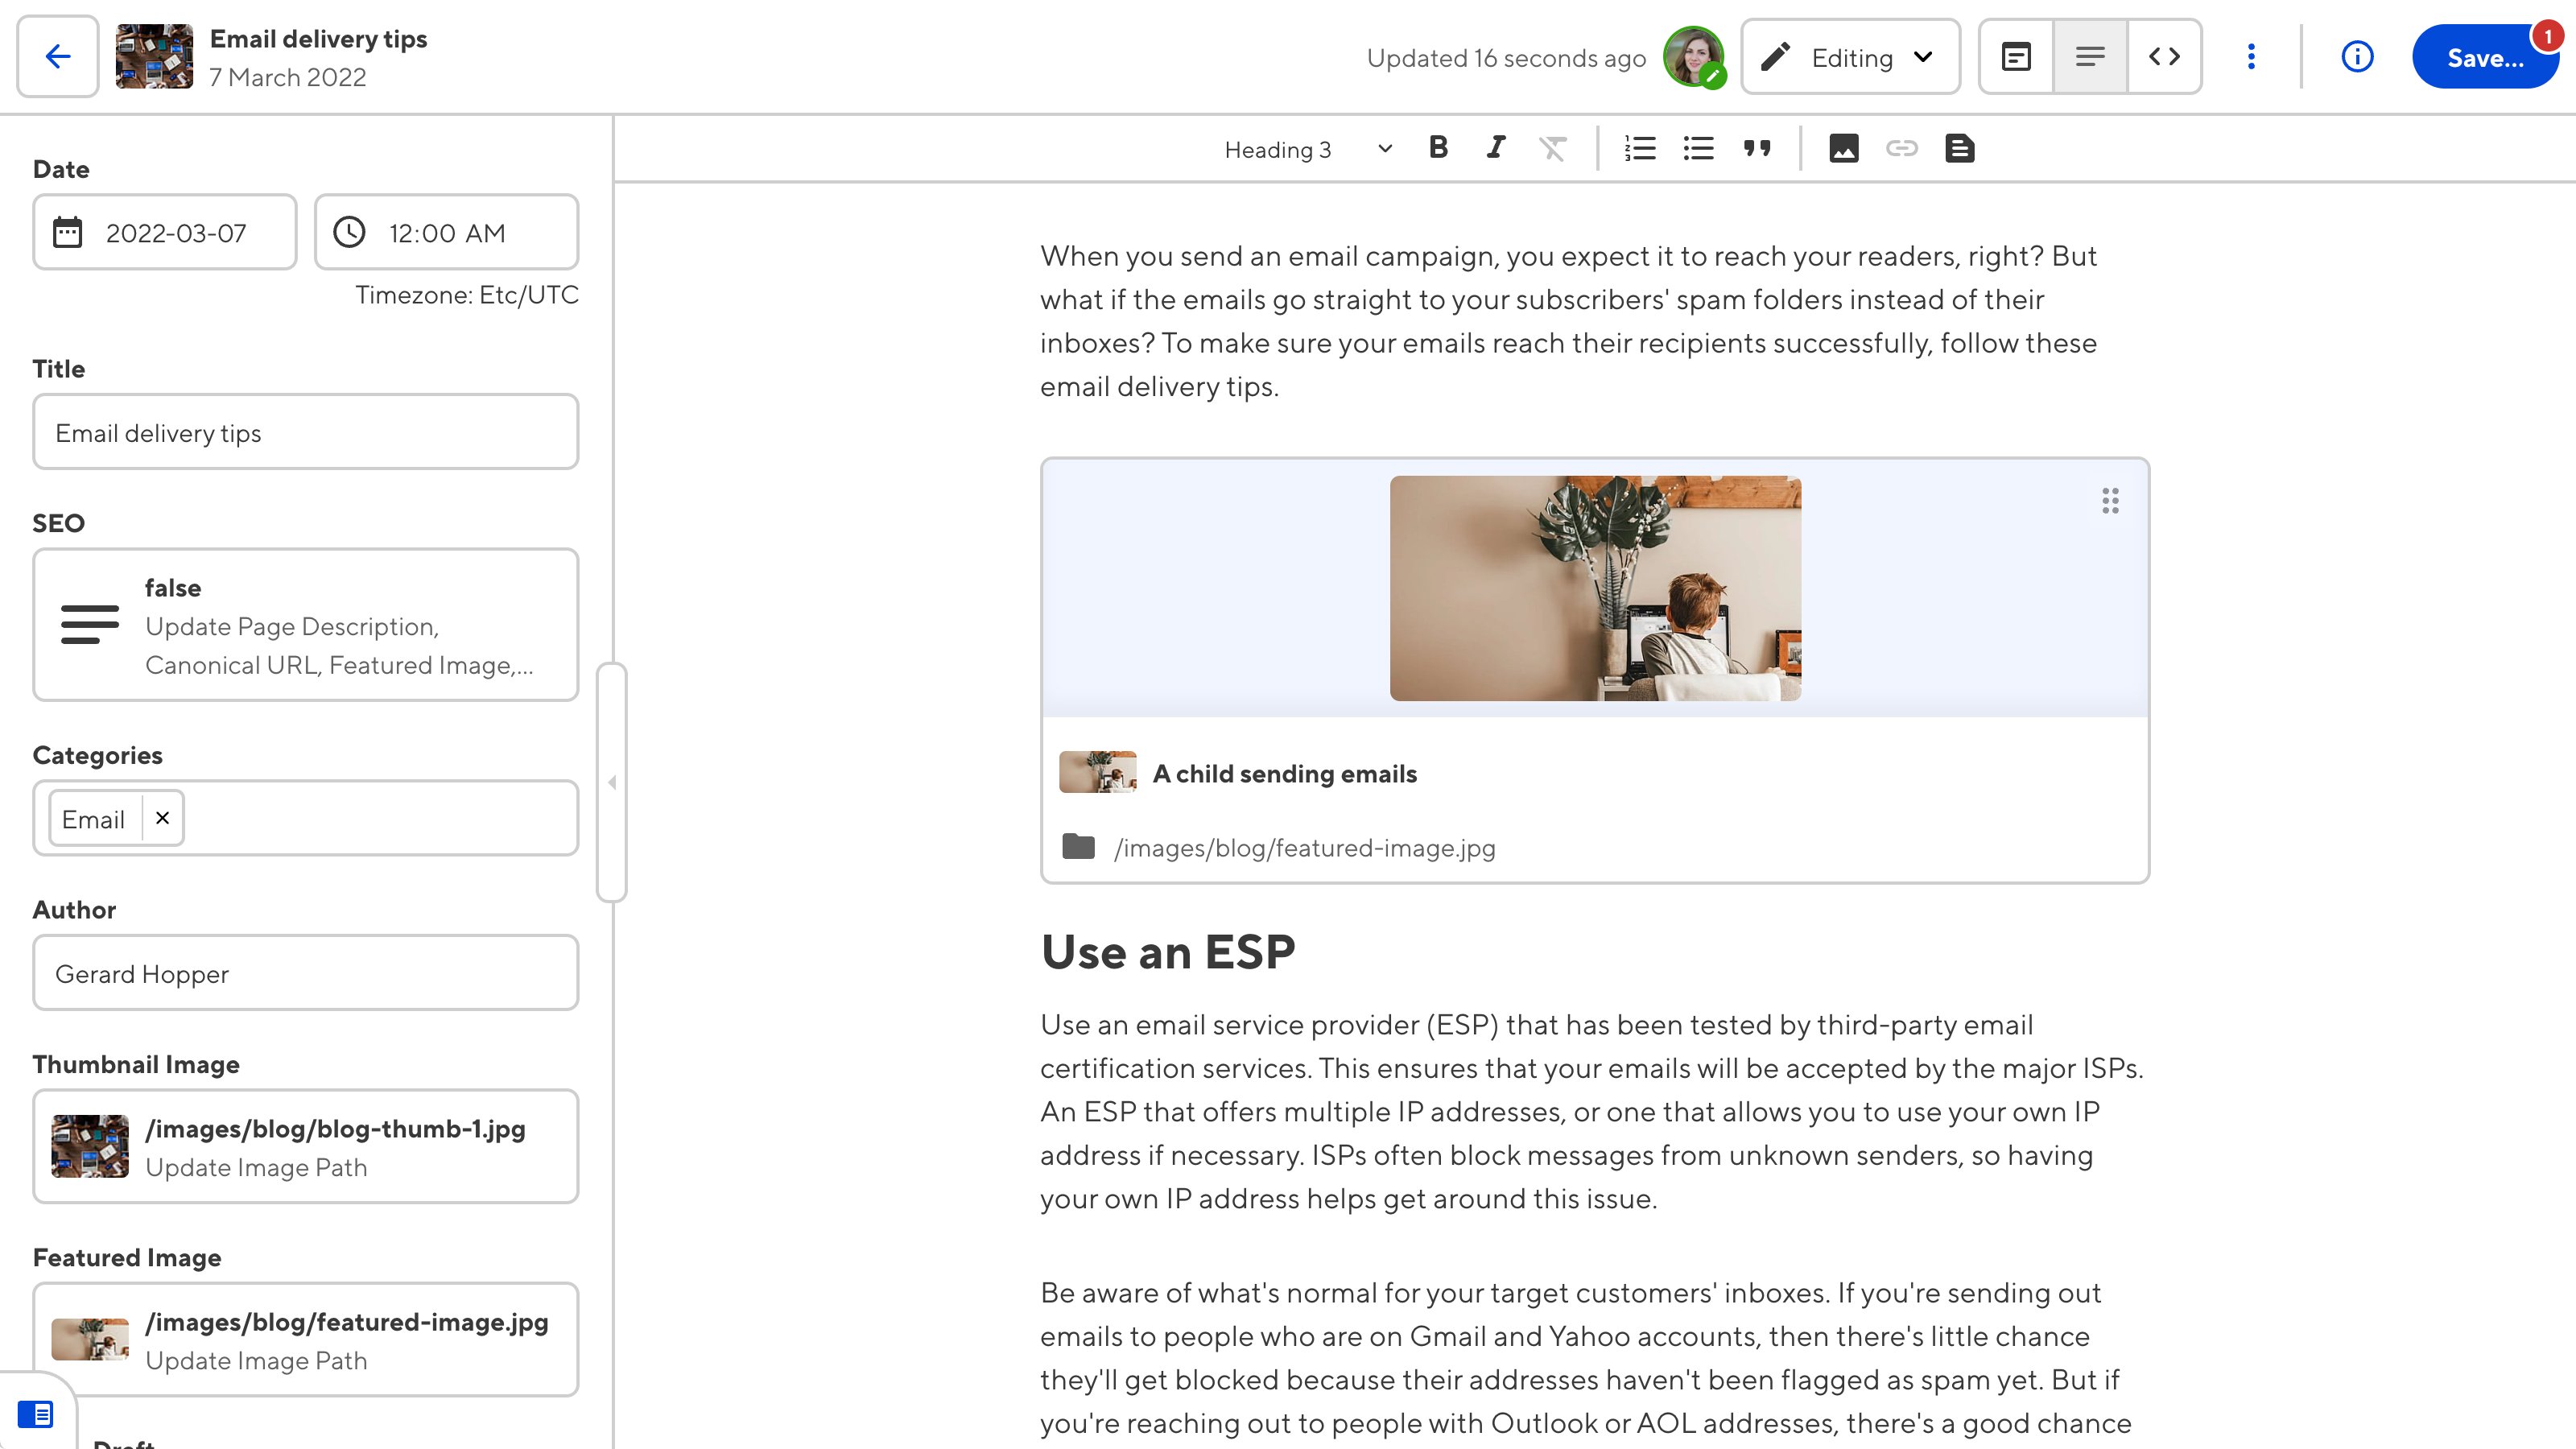
The Content Editor supports managing structured data via Snippets.
Data Editor#
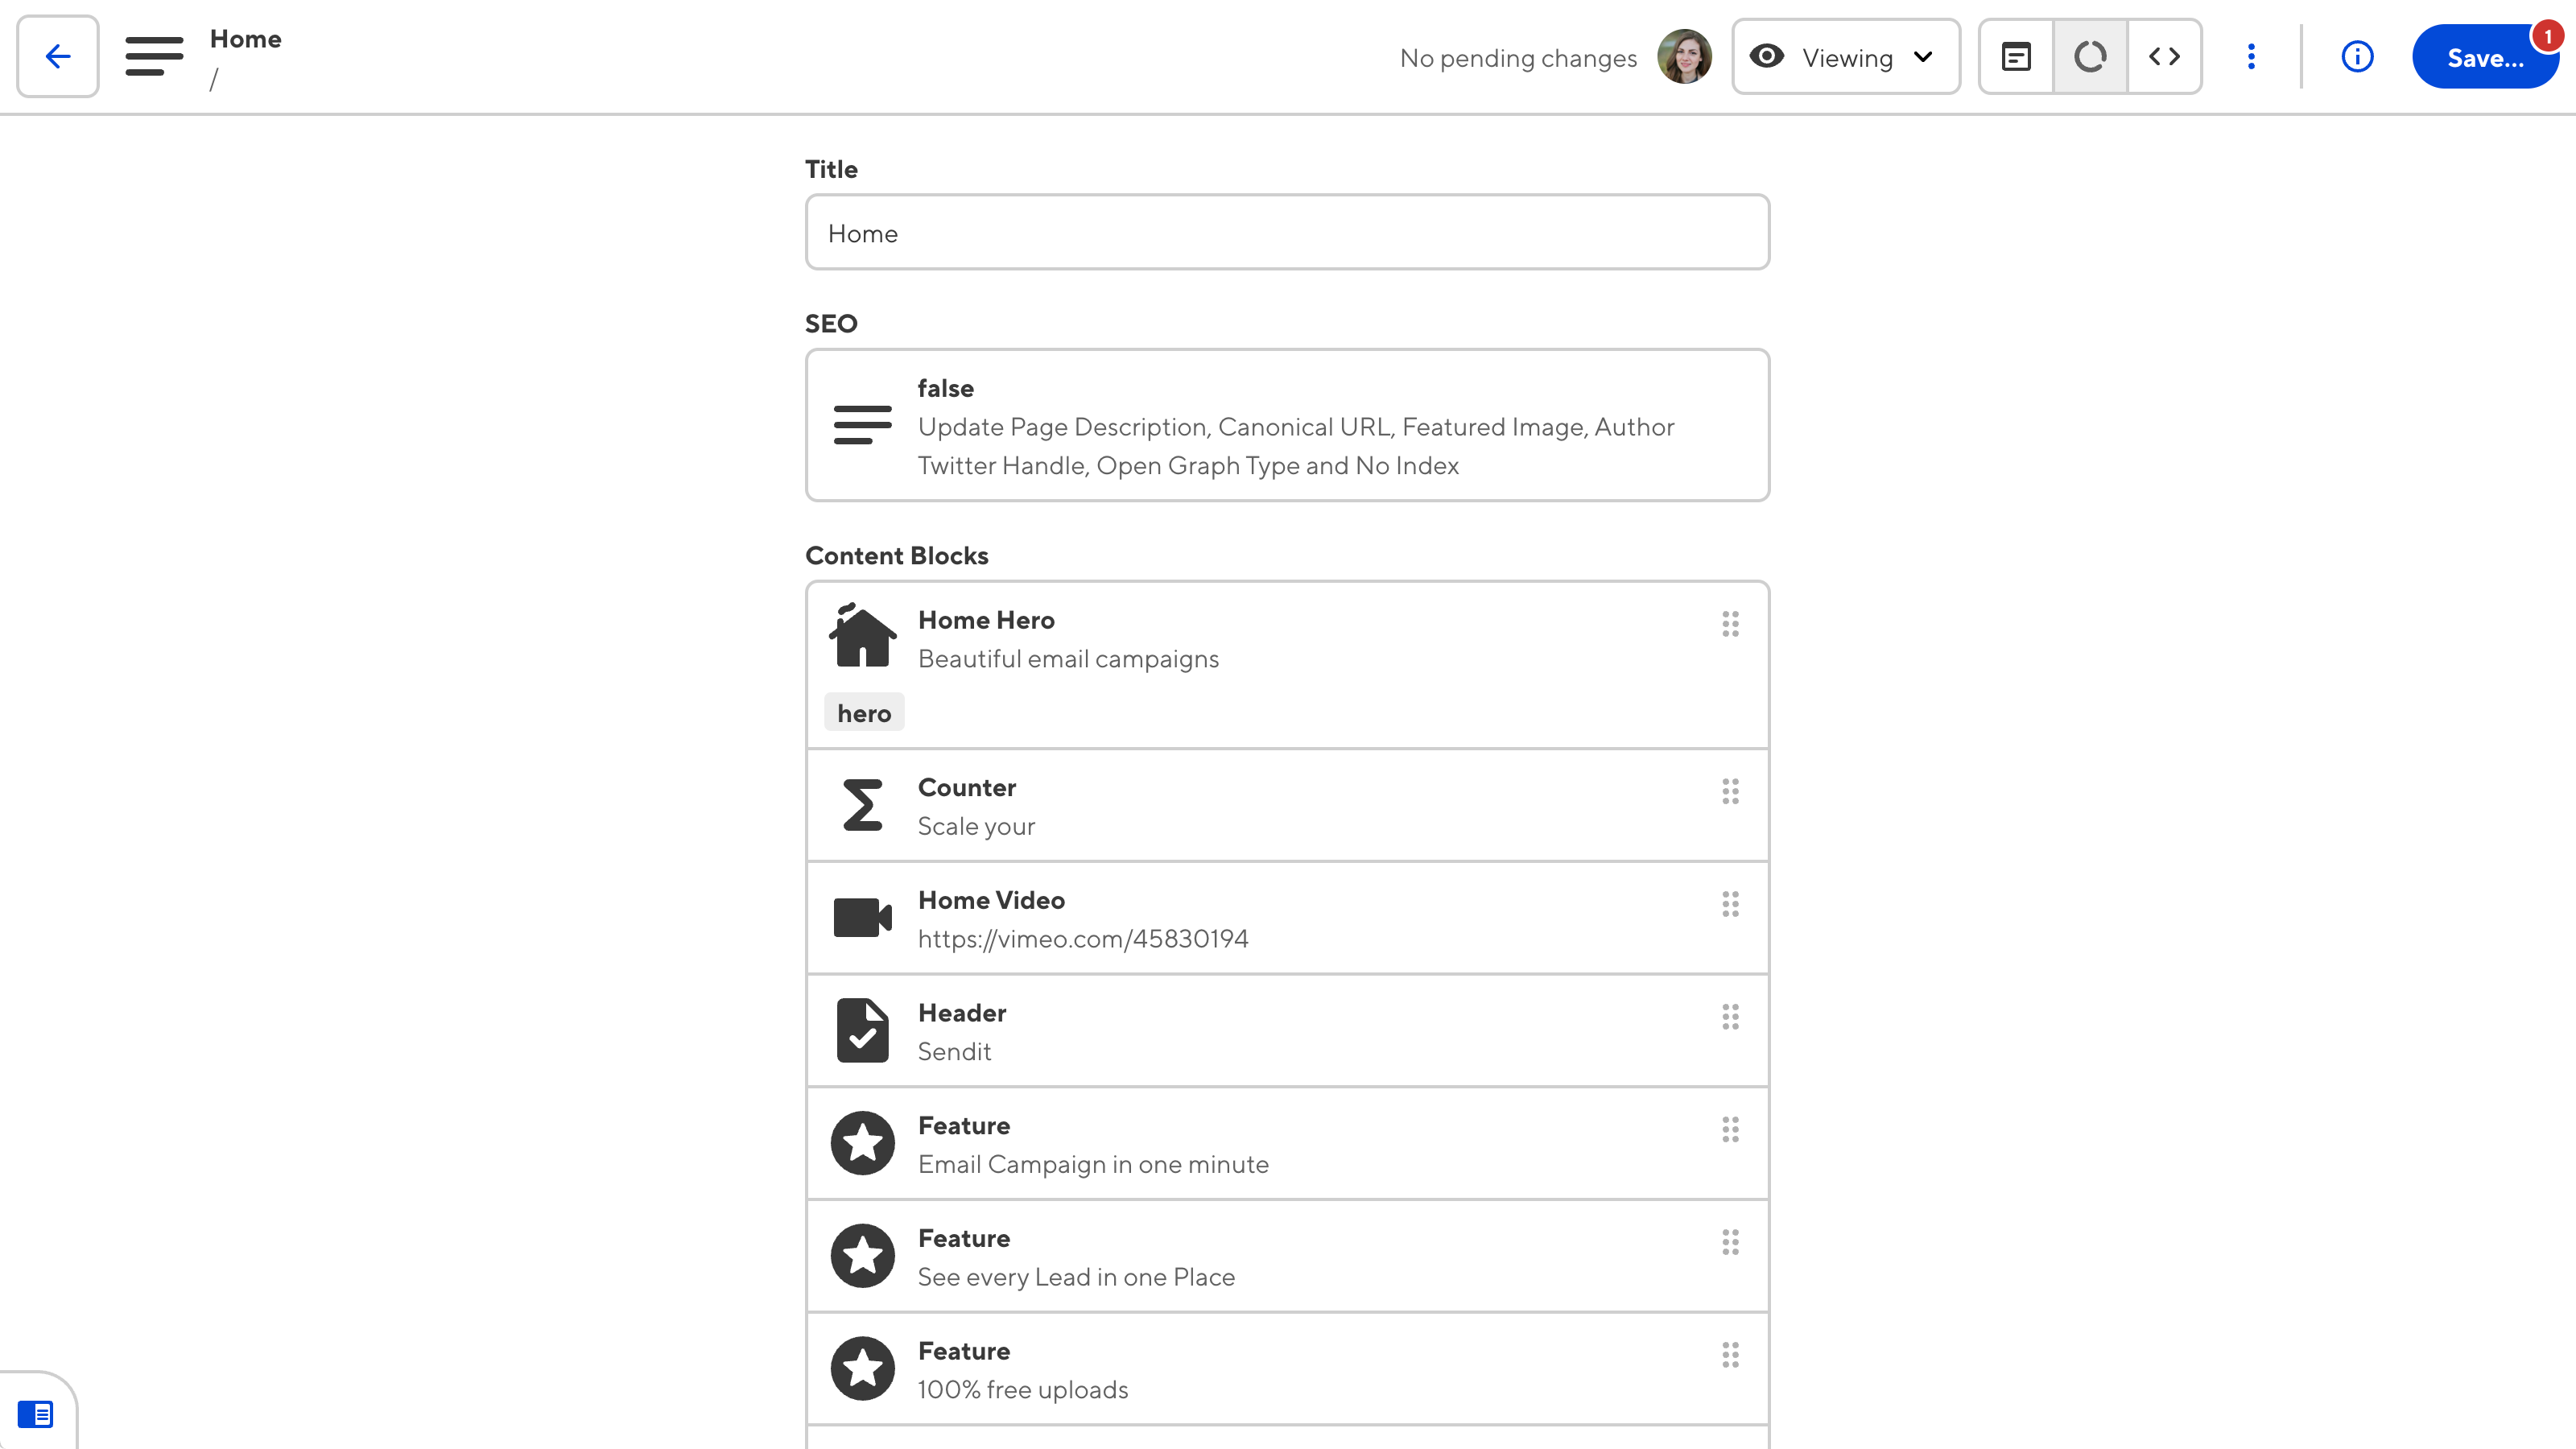
We have already seen the Data Editor — the sidebar for managing front matter in the Visual and Content Editor. The Data Editor also manages content in YAML, TOML, JSON, CSV, and TSV files. The Data Editor uses inputs to provide an editing interface for structure data in your files.
Source Editor#
The Source Editor is an in-browser code editor, great for making small, quick changes. As with all the editing interfaces, any changes sync back to your Git repository.
