The other type of content you can edit in CloudCannon is markup. Markup is in Markup files (HTML, Markdown, MDX), or combination files (HTML, Markdown, or MDX with front matter).
In this step of the guide we'll focus on configuring the appearance and functionality of markup editing interfaces in the Visual Editor, the Content Editor, the Data Editor.
You can familiarize yourself these settings by browsing your CloudCannon configuration file in the Data Editor. If you want to undertake some self-directed exploration you can open your CloudCannon configuration file by clicking on Site Settings in your Site Navigation, opening the Editing page, and clicking the Edit your configuration file button.
We'll cover how to configure the WYSIWYG toolbar for Rich Text editors, the markdown engine, Snippets, and visual previews.
WYSIWYG toolbar configuration#
Markdown is used in the Content, Visual, and Data Editors. The Content Editor is a rich text editor for Markdown files. The Visual Editor can edit Markdown files if they are wrapped in an HTML element. Markdown is also used in the Data Editor if you have a rich text area for one of your inputs. To customize your experience using these editors, you should configure your WYSIWYG toolbar.
Let’s go over an example of how you would customize the toolbar. We want to allow our content team to add a table to Markdown files. In our global configuration file, we have complete control over the WYSIWYG toolbar.
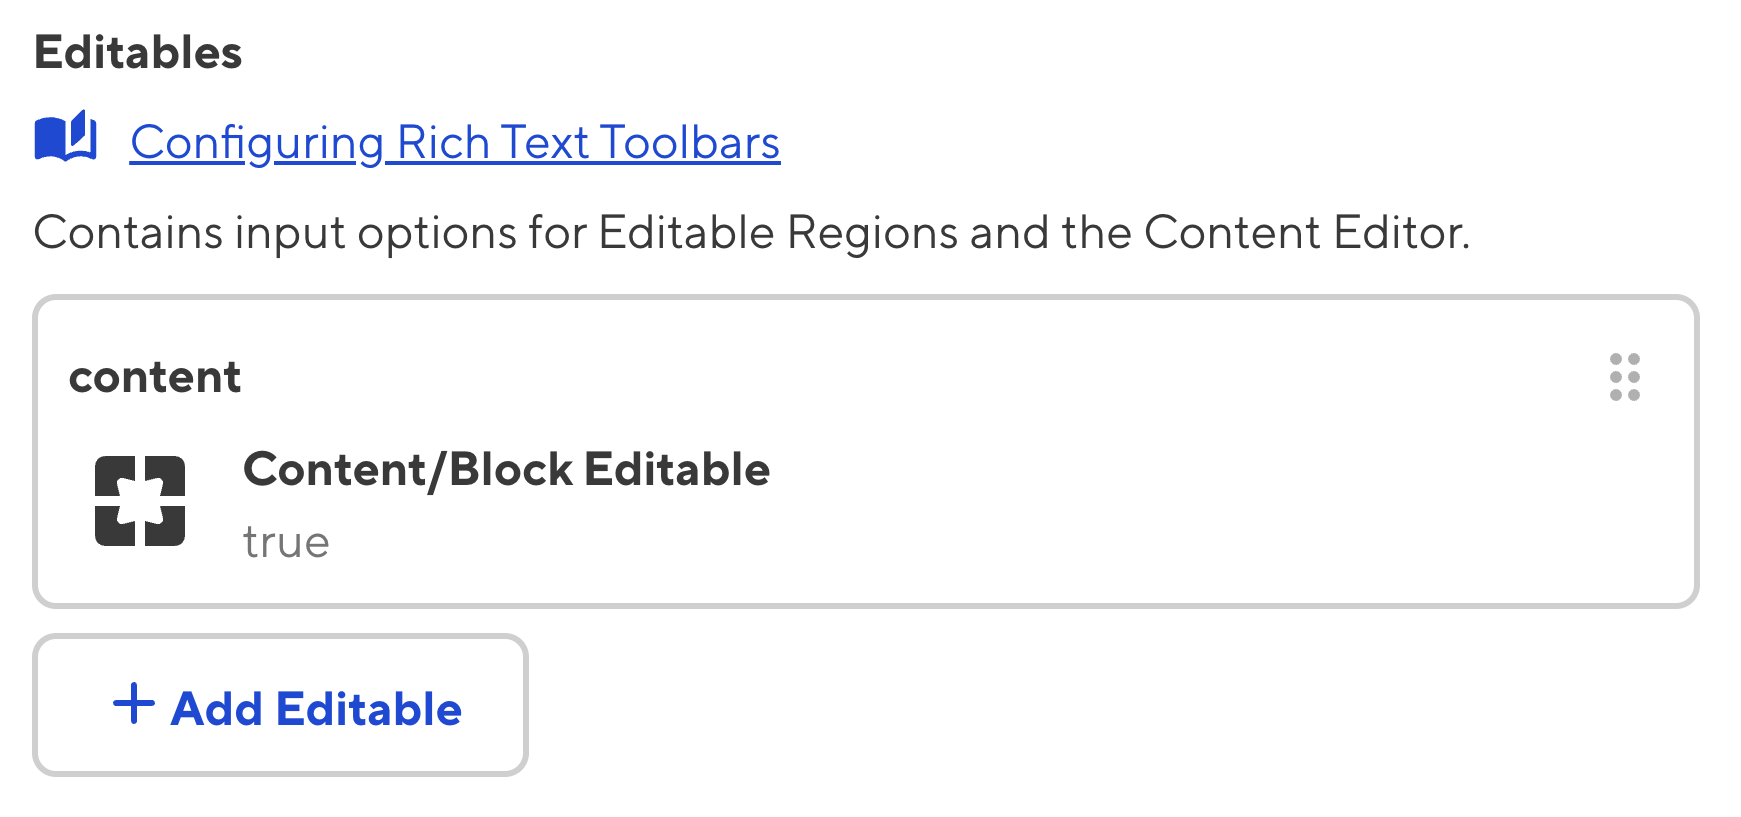
You can define the _editables for each editor type in the global configuration file. These sections look like this in the configuration GUI:

Select all the editable options you would like in your WYSIWYG toolbar.
When you have created your CloudCannon global configuration file, your _editables will look something like this:
_editables:
  content:
    bold: true
    italic: true
    bulletedlist: true
    numberedlist: true
    image: true
    table: true
    undo: true
    redo: true
{
  "_editables": {
    "content": {
      "bold": true,
      "italic": true,
      "bulletedlist": true,
      "numberedlist": true,
      "image": true,
      "table": true,
      "undo": true,
      "redo": true
    }
  }
}
As you can see, we have enabled many of the common functions your team would expect in a content editor. But that’s not all! Check out our documentation for many more ways to configure the WYSIWYG toolbar.
Markdown engine configuration#
Your Markdown engine will process Markdown into HTML, making it editable. You can use any Markdown engine when building your site; this only covers the Markdown content you edit inside CloudCannon.
CloudCannon supports the CommonMark and Kramdown specifications. These implementations are markdown-it (JavaScript) and kramdown (Ruby). markdown-it is the default Markdown processor in CloudCannon.
Currently, you cannot configure the Markdown engine through the Configuration GUI, however, it is easy to do manually. Navigate to your CloudCannon global configuration file through the Files tab in your navigation sidebar. The configuration file will be in the root of your directory.
Your generator code should look something like this:
generator:
  metadata:
    markdown: markdown-it
    markdown-it:
      html: true
      linkify: true
{
  "generator": {
    "metadata": {
      "markdown": "markdown-it",
      "markdown-it": {
        "html": true,
        "linkify": true
      }
    }
  }
}
The default configuration is { html: true } to allow the images with width and height attributes the Rich Text editors create. However, you can update this to match your site by setting the generator.metadata in your global configuration file as shown above.
Visual Editor Previews#
In a previous section of this guide, we talked about the Visual Editor — an intuitive way to edit your site by clicking directly on a preview of your page. But how do you make each region editable in the Visual Editor?
Editable class#
To edit HTML in the Visual Editor, add the class ‘editable’ to HTML elements. This way, you can give as much or as little access to your content team as you need.
You can define add the ‘editable’ class to your site in the Source Editor:
            <p class="editable">I'm editable in the visual editor</p>
            <p>I'm <strong>not</strong> editable in the visual editior</p>
The element you apply the ‘editable’ class to will change the editing options in the WYSIWYG toolbar. For example, adding the editable class to an <h1> element will provide basic text formatting options. Adding it to a <div> element will open the option to add images, lists, and tables. You can customize the WYSIWYG toolbar to have complete control over what editors can and cannot add to each element.
Changes made to the HTML save back to your layout, which might affect multiple content files.
Save your markup editing configuration#
Once you have finished editing your CloudCannon configuration file, you can save your changes using the Save button at the top right of the Data Editor.
CloudCannon will push your cloudcannon.config.yml file back to your repository.