In an earlier step of this guide, we introduced you to CloudCannon's editing interfaces: the Visual Editor, the Content Editor, the Data Editor, and the Source Editor. You can edit structured data files (JSON, YAML, TOML, CSV, TSV), Markup files (HTML, Markdown, MDX), or combination files (HTML, Markdown, or MDX with front matter) using one of these editing interfaces.
You can customize your experience by configuring your editing interfaces. In this step of the guide we'll focus on configuring the appearance and functionality of data editing interfaces in the Visual, Content, and Data Editors.
You can familiarize yourself these settings by browsing your CloudCannon configuration file in the Data Editor. If you want to undertake some self-directed exploration you can open your CloudCannon configuration file by clicking on Site Settings in your Site Navigation, opening the Editing page, and clicking the Edit your configuration file button.
To begin, we'll configure the appearance and functionality of an input for our blog posts and create a structure.
However, before we jump into Inputs and Structures, we need to introduce you to the configuration cascade.
The configuration cascade#
The configuration cascade is a set of locations to configure your editing interfaces. Each level of the configuration cascade has a different priority and scope, which enables you to configure global defaults for your Site but override them for specific Collections or files. The levels of the configuration cascade are:
- The CloudCannon configuration file
- Within a Collection
- Within a Schema
- Within the front matter of a file
- Within a Structure
When you open a file in an editing interface, CloudCannon will look at the configuration options you have defined at each level of the configuration cascade in reverse order. In most cases, CloudCannon will use the configuration defined on the highest level of the cascade for each option, meaning that the most specific value is used instead of any less specific values.
For example, assume you have defined an Input in the "Blog Post" Schema and the CloudCannon configuration file. The CloudCannon configuration is the first level of the configuration cascade and has the lowest priority and the broadest scope. That means the configuration set in the CloudCannon configuration file affects every file and editing interface on your Site, but any more specific configuration at a higher level of the configuration cascade (i.e., configuration in a Schema) will override this behavior.
When you open a file in an editing interface, if it uses the "Blog Post" Schema, CloudCannon will use the Input configuration defined in the Schema. If the file uses a different Schema or does not use a Schema, CloudCannon will use the Input configuration defined in the CloudCannon configuration file.
In this guide, we'll teach you how to configure your editing interface options in the CloudCannon configuration file. If you want to learn how to define more specific configuration at another level of the configuration cascade, please read our configuration cascade documentation.
Input configuration#
An input is an editing interface for structured data in your data files or the front matter of markup files. An input could be a text field for the description of your file, a date field for the day a blog was published, a select field with a list of predefined tags for your content, or more. You'll see these when you open a file in the Data Editor and the sidebar or data panels in the Content and Visual Editor.
Inputs appear in the Data Editor and in the sidebar and data panels of the Visual Editor and Content Editor. You can configure inputs anywhere in the configuration cascade.
CloudCannon supports twelve types of input. Each input corresponds to a field in your front matter or data file, providing an editing interface for those values.
- Boolean — Define a true or false value using a checkbox or a switch.
- Code — Add a code editor.
- Color — Add a color using a color picker with spectrum and transparency controls.
- Date and Time — Define a date and/or time.
- File — Upload a file, such as an image or a document, and store the file path.
- Number — Add a number using a text box or a range slider.
- Object — Group inputs under a single Object.
- Array — Create a list of inputs or input groups.
- Select and Multiselect — Select one or more options from a predefined list.
- Text — Write plain text content.
- Rich Text — Write and format markup content in HTML or Markdown.
- URL — Add a relative or absolute URL.
In the previous step of this guide, we created a new blog post using a Schema with four structured data keys in the front matter: Title, Date, Author, and Image. When we opened the file in the Content Editor, we could edit the value for each of these keys using inputs in the sidebar.
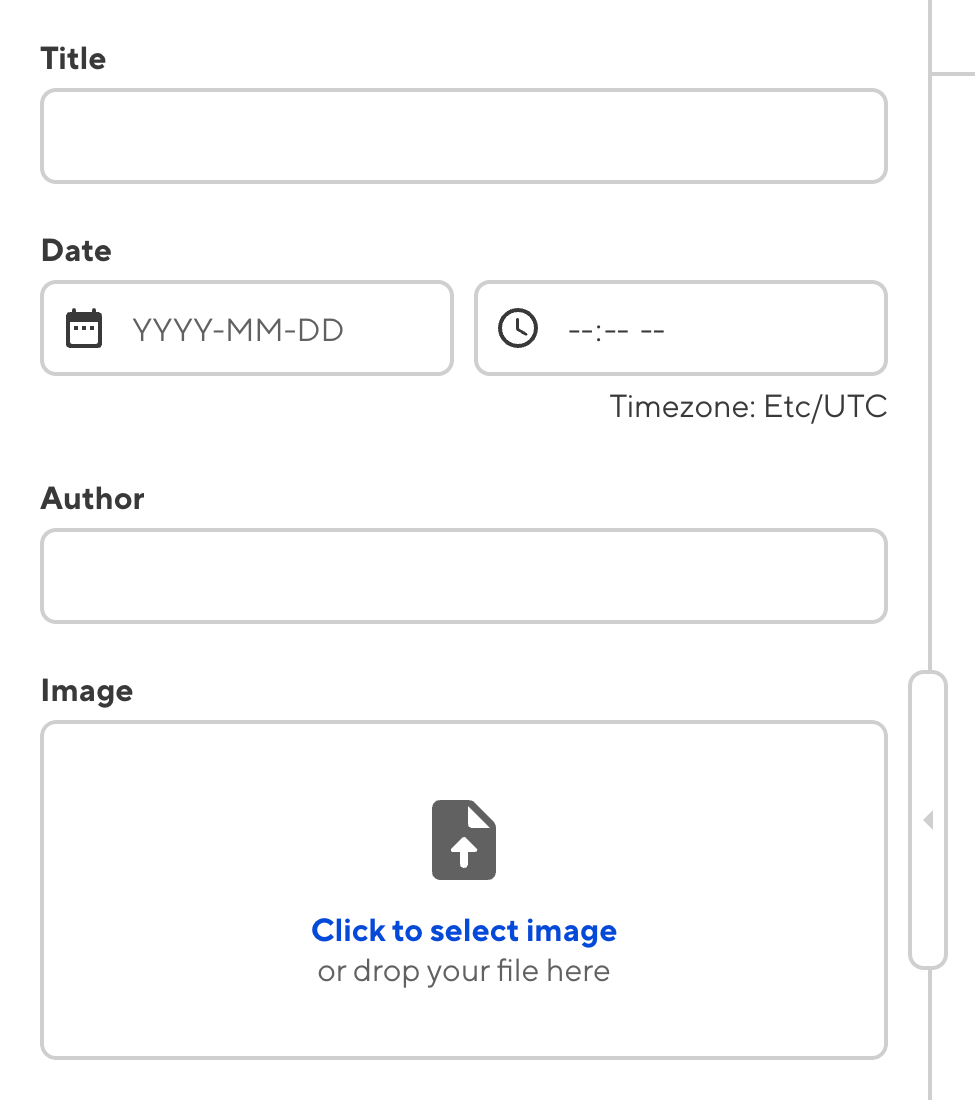
These inputs are unconfigured, so CloudCannon had to guess their data type based on the key name: the Title and Author keys are Text inputs, the Date key is a Datetime input, and the Image key is an Image input.
For more information about the default CloudCannon behavior for unconfigured inputs, please read our documentation on each input type.
We recommend configuring your inputs for greater control over their functionality and appearance.
Let's configure a simple input for our Site. You can follow along and create the same input as we go or create a different input type using the documentation linked above.
We want to create a Multiselect input for our blog posts that will allow our team members to select any number of applicable topics from a predefined list. If every blog post has these "blog tags", we can use them as filters for a search function on our website.
Open your CloudCannon configuration file by clicking Site Settings in your Site Navigation. Then, open the Editing page. Click the Edit your configuration file button to open your CloudCannon configuration file in the Data Editor.
Navigate to the Inputs section under Global editing interfaces. CloudCannon lists all the inputs defined at this level of the configuration cascade here.
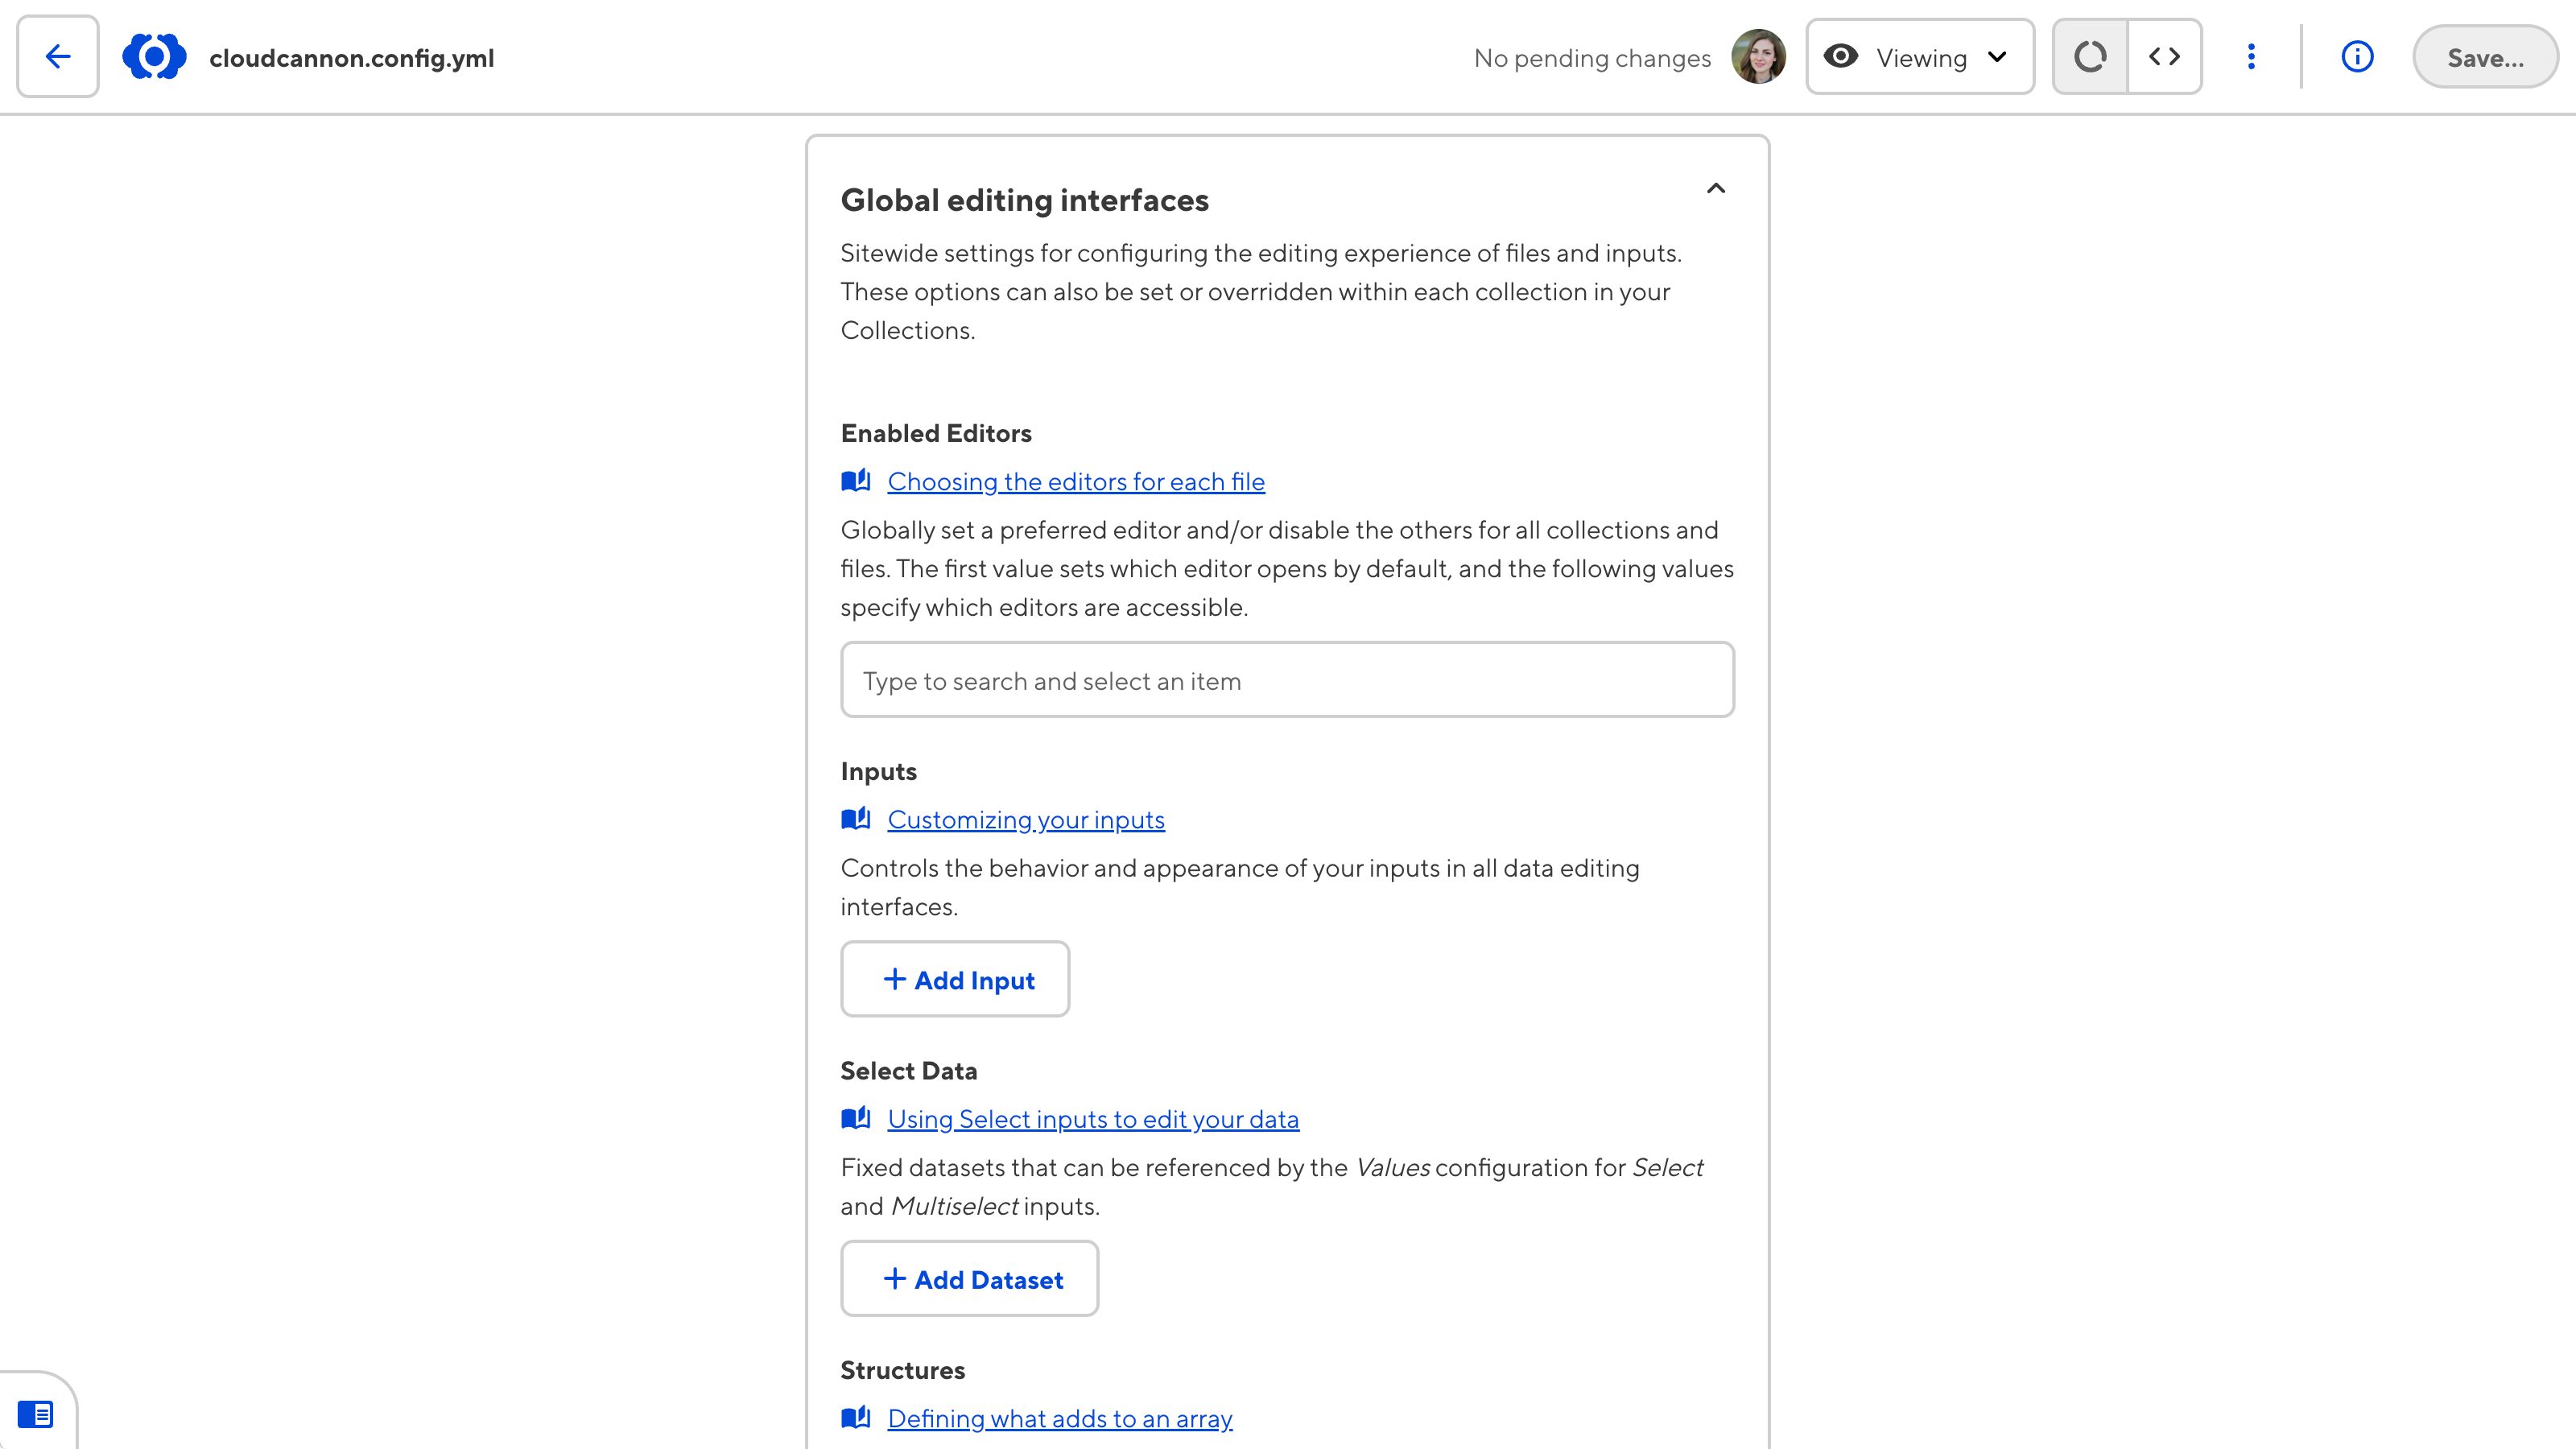
To add an input, click the + Add Input button to open the Input type dropdown. After you select an input type, CloudCannon will open the Add Input modal. In the New key name text input, enter the name of your input and then click the Add button. CloudCannon will open the input configuration panel.
In this example, we'll create a Multiselect input called "tags".
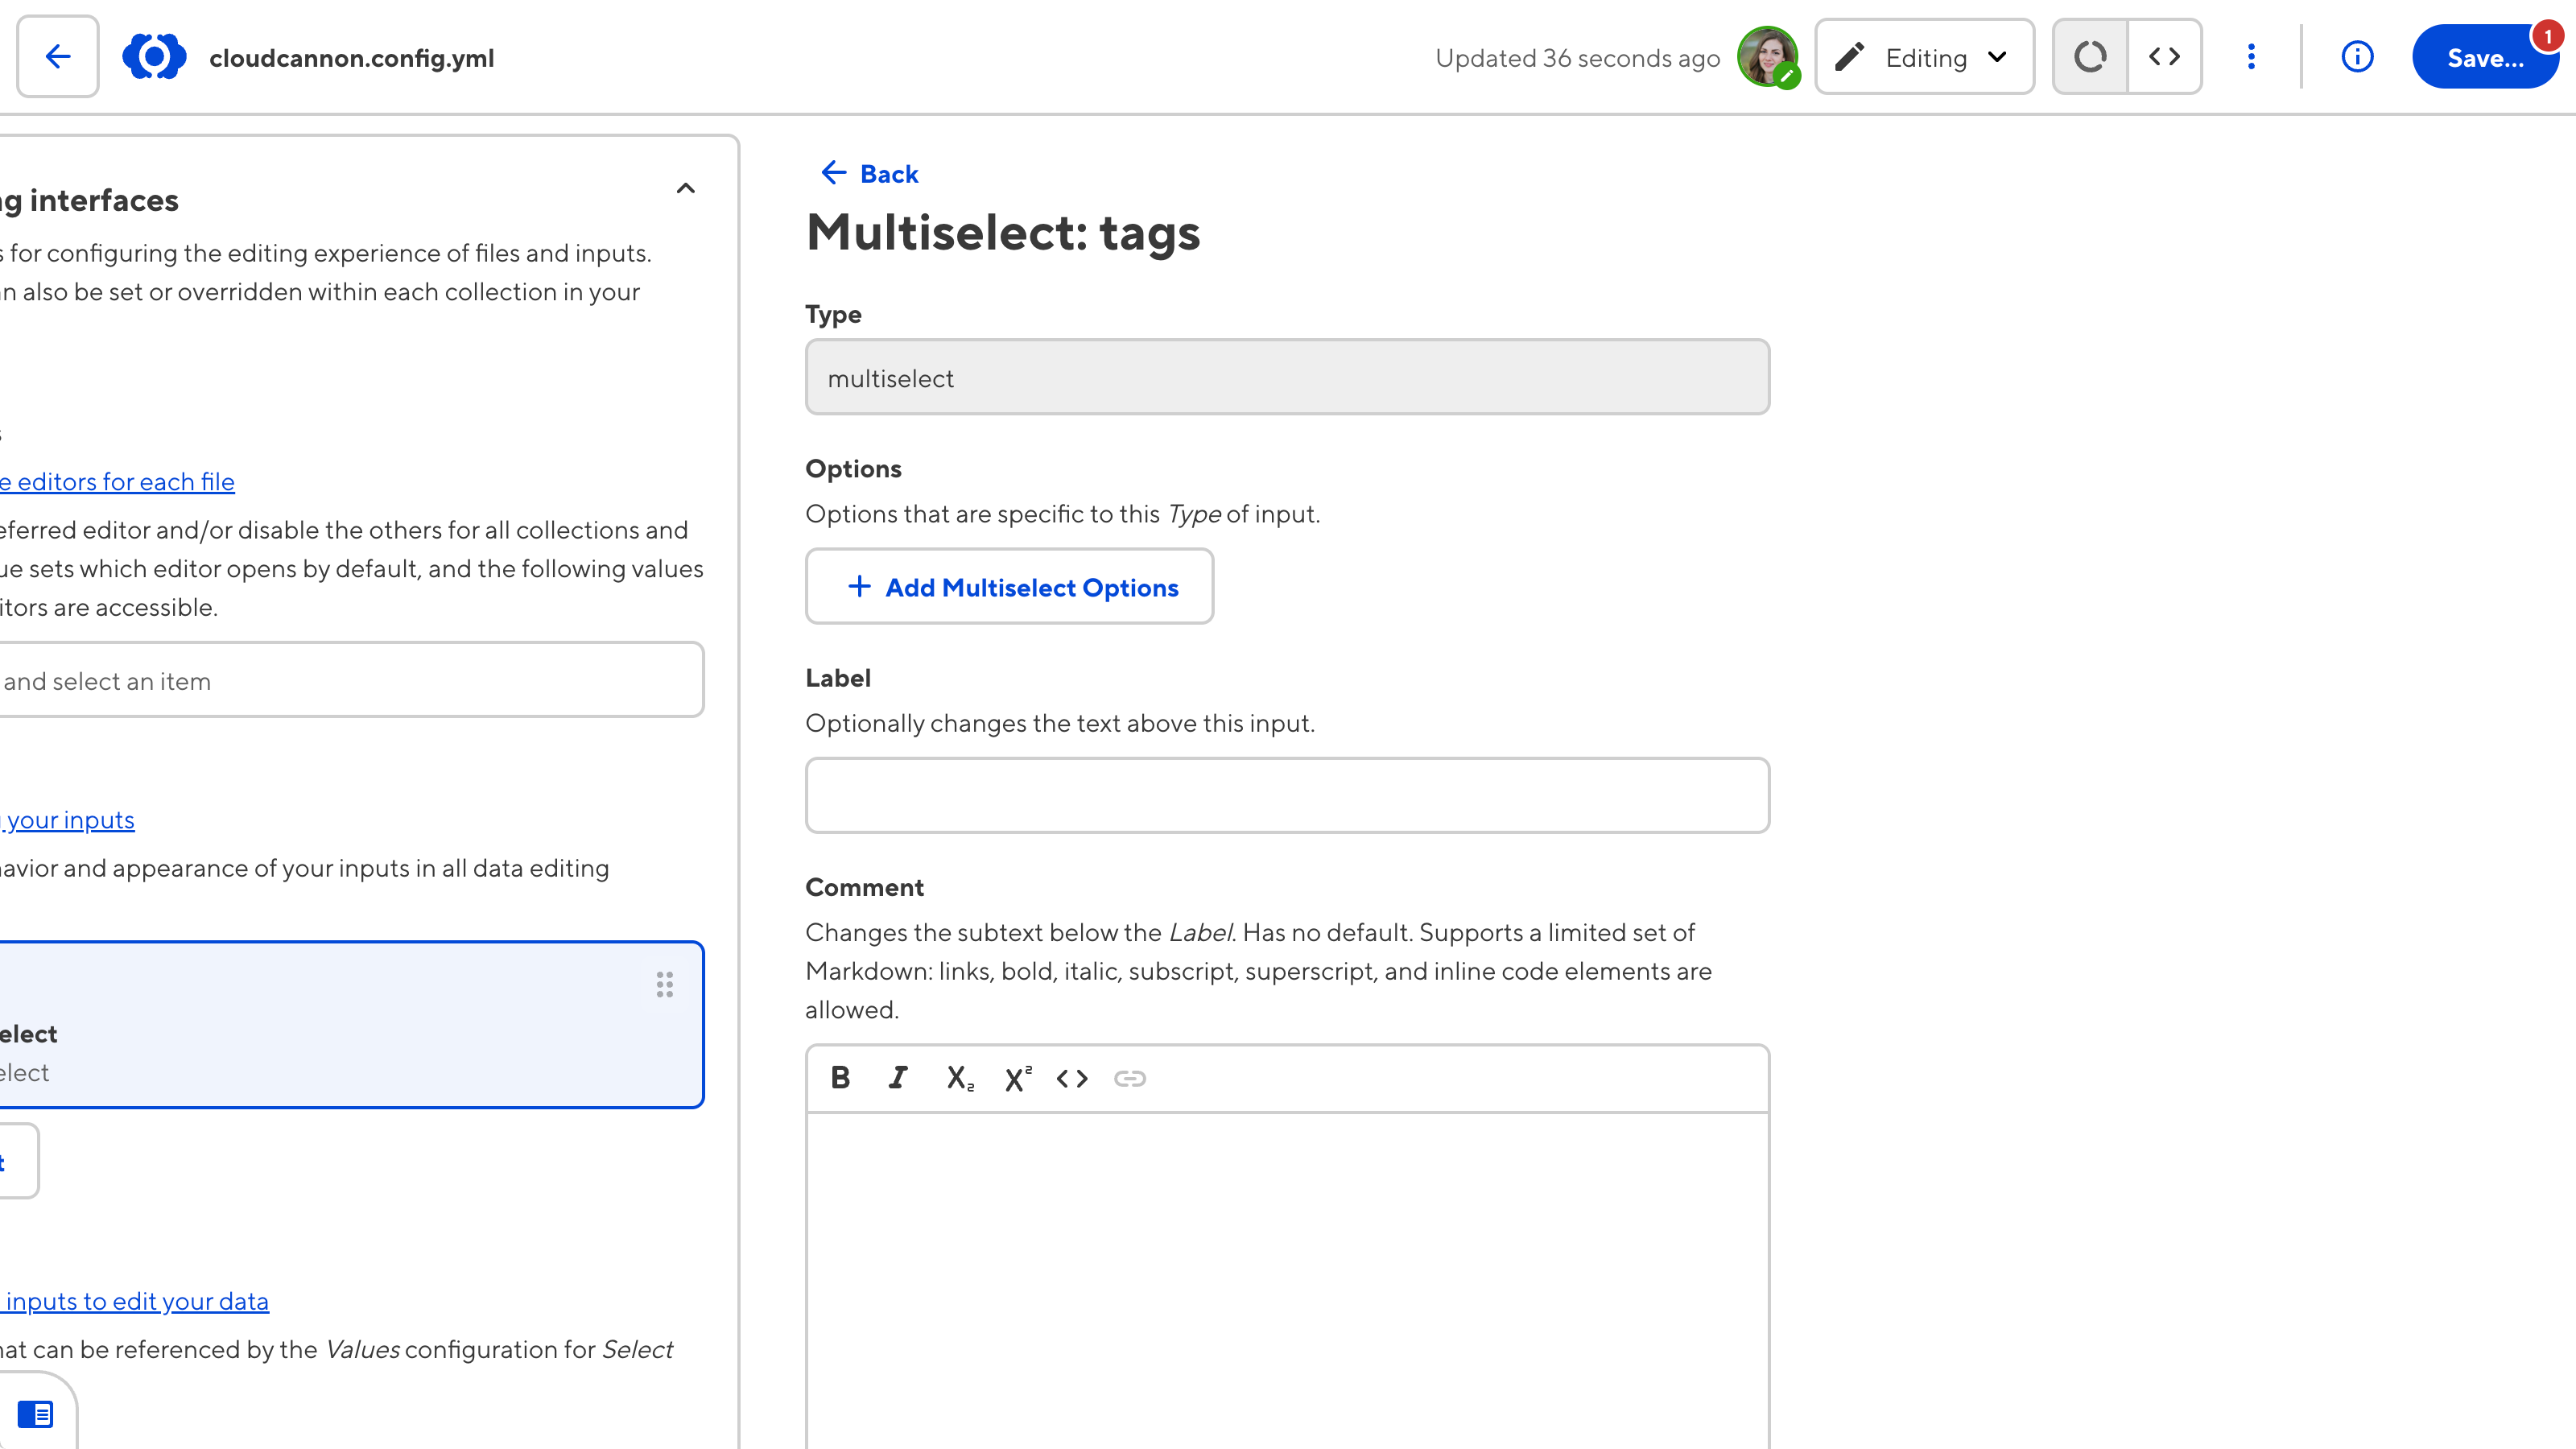
Next, let's add options to our Multiselect input.
Click the +Add Multiselect Options button to open the Multiselect Options configuration panel. Navigate to the Values section and click the + Add Value button to create a new Text input in the Inputs array.
In this example, we'll add three blog tags: "Opinion", "Feature", and "Resource".
The input configuration for basic functionality is now done, but let's configure the appearance to provide a more intuitive editing experience for our team members. We can do that by customizing the Label, Comment, and Context.
The Label and Comment configure the title and subtitle of an input. By default, CloudCannon will use the input key name as the Label of an input and have no Comment. To configure these options, enter your text in the Label and Comment text inputs on the input configuration panel.
In this example we'll use the Label "Blog Tags" and the following Comment: "Select tags for this blog from one of our topics."
The Context box is a gray dropdown underneath the input. You can control the title, content, icon, and whether the dropdown is open by default. As the option name implies, the Context box is useful for providing more context to your team members about a particular input (e.g., how to use it, common errors, where to find documentation, etc.).
To configure the input Context option, click the +Add Context button to open the Context configuration panel.
In this example, we'll use the title "Help", the icon help, keep it closed by default, and use the following content: "Blog tags help our users filter articles by topic."
Our input is configured!
To see the tags input in action, we need to add them to a data file or the front matter of a markup file. In our example, we want all new blog posts to have this input, so let's add it to the Schema we created in the previous step of this guide.
Here's our updated Schema file:
---
title:
date:
author:
tags:
image:
---
After these configuration updates, here are the inputs in the sidebar of the Content Editor when we create a new file using the "Blog Post" Schema.
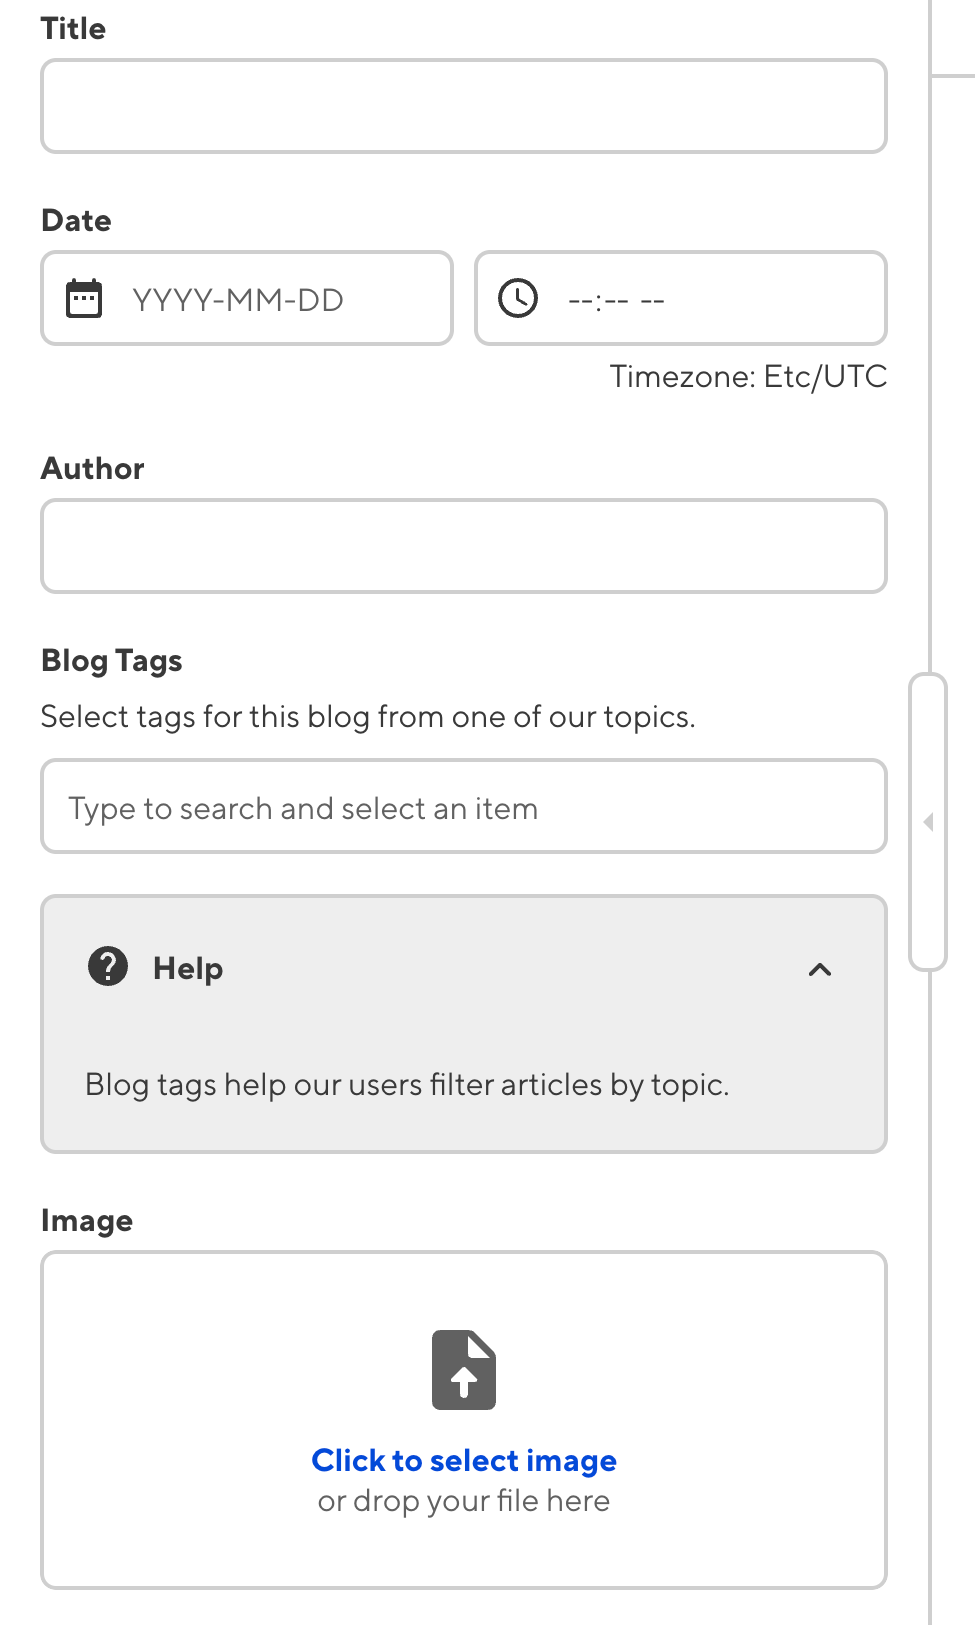
Even though we have used the Blog Tags input in a Schema, because we defined the input configuration at the lowest level of the configuration cascade, we can now add the tags key to any data or combination file, and it will function exactly the same - without the need to configure it again.
If you would prefer to configure your Inputs in the Source Editor or your local development environment, you can achieve the same configuration with the following code:
_inputs:
  tags:
    type: multiselect
    label: Blog Tags
    comment: Select tags for this blog from one of our topics.
    context:
      open: false
      title: Help
      icon: help
      content: |
        Blog tags help our users filter articles by topic.
    options:
      values:
        - Opinion
        - Feature
        - Resource
{
  "_inputs": {
    "tags": {
      "type": "multiselect",
      "label": "Blog Tags",
      "comment": "Select tags for this blog from one of our topics.",
      "context": {
        "open": false,
        "title": "Help",
        "icon": "help",
        "content": "Blog tags help our users filter articles by topic.\n"
      },
      "options": {
        "values": [
          "Opinion",
          "Feature",
          "Resource"
        ]
      }
    }
  }
}
Structure configuration#
A structure is a predefined, custom template that determines what should populate an Array input or Object input.
Structures are an easy way to support a set of predefined objects. For example, you might have a structure that allows your content team to add photo galleries, testimonials, image and text blocks, or CTAs to a page.
You can customize the _structures for your site and for each collection in the global configuration file. These sections look like this in the configuration GUI:
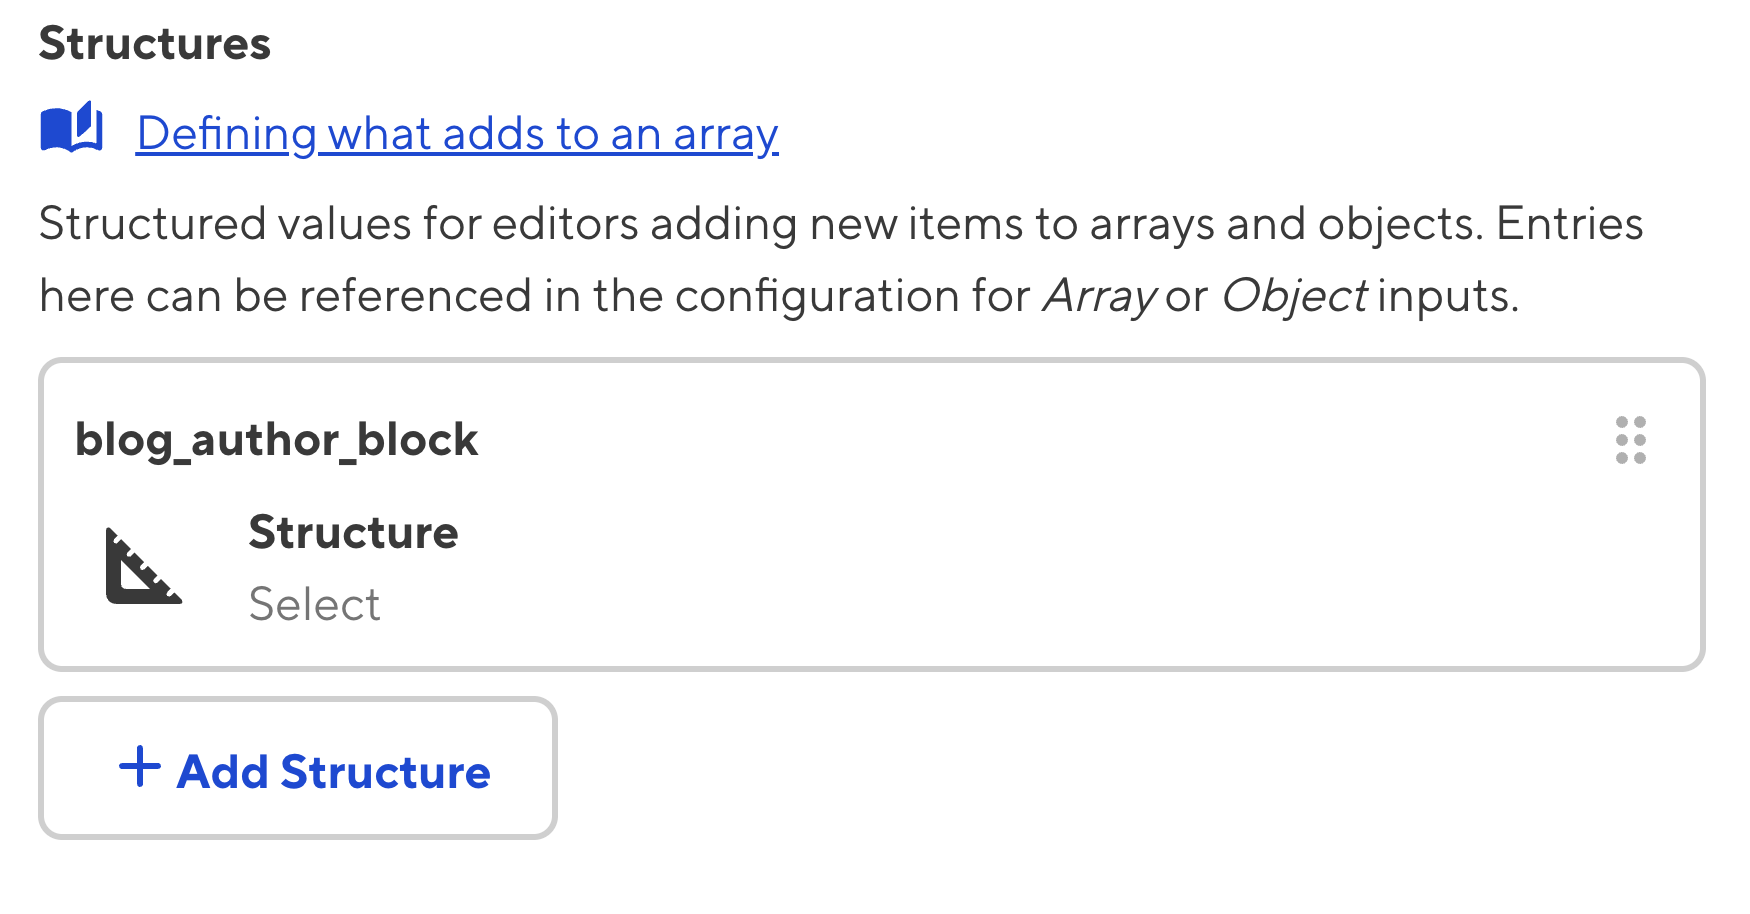
Structures and arrays go hand-in-hand. Configuring your structures will allow you to create predefined objects which to add to your arrays.
Arrays are one of the most powerful parts of any static site generator. For example, you might use an array to create:
- Lists of related content, such as a list of staff members.
- Any repeated component or content block, such as testimonials or a gallery.

CloudCannon will automatically detect your arrays when you connect your site files and make them editable in the Data Editor. You can add new items to your arrays without the need for configuration, which will clone the previous array item and clear the data. However, this behavior can be limiting if you do not have at least one entry in your array or want to have different data types in the array. You can overcome these limitations with structures by configuring how new array items are added.
Structures are perfect for creating your own page builder.
You can configure your site structures to empower your content team, providing them with page components and letting them add, remove, reorder, and update these components to build pages.
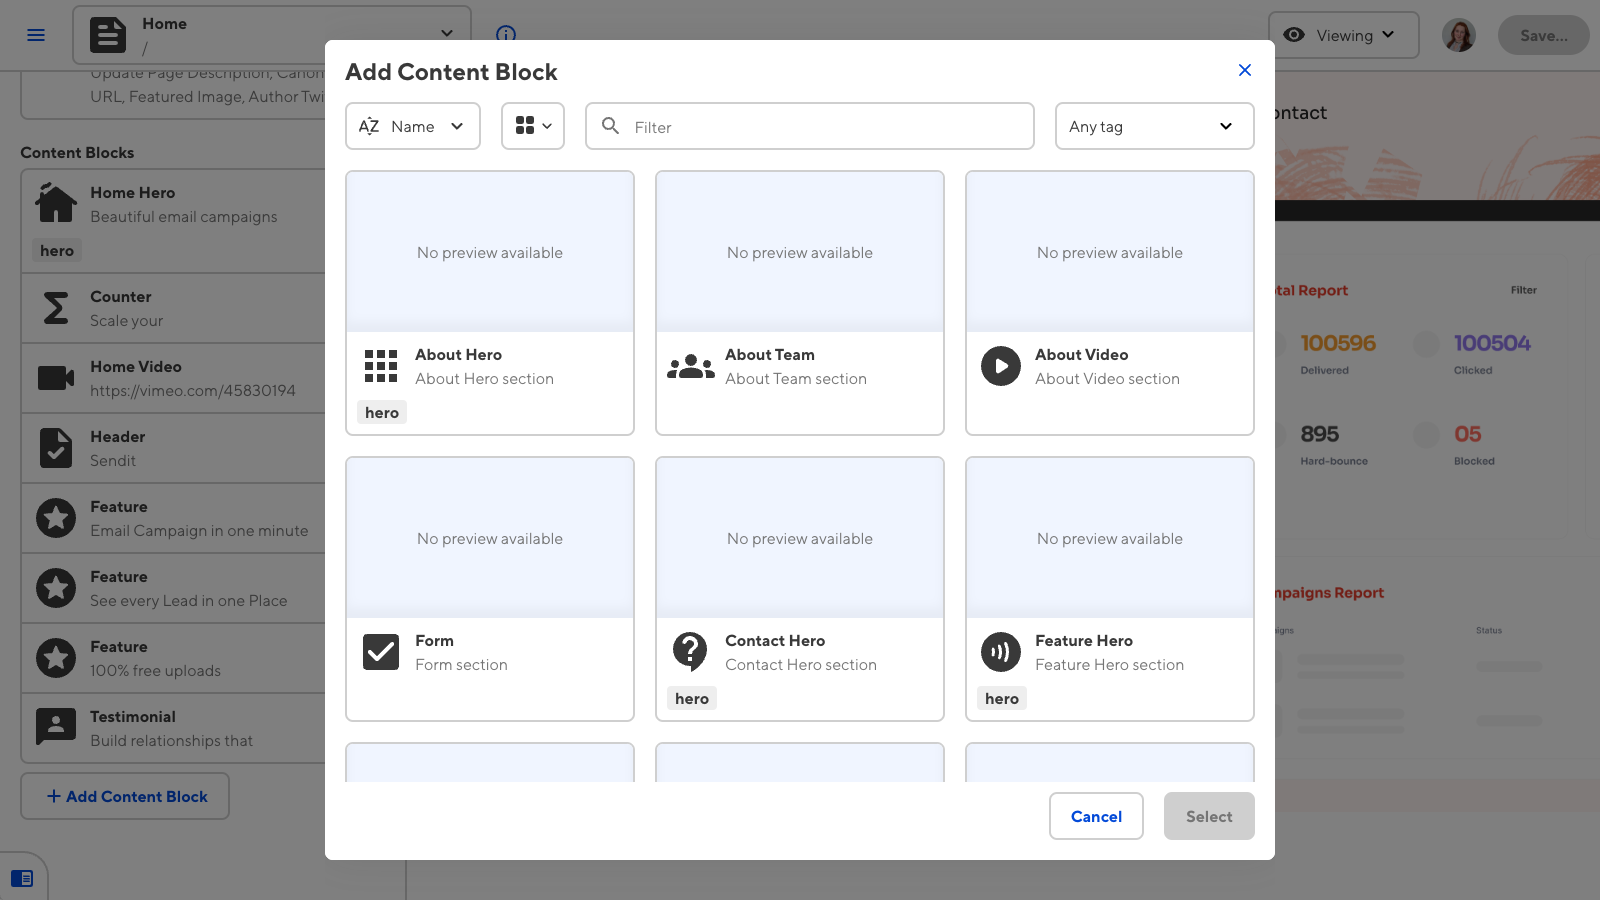
You can choose a dropdown select menu or a modal pop-up window option to add structures to a page.
Currently, you cannot configure the values for your Structures in the Configuration GUI, however, it is easy to do manually. Navigate to your CloudCannon global configuration file through the Files tab in your navigation sidebar. The configuration file will be in the root of your directory.
For more examples, visit our documentation on structures.
When you have created your CloudCannon global configuration file, your structures will look something like this:
_structures:
  example:
    values:
      - label: First
        value:
          name:
          description:
          image:
      - label: Second
        value:
          heading:
          subtext:
{
  "_structures": {
    "example": {
      "values": [
        {
          "label": "First",
          "value": {
            "name": null,
            "description": null,
            "image": null
          }
        },
        {
          "label": "Second",
          "value": {
            "heading": null,
            "subtext": null
          }
        }
      ]
    }
  }
}
Save your data editing configuration#
Once you have finished editing your CloudCannon configuration file, you can save your changes using the Save button at the top right of the Data Editor.
CloudCannon will push your cloudcannon.config.yml file back to your repository.