If you already have a CloudCannon site connected to Git that you want to use as your user-facing site, you can skip ahead to the next step.
Create a production branch#
If you haven't already, create a branch and push it to your Git provider. The name of this branch can be anything, but we've called it production to keep things clear.
git checkout -b production
git push -u origin production
Now we'll connect our production Git branch to a site on CloudCannon.
Sync Git with CloudCannon#
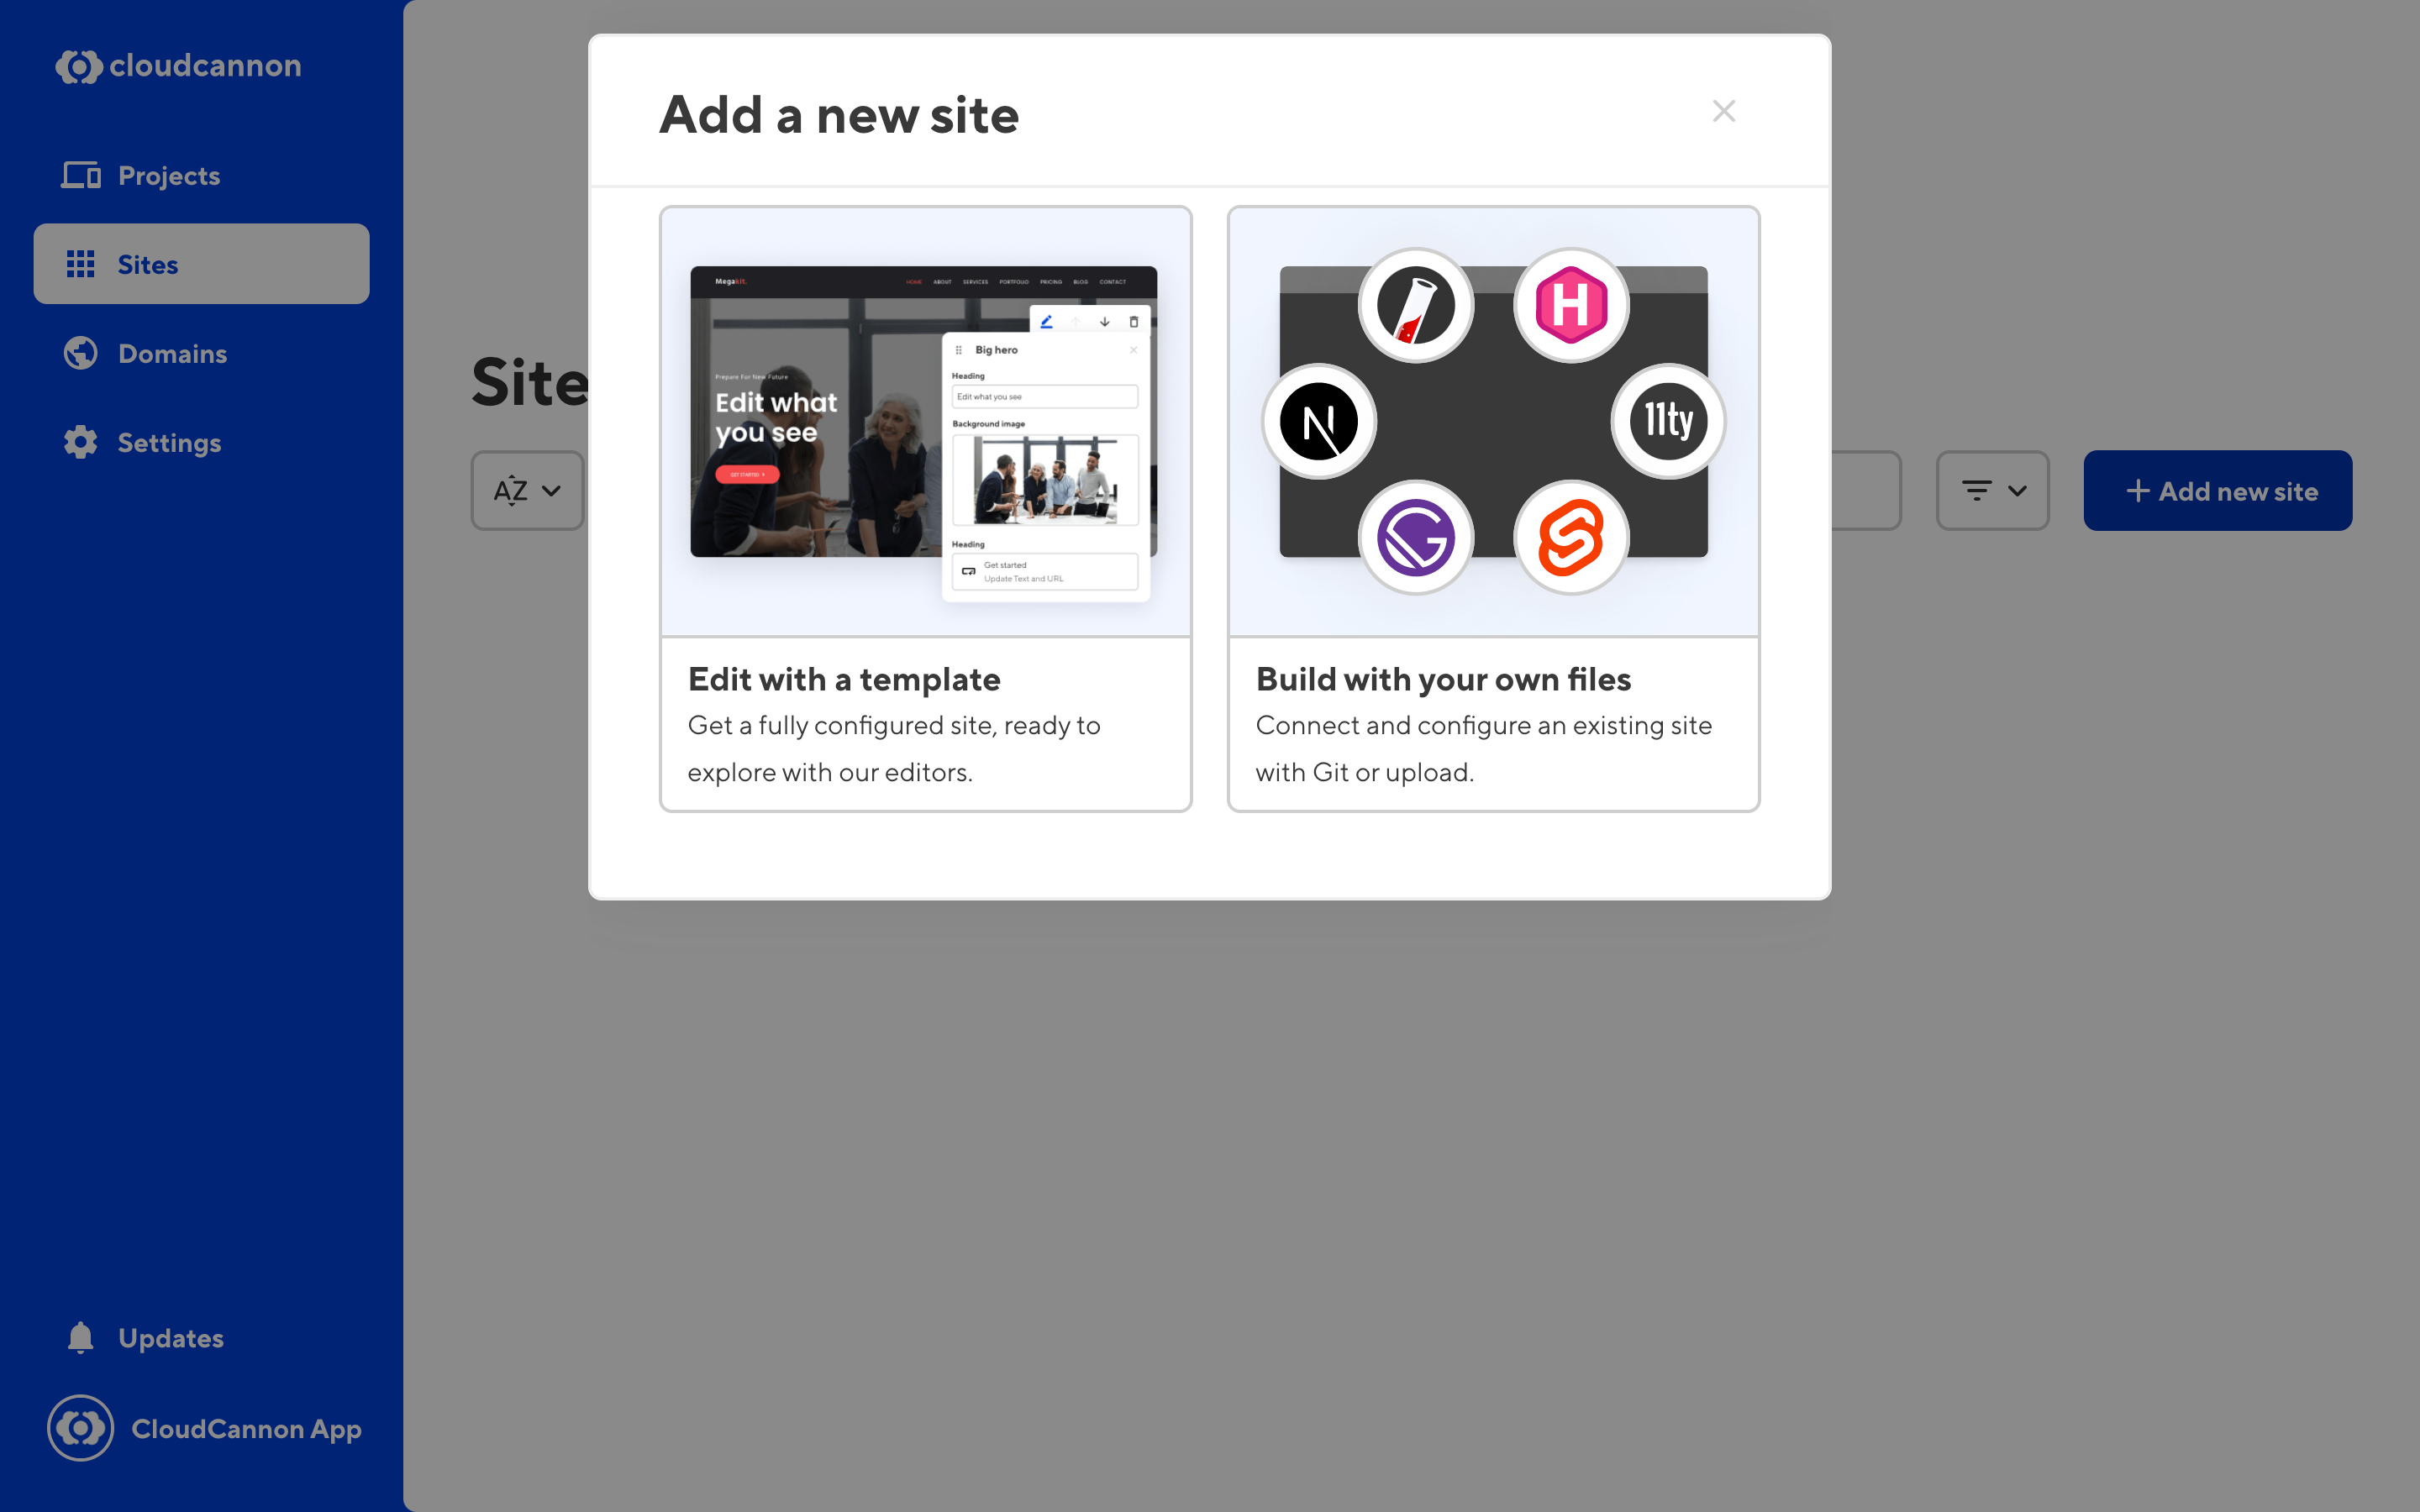
Navigate to Sites in the sidebar. Click the Add new site button, and choose Build with your own files in the menu that appears.
Choose your Git provider in the File source dropdown, and click the Authenticate button to begin connecting your Git provider to CloudCannon.
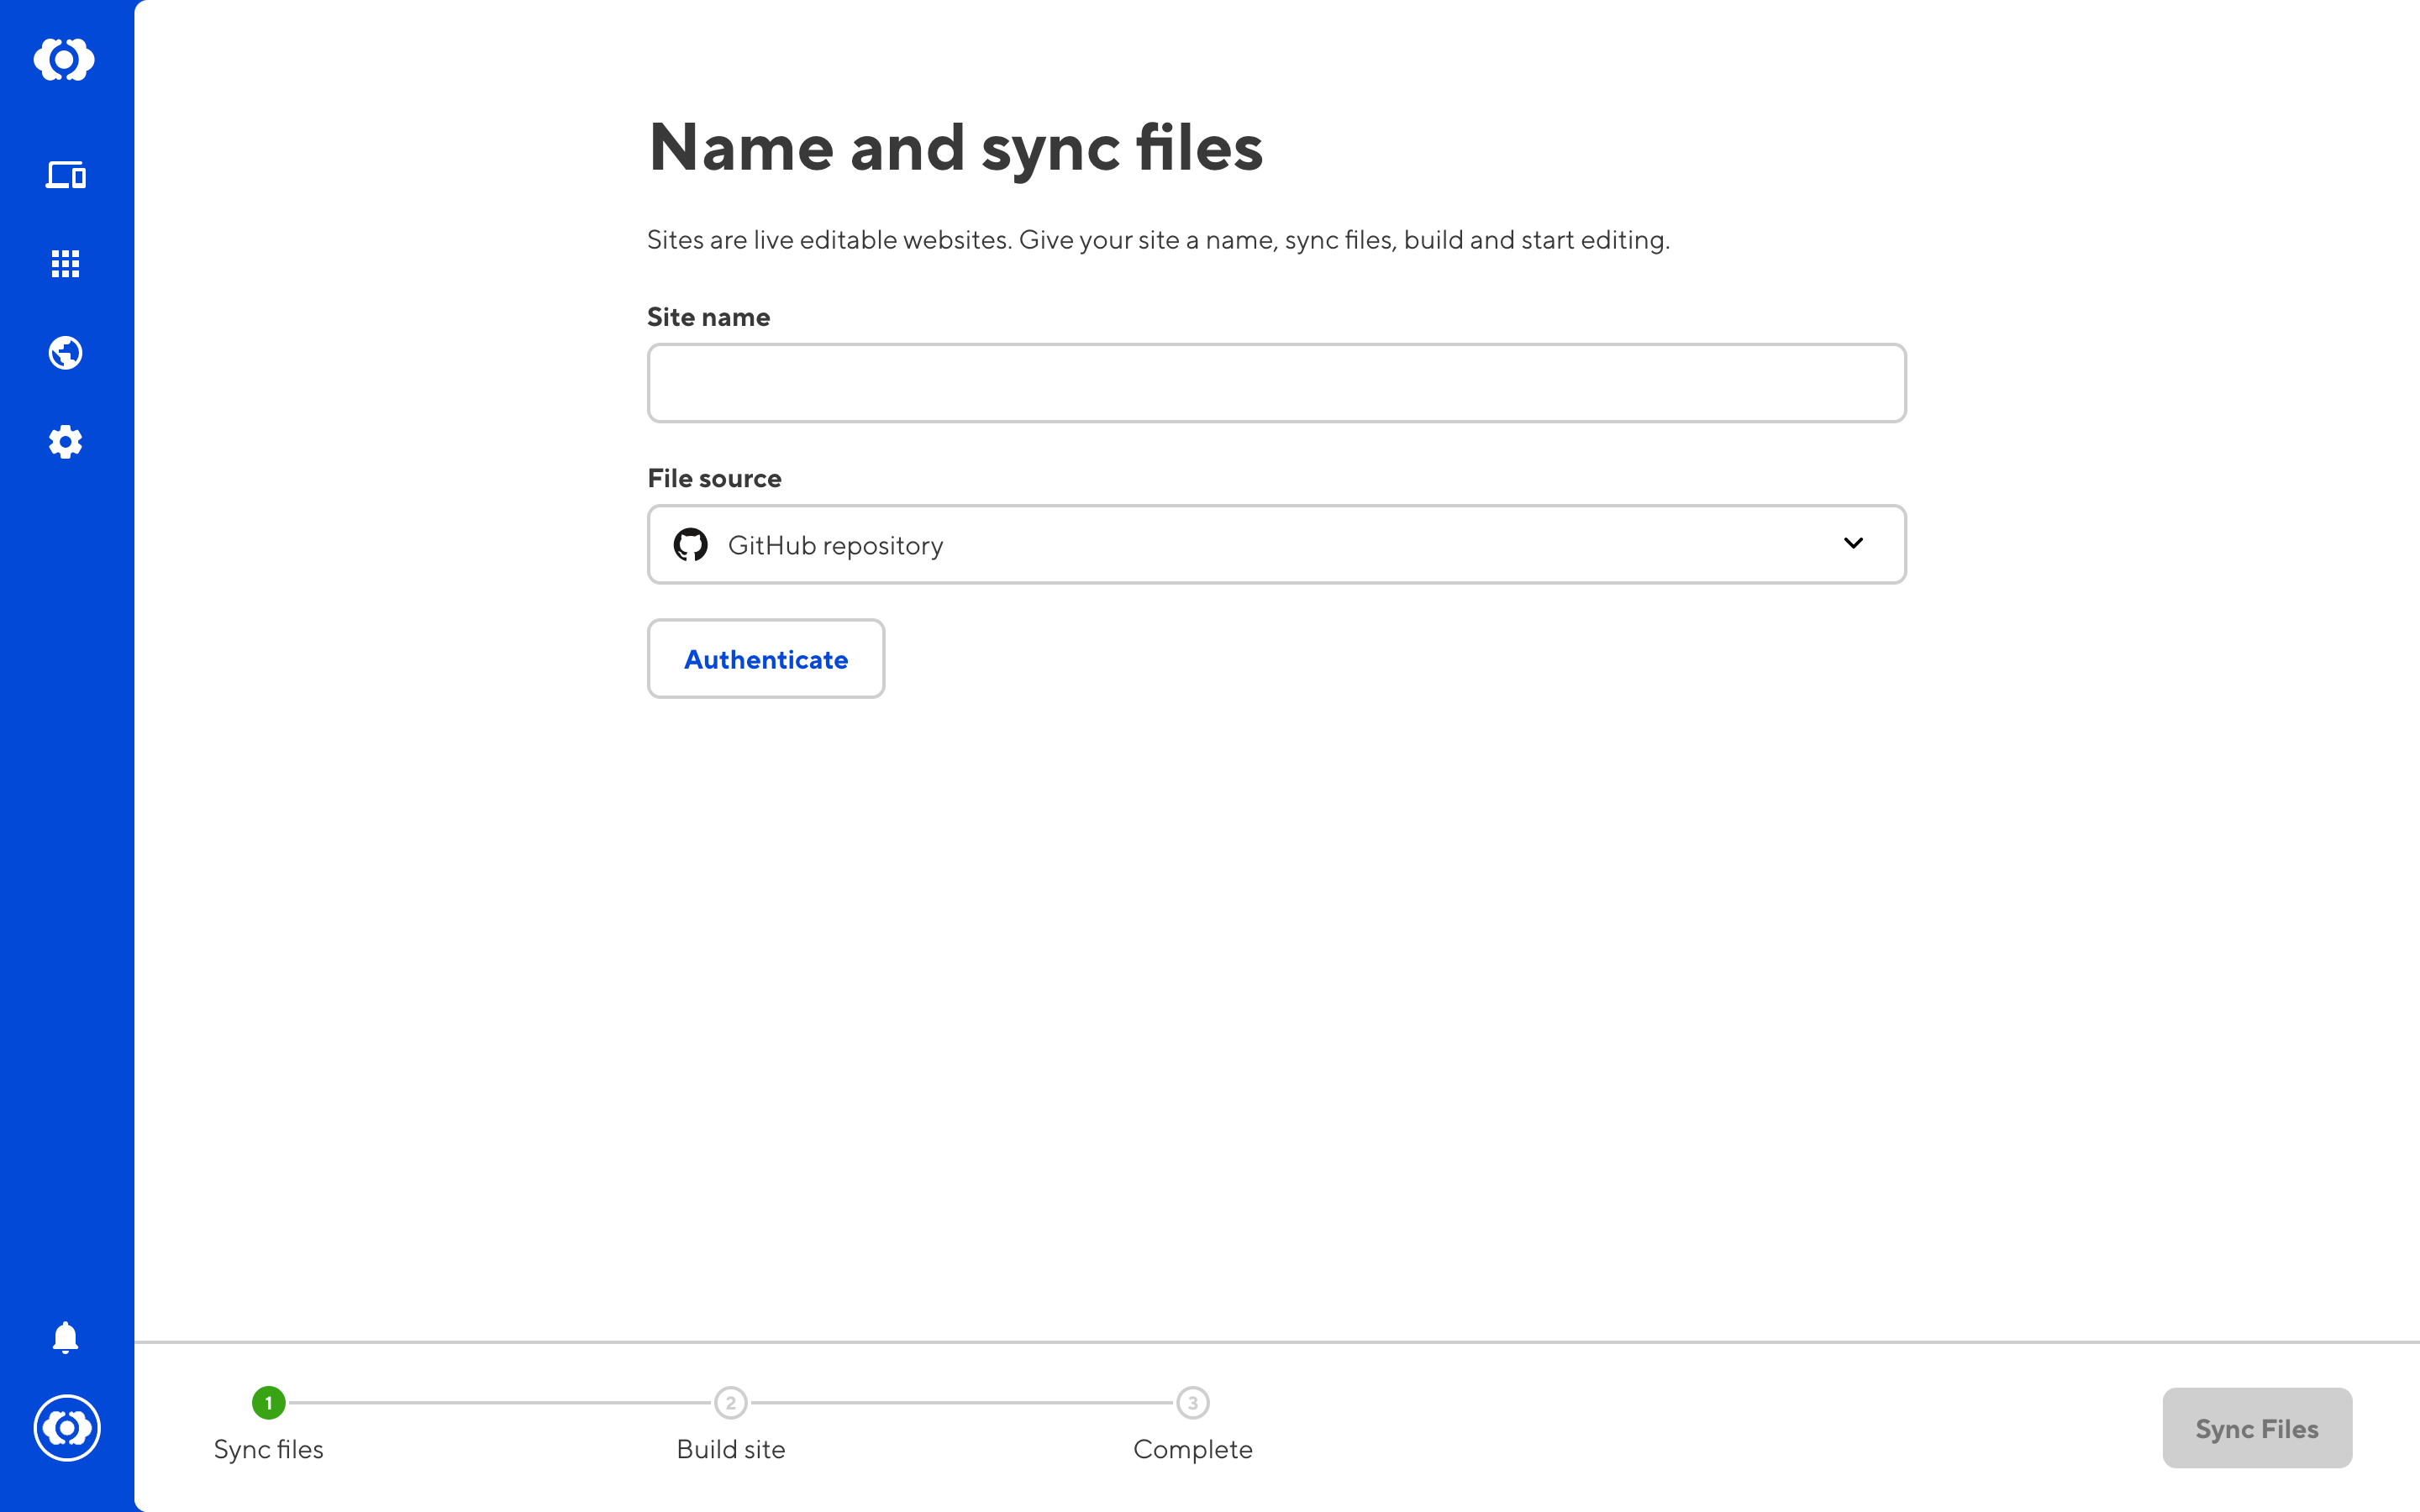
Once you've authenticated with Git, add a name for the site and click Sync Files.
This will pull your files from Git. You'll then be asked for the build settings for your site. See more information about build settings if you are not yet familiar with these options.