A major benefit of using a CMS is the ability to organize your files in a user-friendly interface for easy browsing.
In CloudCannon, you can group the files you want to edit into Collections (groups of similar files stored in the same folder of your website, e.g., a folder of pages, blog posts, product descriptions, or data files). Then, you can view, sort, filter, and scroll through all your files in a Collection browser by clicking on the name of a Collection in your Site Navigation.
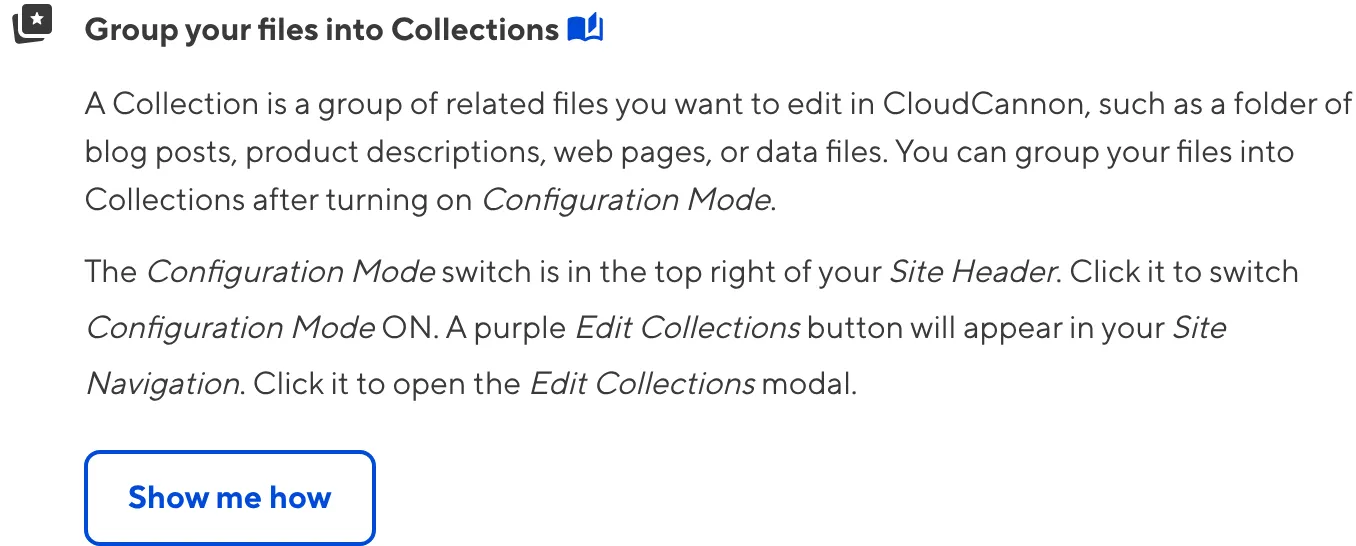
Let's complete the next task in the Getting Started with Editing in-app guide: Group your files into Collections. As part of this task, we'll also learn about Configuration Mode.
What is Configuration Mode?#
Configuration Mode is a tool for updating the configuration of your Site. The Configuration Mode switch on the right of your Site Header allows you to toggle Configuration Mode on and off.

When Configuration Mode is on, CloudCannon will display Edit configuration buttons next to each element of the app you can configure. These Edit configuration buttons are all in purple, making them easy to find and visually distinct from other UI elements.
Clicking on one of the Edit configuration buttons will open a modal or data panel with fields for configuring the UI element. You will be able to see any visual changes in CloudCannon in real time, and all your changes will be added to your CloudCannon Configuration File.
When Configuration Mode is off, CloudCannon hides all the Edit configuration buttons, creating an uncluttered interface for content creators. We recommend spending most of your time with Configuration Mode off for a better editing experience, but you can always turn it on to make a quick change your Site configuration.
Who can use Configuration Mode?
Turning on Configuration Mode only affects the way your Site looks for you; the purple Edit configuration buttons do not appear for other users of your Site.
You can restrict the capacity to use Configuration Mode to specific team members using permissions. We recommend you check out this guide after you have finished Getting Started.
Editing your Collections using Configuration Mode#
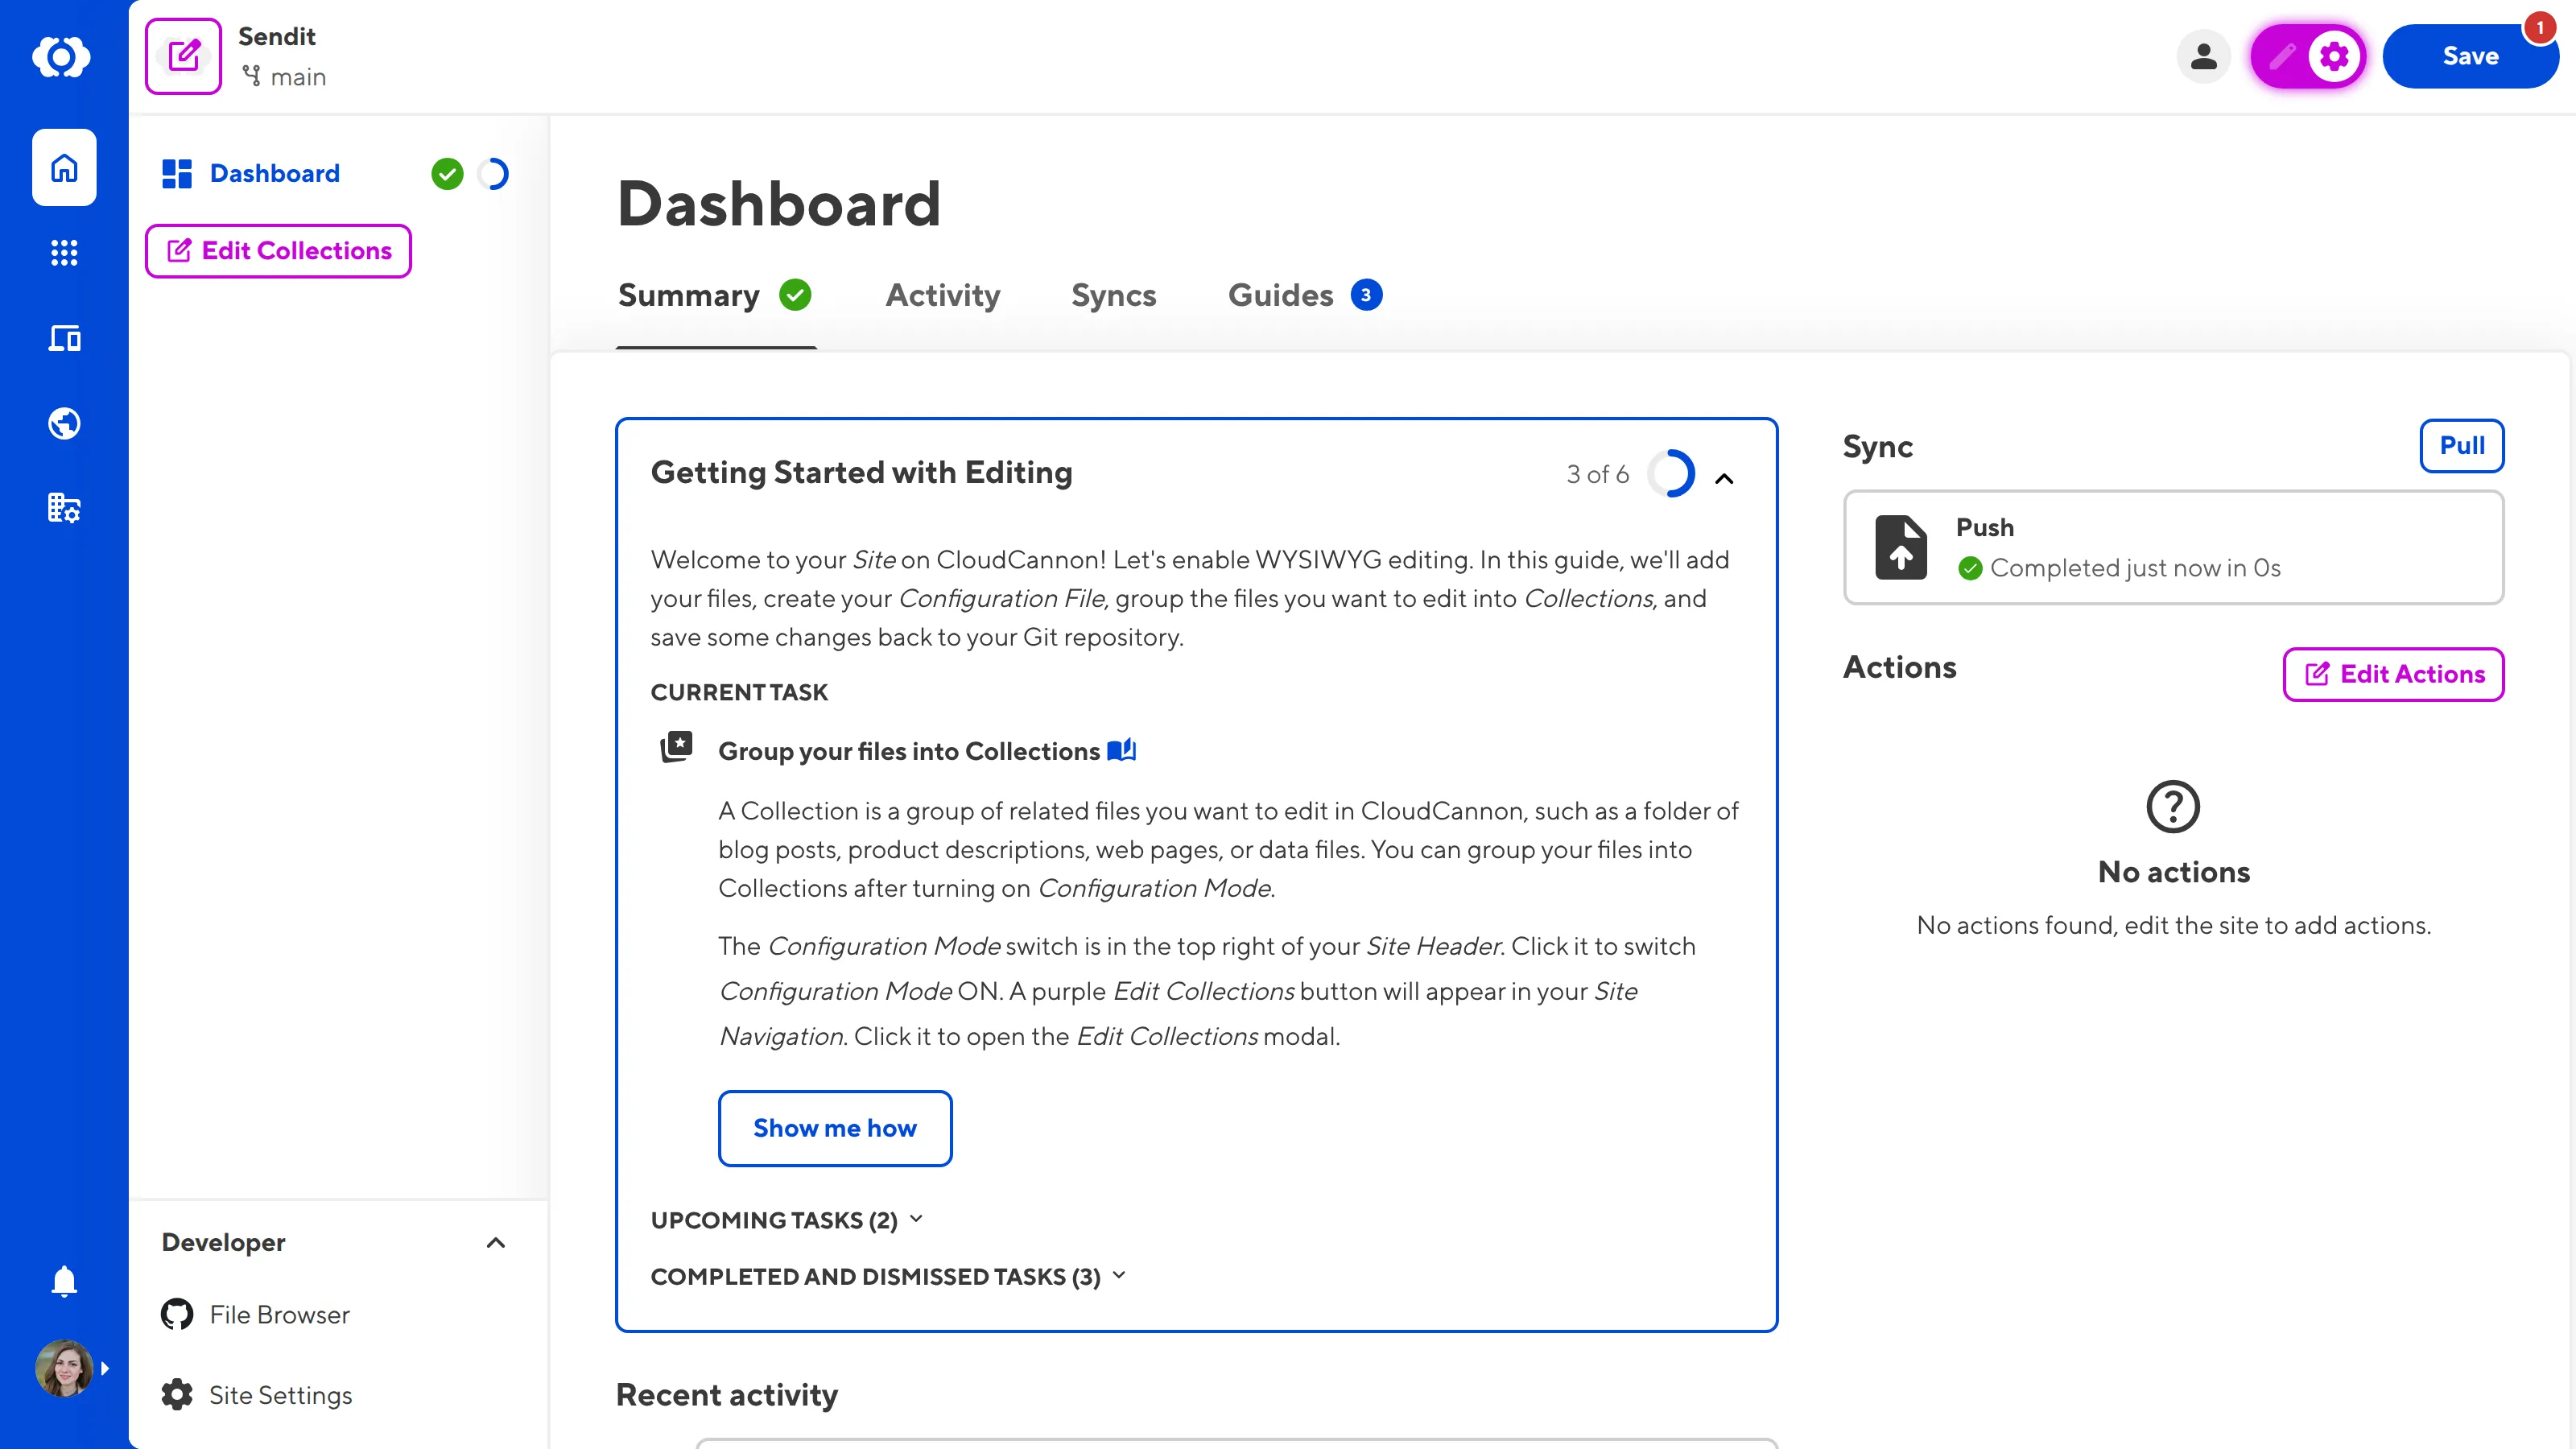
Collections appear in your Site Navigation for easy access; the Edit Collections button is also in your Site Navigation and is visible when you turn on Configuration Mode.
Click the Configuration Mode switch on the right of the Site Header to turn it on. Purple Edit configuration buttons will appear in several places across the CloudCannon UI, including the Edit Collections button in the Site Navigation.
Click on the Edit Collections button to open the Edit Collections modal.
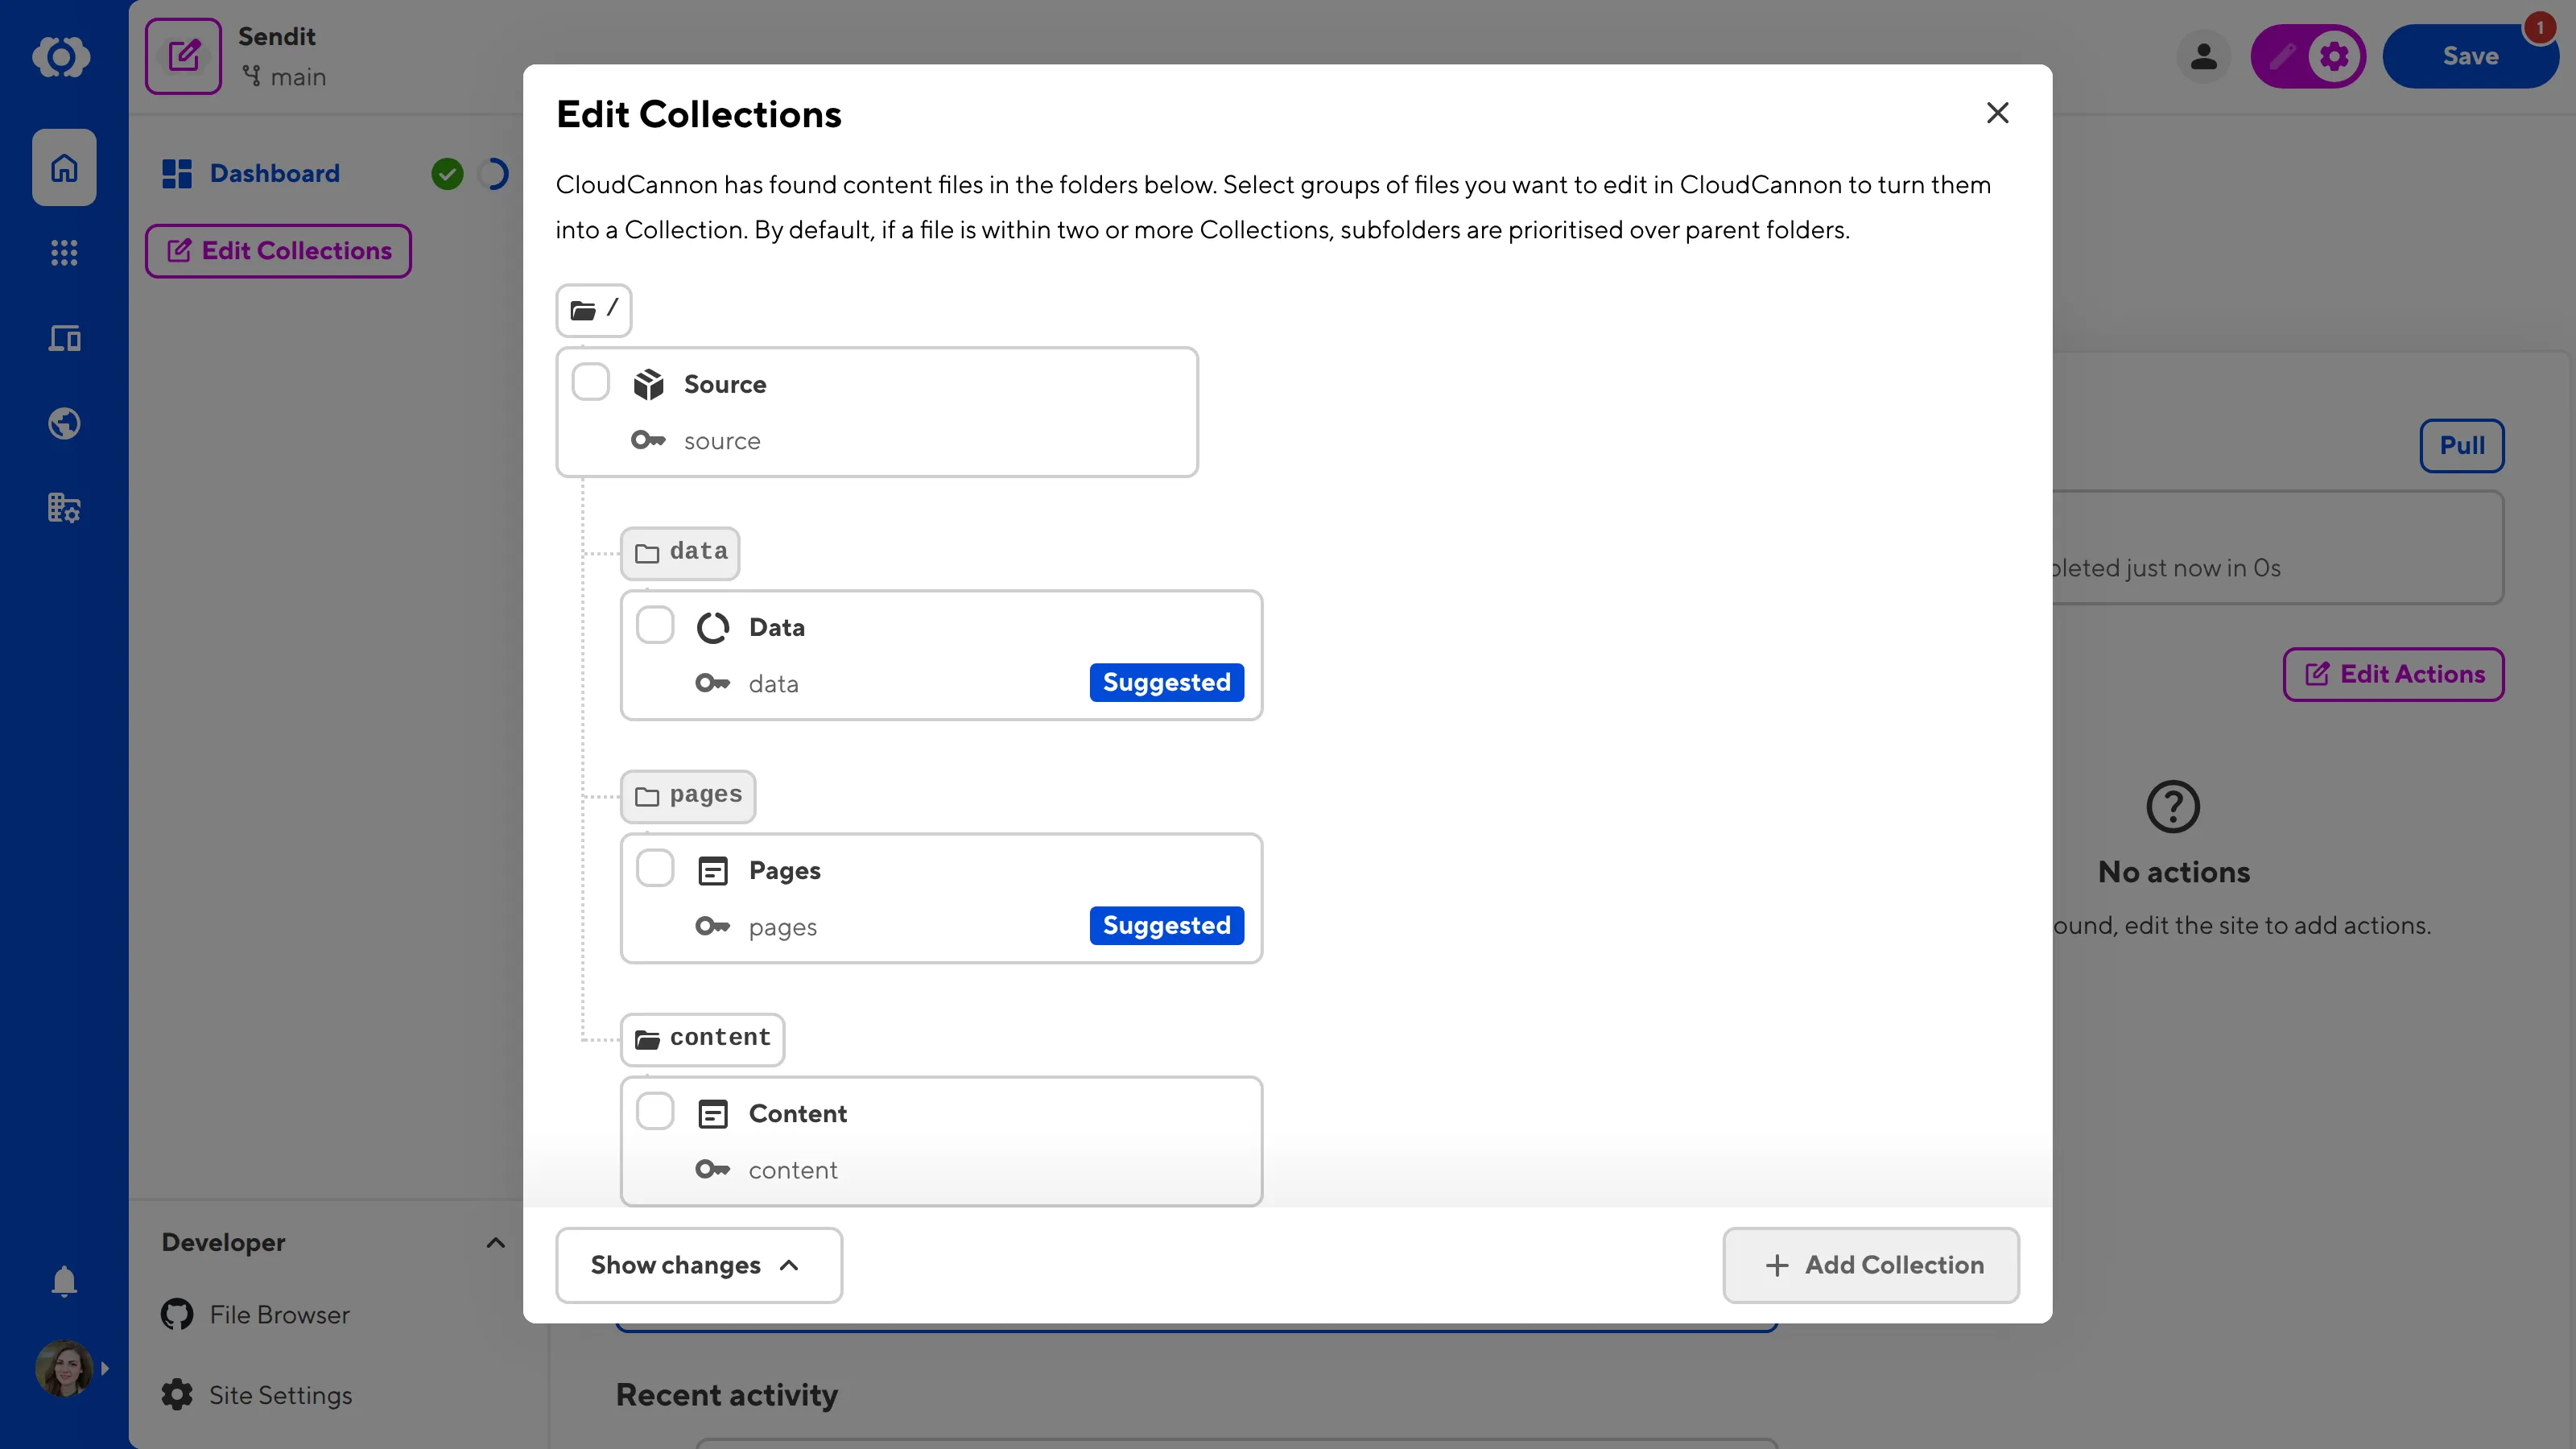
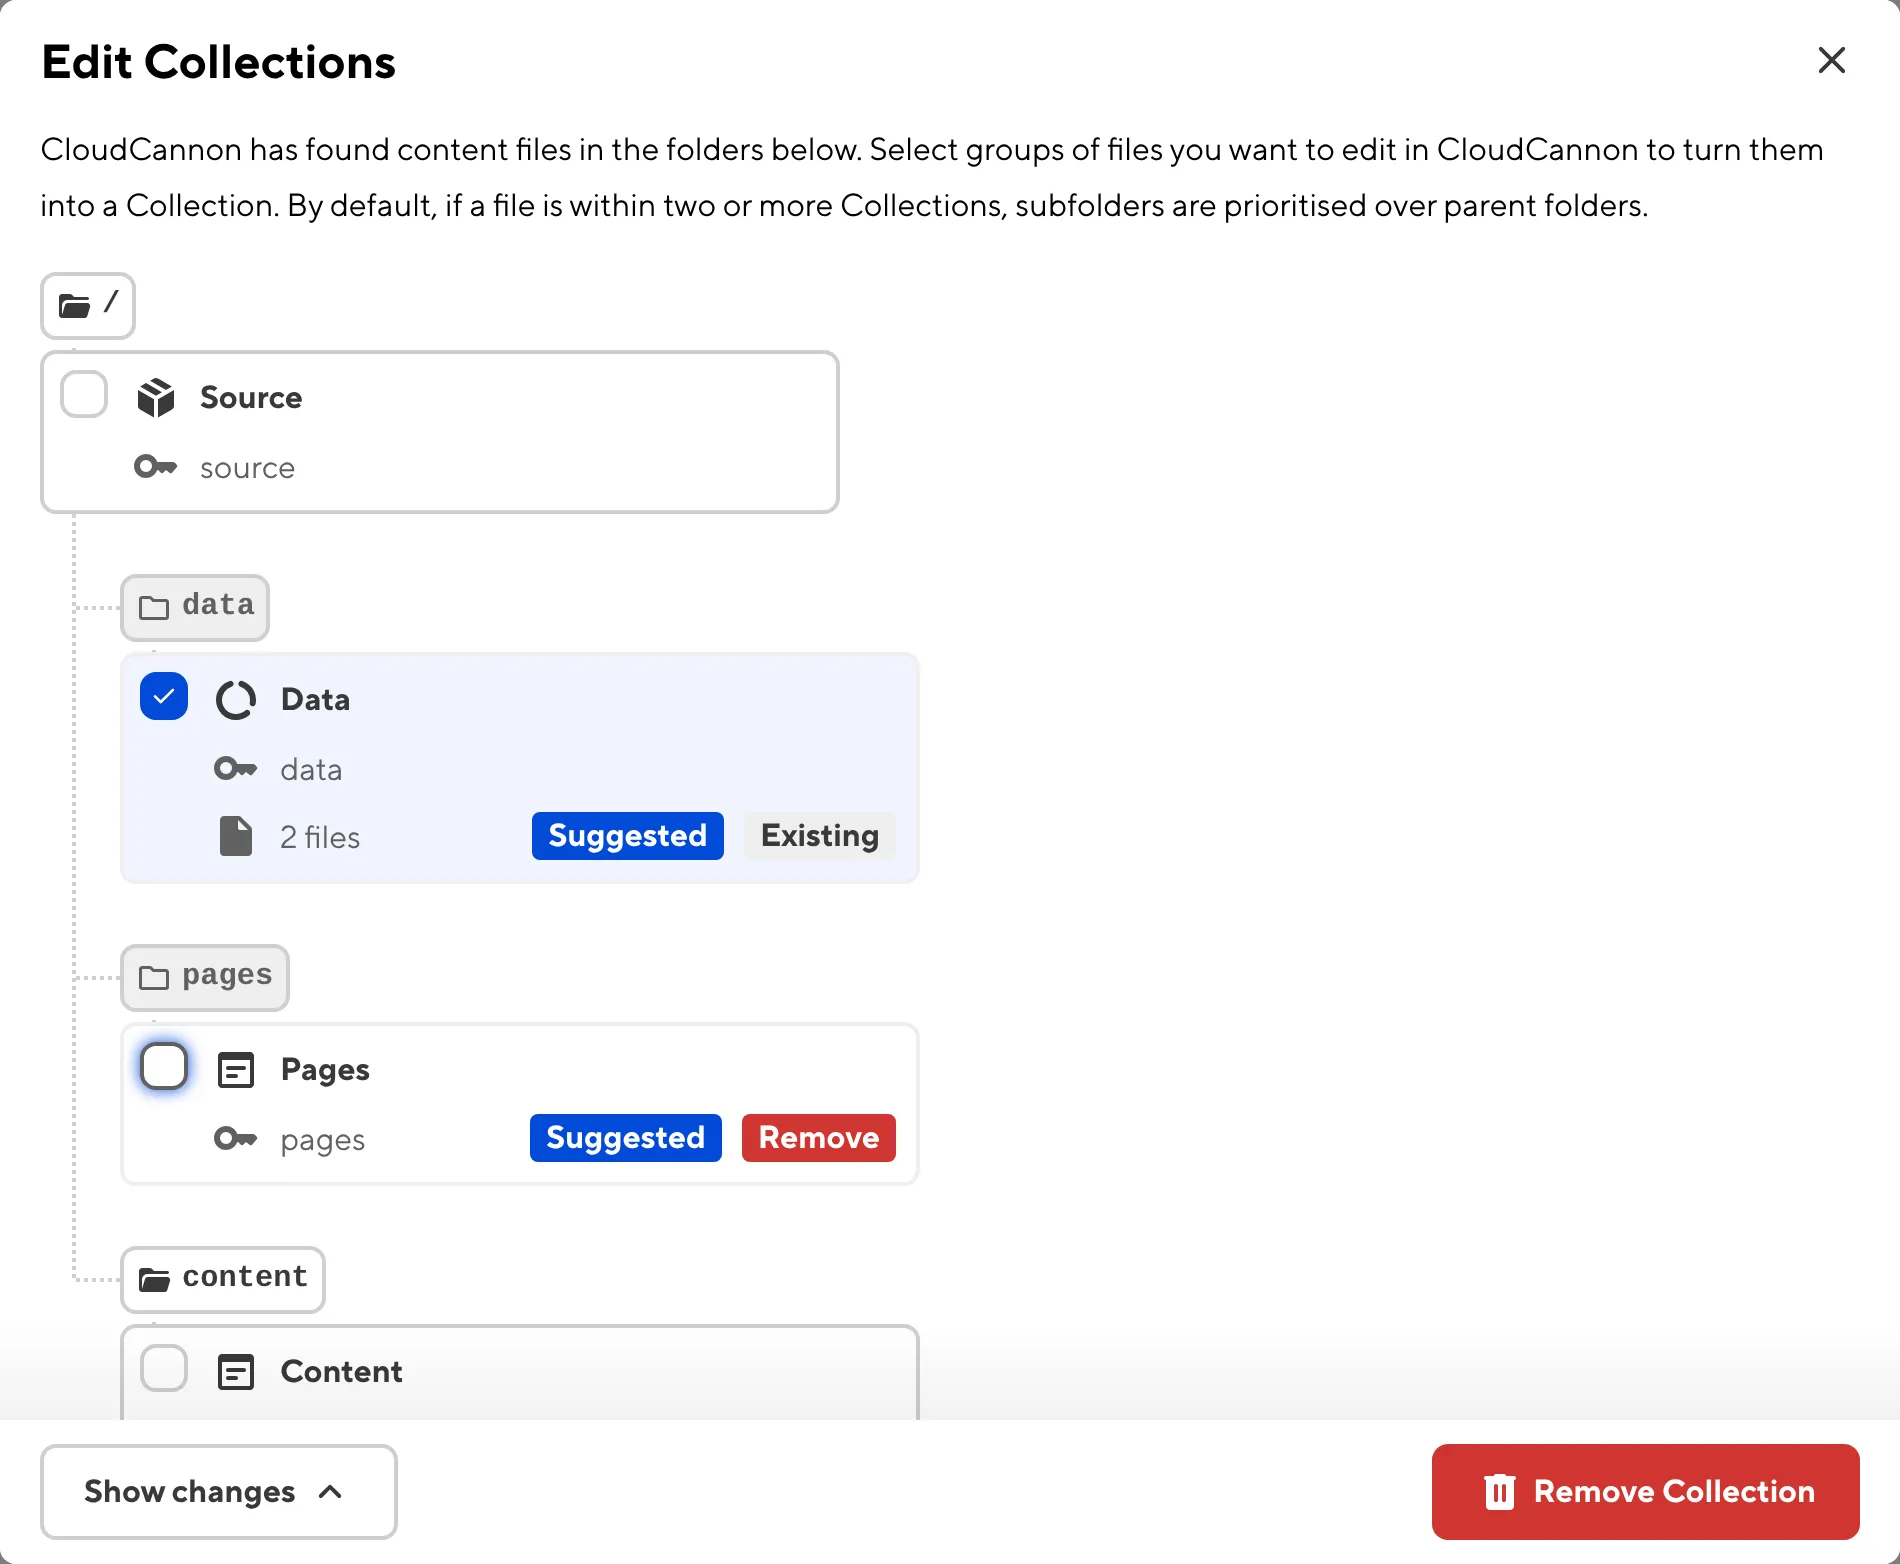
The Edit Collections modal displays all the folders from your repository in a tree structure. You can click on any folders highlighted in blue to expand them further.
When you synced your files to your Site, CloudCannon also detected which folders contain files you might want to edit as a Collection. These folders are marked with the blue Suggested badge.
Each folder has the following details:
- A unique Path, defining the location of the folder in your repository, relative to the Source Folder.
- An Icon from Google's Material Symbols and Icons, which is the one with the most similar name to the Collection Key, by default.
- A unique Key, derived from your Collection Path, which is used to store all your Collection configuration options in the CloudCannon Configuration File.
The name of each Collection is the Key in title case form (i.e., travel_blog becomes "Travel Blog"). You can override this by configuring a Display Name later .
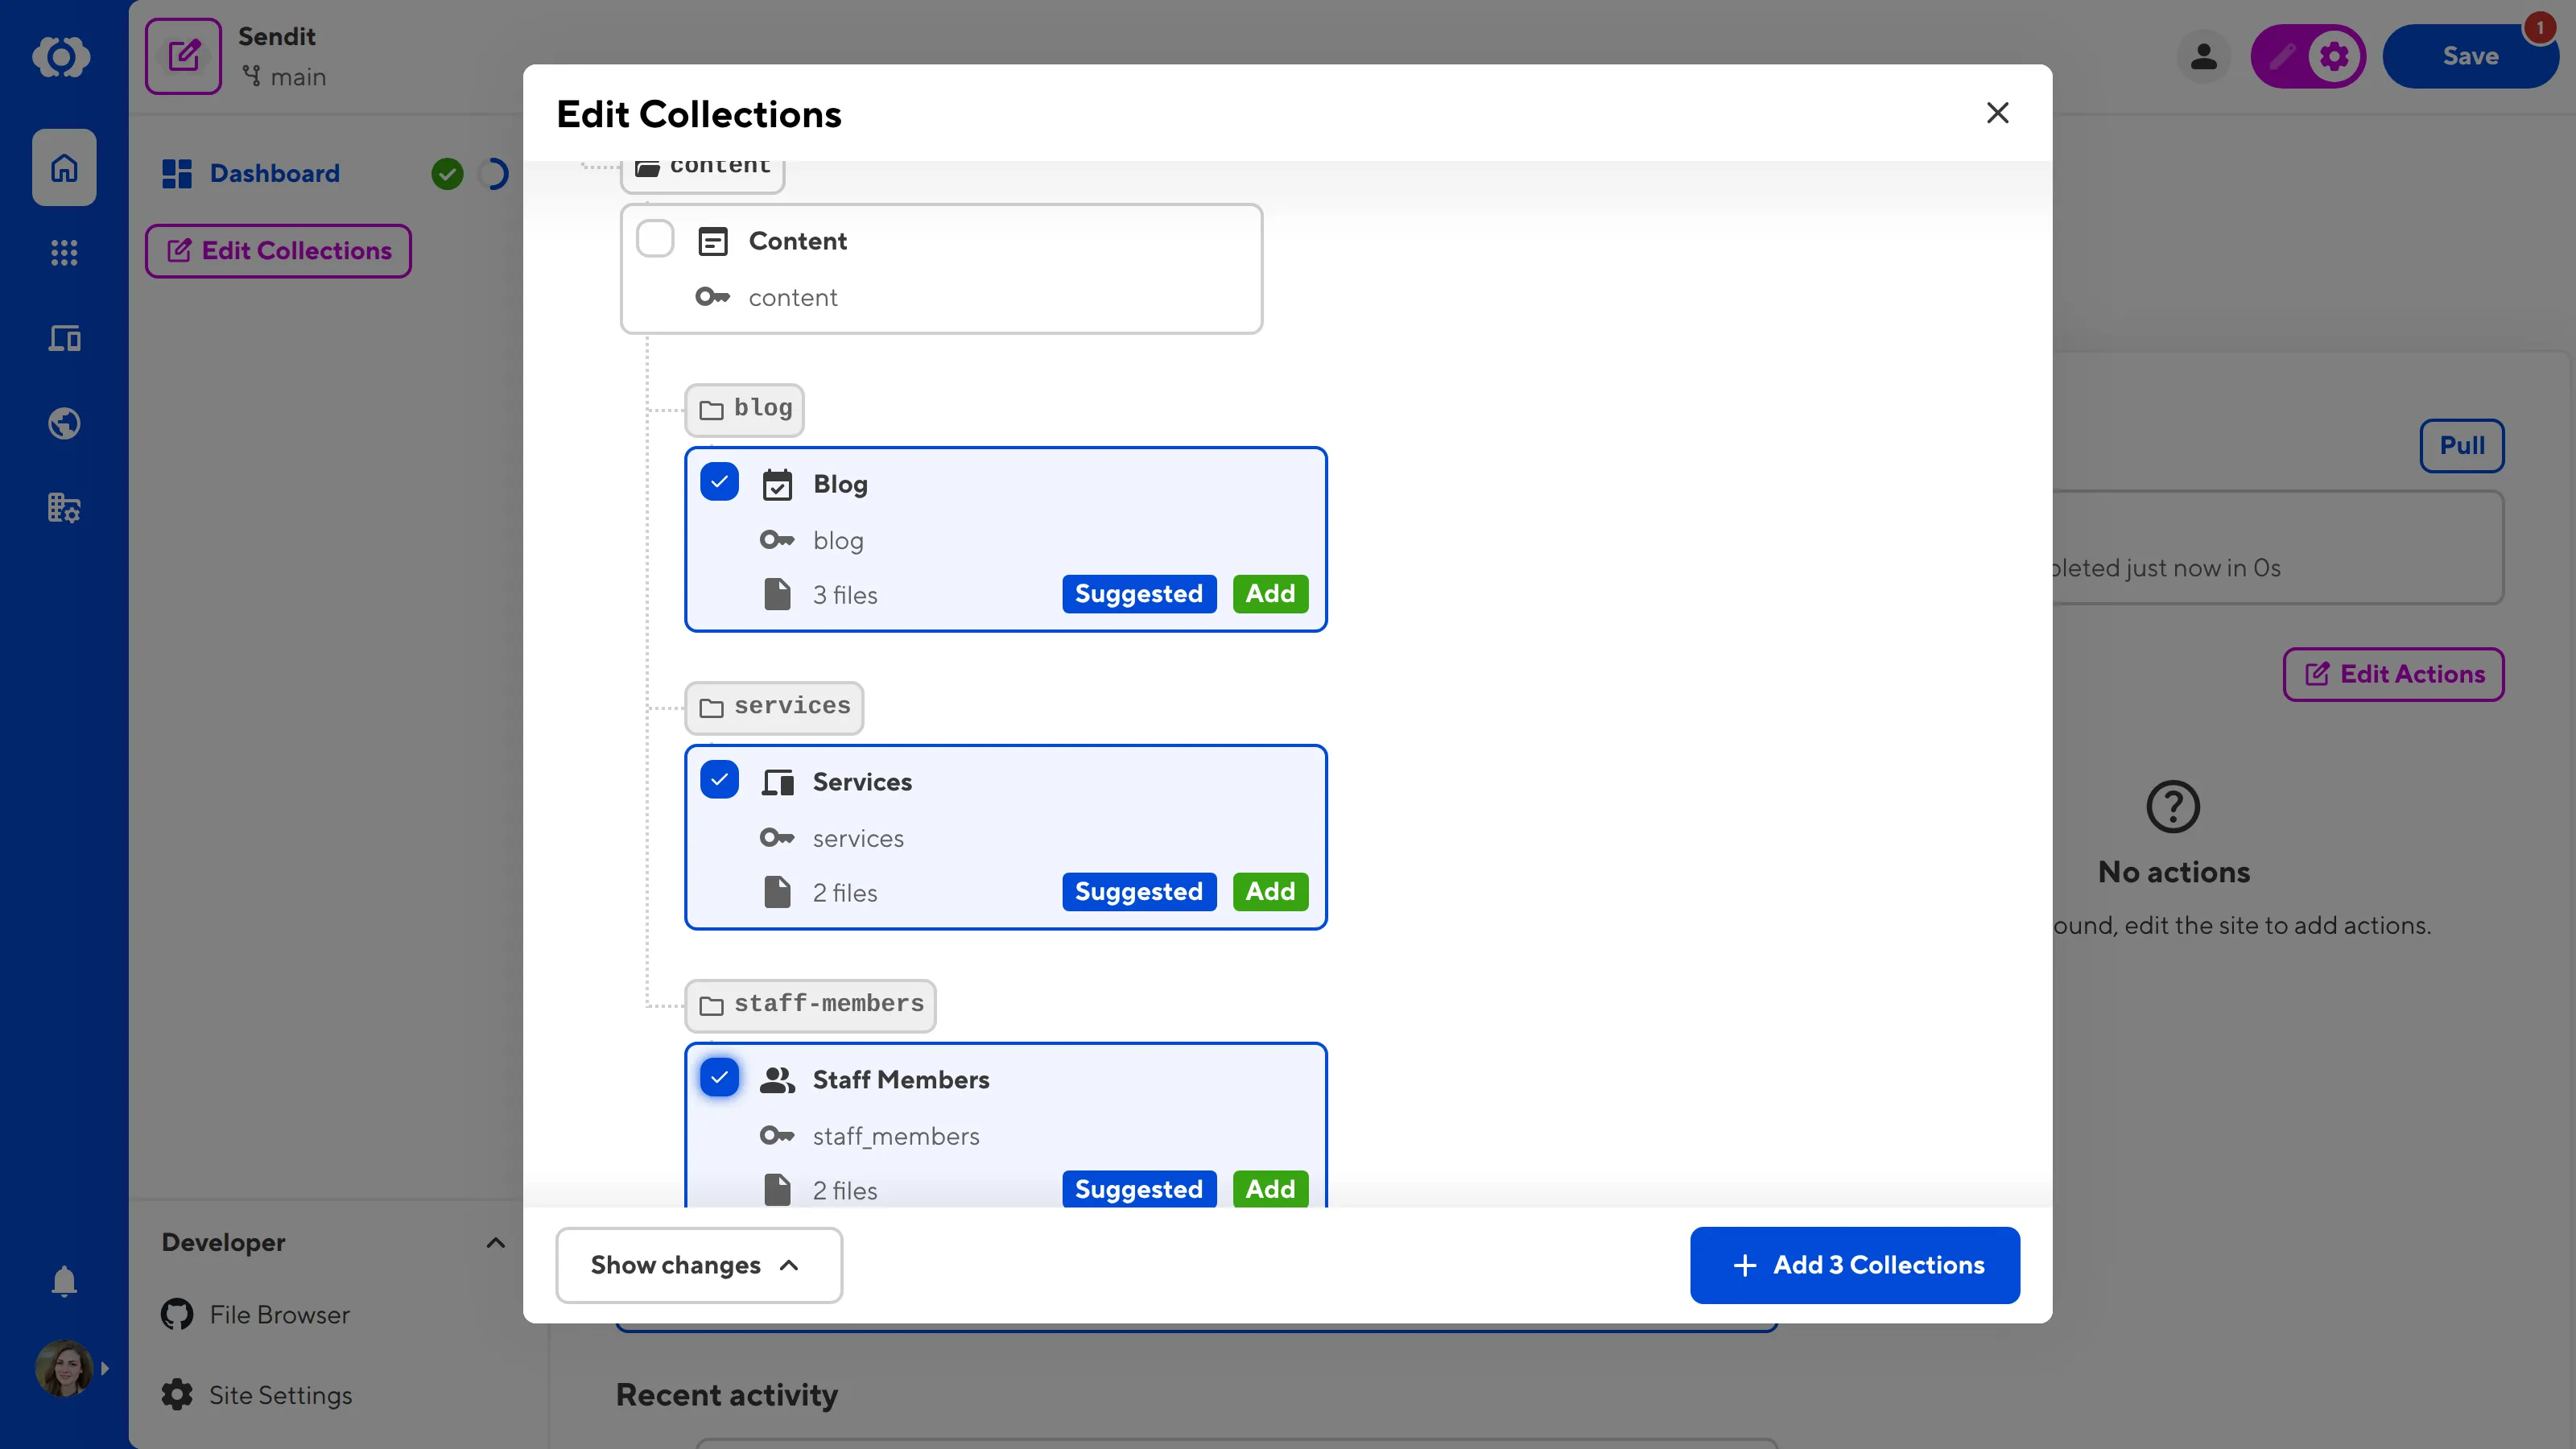
Select the Collections you want using the checkboxes next to each folder. When you select a folder, CloudCannon will show you how many files are in each Collection.
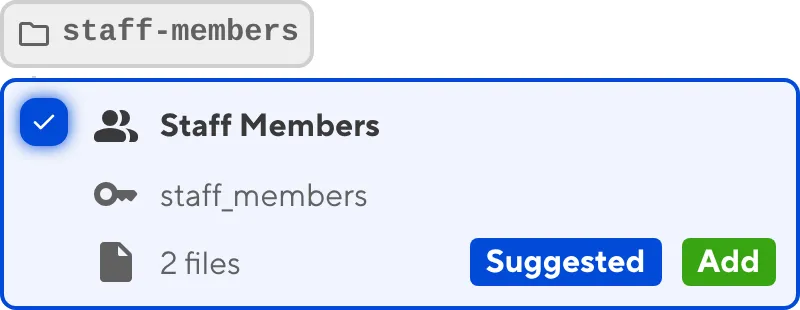
What happens when you select one Collection nested inside of another?
Files can only belong to one Collection at a time. If you select two Collections, one nested inside another, the files will appear in the Collection with the most specific Path.
Let's walk through an example.
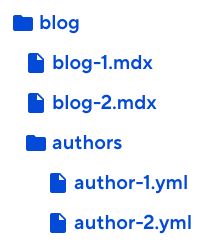
Assume you have an authors folder nested in your blog folder (i.e., /blog/authors/). The authors folder contains non-output data files with profile information about your various blog authors. In addition to the authors folder, the blog folder also contains all your output blog files. In this case, both the authors and blog folders could be Collections.
If you only add the "Blog" Collection with the path /blog/, all your output blog files will belong to this Collection, but so will all the data files inside /blog/authors/. All these files will appear as a sub-folder in your Blog Collection Browser.
Adding the "Blog" Collection and the "Authors" Collection will separate these files, keeping your output blog files in one Collection Browser and your non-output data files in another.
Like the Create my Configuration File modal in the previous step, you can click on the Show changes button in the bottom left to preview the contents you are adding to your CloudCannon Configuration File.
Here's an example of what that configuration code might look like:
collections_config:
  news:
    path: /blog/news/
    icon: breaking_news
All Collections are defined under the collections_config key in your CloudCannon Configuration File.
The Key for this Collection is news. All the configuration for this Collection is stored nder this Key.
The Path for this Collection is /blog/news/, telling CloudCannon where to find the Collection files in your repository.
The Icon for this Collection is breaking_news.
{
  "collections_config": {
    "news": {
      "path": "/blog/news/",
      "icon": "breaking_news"
    }
  }
}
All Collections are defined under the collections_config key in your CloudCannon Configuration File.
The Key for this Collection is news. All the configuration for this Collection is stored nder this Key.
The Path for this Collection is /blog/news/, telling CloudCannon where to find the Collection files in your repository.
The Icon for this Collection is breaking_news.
When you are happy with your selection, click the + Add Collection button at the bottom of the modal. Your Collections will appear in the Site Navigation.
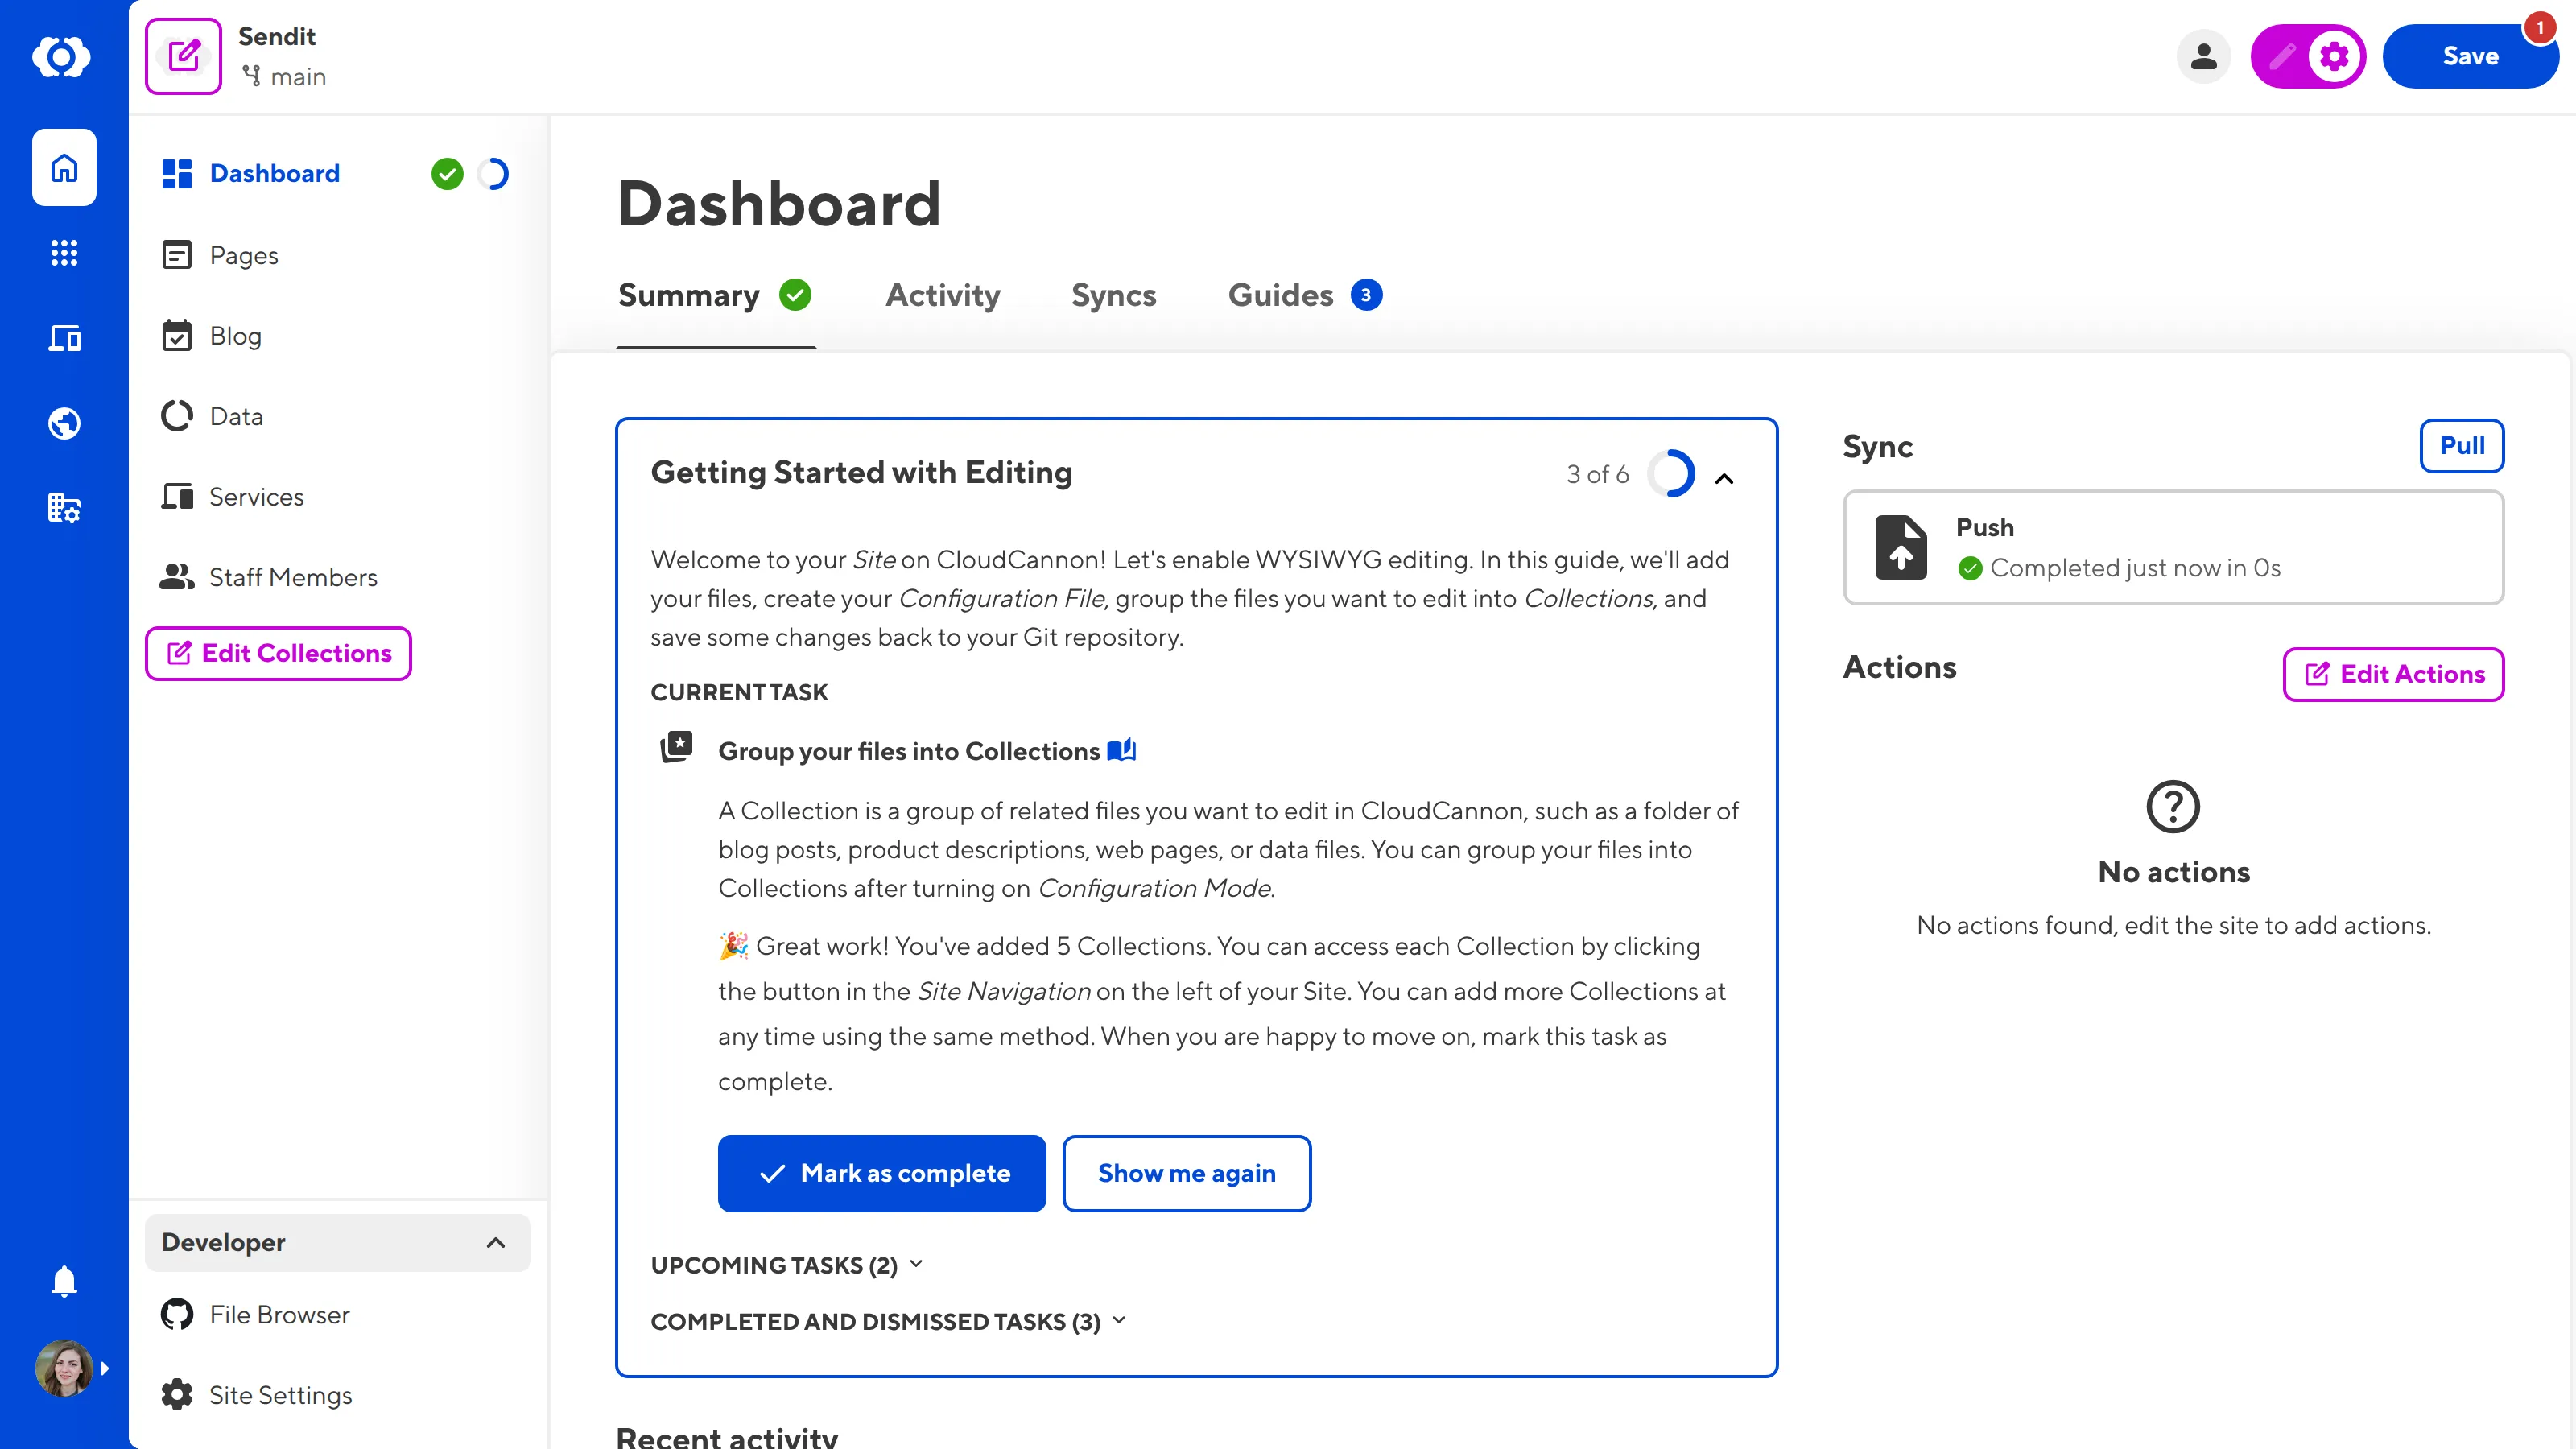
If you need to add or remove Collections in the future, the Edit Collections button will appear in the Site Navigation whenever you turn on Configuration Mode. Use the checkboxes to select or deselect Collections.
Mark the Group your files into Collections task as complete when you are ready to move on.
In the next step of this guide, we'll look at a Collection Browser and introduce you to some important UI for managing your files in CloudCannon.