To create a Site, CloudCannon needs to sync your website files from their current location. You can:
- Upload files from local storage.
- Connect CloudCannon to your Git provider (we recommend this method).
- Start with a CloudCannon template and push it to your Git provider.
This guide covers creating a Site using files stored on a Git provider.
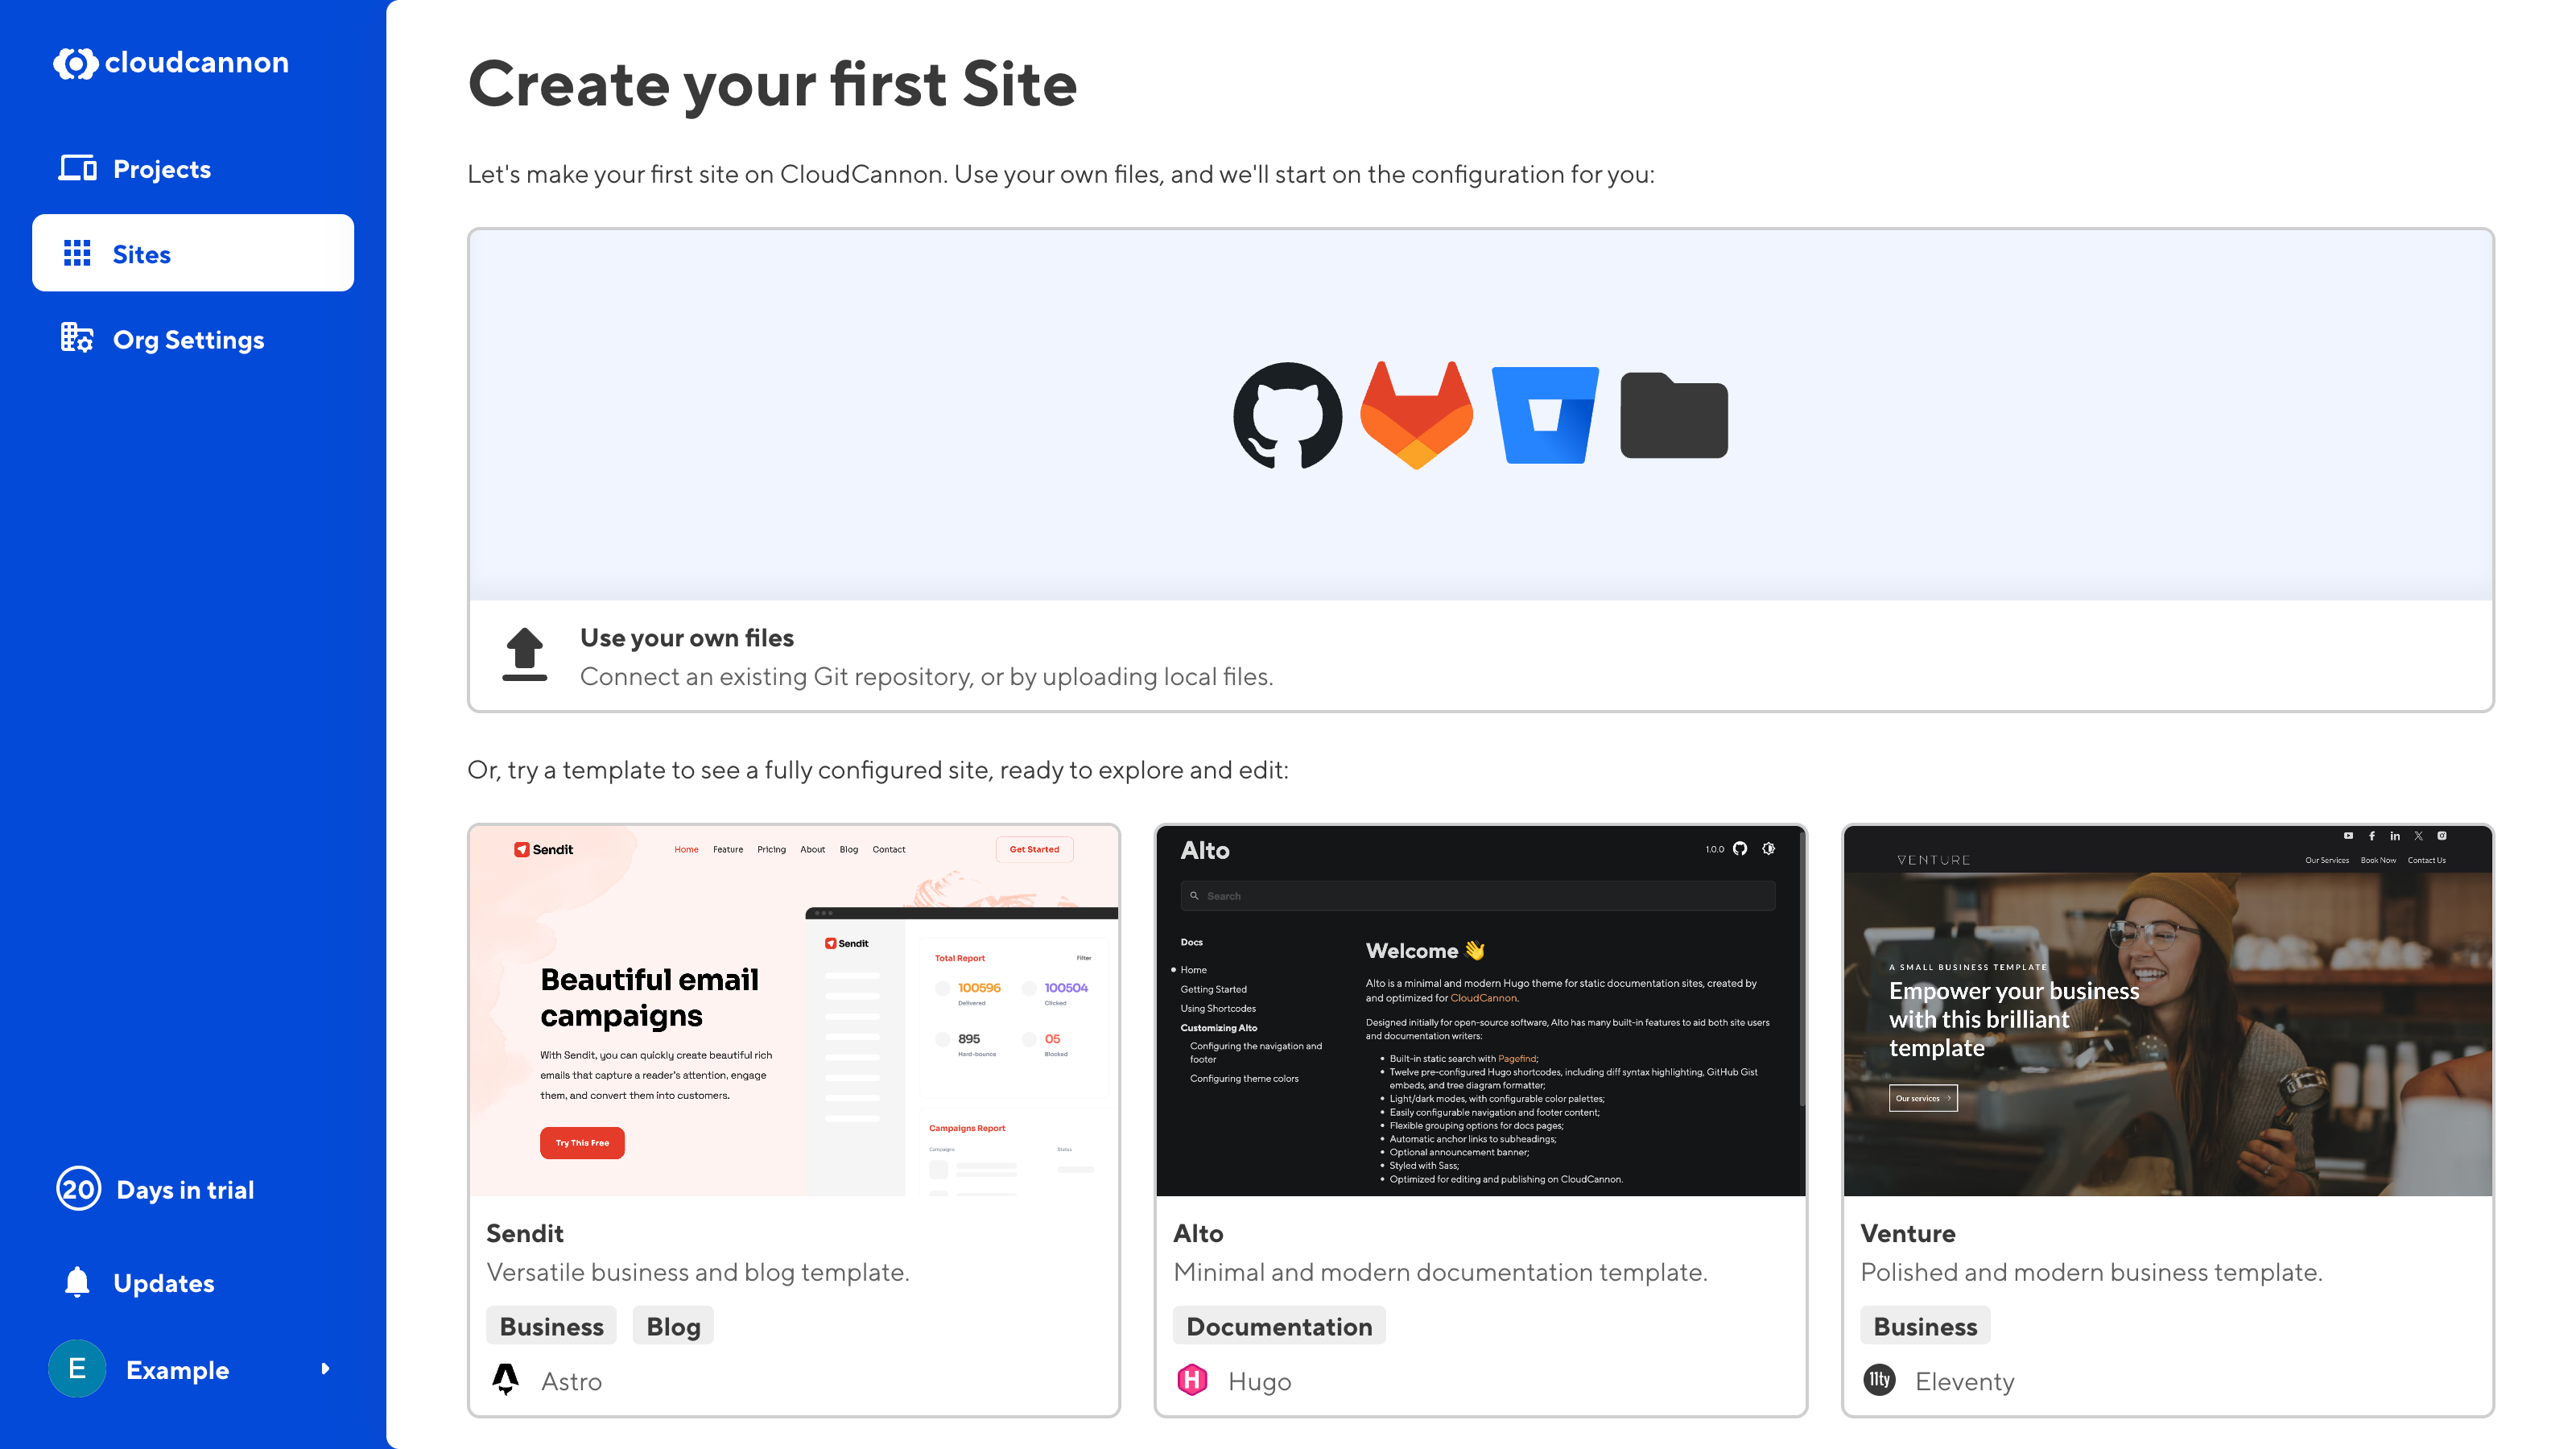
To create a Site, click on Sites in your App Navigation. The Sites page will look different depending on whether you have any Sites associated with your Organization yet.
If you are creating your first Site, the Sites page will show the option to sync your own Site files from their existing location, or to start with one of our website templates. Click the Use your own files card.
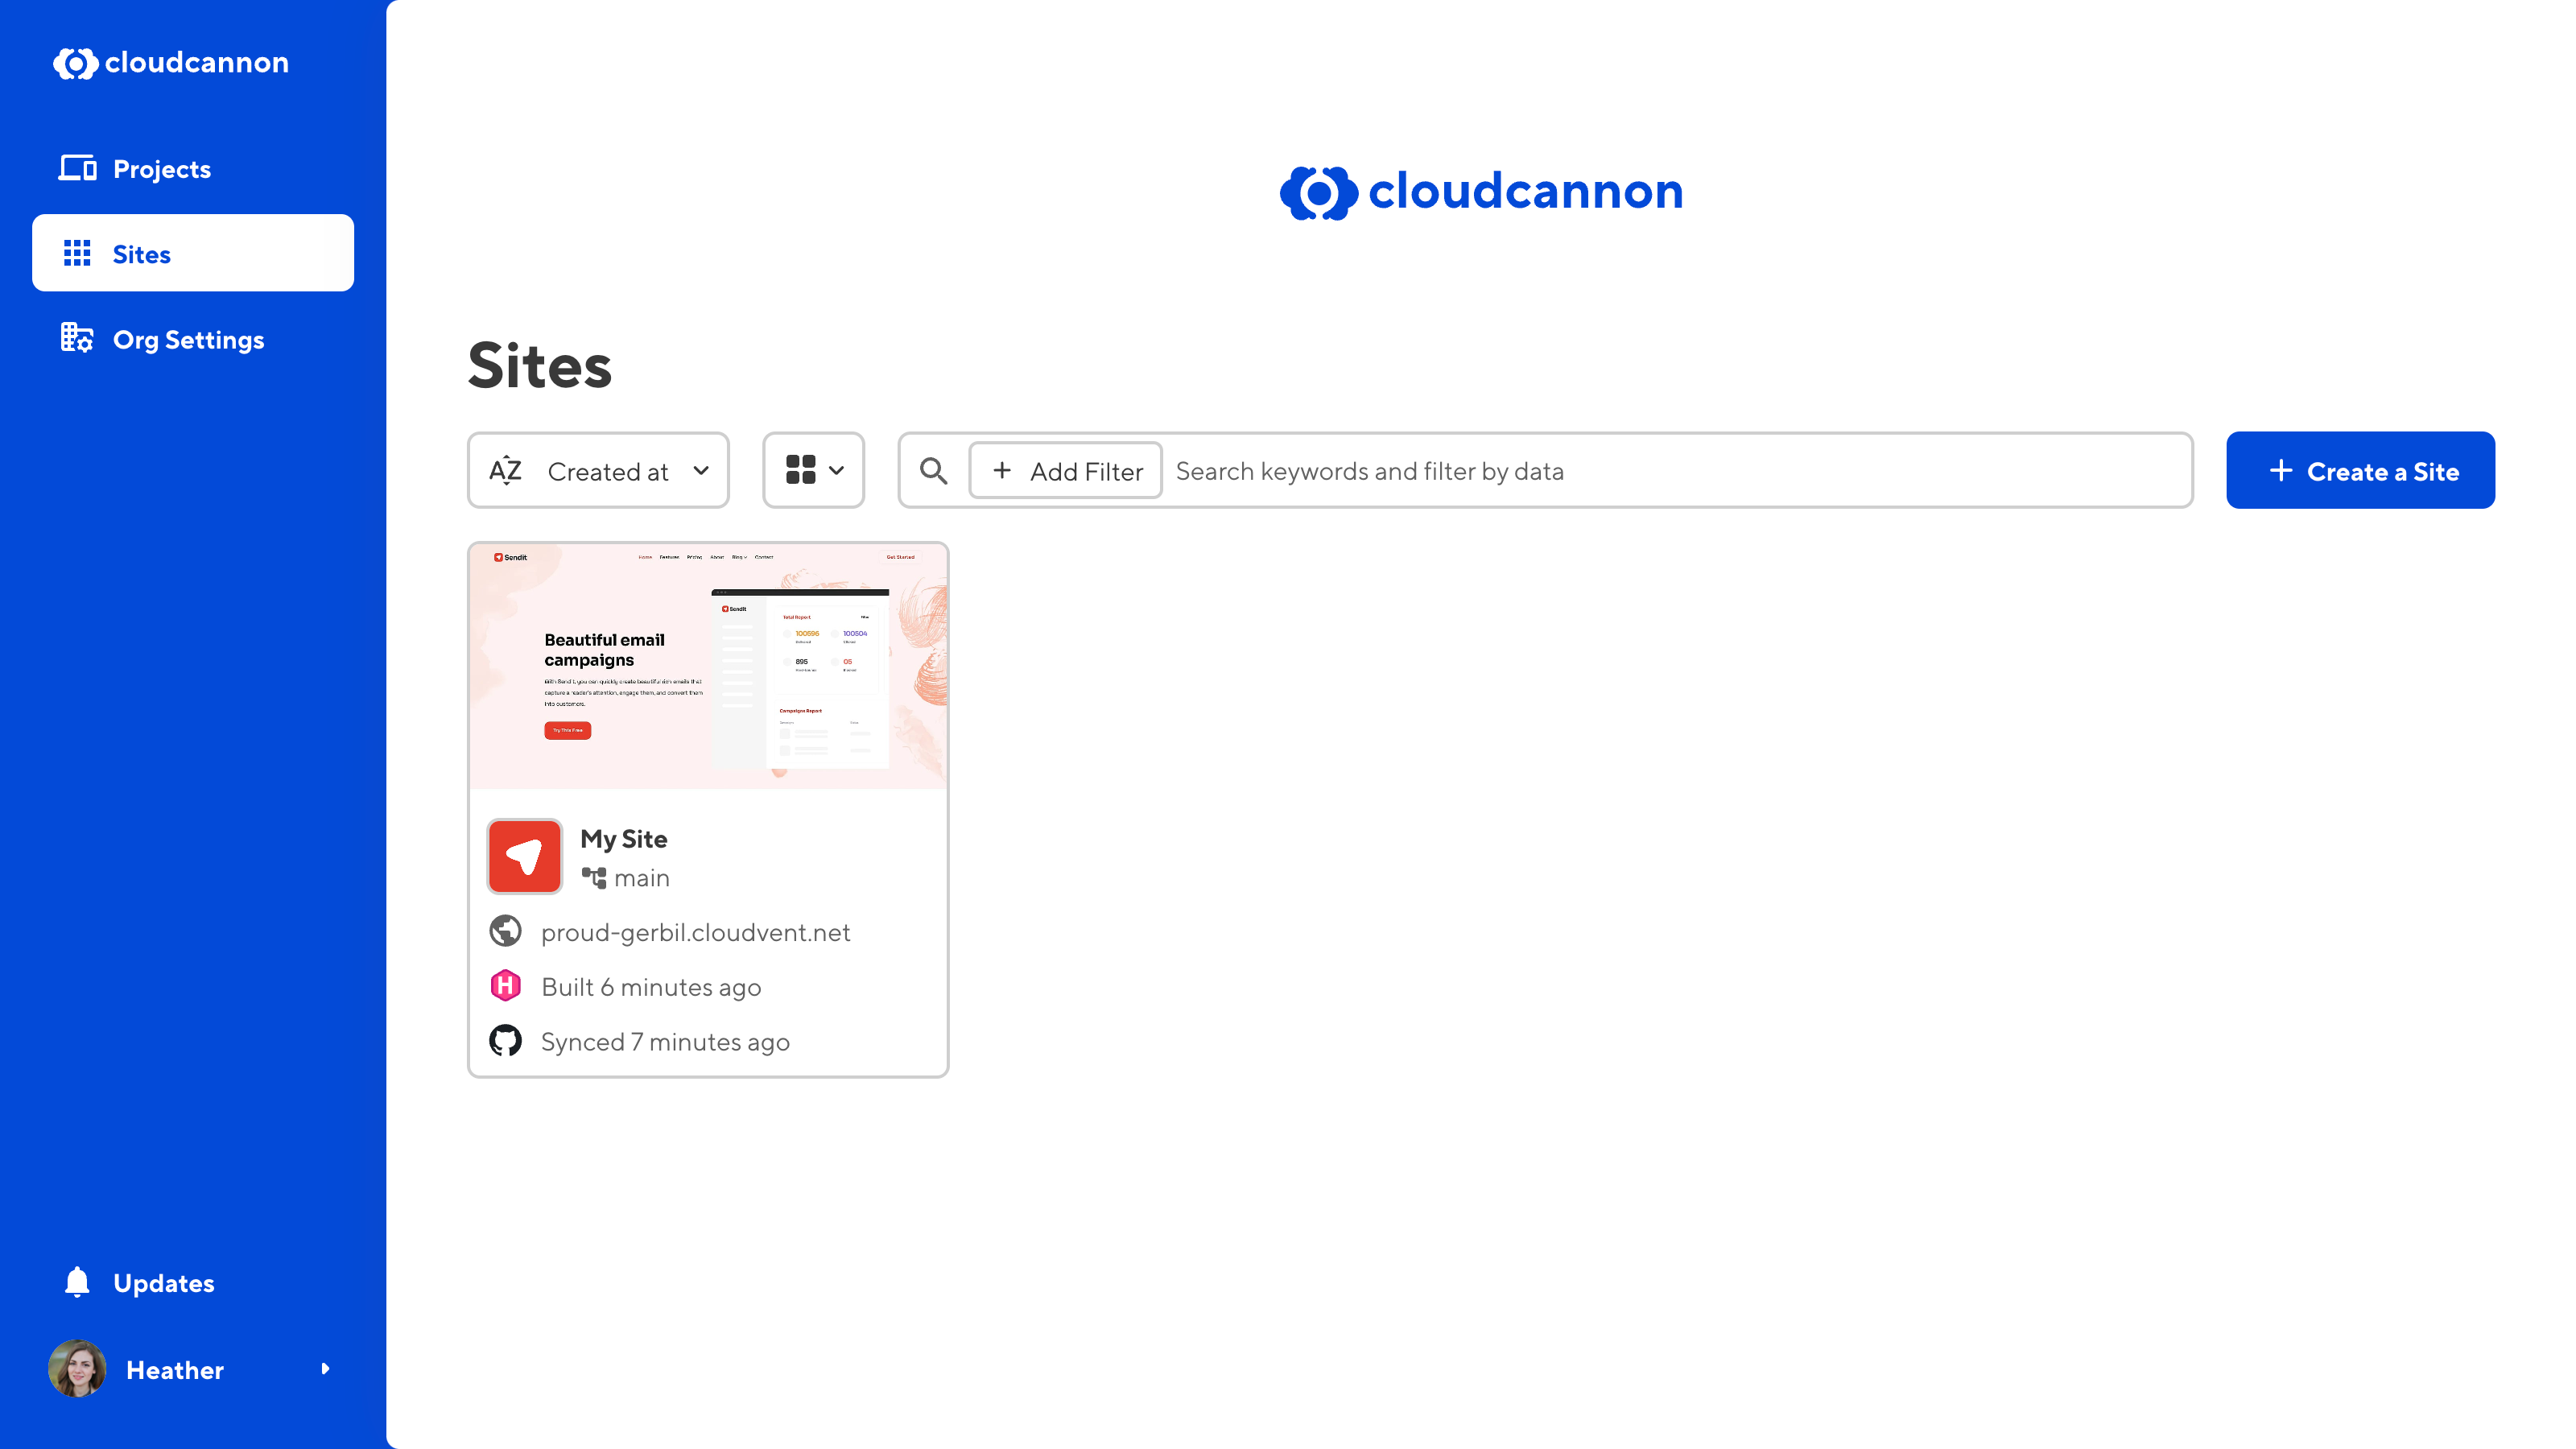
If you already have one or more Sites associated with your Organization, the Sites browser will show a list of all your Sites. You can add a new Site to CloudCannon using the + Create a Site button at the top right of the Sites browser.
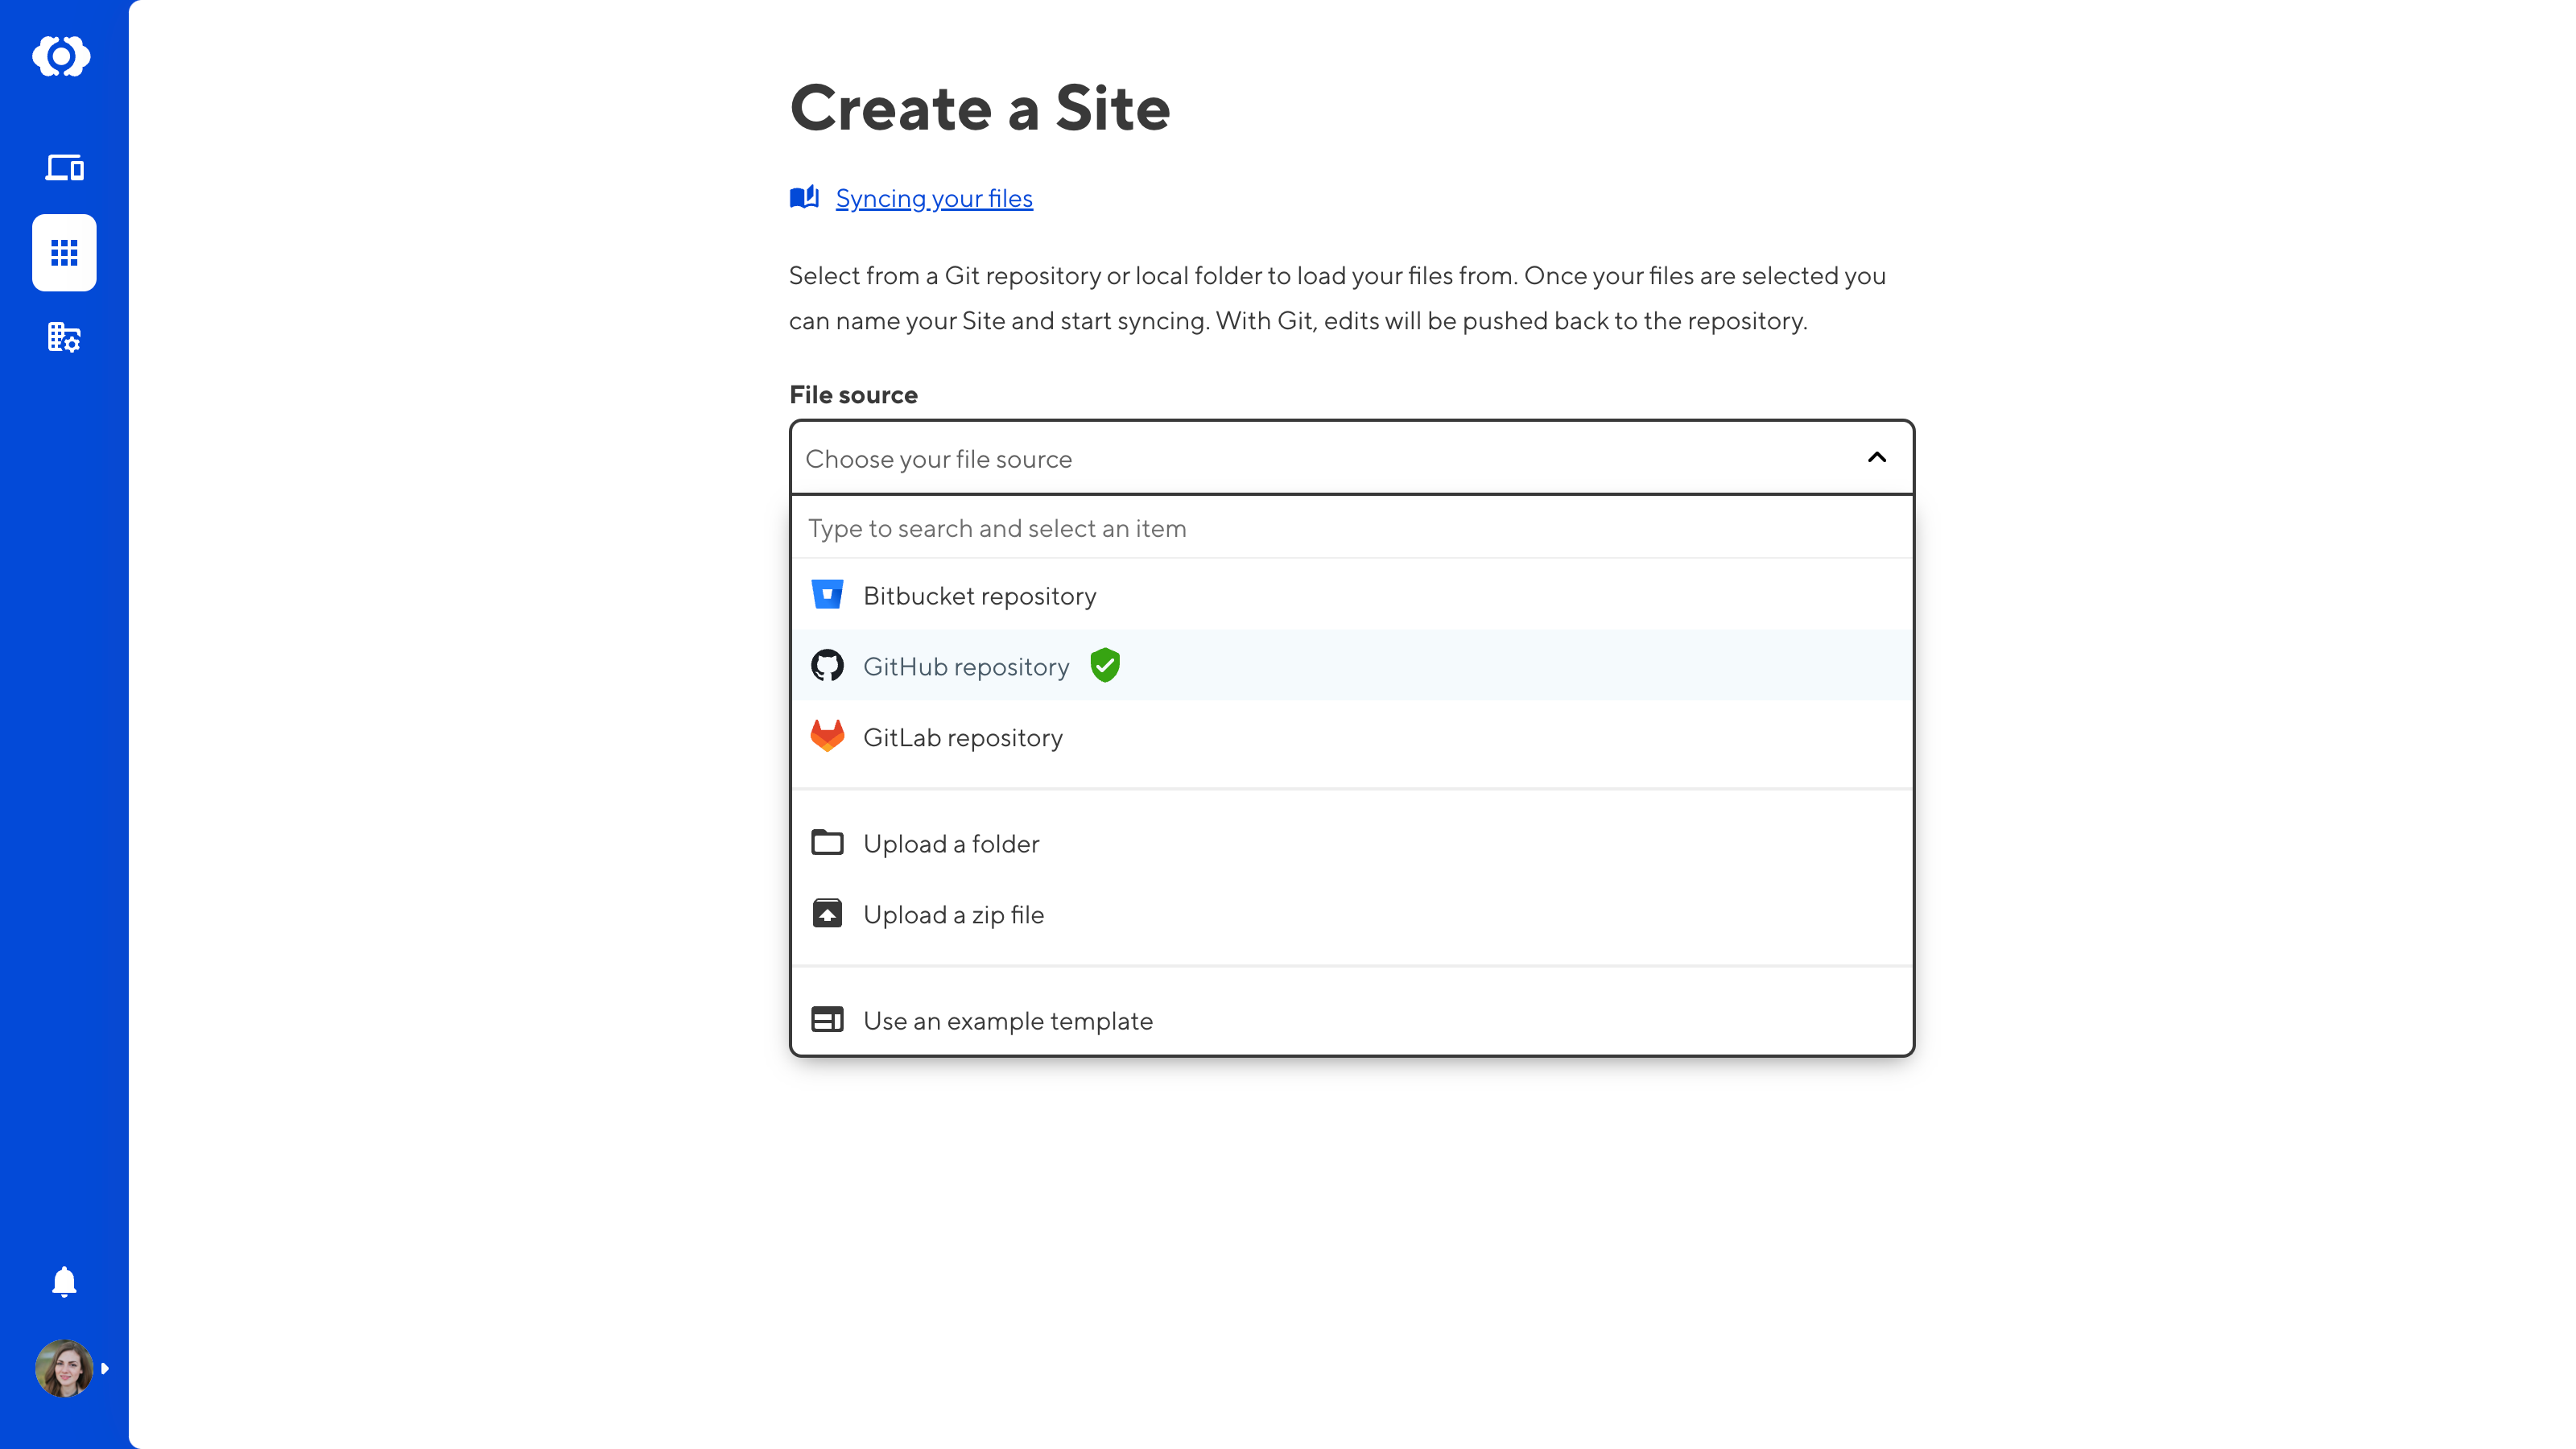
On the Create a Site page, use the File source dropdown to select the Git provider you use for your site files. CloudCannon supports GitHub, Bitbucket, GitLab.
If this is your first time using CloudCannon, you must give CloudCannon permission to access your Git provider.
Select your Git provider using the File source dropdown, then click the Authenticate button. CloudCannon will forward you to your Git provider login screen.
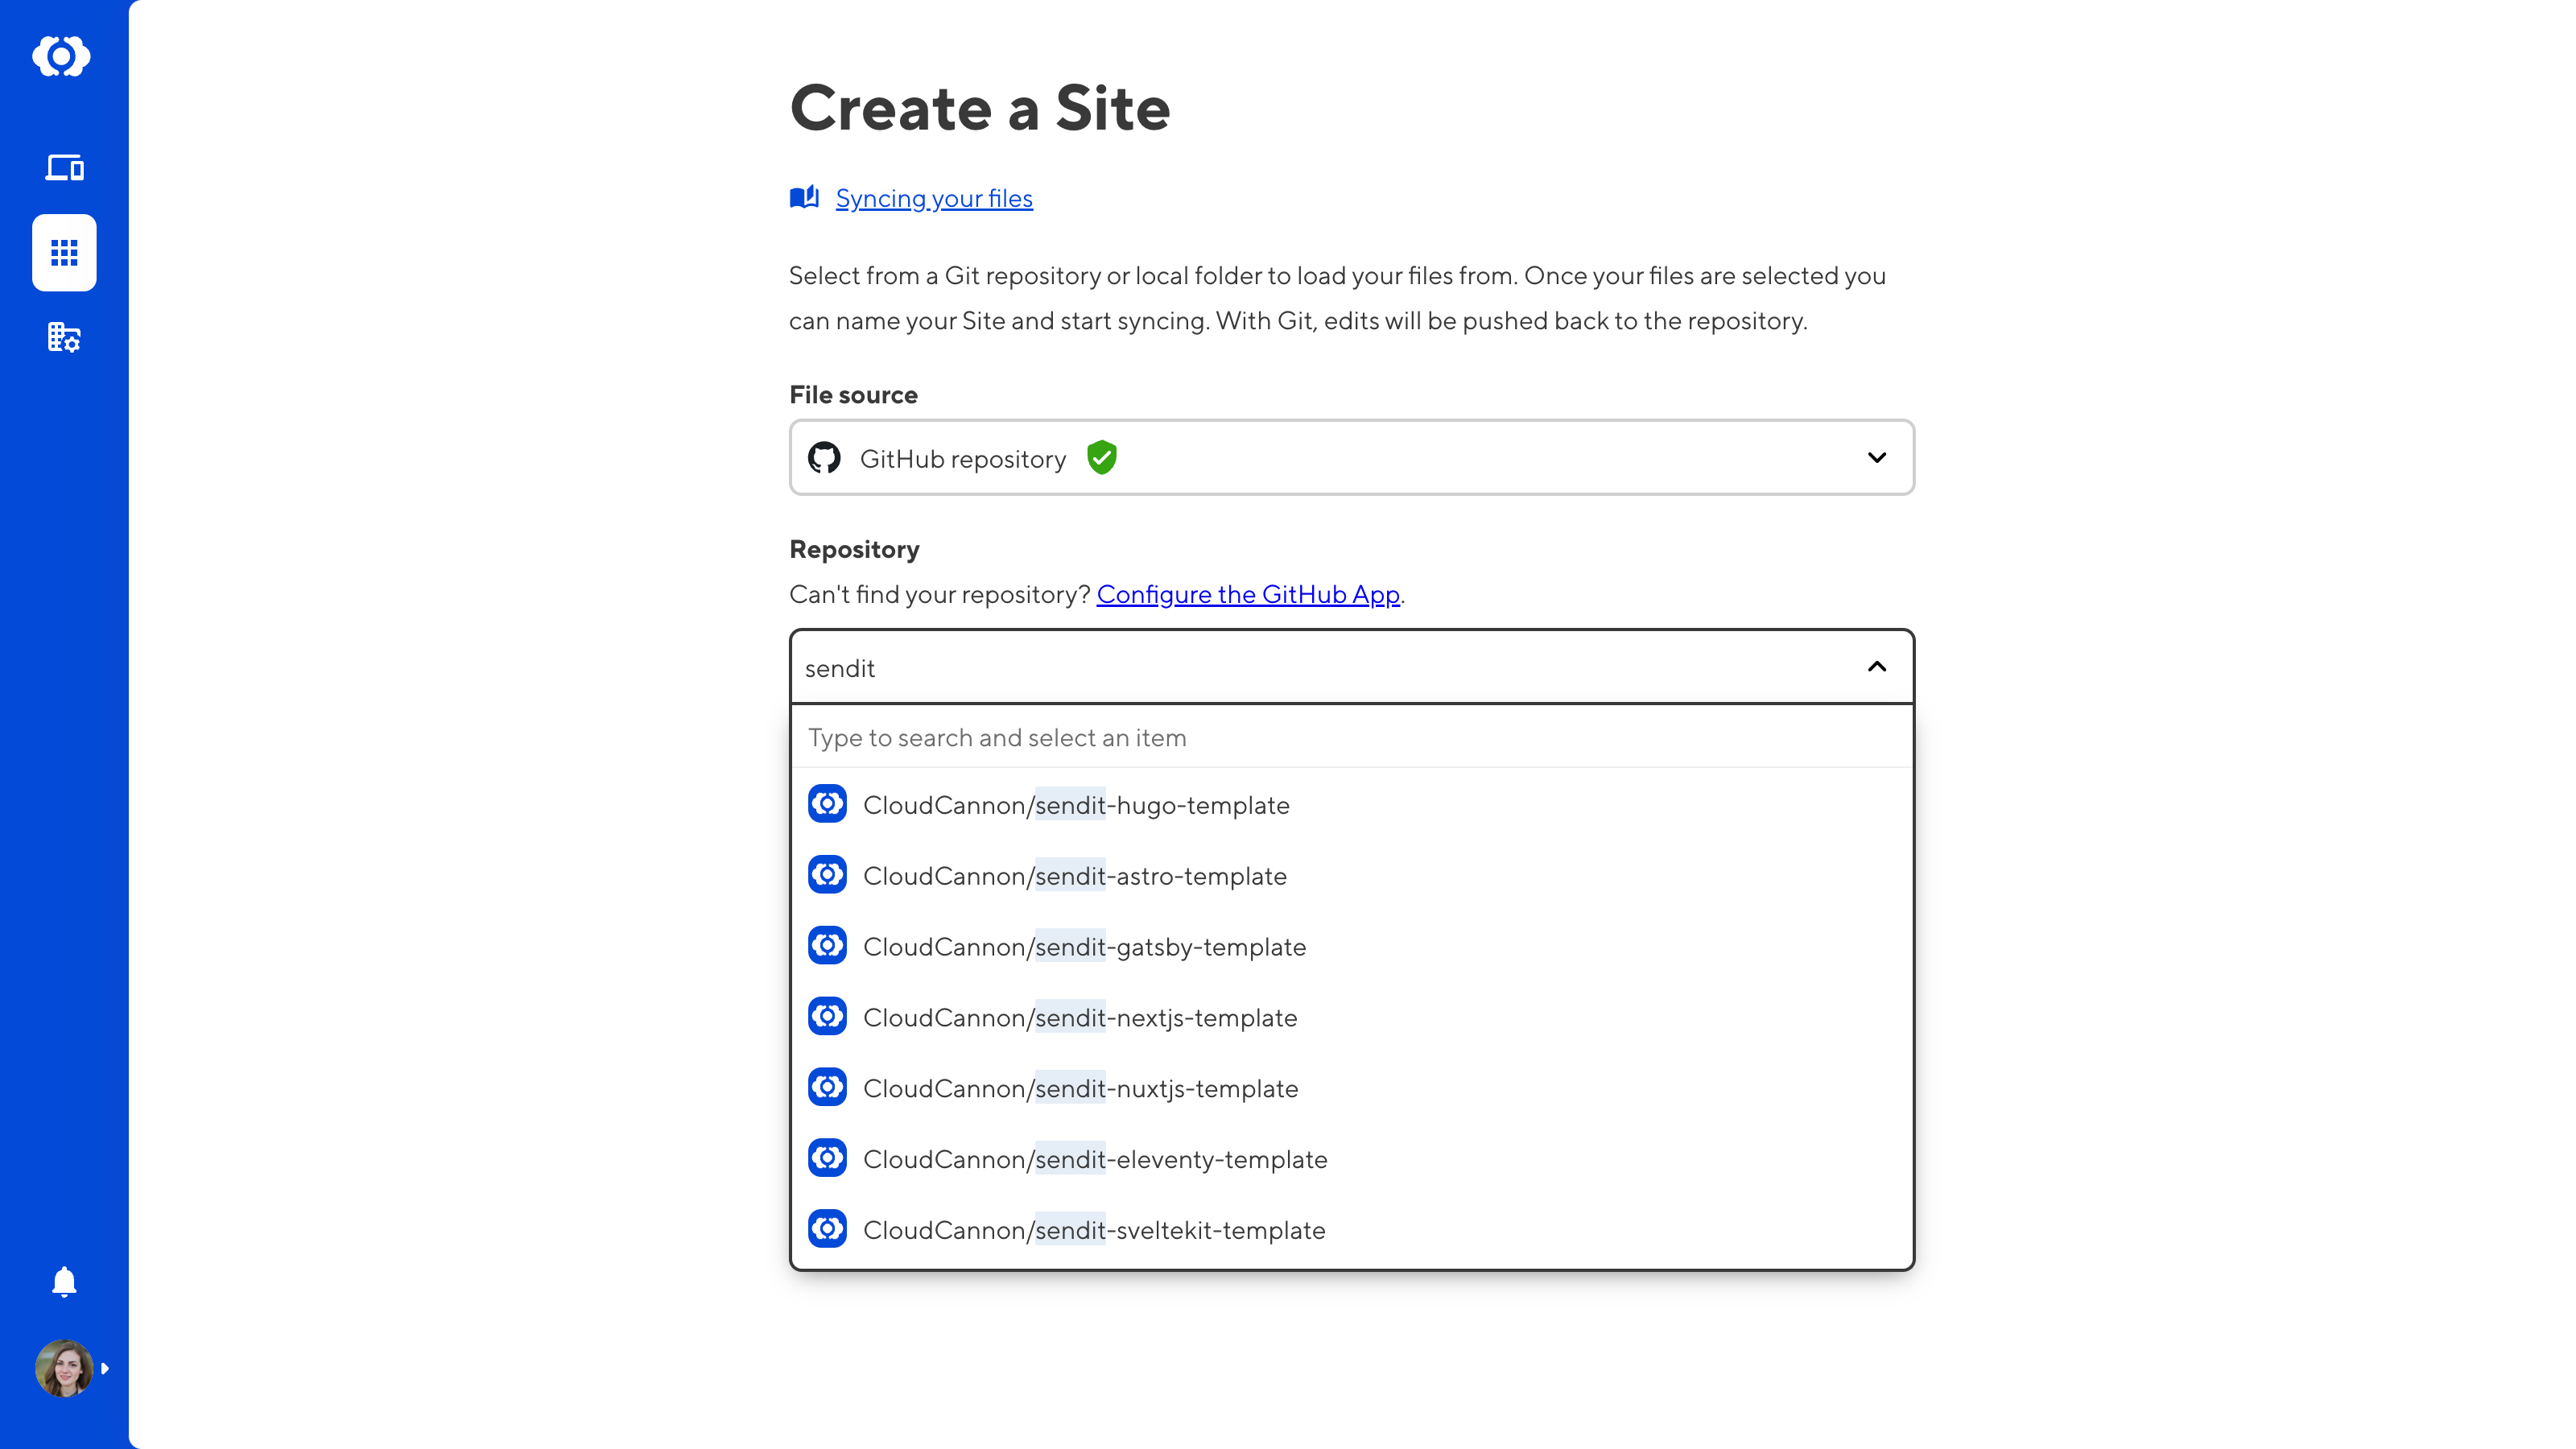
After confirming your Git provider, the Repository dropdown will list all the available repositories on your account. Select your Site repository.
As a Git-based CMS, CloudCannon uses branches for better version control and to enable you to work on updates to your Site in parallel.
Use the Branch setup radio buttons to select either Use an existing branch or Create a new branch. You will most likely want to use an existing branch, but if you want to try CloudCannon without impacting your existing work, you can create a new one.
If you select Use an existing branch, use the Branch dropdown to select a branch from your repository.
If you select Create a new branch, use the Source branch dropdown to select a branch from your repository to copy and enter a name in the new branch name field.
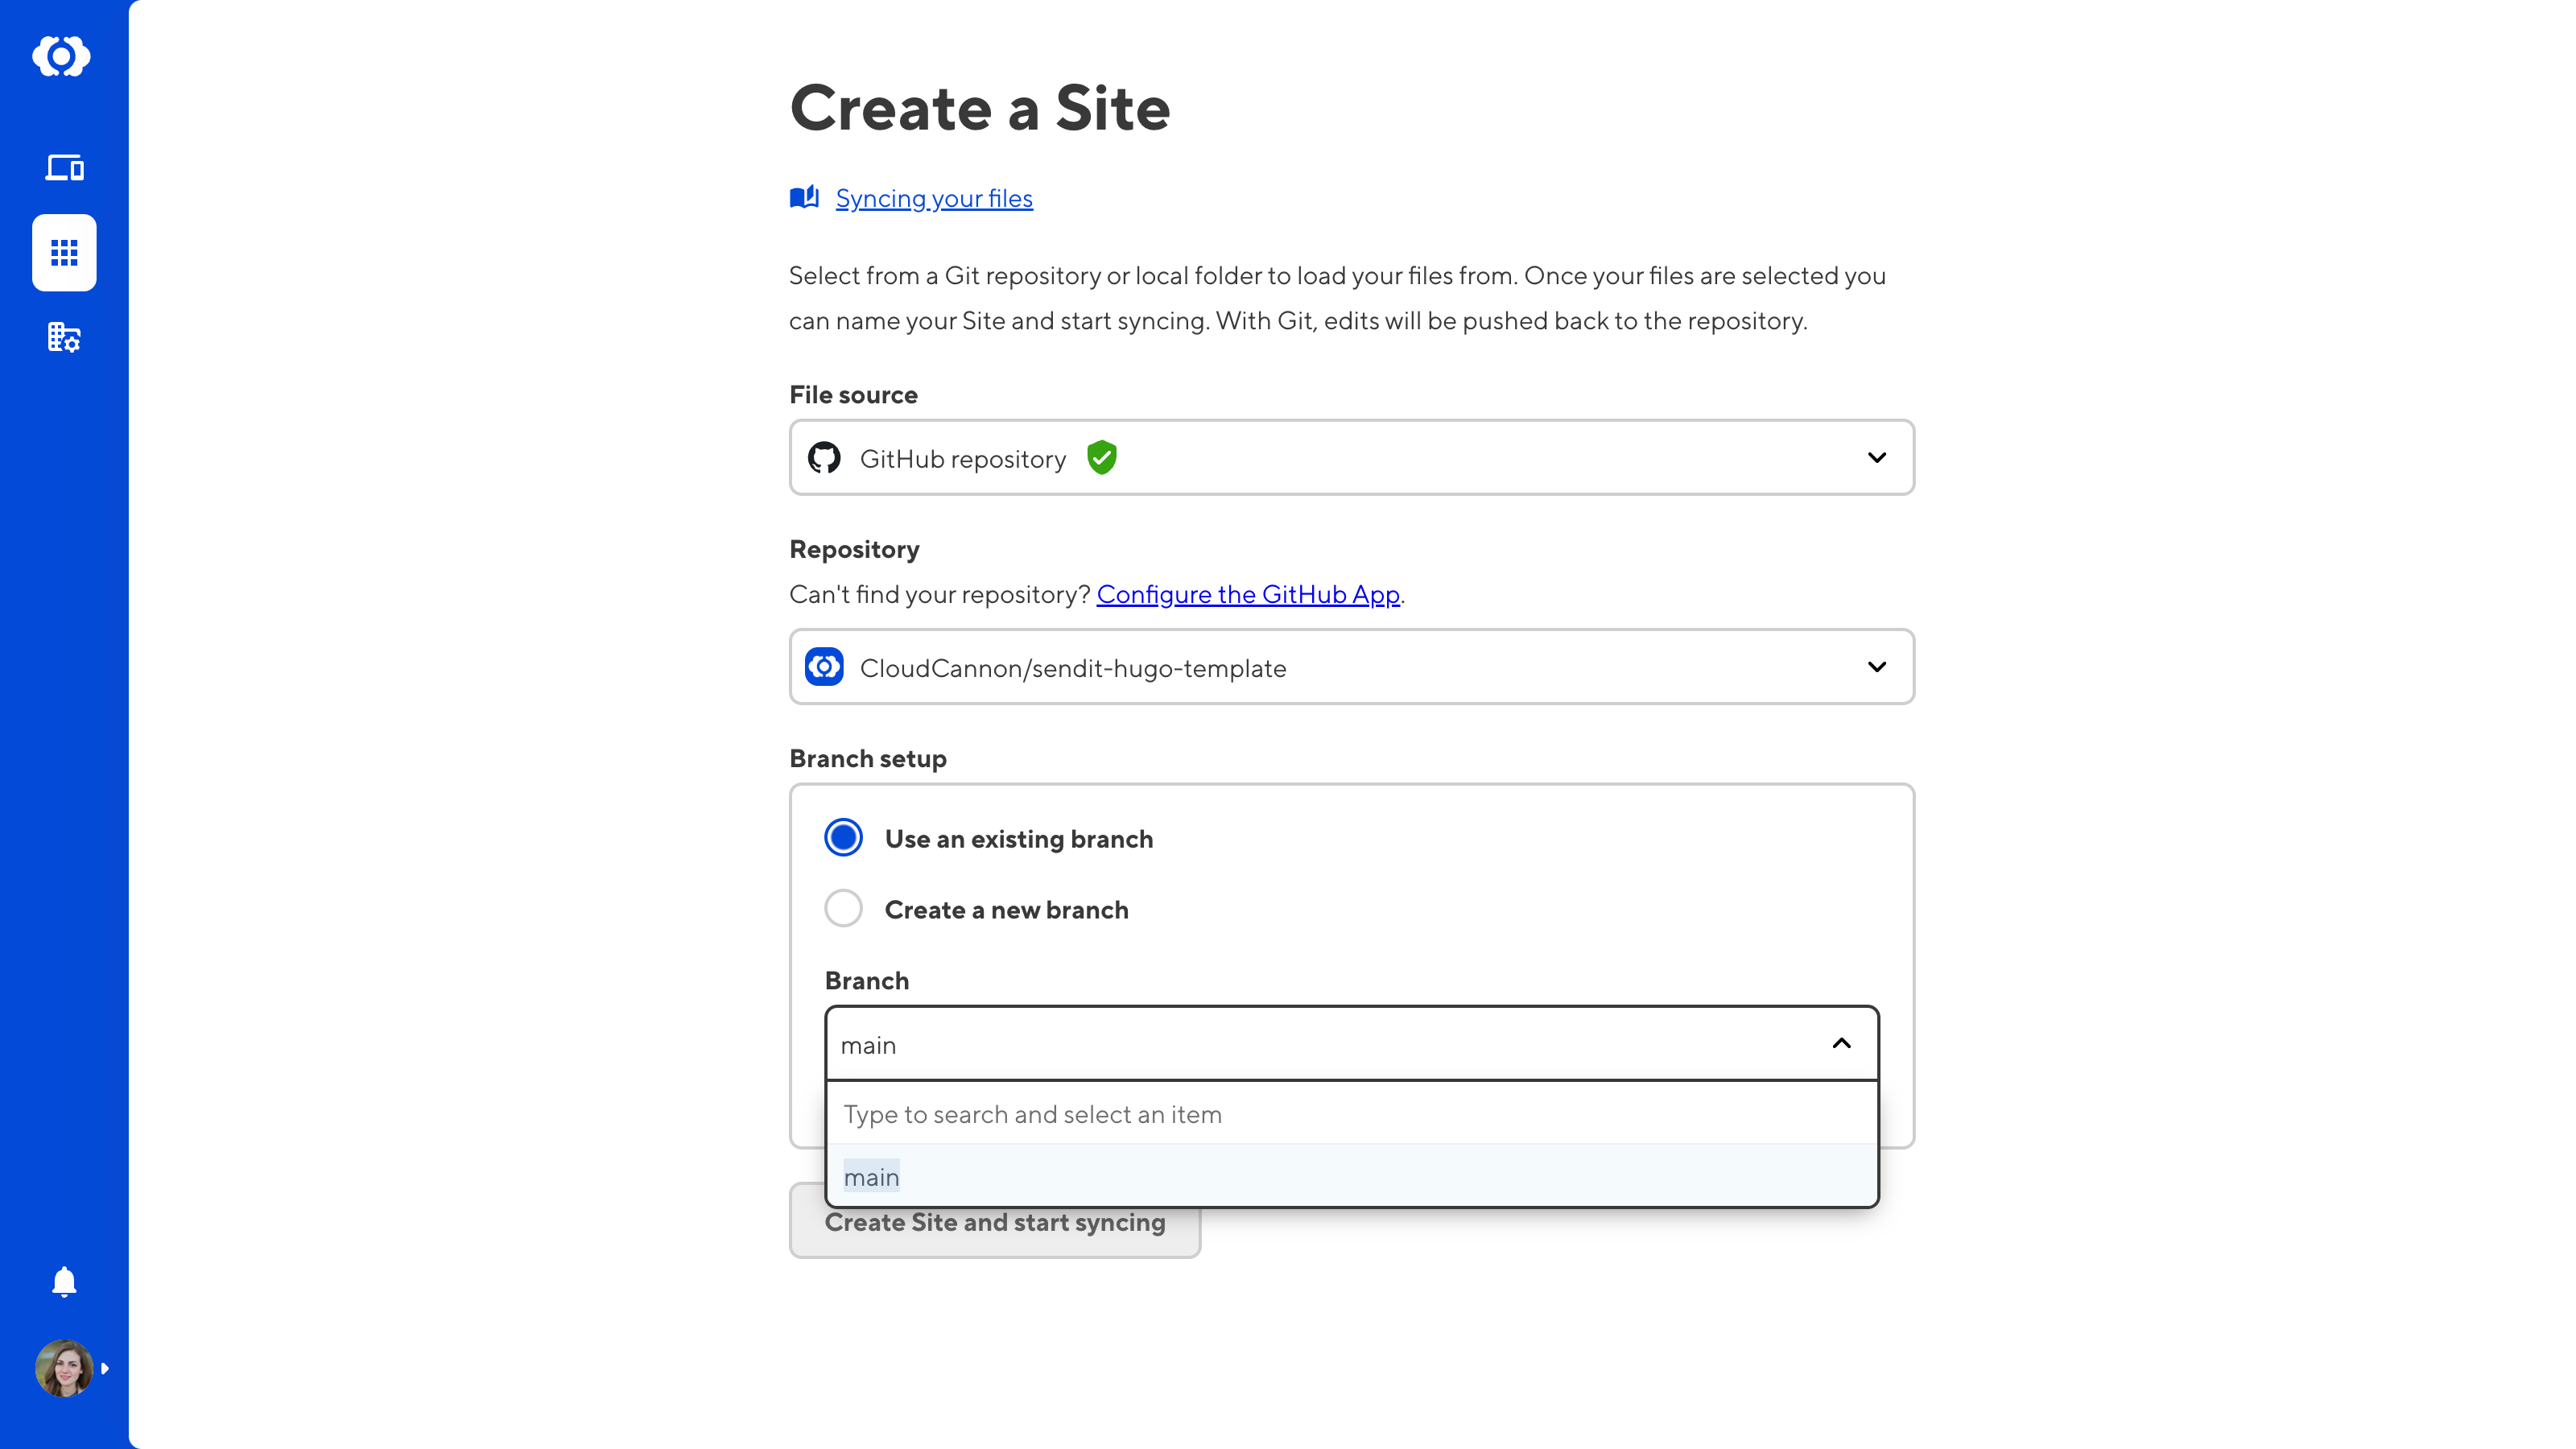
Use the Site name field to add a name for your Site. This affects what CloudCannon calls your Site and doesn't affect your repository in your Git provider.
CloudCannon will automatically populate this field with the same name as your repository, but you can choose any name for your Site.
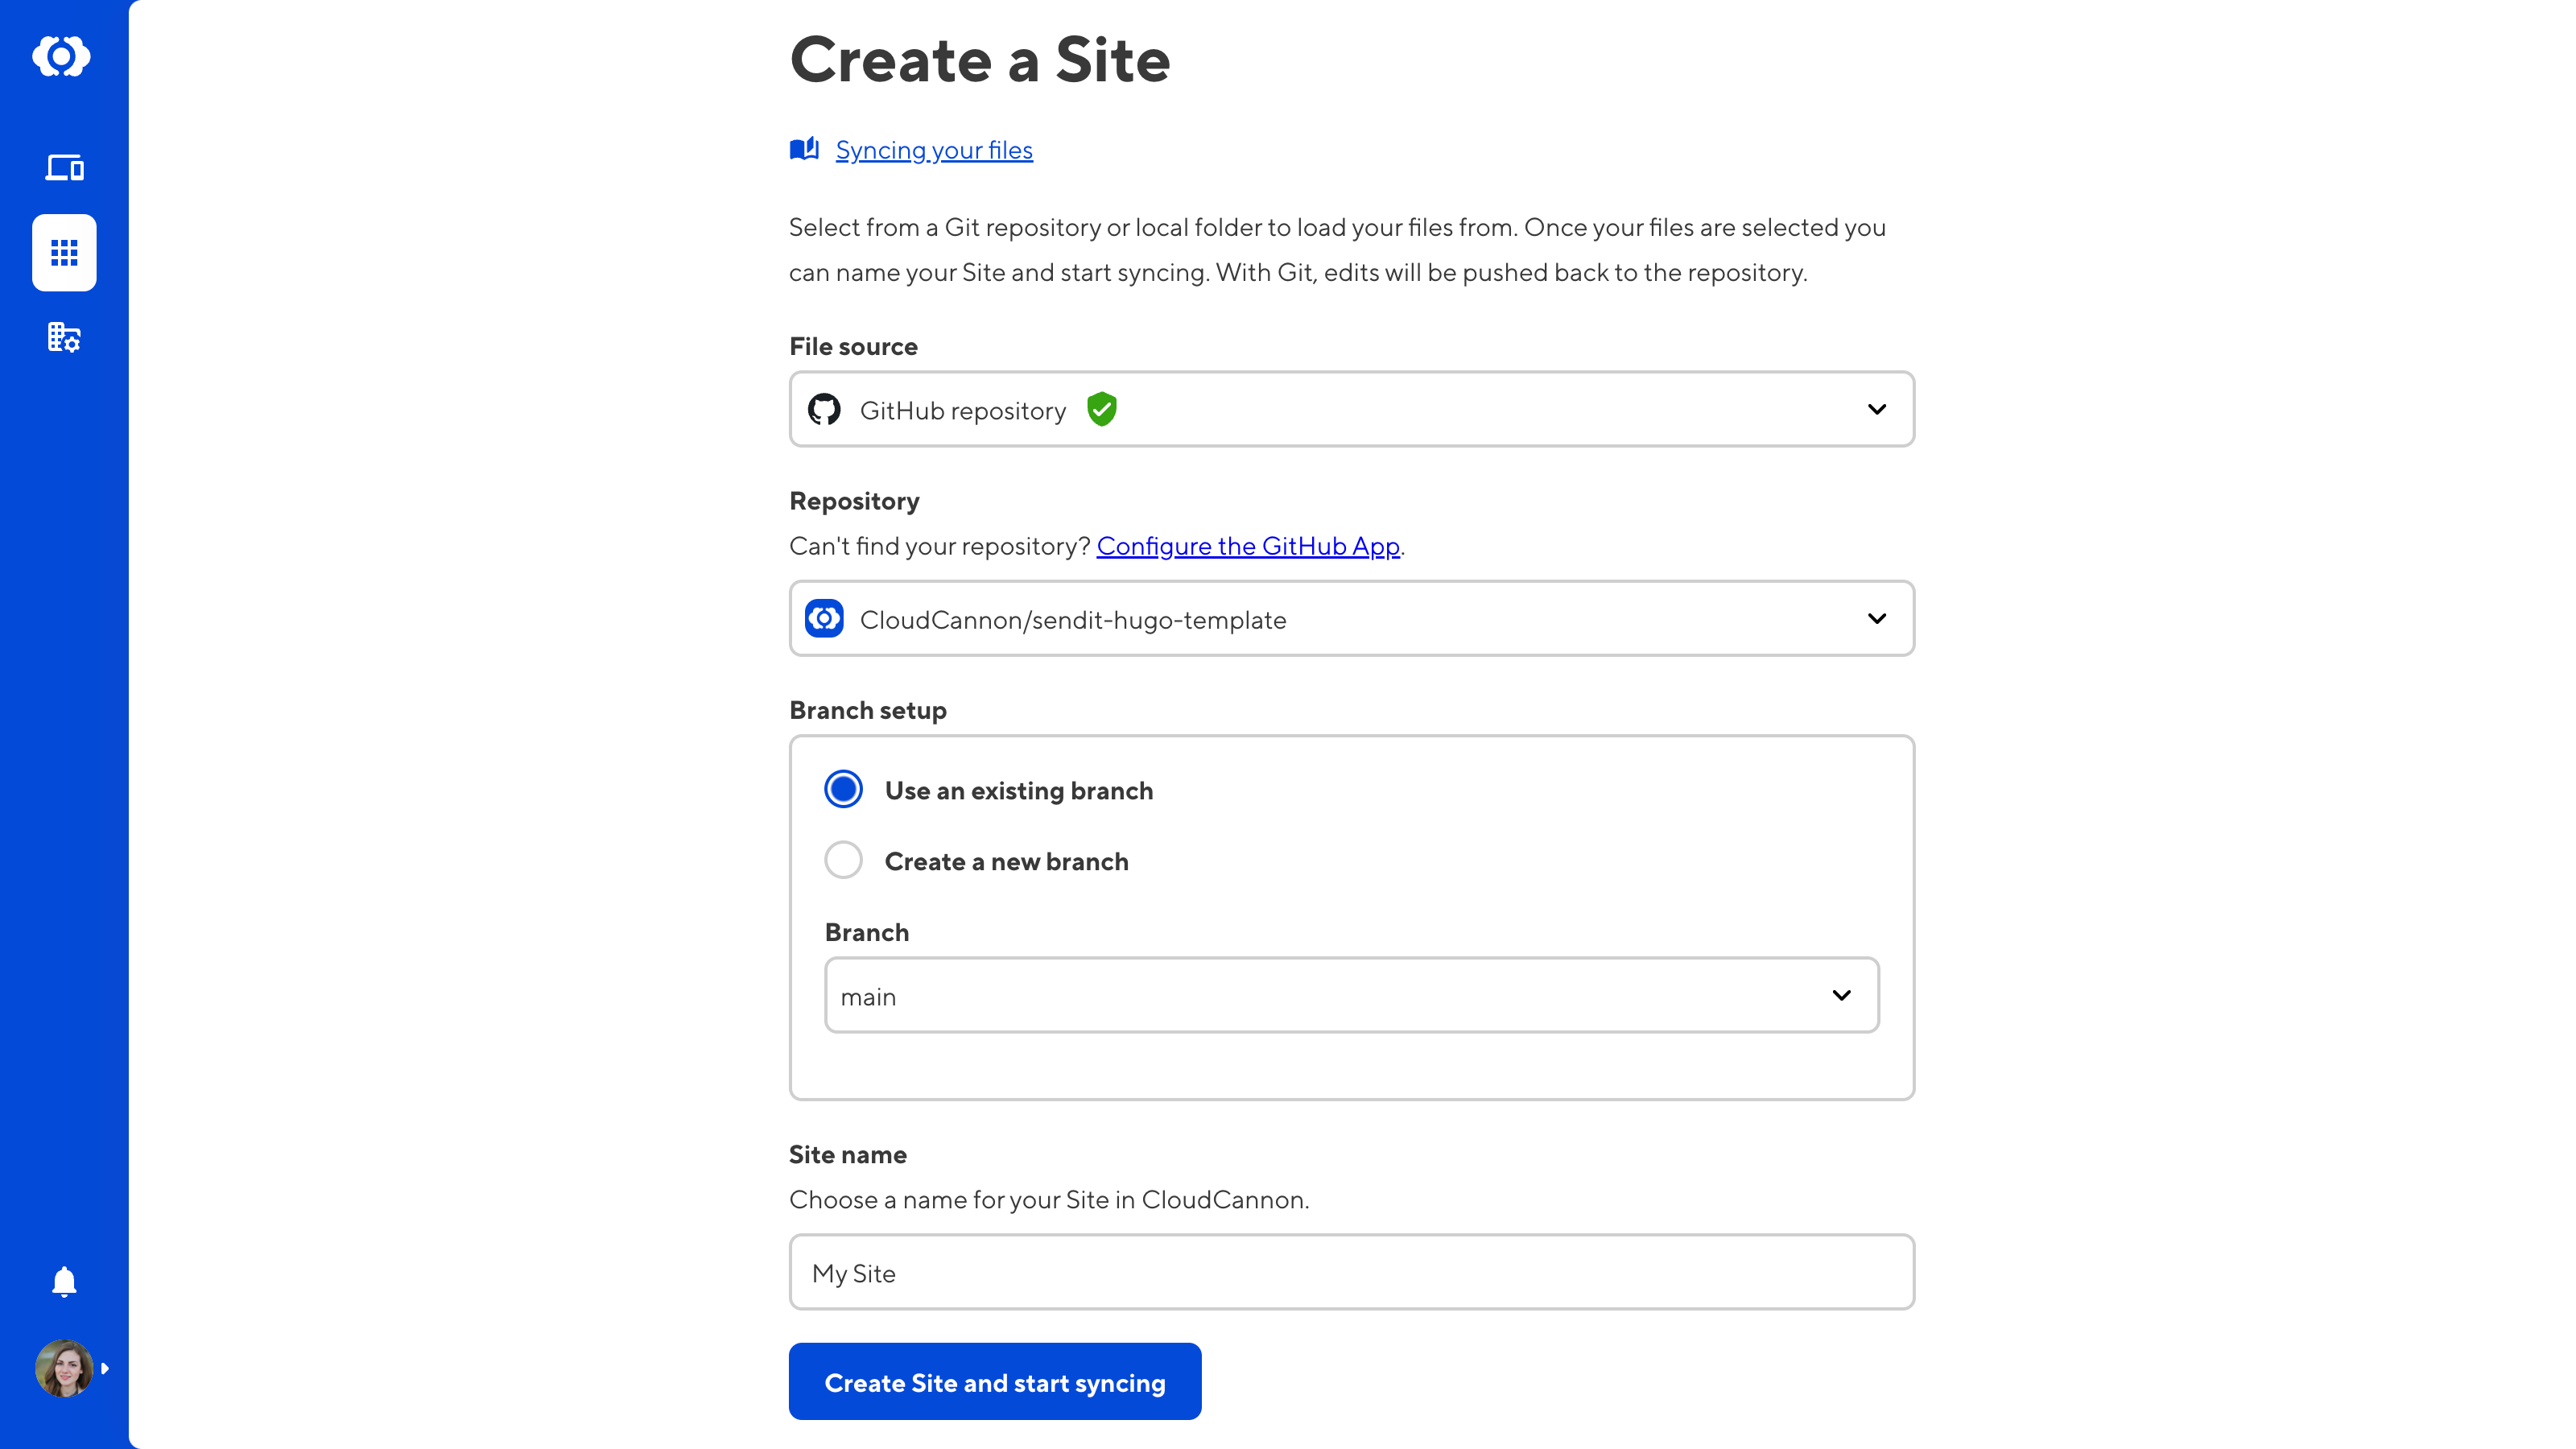
Click the Create site and start syncing button at the bottom of the page.
CloudCannon will begin syncing your files from your Git provider. This process is usually quick, but it may take a few minutes for larger repositories.