Migrating your existing Site is optional. You can use CloudCannon's live configuration and data editing feature without migrating your Site.
Migration preparation#
We recommend creating a new branch of your Site for this migration to avoid misconfiguration affecting your live Site.
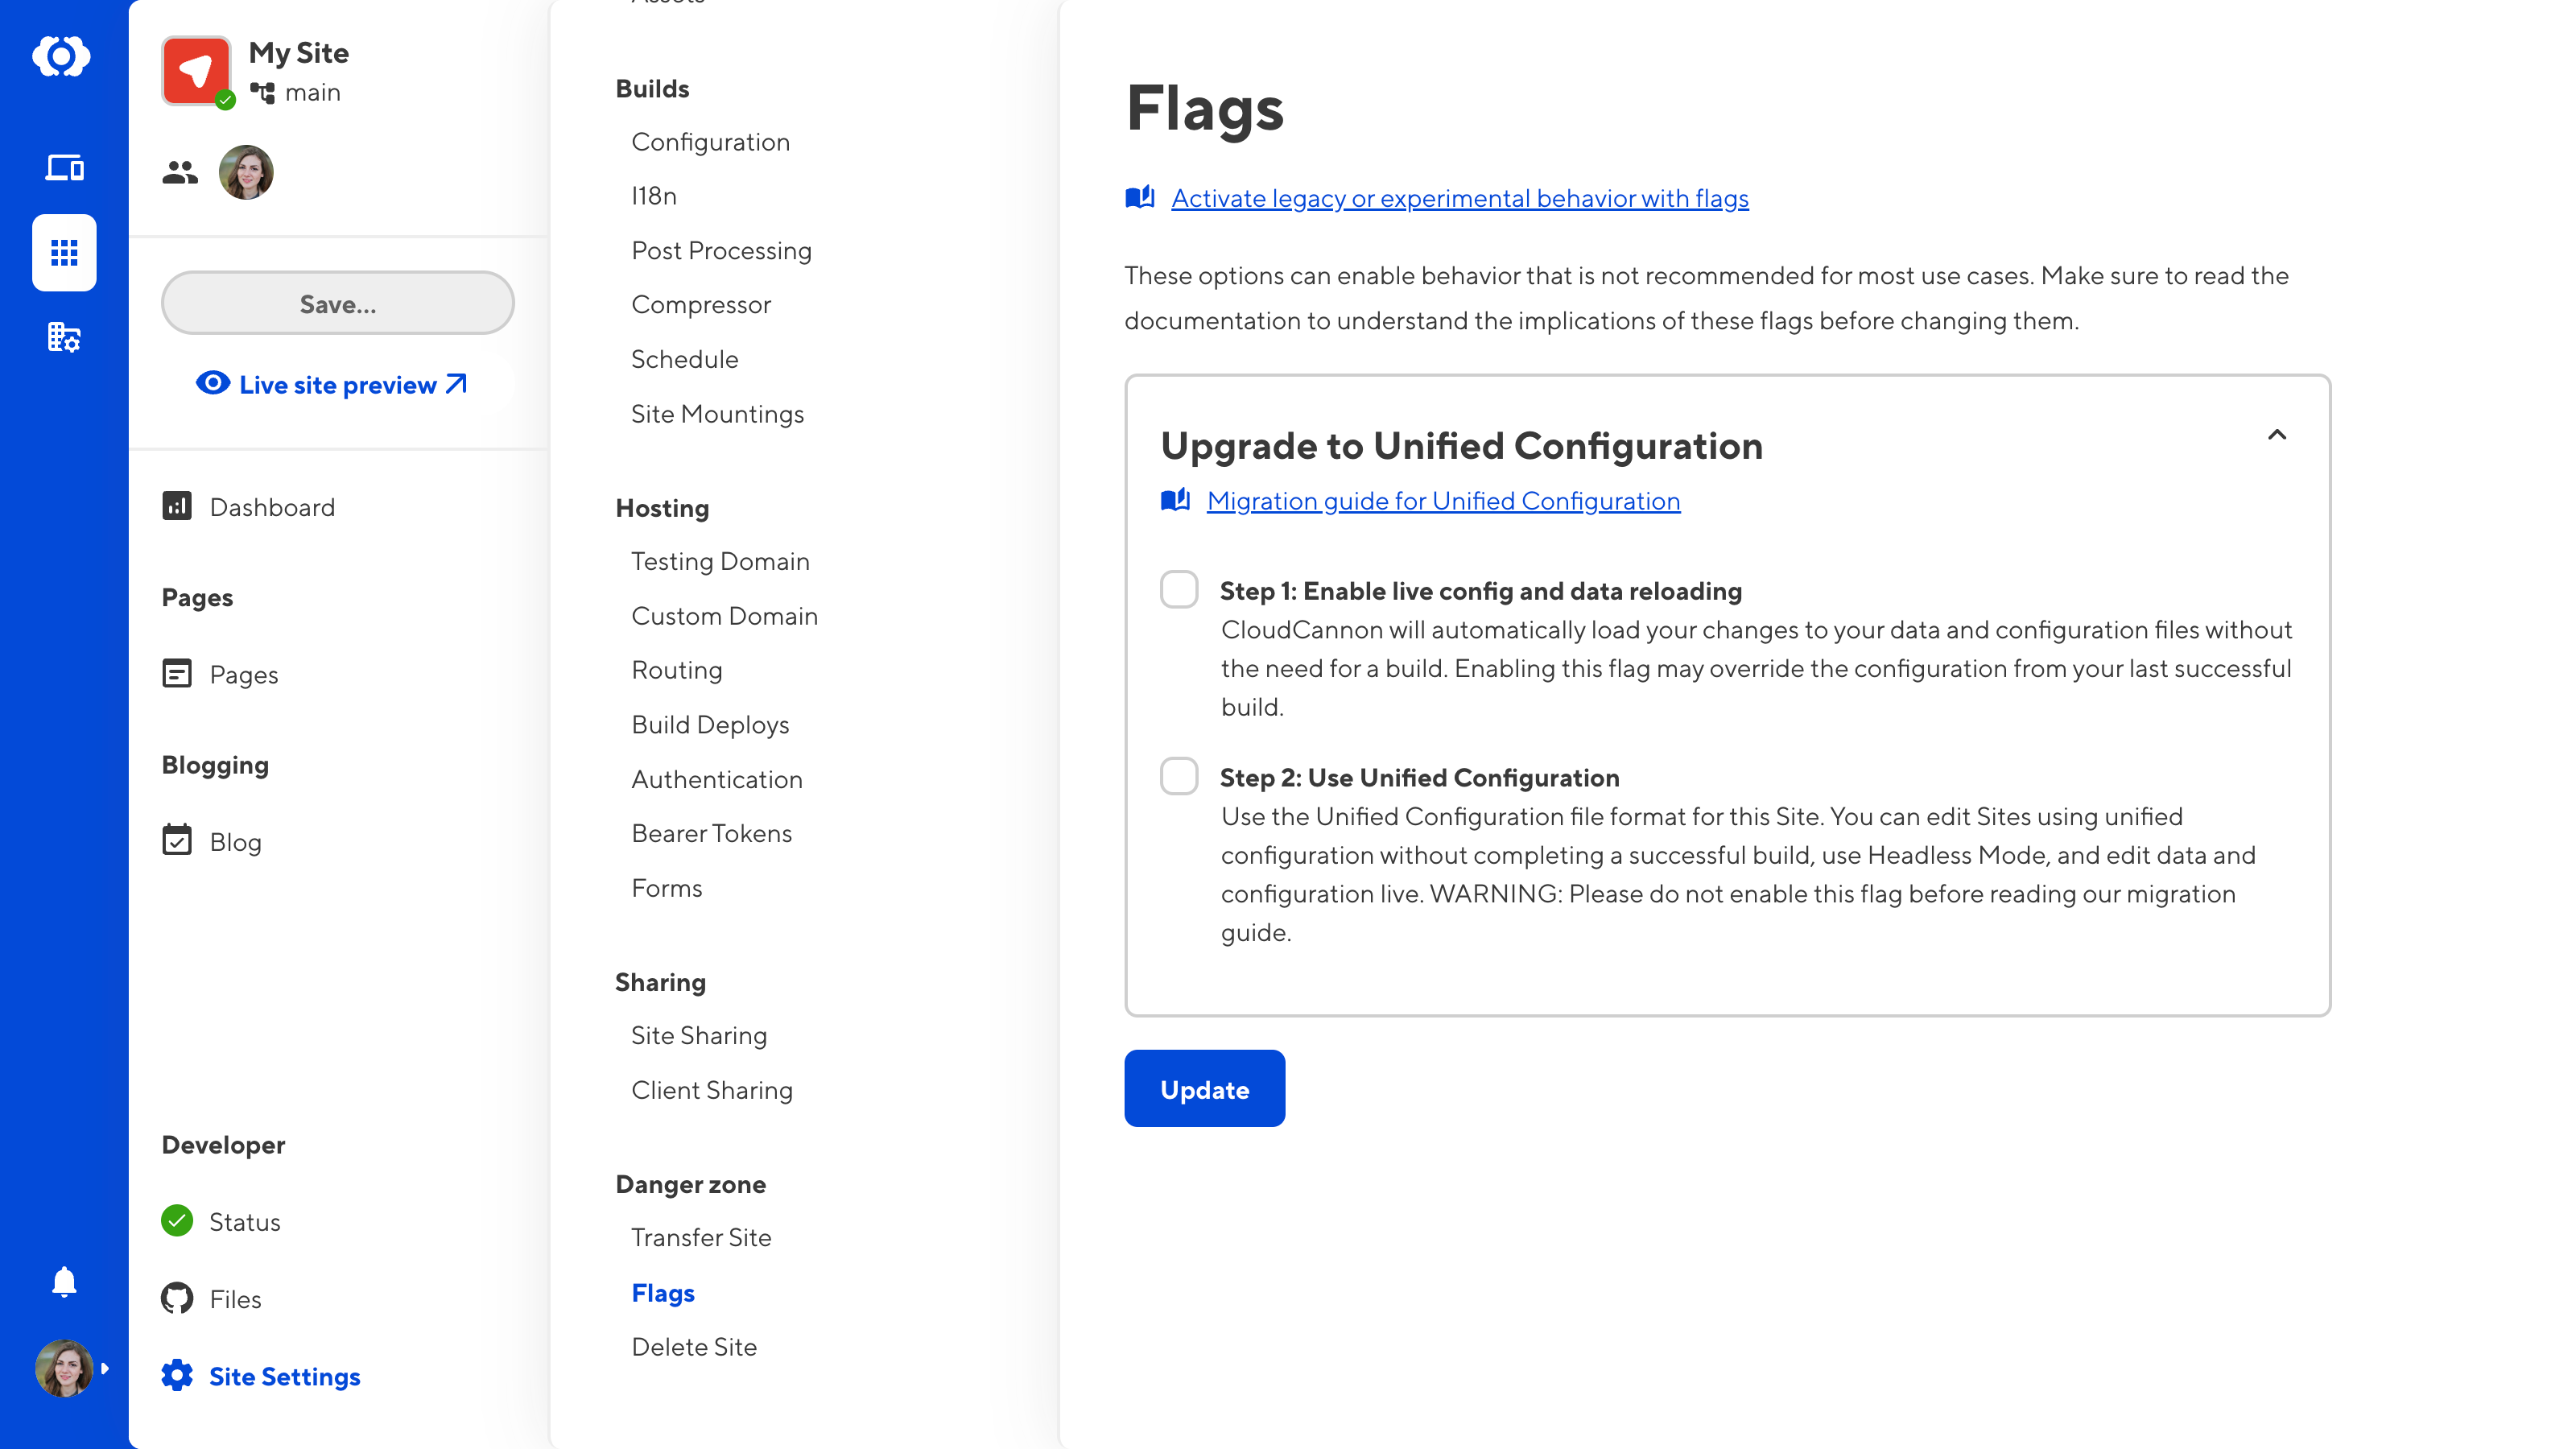
To enable Unified Configuration:
- Navigate to the Flags page under Site Settings.
- Check the Step 2: Use Unified Configuration flag under Upgrade to Unified Configuration.
- Click the Update button.
CloudCannon now expects your Site to use the Unified Configuration file format.

Checking the Use Unified Configuration flag will automatically enable the Enable live configuration and data reloading flag.
In the short term, depending on how closely your Site configuration matches the Unified Configuration format, your Site may become misconfigured in CloudCannon. Misconfiguration could look like incorrect collection appearance or nonfunctional data sets in Select and Multiselect inputs. You will resolve this temporary state once you complete this migration guide.
One source of misconfiguration is opening your CloudCannon configuration file in the configuration GUI. As CloudCannon expects your configuration file to be in the Unified Configuration format, opening the file in the configuration GUI will strip content from your file (e.g., defunct keys). We highly recommend completing your migration in CloudCannon's Source Editor or your local development environment without using the configuration GUI.
Global configuration#
You may not need to complete every step in this guide but please carefully review each step to see if it is applicable to your Site's configuration.
1. CloudCannon configuration file type#
Your CloudCannon configuration file must be a YAML (recommended) or JSON file rather than JavaScript.
2. Explicitly configure source#
This step of the migration guide is only relevant to Sites using Eleventy, Hugo, or Jekyll as their SSG.
CloudCannon no longer detects your source folder at build time. Ensure the source key is configured in your CloudCannon configuration file, especially if your Site files are in a subfolder within your repository.
3. Update your initial Site settings file#
If your Site uses an initial Site settings file, you must update the format of the file to use the build key instead of the build_configuration key. We have also added new configuration options such as mode and manually_configure_urls.
The below code shows an example initial-site-settings.json file:
{
  "ssg": "hugo",
  "mode": "hosted",
  "build": {
    "install_command": "[ -f package.json ] && npm i",
    "build_command": "hugo -b /",
    "output_path": "public",
    "environment_variables": [
      {
        "key": "HUGO_CACHEDIR",
        "value": "/usr/local/__site/src/.hugo_cache/"
      }
    ],
    "preserved_paths": "resources/,.hugo_cache/",
    "preserve_output": false,
    "include_git": false,
    "manually_configure_urls": false,
    "hugo_version": "0.128.1",
    "ruby_version": "2.7.3",
    "node_version": "18",
    "deno_version": "1.40.2"
  }
}
4. Add read permissions for your CloudCannon configuration file#
If you use Custom Permission Groups, you must add the generic permission site:files:read, or a file glob to allow read permissions for your CloudCannon configuration file to any Permission Group that needs to see the Collections in your Site Navigation.
For more information about adding permissions to a Permission Group, please read our documentation on editing Custom Permission Groups.