Text is the primary content of most websites, and also the easiest value to edit visually. You can use the Source or Text Editable Regions to edit text values. Which one you should use will depend on where the text is stored.
Text content can be in one of three places: hard-coded in a templating file (e.g., .astro, .liquid, etc), stored in a structured data key and referenced by templating in a layout, or in the body of your content files as Markup. In these three cases, you should use a Source Editable Region for the first, and a Text Editable Region for the second and third. Let's cover how to define these.
Nested text values
To avoid data-prop misconfiguration errors, it is best practice to define your Editable Regions from the root of your file first (i.e., from parent elements to child elements). If your text values are nested inside an array or a component, you should define Editable Regions for those parent elements first. We'll cover this more in later steps of this guide.
Hard-coded text values in templating files#
Standalone pages on your website, like a "Home" or "About" page, are probably generated from a single file with HTML content and templating. These pages are often landing pages, so an accurate visual editing experience is important to help your team understand exactly what a website visitor will see.
Based on the SSG your Site uses, the format and extension of your files may differ (e.g., Astro uses .astro files, Eleventy uses .liquid files), but as long as they output to an HTML file after a Site build, you can still add Editable Regions.
Let's take a look at an example.
Here is an excerpt from the "Home" page of our website. It is mainly comprised of text inside <h1>, <p>, and <ul> tags, as well as an <img> tag.
<!doctype html>
<html lang="en">
  <body>
    <main>
      <img src="/cloudcannon-logo.jpg">
      <h1>Hello!</h1>
      <p>
          Lorem ipsum dolor sit amet, consectetur adipiscing elit, sed do eiusmod tempor incididunt ut
          labore et dolore magna aliqua. Vitae ultricies leo integer malesuada nunc vel risus commodo
          viverra. Adipiscing enim eu turpis egestas pretium.
      </p>
      <p>Varius sit amet mattis vulputate enim. Habitasse platea dictumst:</p>
      <ul>
          <li>Morbi tristique senectus et netus.</li>
          <li>Id semper risus in hendrerit gravida rutrum quisque non tellus.</li>
          <li>Habitasse platea dictumst quisque sagittis purus sit amet.</li>
          <li>Tellus molestie nunc non blandit massa.</li>
          <li>Cursus vitae congue mauris rhoncus.</li>
      </ul>
    </main>
  </body>
</html>
This file outputs a webpage that looks like this:
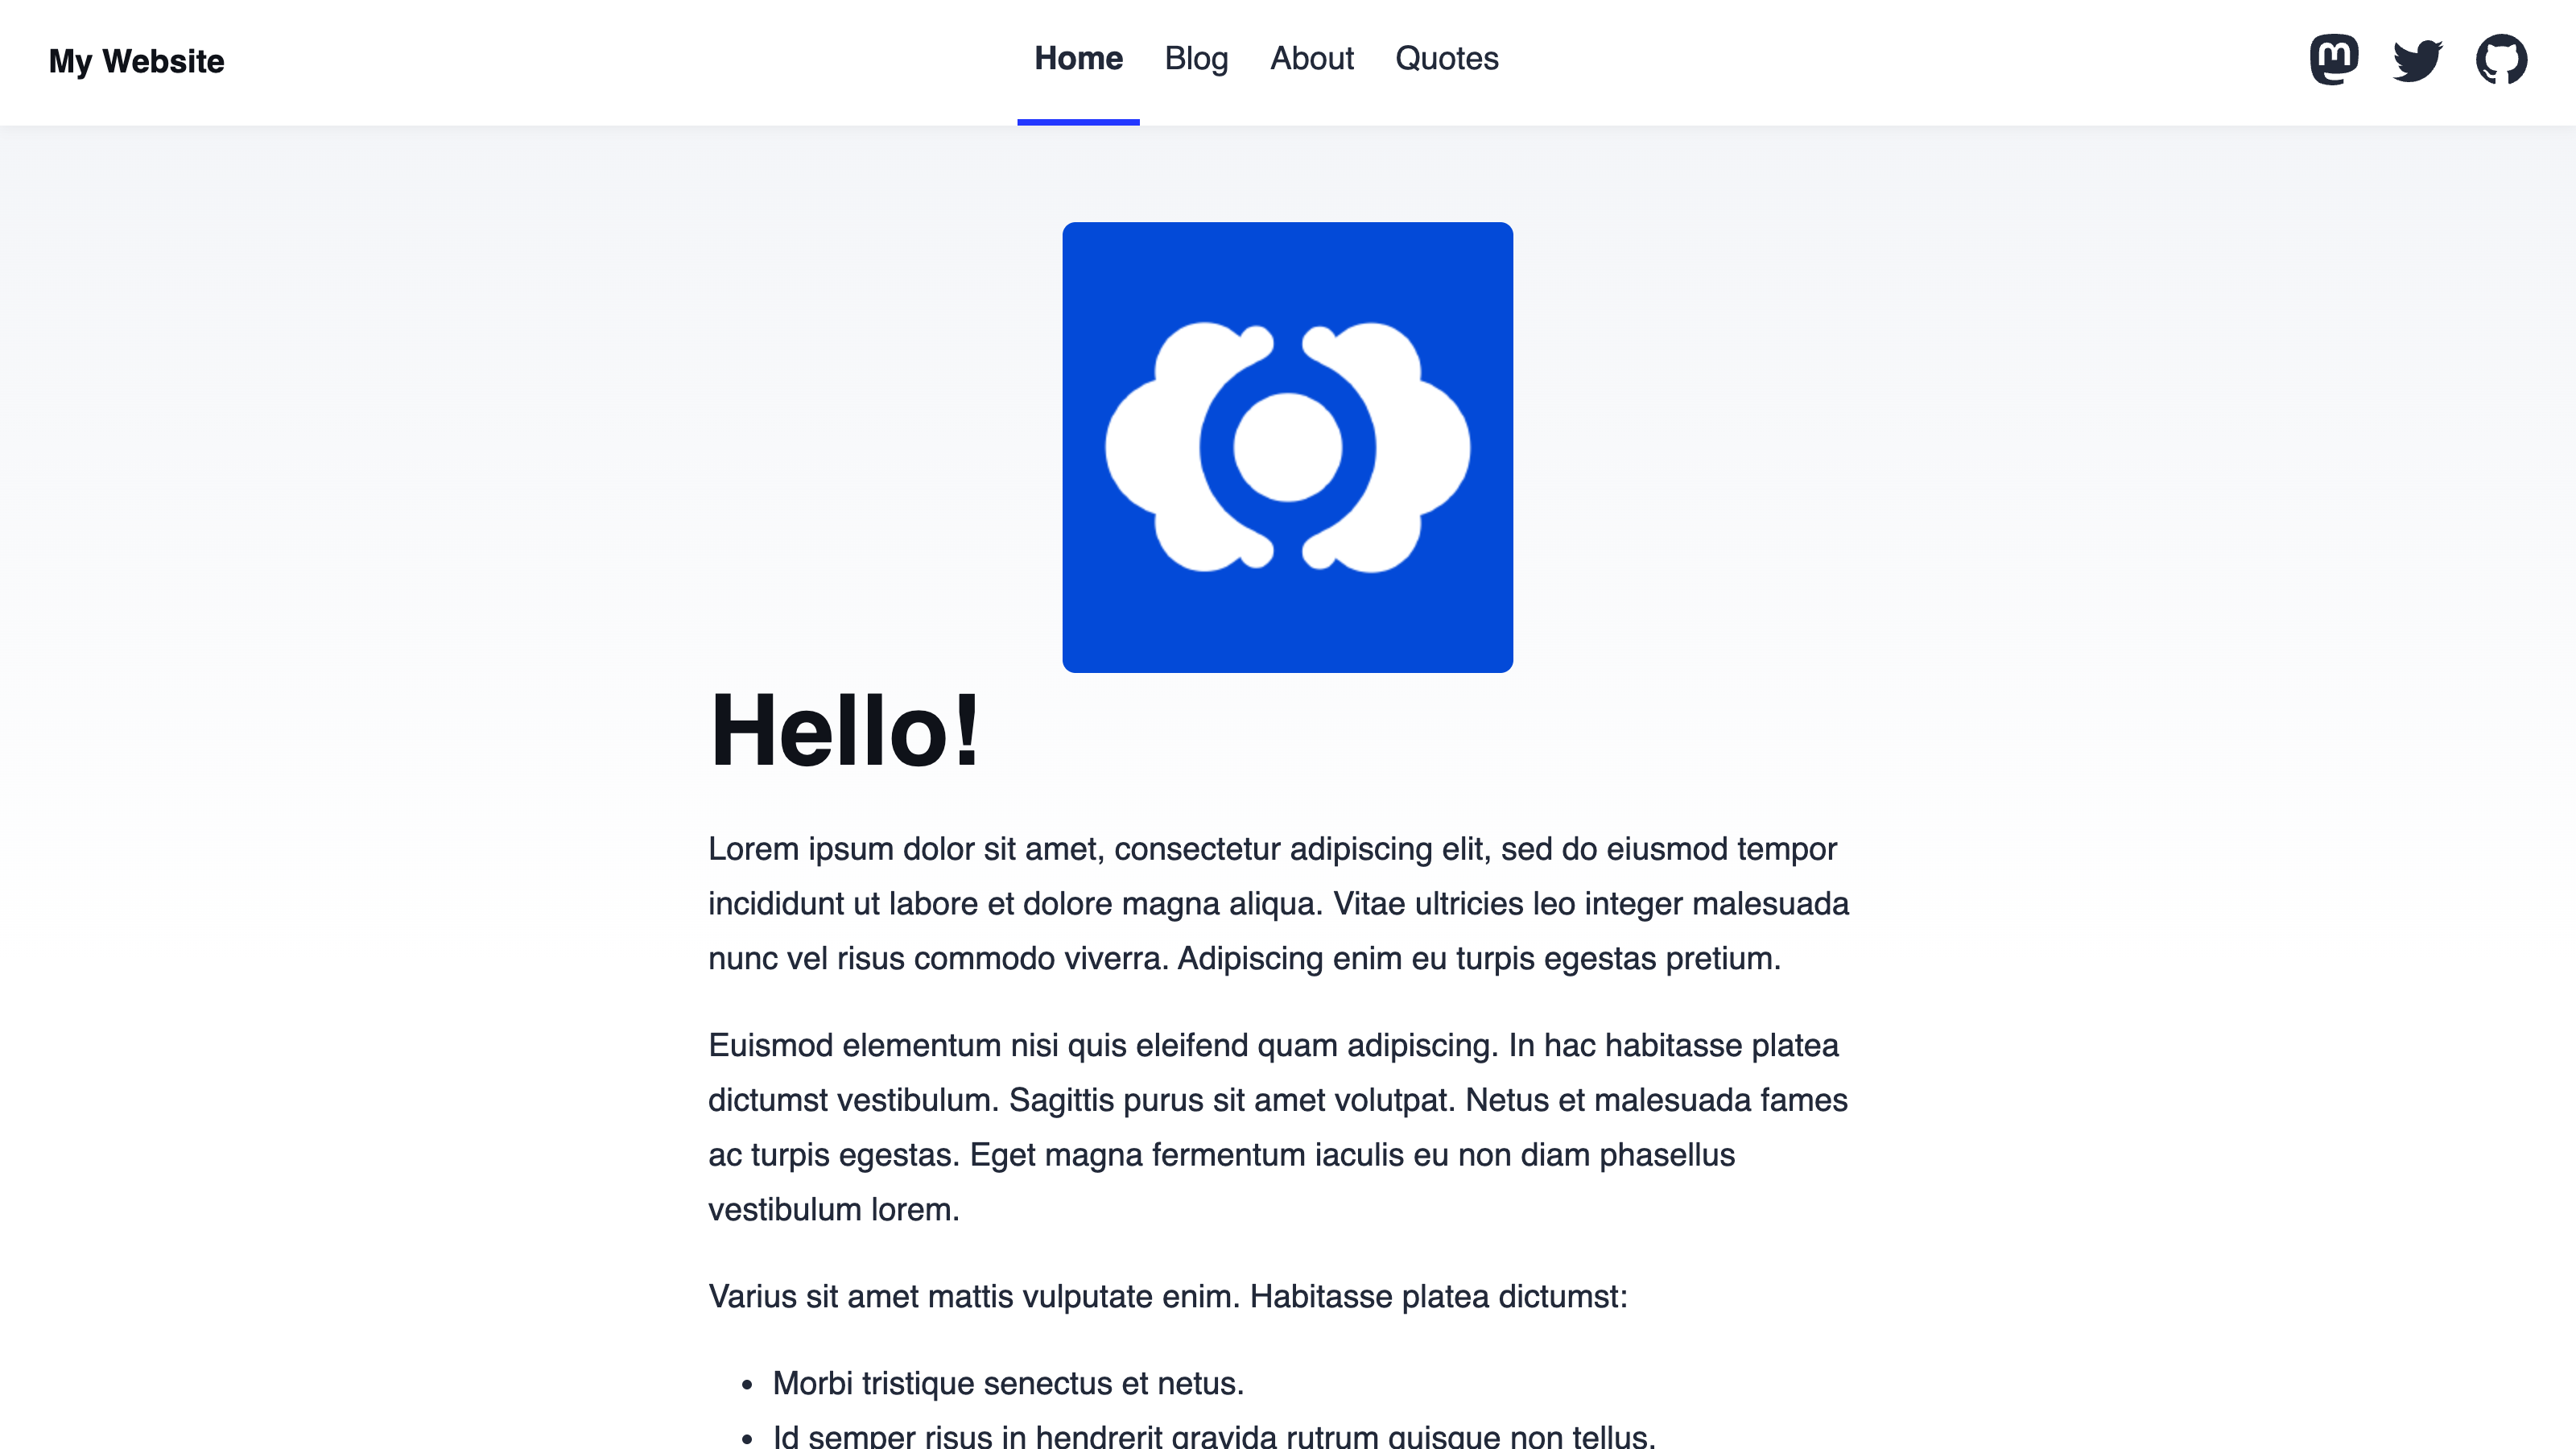
In this example, we want to visually edit the title of our Home page in the Visual Editor. We can add a Source Editable Region to our Home page.
The text value of our page title is "Hello!" which is hard-coded in an <h1> tag. To define a Source Editable Region, we can add the data-editable, data-path, and data-key HTML attributes to the <h1> DOM element.
The data-editable HTML attribute defines which type of Editable Region you want to use. To edit text values in HTML, we want this to be source. The data-path HTML attribute defines where your data is stored which, in this case, is the path of the file: /src/pages/index.astro. The data-key HTML attribute acts as a unique identifier for an Editable Region, so CloudCannon knows which value to update if you have several Editable Regions in one file. We recommend choosing a key that provides context for which area of your code an editable region affects. In this example, we'll use the value title.
Here's what our Home page code should look like:
<h1 data-editable="source" data-path="/src/pages/index.astro" data-key="title">Hello!</h1>
The data-editable attribute defines what kind of data this element contains, the data-path attribute defines the path to the file we want to edit, and the data-key attribute defines the unique identifier for this region if there are multiple regions in the file. In this case, we want a Source Editable Region, so the value of data-editable is source, we want to edit the /src/pages/index.astro file, and the unique key is title.
Once we save and rebuild our Site, CloudCannon will show a yellow Editable Region box around the <h1> tag content in the Visual Editor. When you click into the Editable Region, you can type inline to change the value of the <h1> tag.
Text values in structured data#
Many of the files on your website are likely to be content files, containing structured data keys (e.g., title, publish_date, author) in the front matter which populate templating in a layout file at build time.
Let's take a look at an example.
This file is a blog post, containing structured data keys for title and author in the front matter, and Markdown content in the body of the file.
---
title: 'First post'
author: 'C. Kent'
heroImage: '../../assets/blog-banner.jpg'
heroImageTitle: 'Blog gradient'
heroImageAlt: 'An eye-catching color gradient banner.'
---

Lorem ipsum dolor sit amet, consectetur adipiscing elit, sed do eiusmod tempor incididunt ut labore et dolore magna aliqua. Vitae ultricies leo integer malesuada nunc vel risus commodo viverra.
Here is an excerpt from our blog layout file, containing HTML for the blog webpage and templating to populate elements with the values from each blog file.
---
const { title, author } = Astro.props;
---
<article>
    <div class="prose">
        <div class="title">
            <h1>{title}</h1>
            <p>By: {author}</p>
            <hr />
        </div>
        <slot />
    </div>
</article>
This <h1> element surrounds the template value {title}. This value comes from the title key in the front matter of a blog file.
This <p> element surrounds the template value {author}, prepended by the plain text "By:". This value comes from the author key in the front matter of a blog file.
The file type for your layouts will be different depending on your SSG (e.g., Astro uses .astro files, Eleventy uses .liquid files). You can add Editable Regions to any of these files as long as they output to an HTML file after a Site build.
Together, these files output a webpage that looks like this:
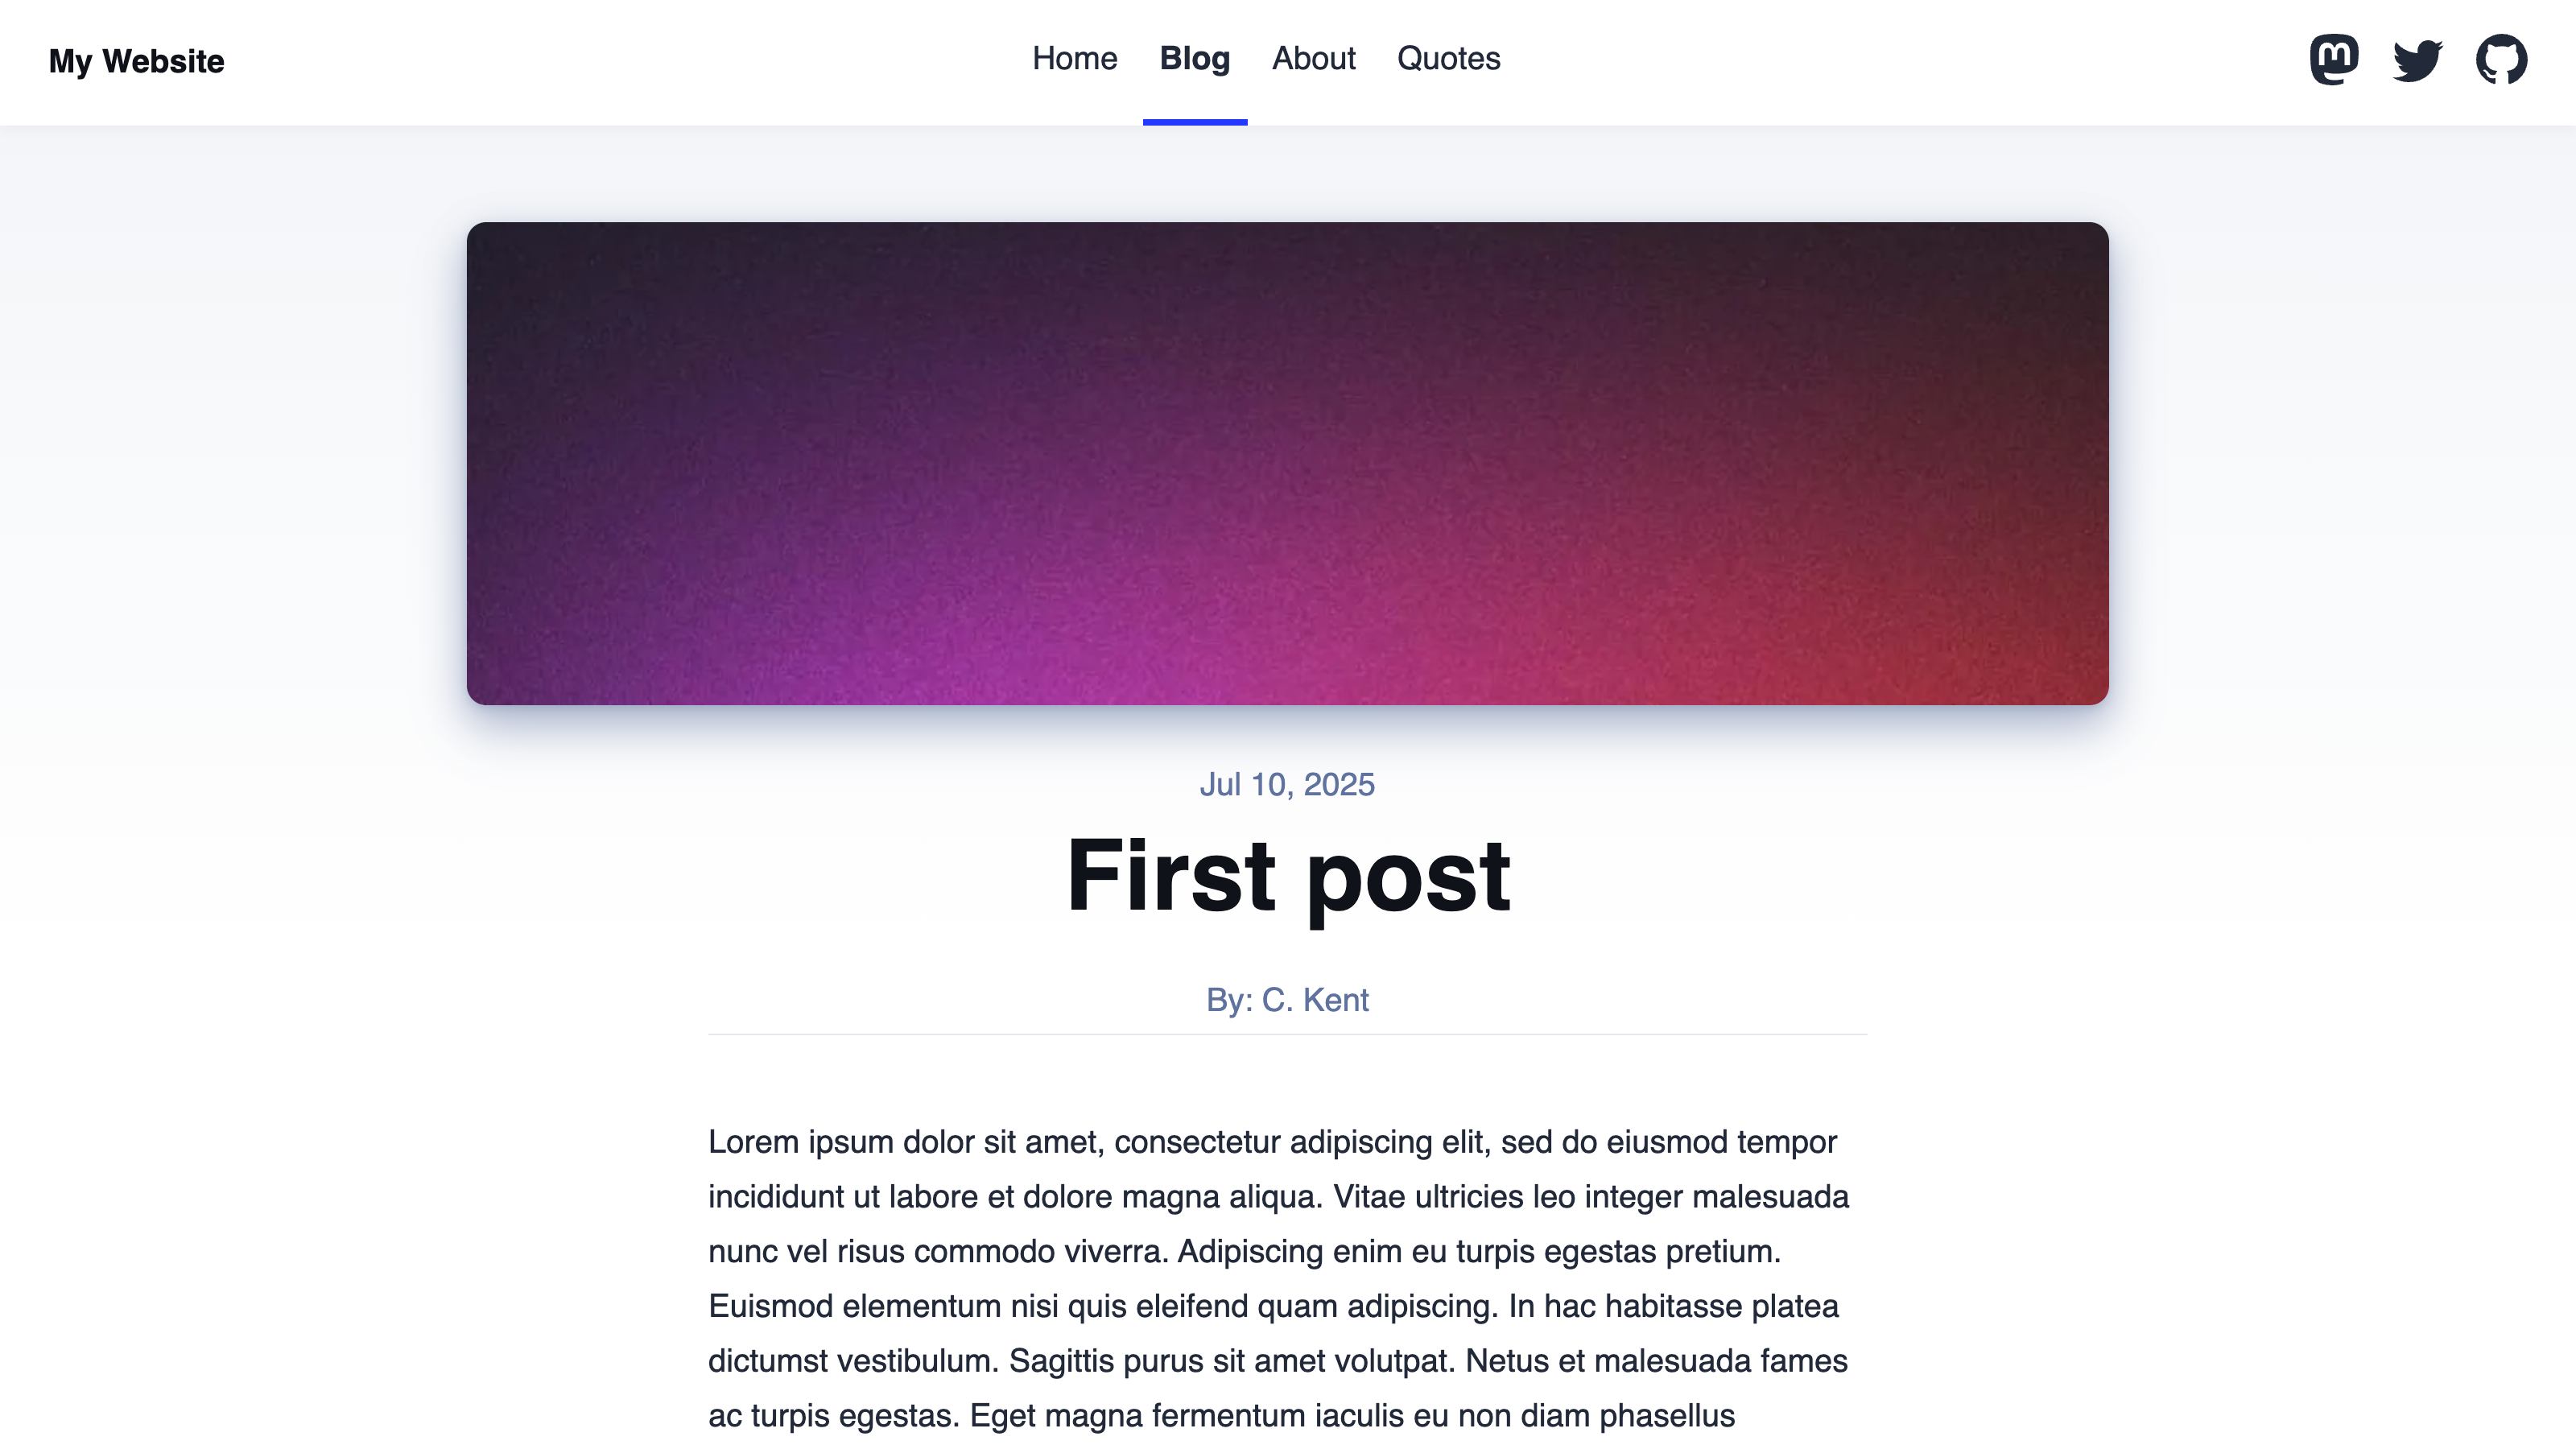
In this example, each blog file contains two text front matter keys we want to visually edit: title and author. We can add Text Editable Regions to the blog layout file to enable visual editing for these text values in the entire Collection.
Let's start with title.
The title key in the front matter of each blog file populates the {title} templating field in our blog layout, which is inside an <h1> tag. To define a Text Editable Region, we can add the data-editable and data-prop HTML attributes to the <h1> DOM element. In this case, the value of data-editable should be text, as we want to edit a text value stored outside of the blog layout. The data-prop HTML attribute defines where your data is stored which, in this case, will be the title front matter key.
Here's what our blog layout code should look like:
<h1 data-editable="text" data-prop="title">{title}</h1>
The data-editable attribute defines what kind of data this element contains, and the data-prop attribute defines the path to the data we want to edit. In this case, we want a Text Editable Region, so the value of data-editable is text, and we want to edit the title structured data key in the file front matter.
Adding a Text Editable Region for {author} is slightly more complicated.
The author key in the front matter of each blog file populates the {author} templating field in our blog layout, which is inside an <p> tag. The {author} templating field is not the only content inside the <p> tag: the plain text "By:" prepends the author value. If we added data-editable="text" data-prop="author" to the <p> tag in our blog layout, the Visual Editor would re-render the field to only show the value of author, hiding the plain text.
It is important to note that Text Editable Regions don't modify the code in your layout file, so the "By:" plain text is not destroyed. Instead, they update the value of the front matter key and re-render the webpage preview in the Visual Editor. This leads to a mismatch in the appearance of the built Site, which includes "By:" before the author name, and the preview in the Visual Editor, which would not.
To avoid this issue, we can use the web component <editable-text> instead. The <editable-text> web component replaces the need for the data-editable="text" attribute, telling CloudCannon what type of data we are editing. This is useful if you want to edit an element that can't take attributes, or a specific section of a string.
We can add the data-prop="author" attribute to this web component.
Here's what our blog layout code should look like:
<p>By: <editable-text data-prop="author">{author}</editable-text></p>
The <editable-text> web component defines what kind of data this element contains, and the data-prop attribute defines the path to the data we want to edit. In this case, we used the web component to wrap the {author} templating specifically, and we want to edit the author structured data key in the file front matter.
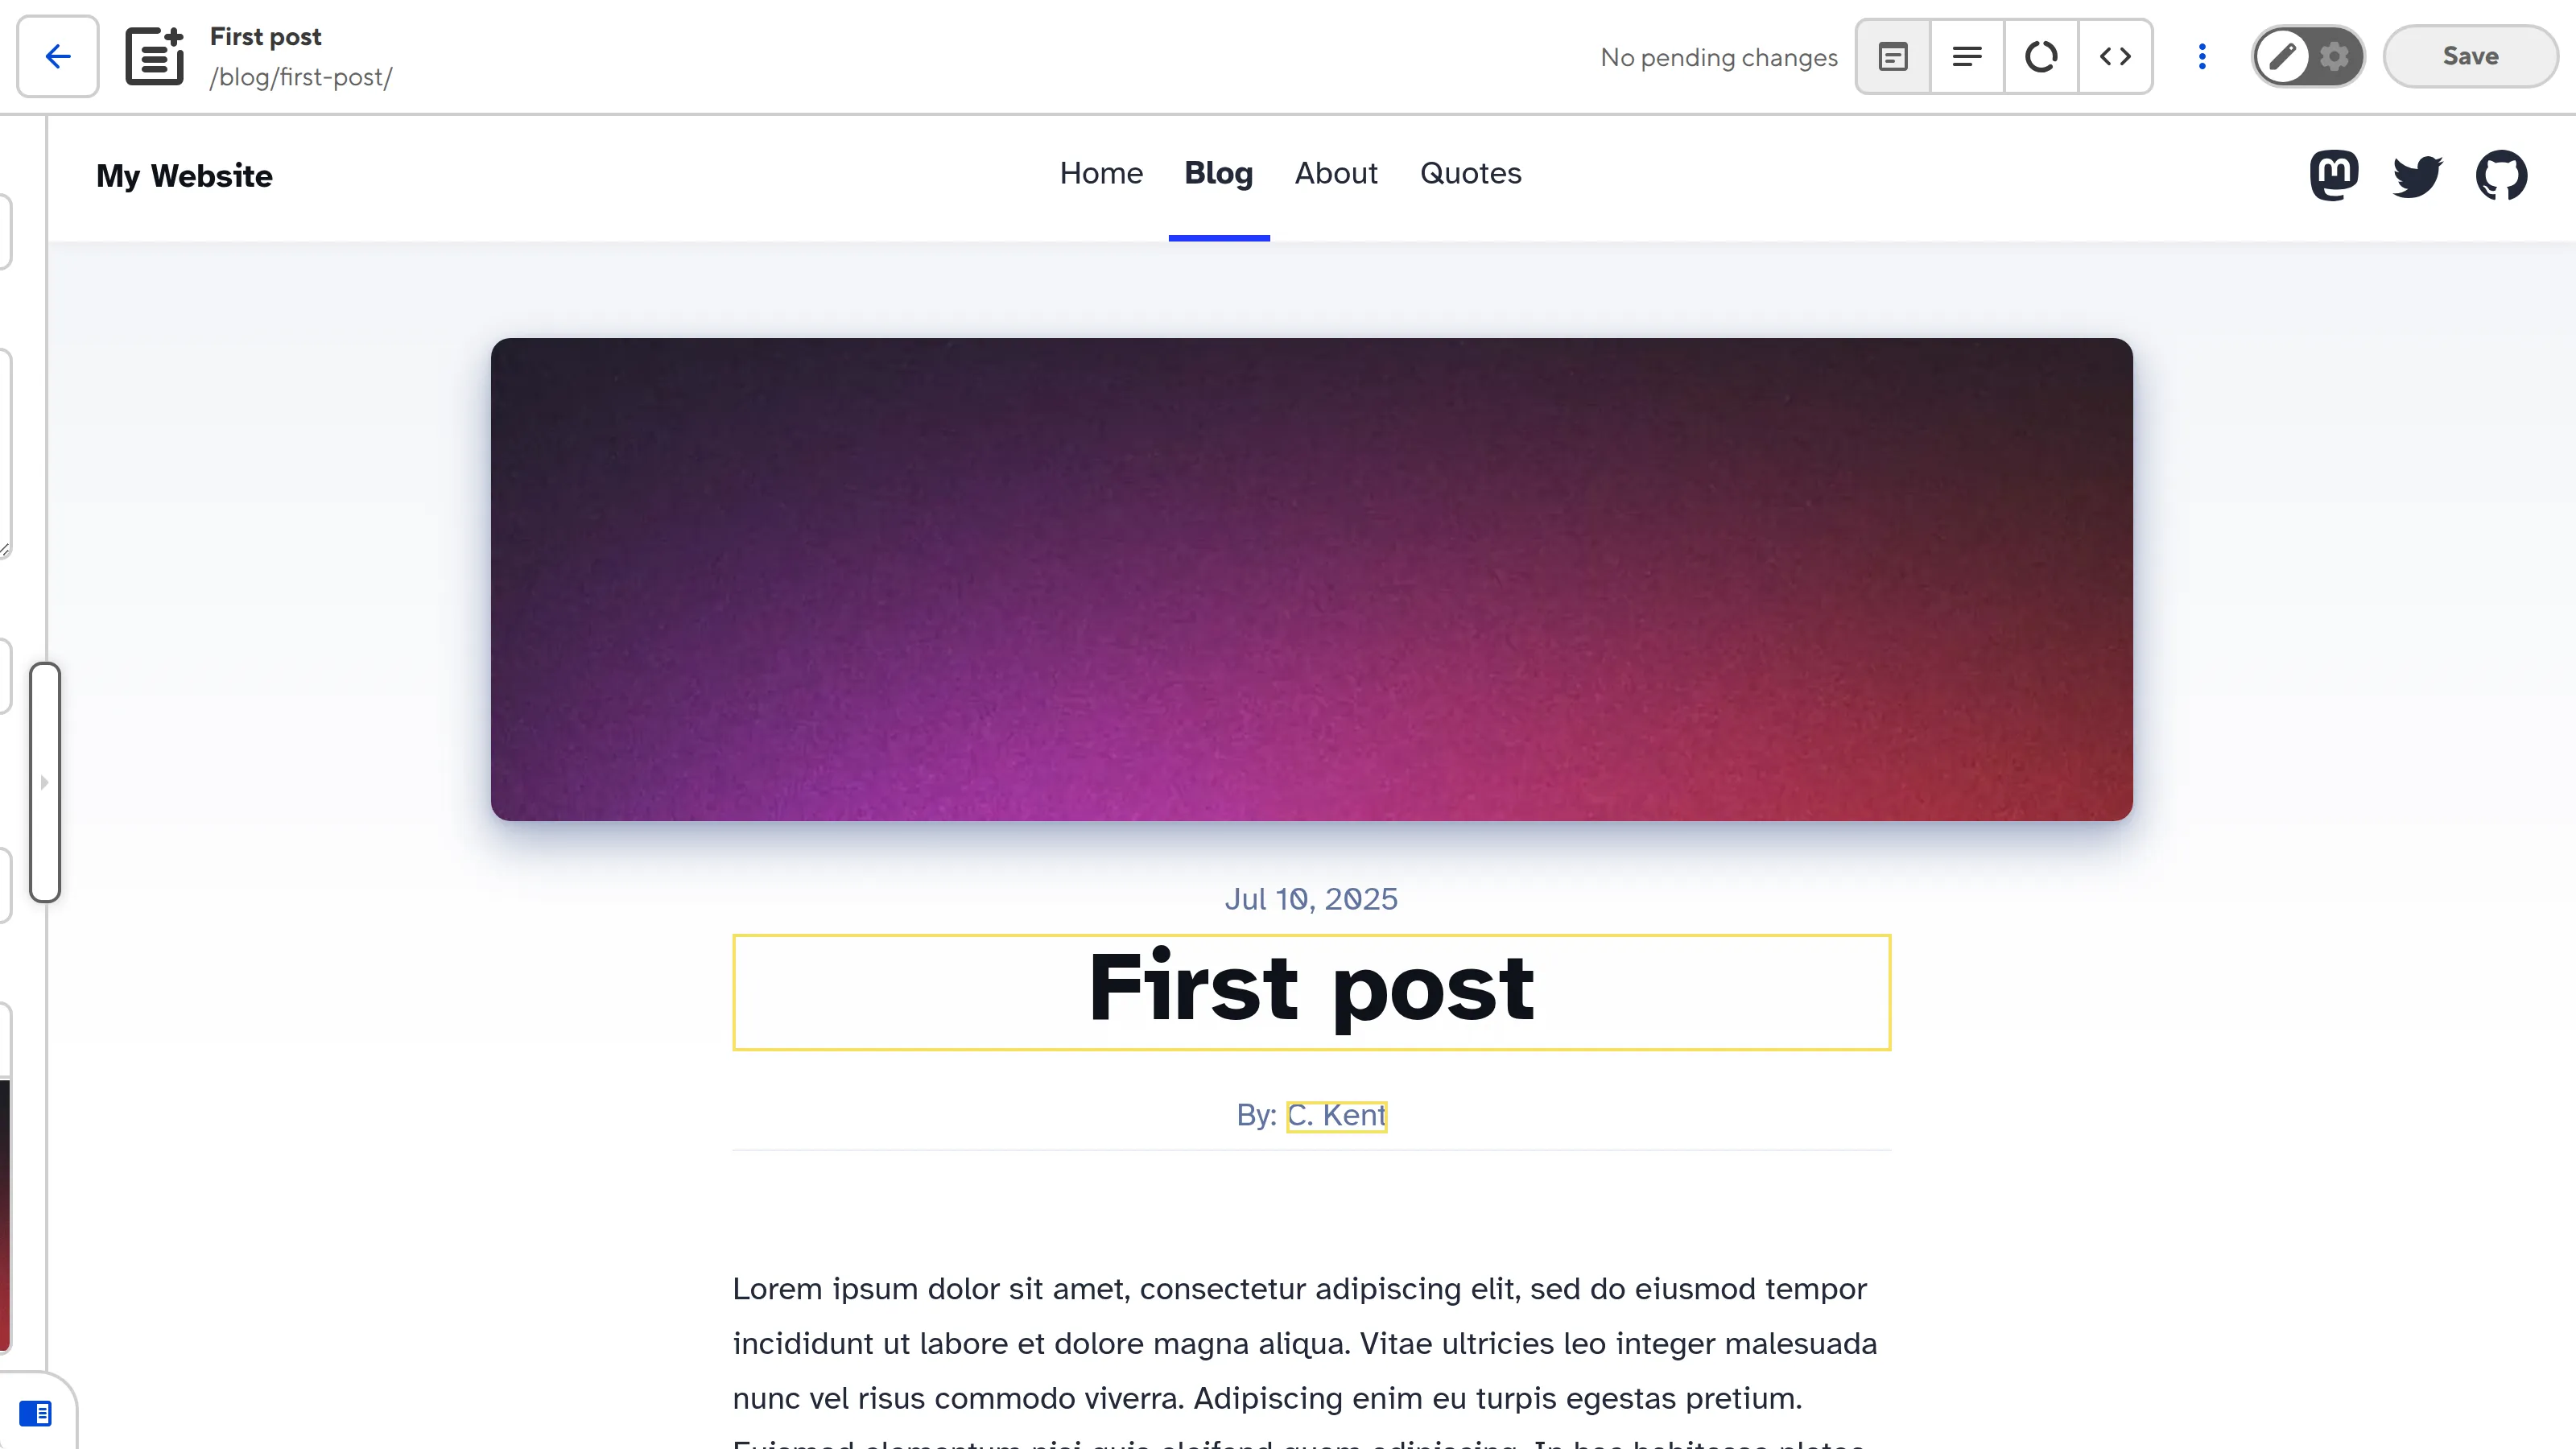
Once we save and rebuild our Site, CloudCannon will show yellow boxes around the title and author fields on the webpage, indicating Editable Regions in the Visual Editor. You can edit the text value of title and author inline on the page when you click into the Editable Region.
Markdown text#
The majority of the text content on your website is likely to be Markdown in the body of your content files. This is also the text value that content teams will edit most often, such as when writing a new blog or updating a product description. The Markdown content of your content file will populate an element in your layout file at build time (e.g., in Astro, Markdown will populate the <slot /> element, but other SSGs may use different syntax).
Let's take another look at the above example.
---
title: 'First post'
author: 'C. Kent'
heroImage: '../../assets/blog-banner.jpg'
heroImageTitle: 'Blog gradient'
heroImageAlt: 'An eye-catching color gradient banner.'
---

Lorem ipsum dolor sit amet, consectetur adipiscing elit, sed do eiusmod tempor incididunt ut labore et dolore magna aliqua. Vitae ultricies leo integer malesuada nunc vel risus commodo viverra.
---
const { title, author } = Astro.props;
---
<article>
    <div class="prose">
        <div class="title">
            <h1>{title}</h1>
            <p>By: {author}</p>
            <hr />
        </div>
        <slot />
    </div>
</article>
This <slot /> element marks where the markup content from a blog file will go.
We should still use a Text Editable Region to visually edit the Markdown content, so the value is stored outside of the blog layout. However, because <slot /> is not a DOM element, we can't add the data-editable and data-prop attributes directly. Just like the author example above, we can wrap the <slot /> element in a <editable-text> web component, which can take attributes.
The <editable-text> web component replaces the need for data-editable. In this case, there are no front matter keys we can reference with data-prop to tell CloudCannon where the data is stored. Instead, we can use the special value @content to specify Markdown content in the body of a content file.
Here's what our blog layout code should look like:
<editable-text data-prop="@content">
    <slot />
</editable-text>
The <editable-text> web component defines what kind of data this element contains, and the data-prop attribute defines the path to the data we want to edit. In this case, we used the web component to wrap the <slot /> element, which will be populated by Markdown content at build time, and we want to edit the Markdown content of the file, as signified by the special value @content.
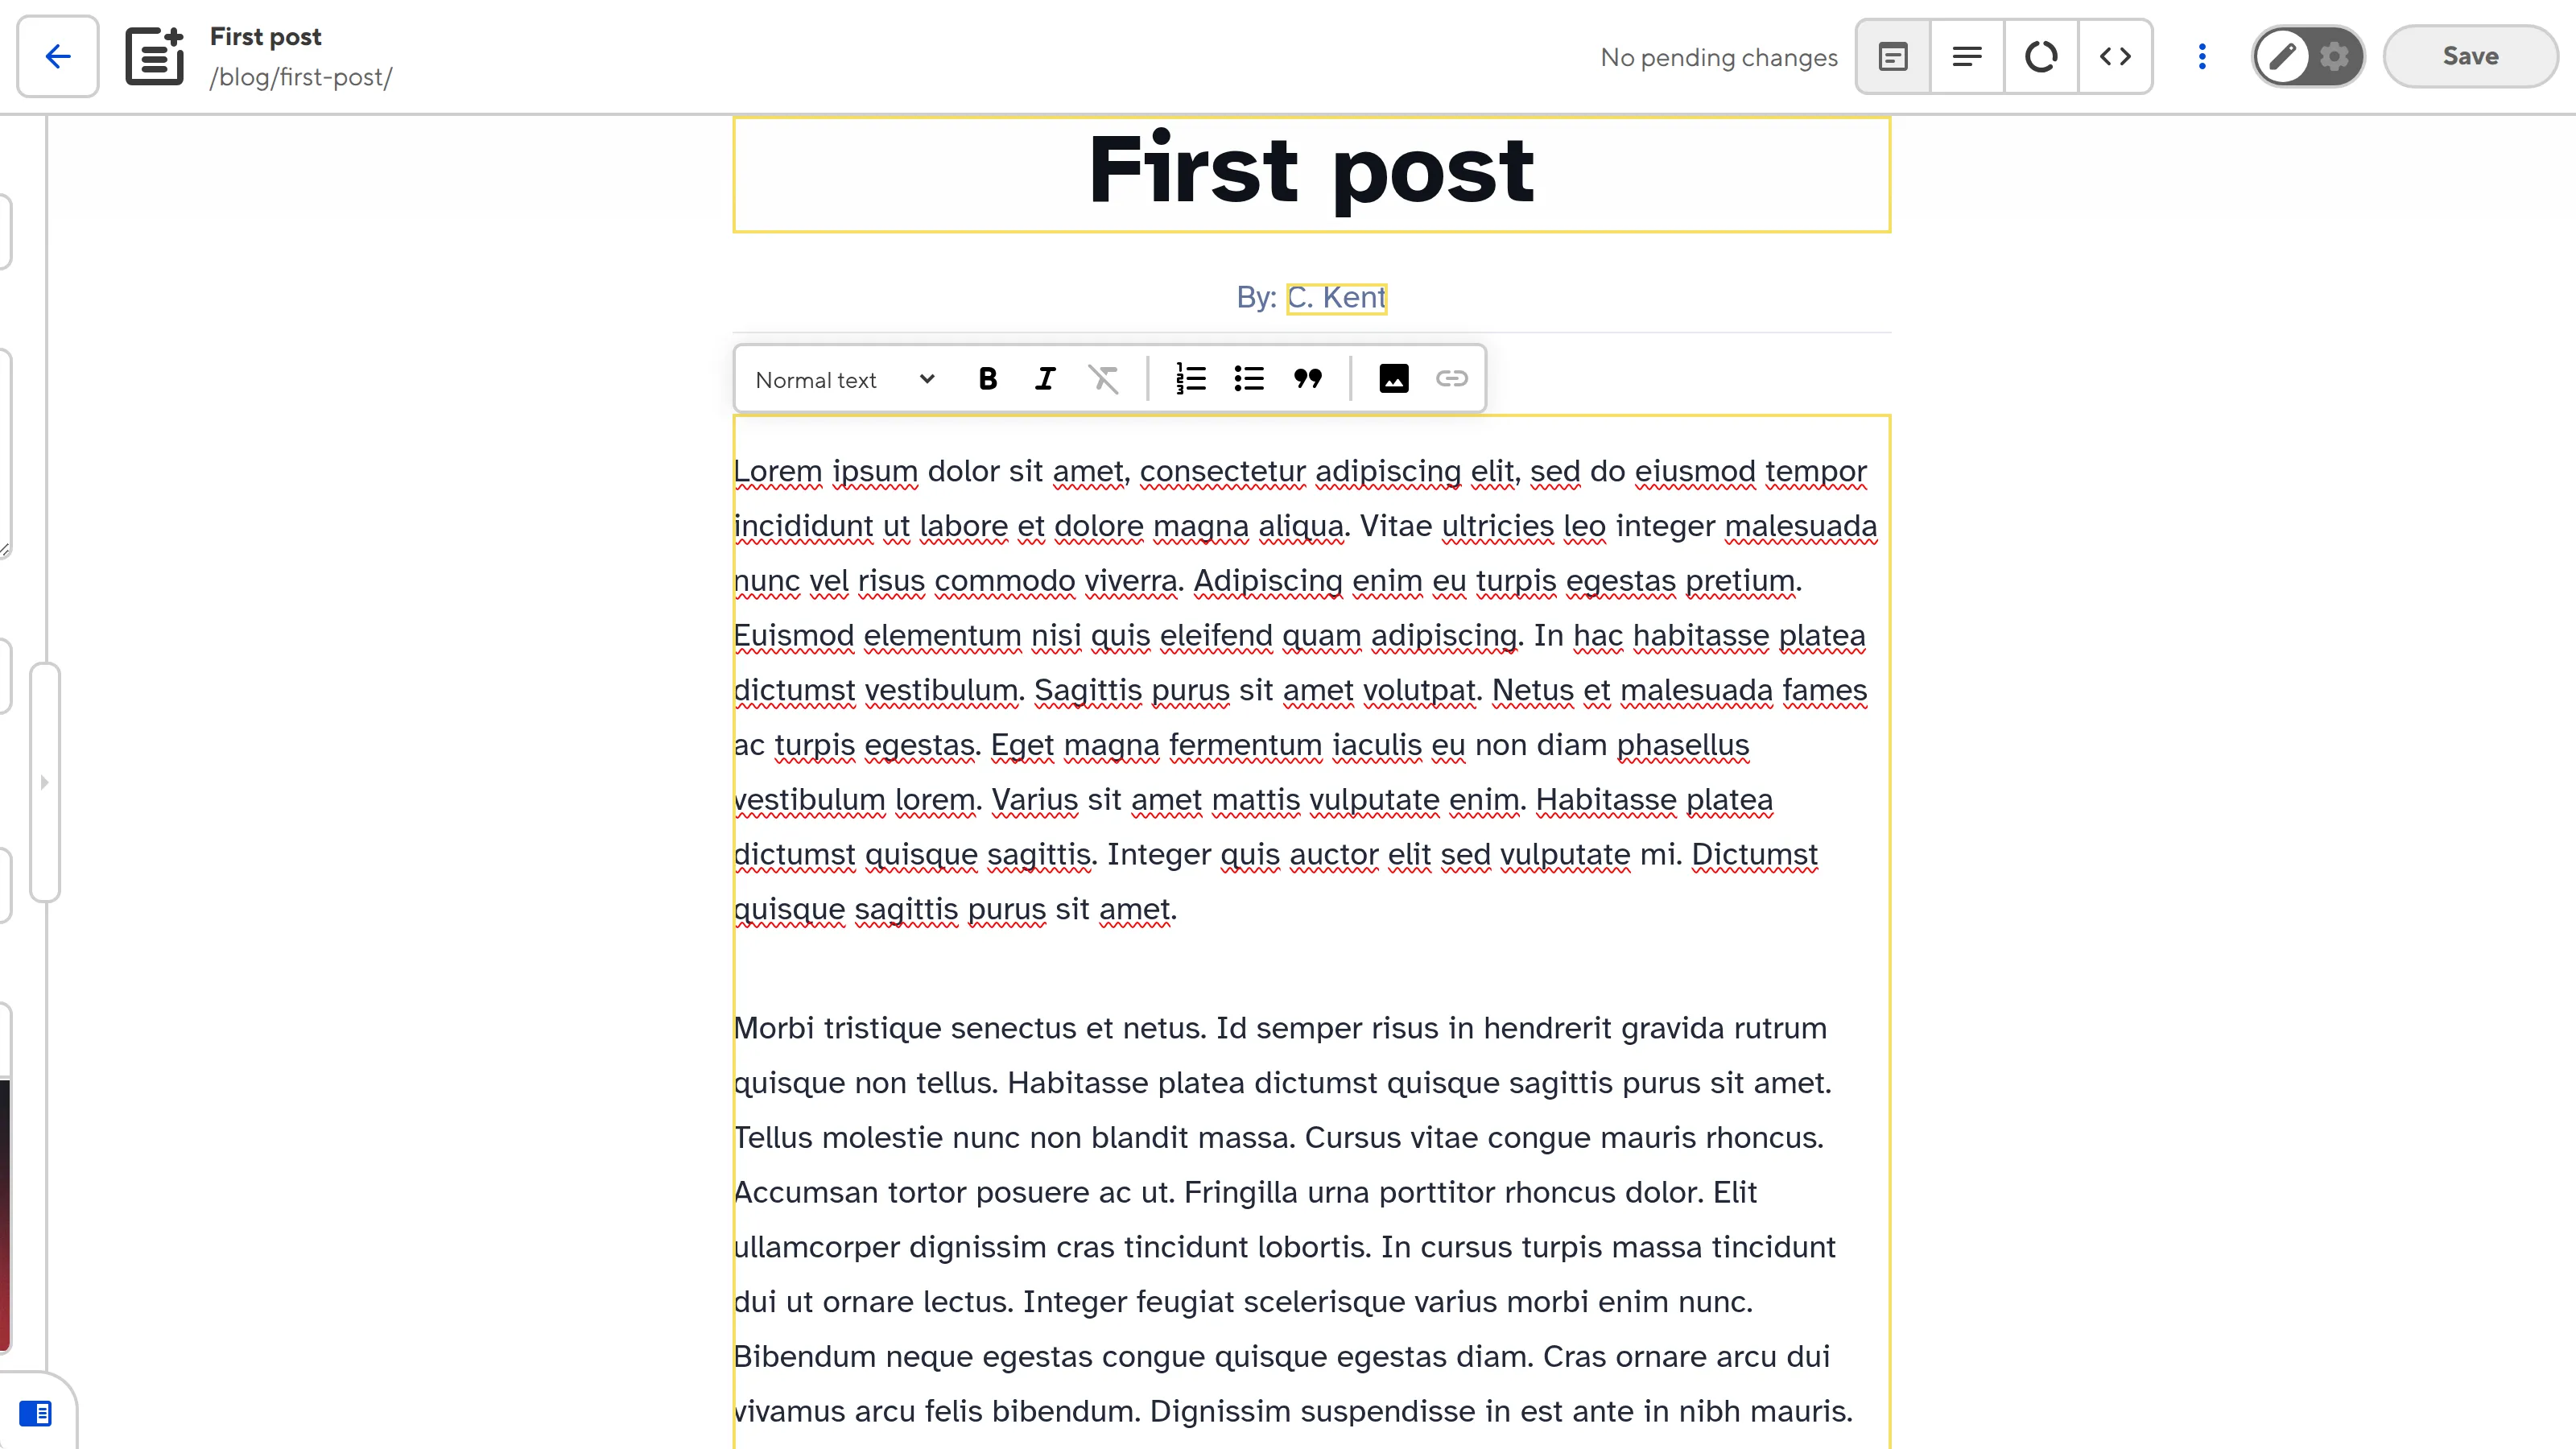
Once we save and rebuild our Site, CloudCannon will show a yellow Editable Region box around the content on the webpage. When you click into the Editable Region, CloudCannon will also display a WYSIWYG toolbar for formatting your content.
Rich text formatting options#
When you click into an Editable Region for a text value, sometimes the Visual Editor will display a WYSIWYG toolbar with rich text formatting options. CloudCannon determines whether your text value is rich text automatically, but you can also define this behavior manually using the data-type HTML attribute.
<p>By: <editable-text data-prop="author" data-type="">{author}</editable-text></p>
The <editable-text> web component defines what kind of data this element contains, and the data-prop attribute defines the path to the data we want to edit. In this case, we used the web component to wrap the {author} templating specifically, and we want to edit the author structured data key in the file front matter.
The data-type attribute accepts three values: span, text, or block. Setting data-type as span does not allow any rich text formatting (i.e., plain, inline text), while text allows paragraph-level rich text, with a WYSIWYG toolbar containing formatting tools such as bold, italics, and links. Setting data-type to block allows all rich text formatting options, from paragraph-level to block-level formatting like lists, block-quotes, images, snippets, and text styling.
If you want to specify exactly which formatting tools are available, you can manually define your WYSIWYG toolbar under the _editables key in your CloudCannon Configuration File. For more information, please read our documentation on Configuring your rich text editors.
Not all text values need rich text formatting options, and, in some cases, adding rich text formatting to an element that can only support plain text can be destructive to your content and HTML. When data-type is not defined, CloudCannon will determine an appropriate default value using the following process.
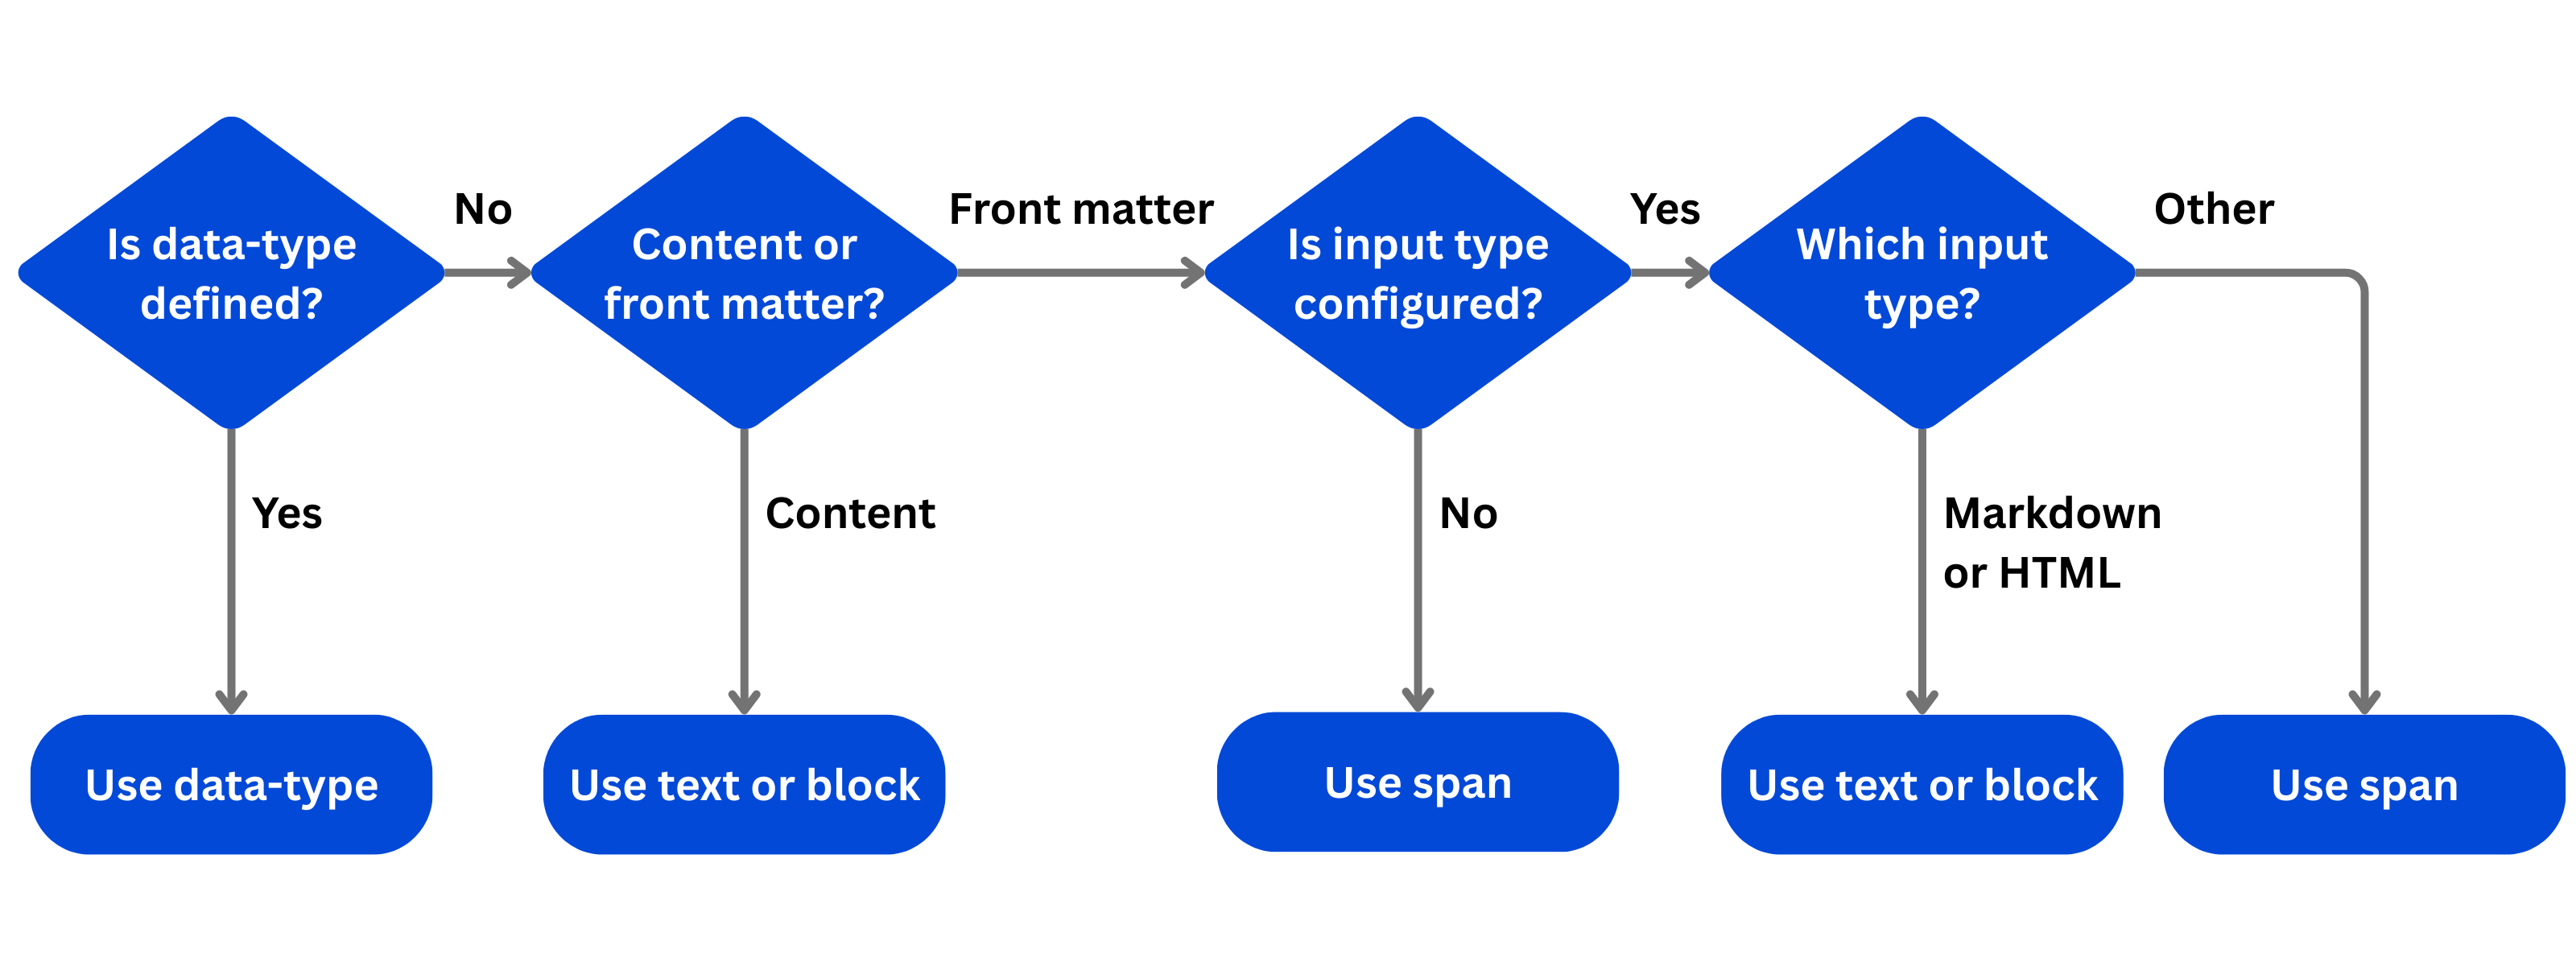
To begin, CloudCannon determines whether the Editable is for content or front matter. Content is any Source Editable Region (i.e., data-attribute="source" or <source-editable>), or Text Editable Region where data-prop="@content". Front matter is any Text Editable where data-prop is set to a structured data key.
If the Editable Region is for content, CloudCannon will use either text or block as the default value of data-type, as the content is likely to need rich text formatting. Whether paragraph-level rich text formatting or all rich text formatting options are available will depend on the HTML element in the output file(e.g., <h1> elements can only support text level formatting, while <div> elements can support block level formatting).
If the Editable Region is for a value stored in front matter, CloudCannon will determine whether you have input configuration for that front matter key. If you do not, CloudCannon will use data-type="span" by default. Similarly, if you do have input configuration, but the input type is not defined as rich text (i.e., markdown or html), CloudCannon will use data-type="span" by default.
If your front matter key is configured as a rich text input, CloudCannon will use either text or block as the default value of data-type, whichever is appropriate for the HTML element in the output file.
For a complete list of configuration options for Editable Regions, please read our Editable Regions reference documentation.
Common errors#
If you accidentally misconfigure your Editable Regions, CloudCannon will display a red warning box in the Visual Editor.
Here are a few common errors you might encounter with Source and Text Editable Regions:
- You did not define the
data-pathordata-keyHTML attribute for your Source Editable Region, or thedata-propHTML attribute for your Text Editable Region. - The file path defined by
data-pathdoes not exist. - The Editable Region has an invalid data type (e.g., your Text region has a number or object, instead of a string).
- You have an unsupported value for
data-type. It must bespan,text, orblock. - There are Source Editable Regions with the same
data-keyvalue. This value should be unique.
Do not nest any other Editable Regions inside a Source Editable Region.
In the next step of this guide, we'll cover how to define Editable Regions for image values stored in structured data.