This step of the guide is optional.
Once you have set up SSO, you can manage your Settings through the Single Sign-On page under Org Settings.
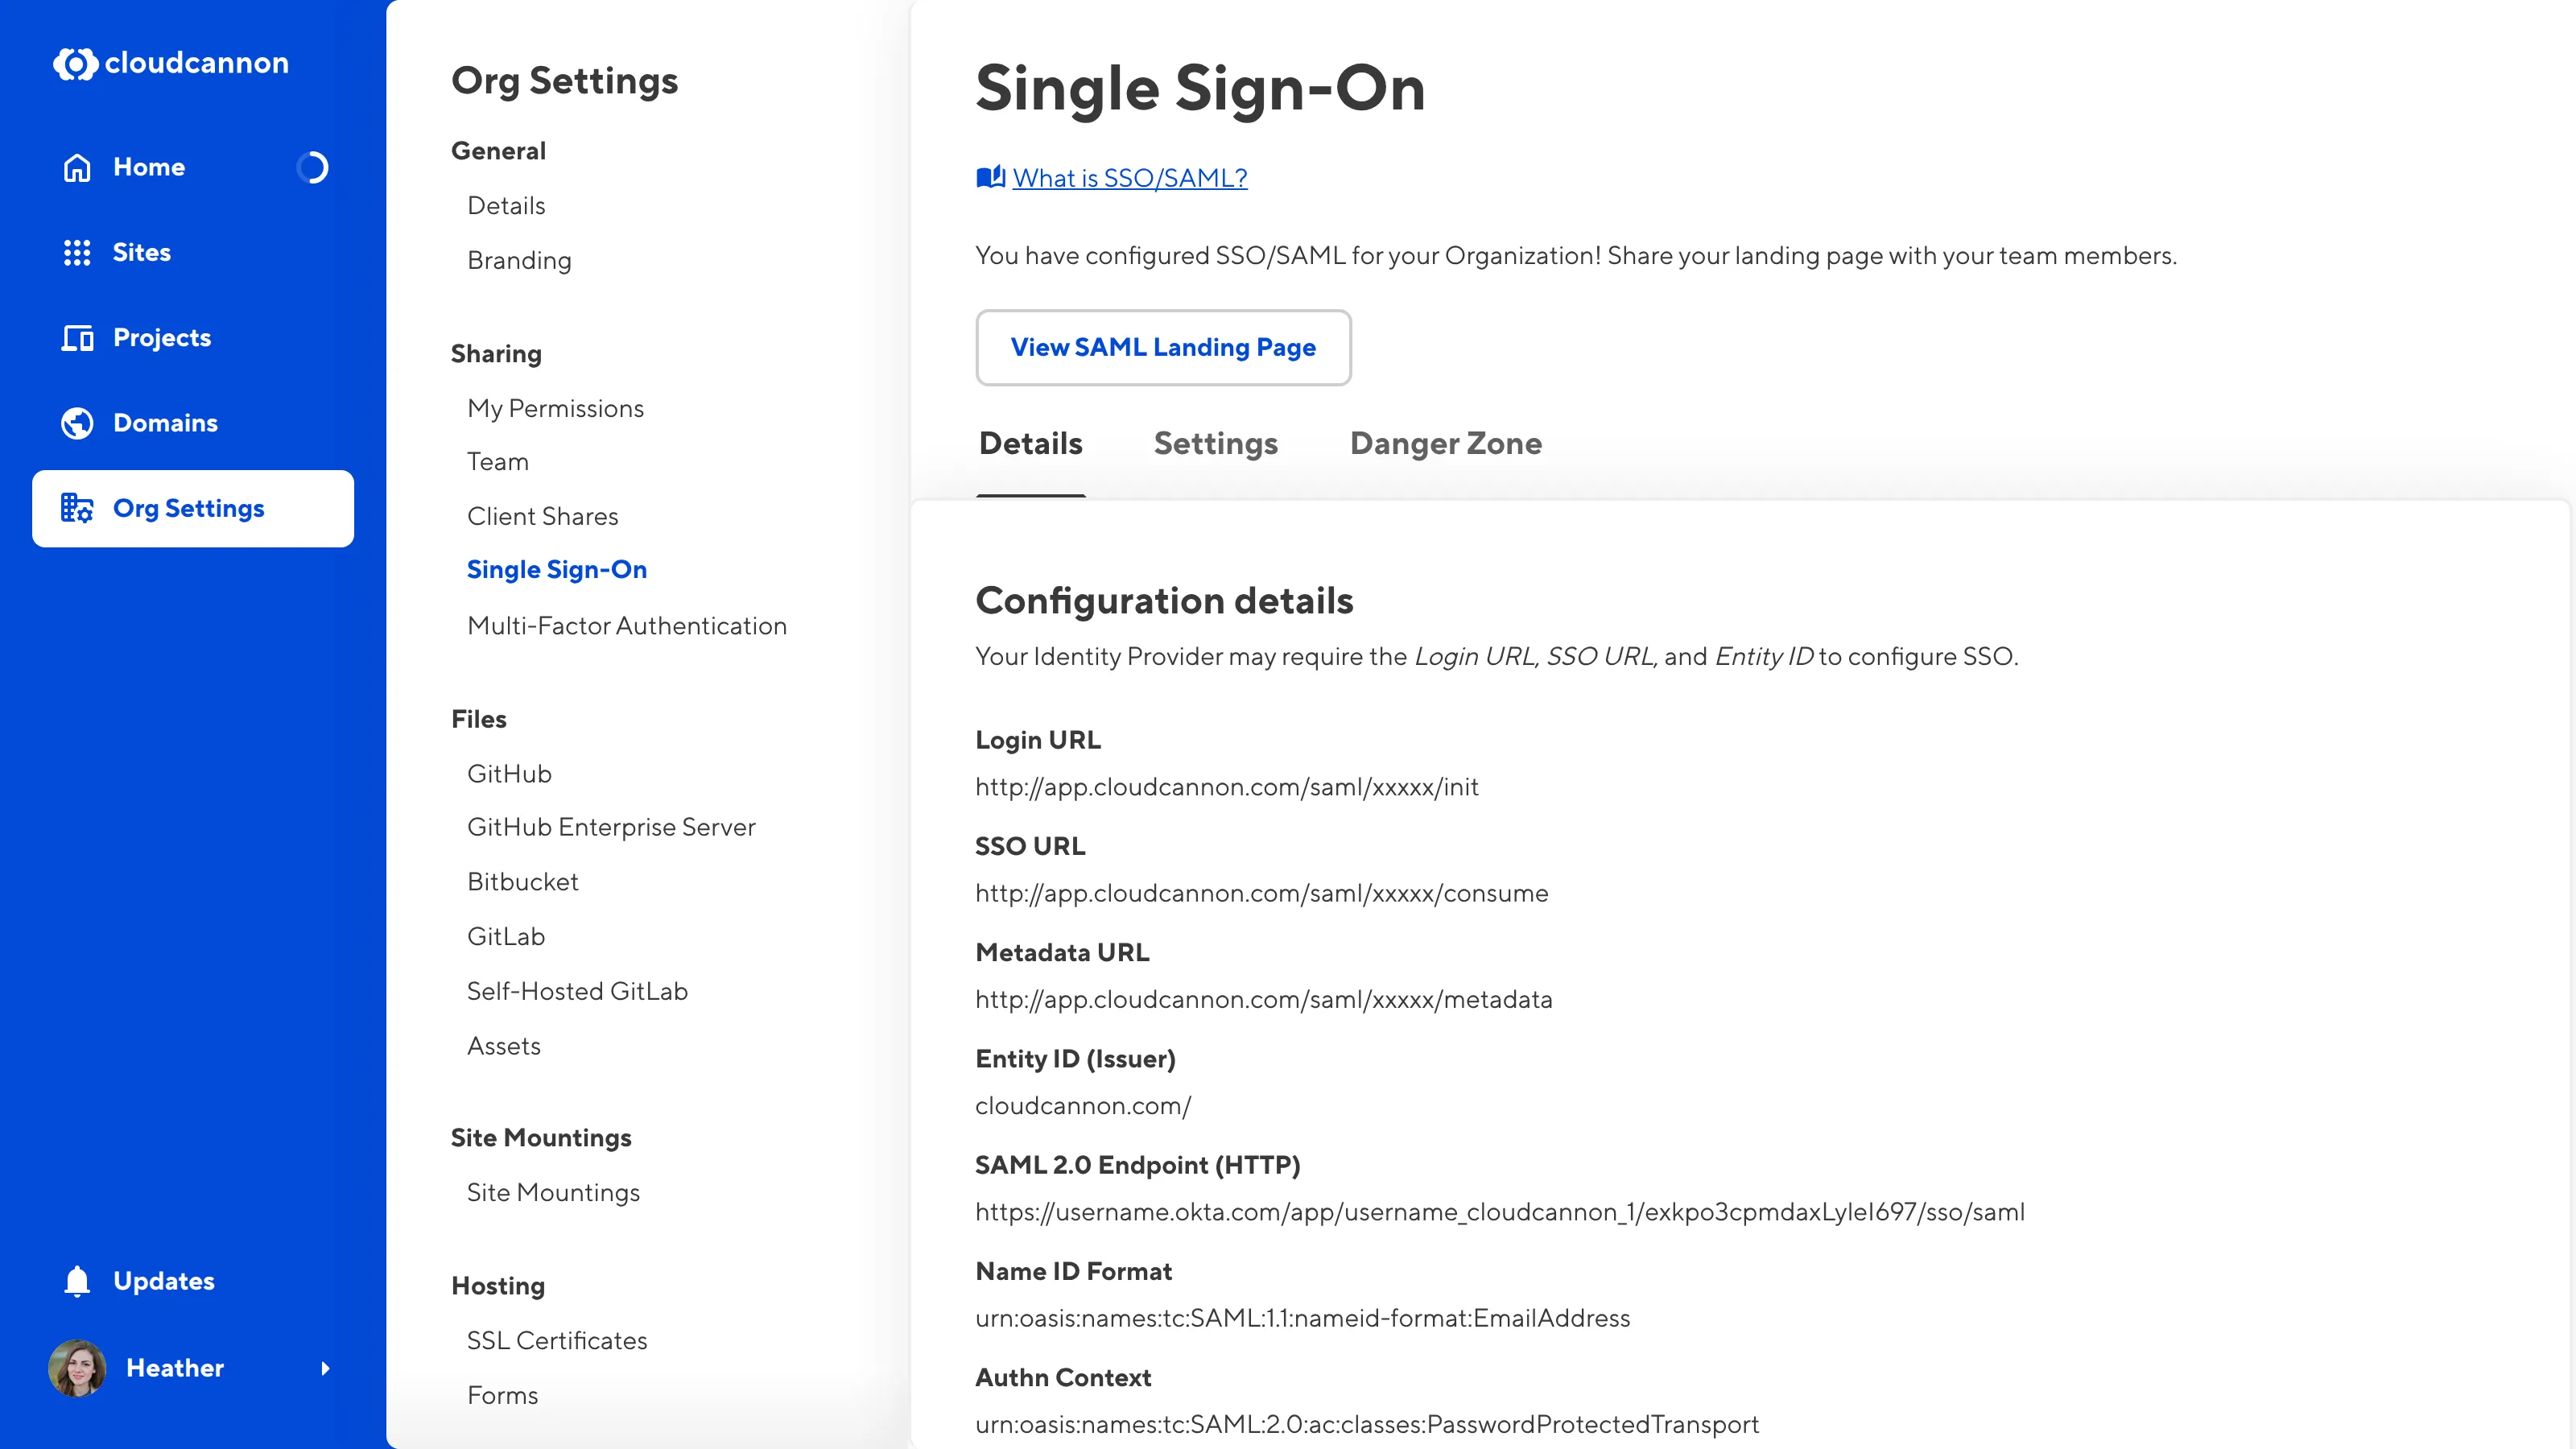
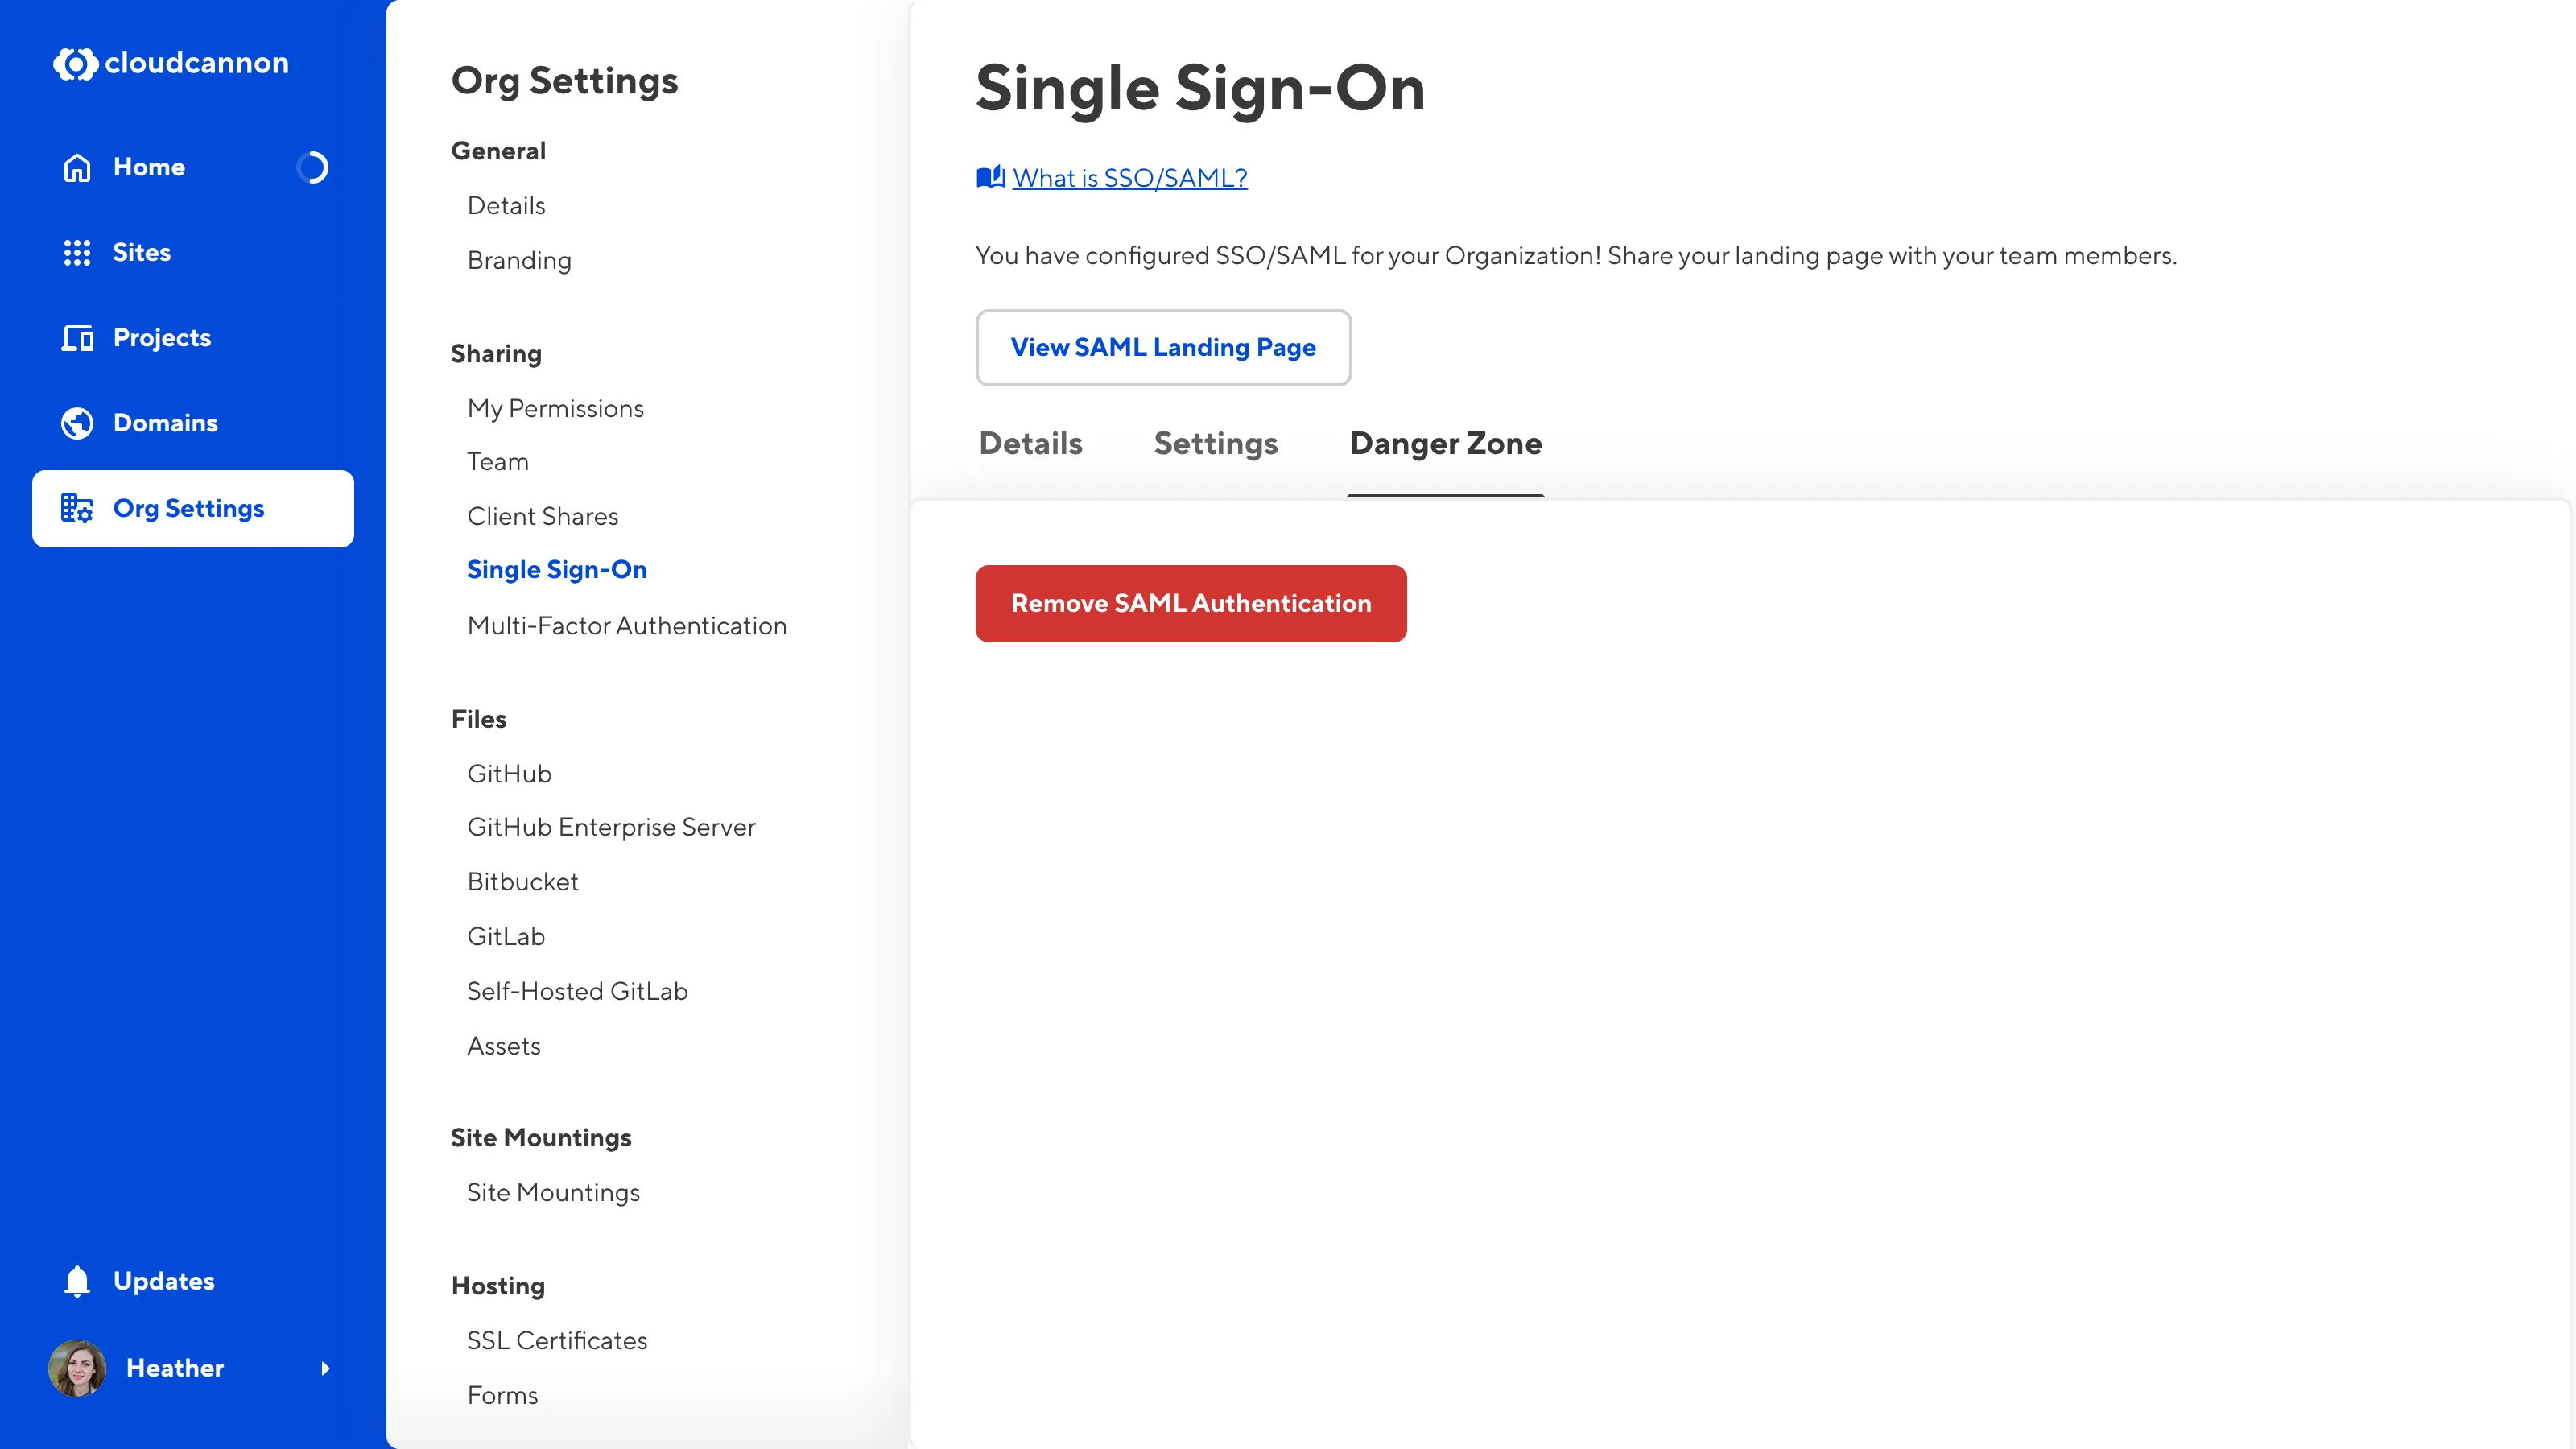
There are three tabs on the Single Sign-On page: Details, Settings, and Danger Zone.
The Details tab shows you all the details of your SSO configuration. These details might be important if you need to reconfigure your Identity Provider.

The Danger Zone tab has the Remove SAML Authentication button. Click this button to remove SSO from your Organization.
If you change your Identity Provider, you will need to remove SSO from your Organization and re-add the details of your new SSO provider.

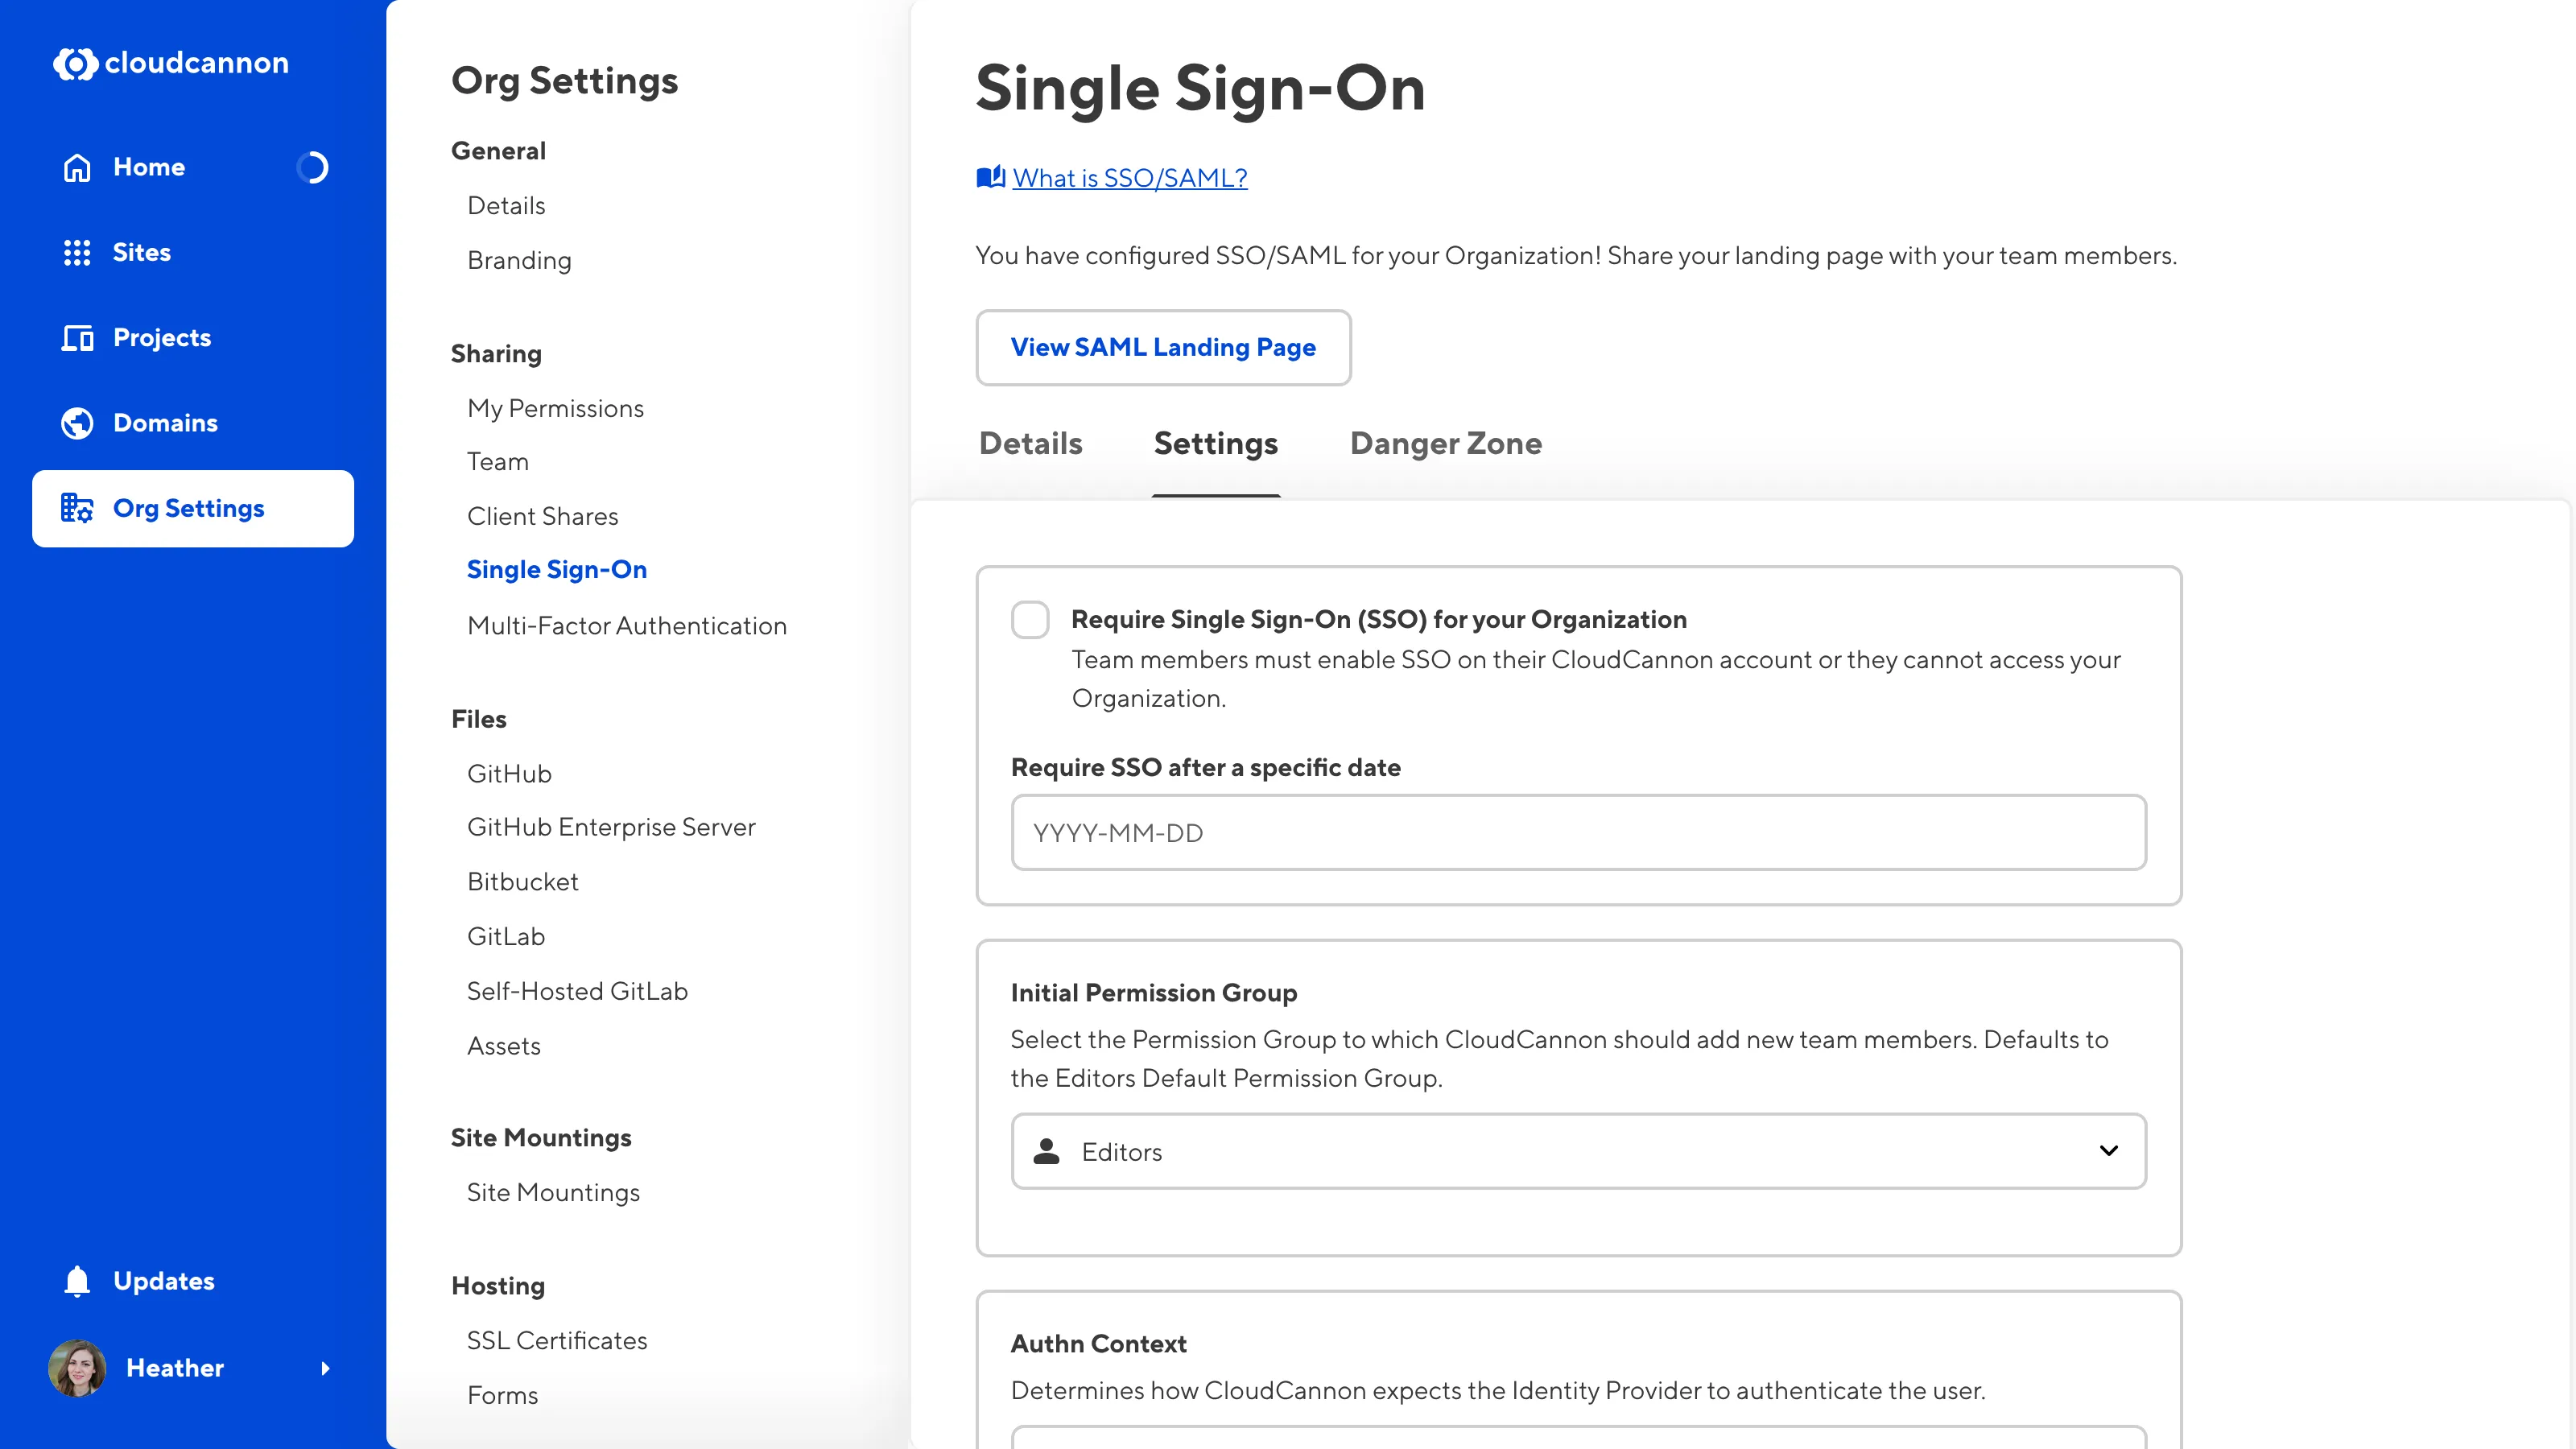
The majority of your SSO settings are under the Settings tab.

You can edit the Initial Permission Group, Authn Context, Signing Algorithm, and X.509 Certificate details here.
You can also require SSO for all team members in your Organization. The Require Single Sign-On (SSO) for your Organization checkbox allows you to prevent team members from accessing your Organization if they do not have SSO enabled. This setting allows you to ensure that all team members are following your security guidelines.
To give your team members time to enable SSO, you can also configure a date in the Require SSO after a specific date field. After that date, CloudCannon will require SSO to access your Organization.