On CloudCannon, navigate to the Single Sign-On page under Org Settings. We'll need details from this page later, so for now, we'll just leave it open in a tab.
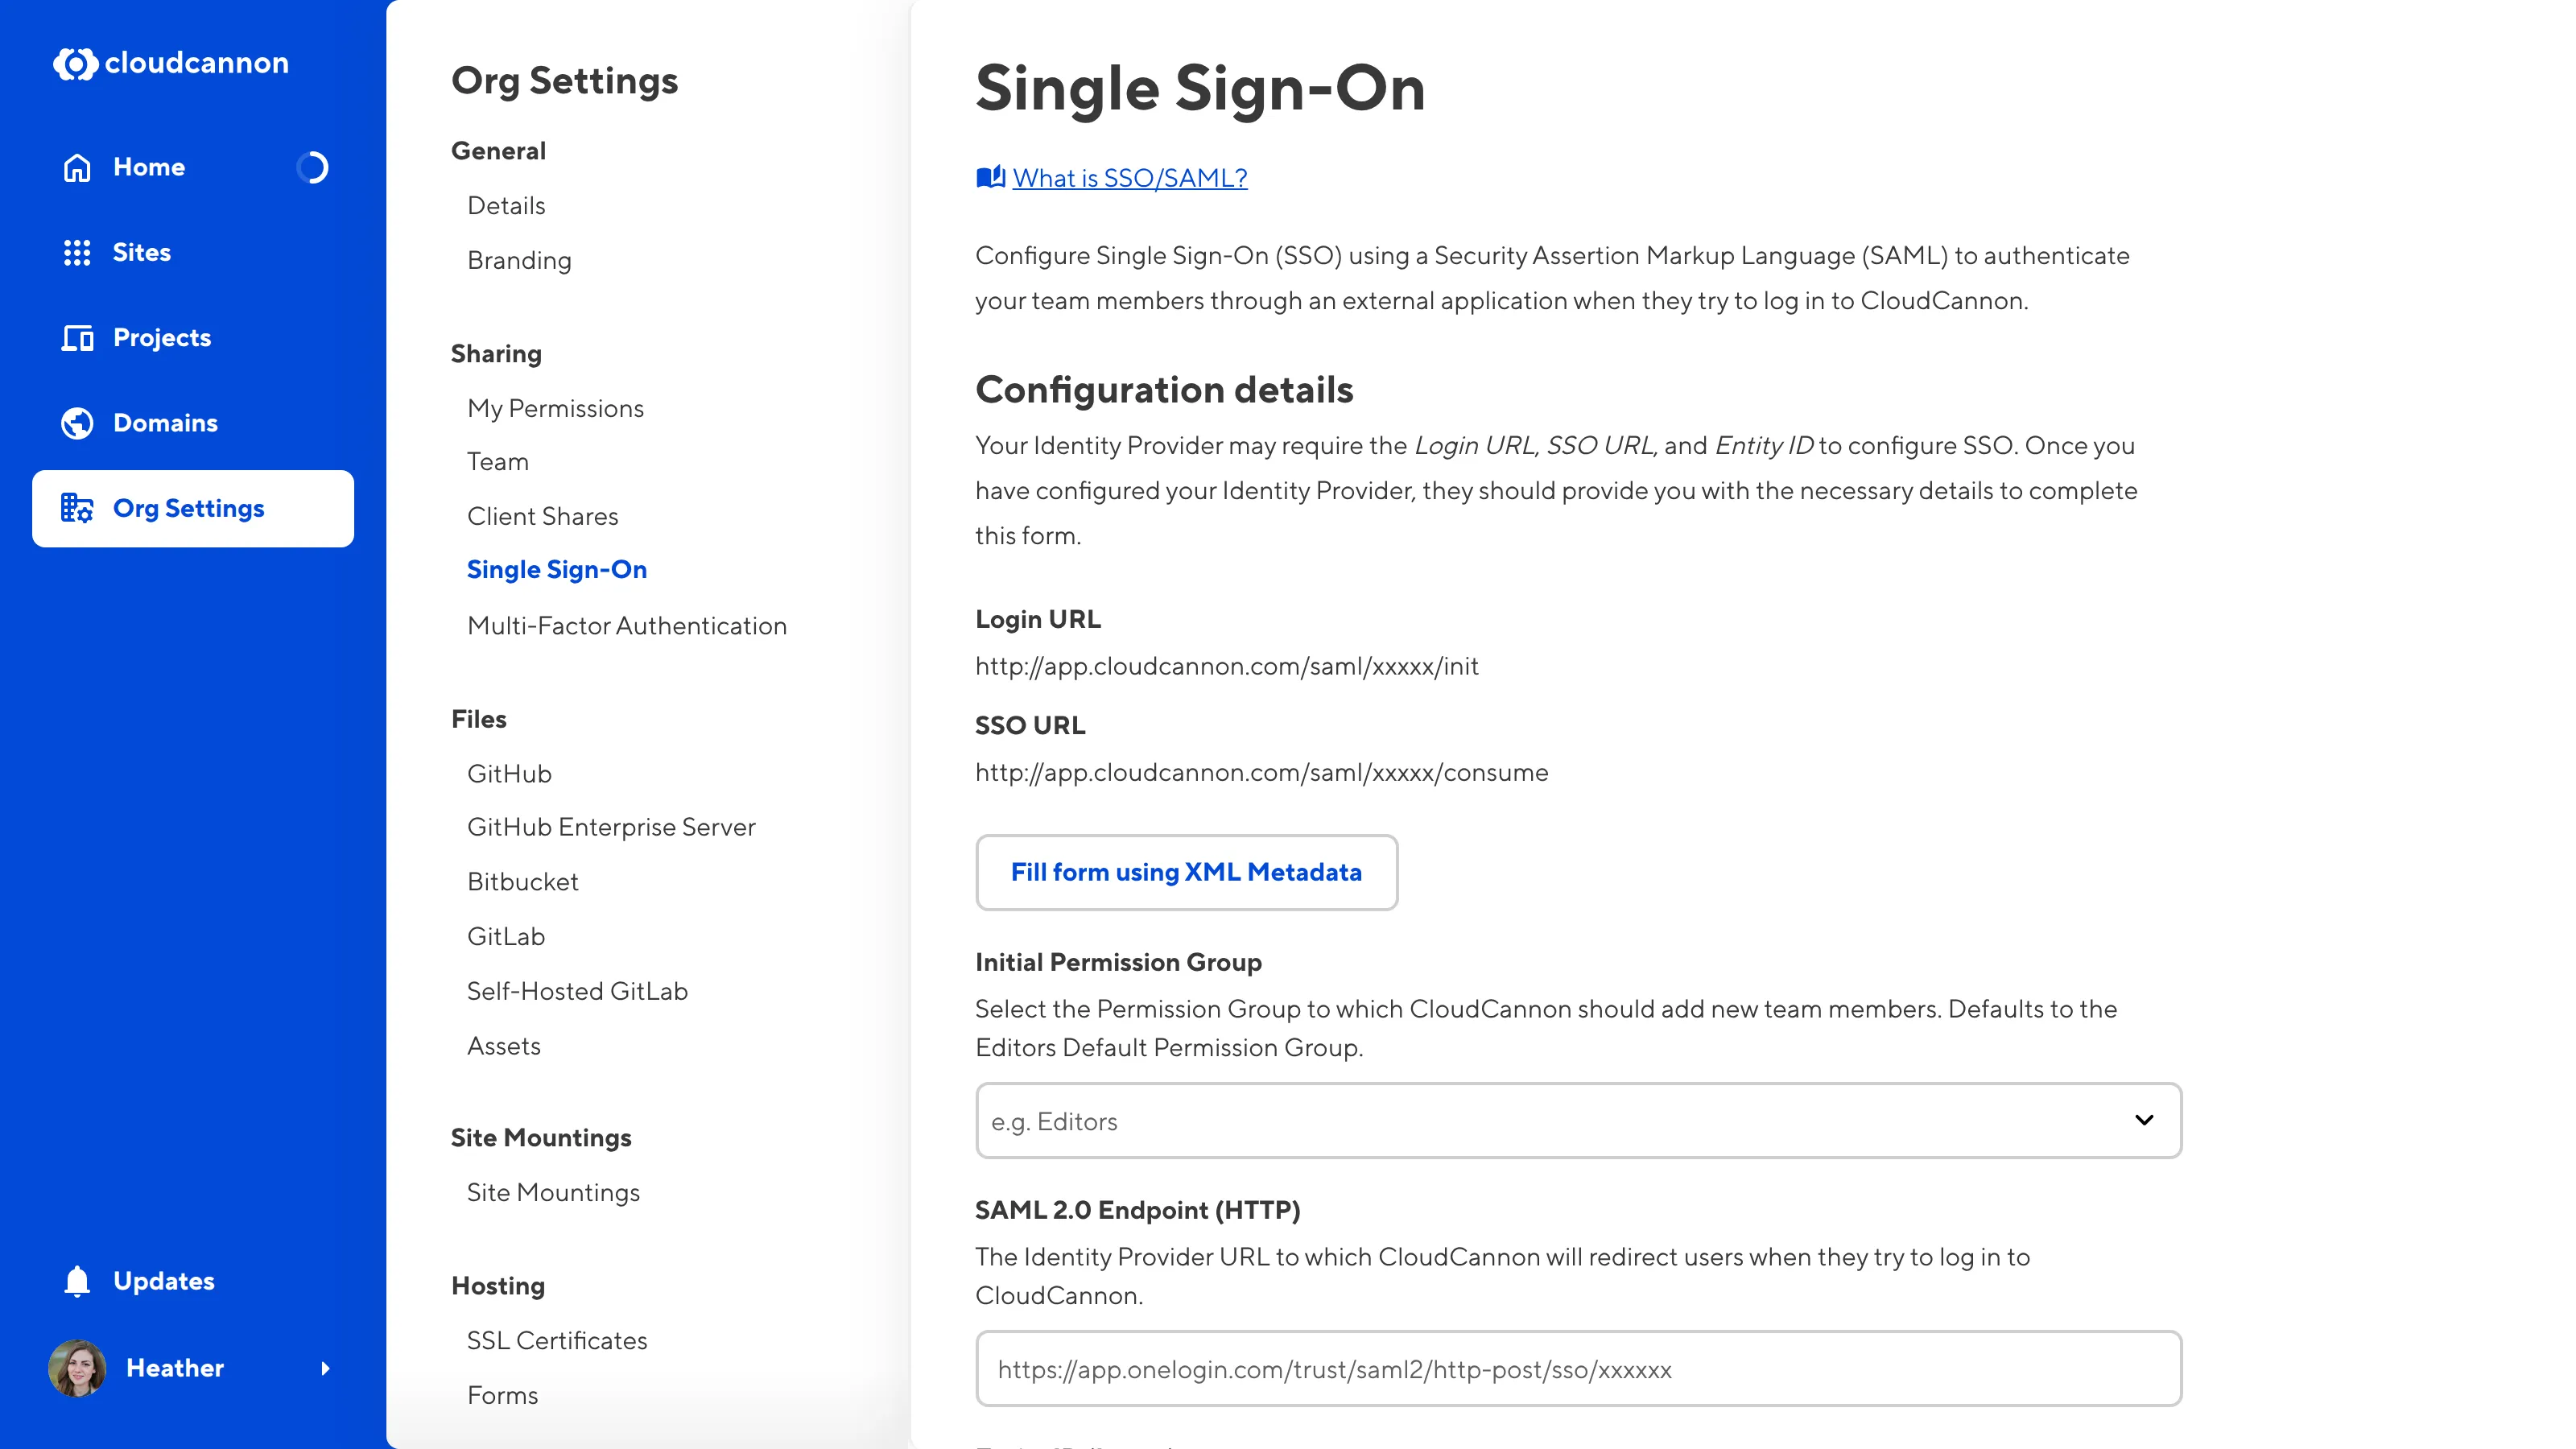
On Okta, "App Integrations" are configured connections between Okta and external applications that provide a service — in this case, CloudCannon. Once you add CloudCannon as an App Integration, Okta will generate the XML certificate CloudCannon needs for its SAML request.
Open Okta in another tab. Log in and navigate to the Applications page under Applications in the sidebar.
Click the Create App Integration button. Okta will open the Create a new app integration modal.
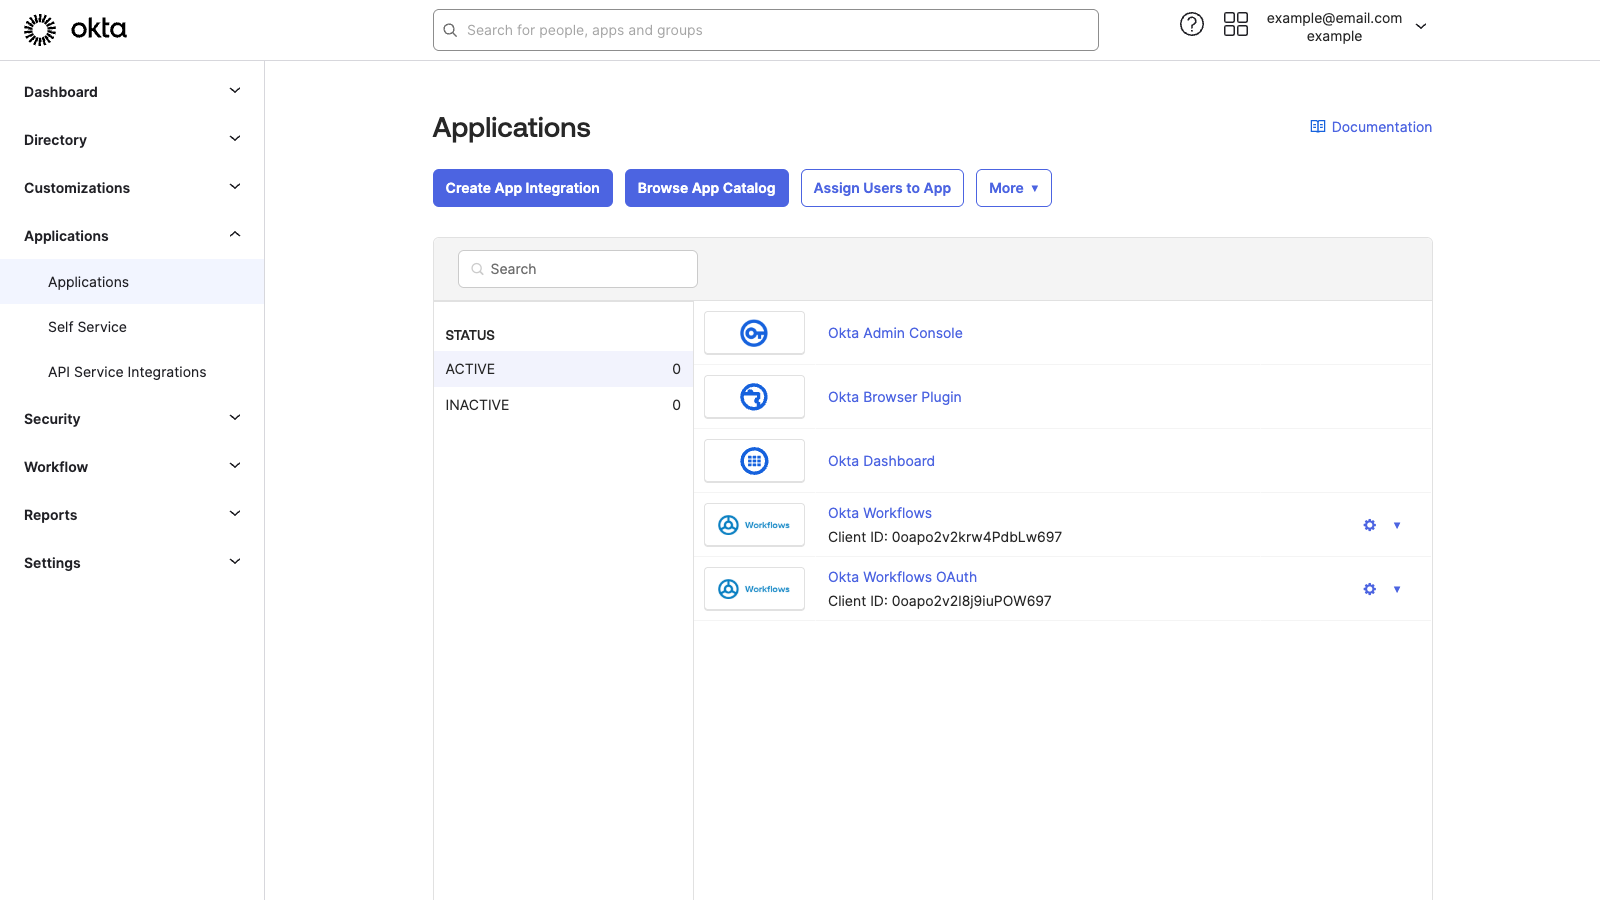
Under Sign-in method, select the SAML 2.0 option and click the Next button. Okta will open the Create SAML Integration page.
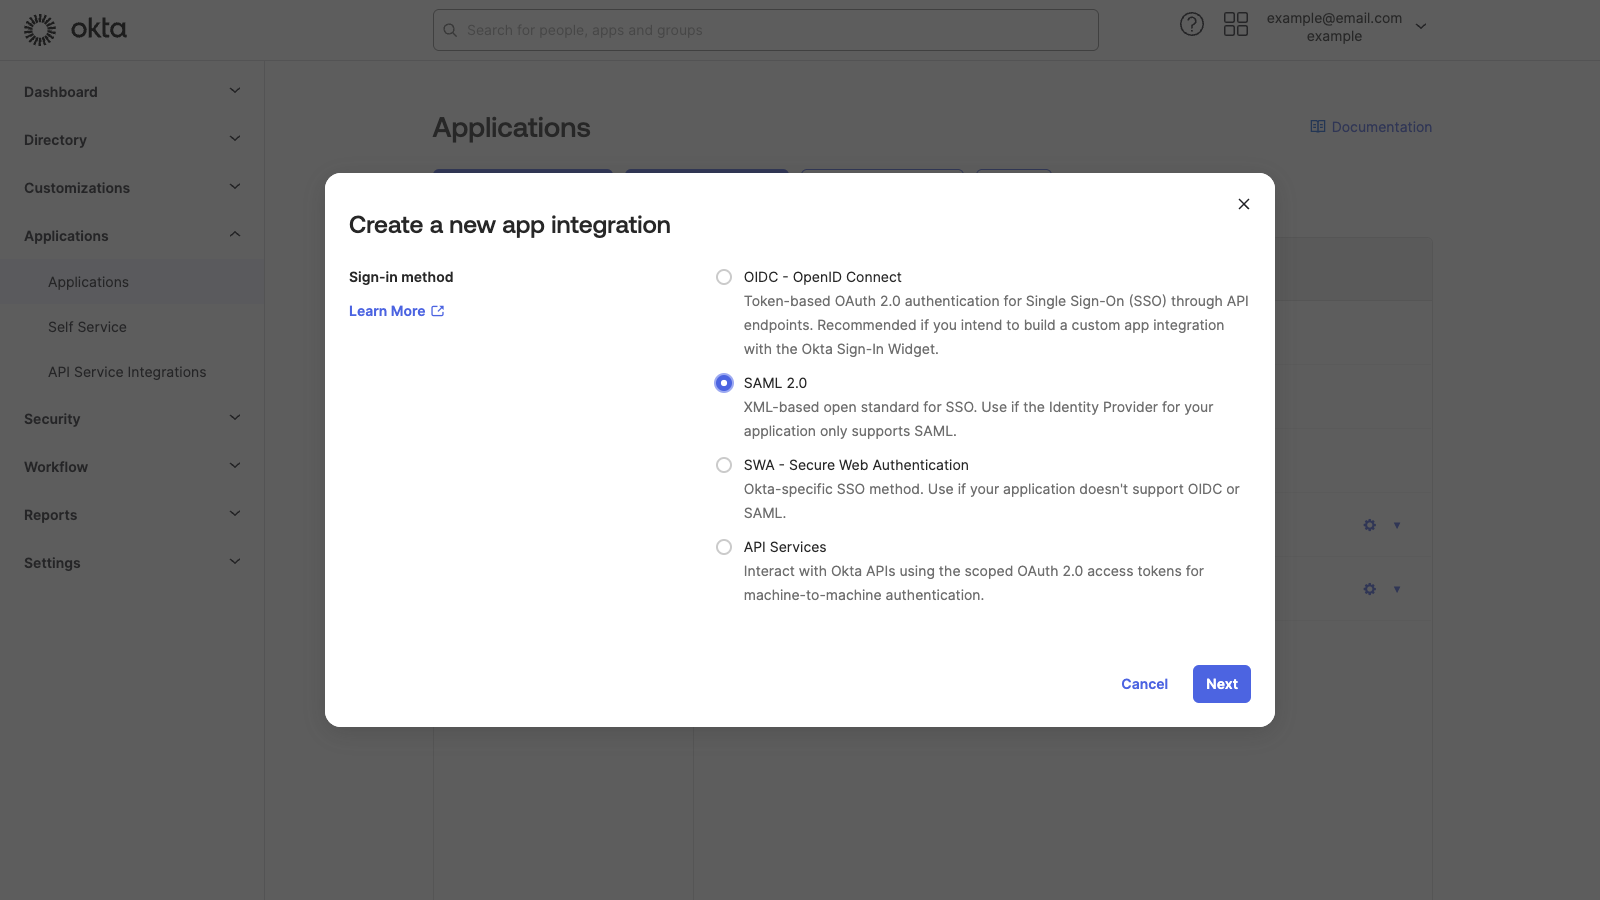
The first tab on the Create SAML Integration page is General Settings.
Enter "CloudCannon" in the App name text field. You also have the option to upload the CloudCannon Logo. Adding a logo can help you find the CloudCannon app integration in your list of integrations.
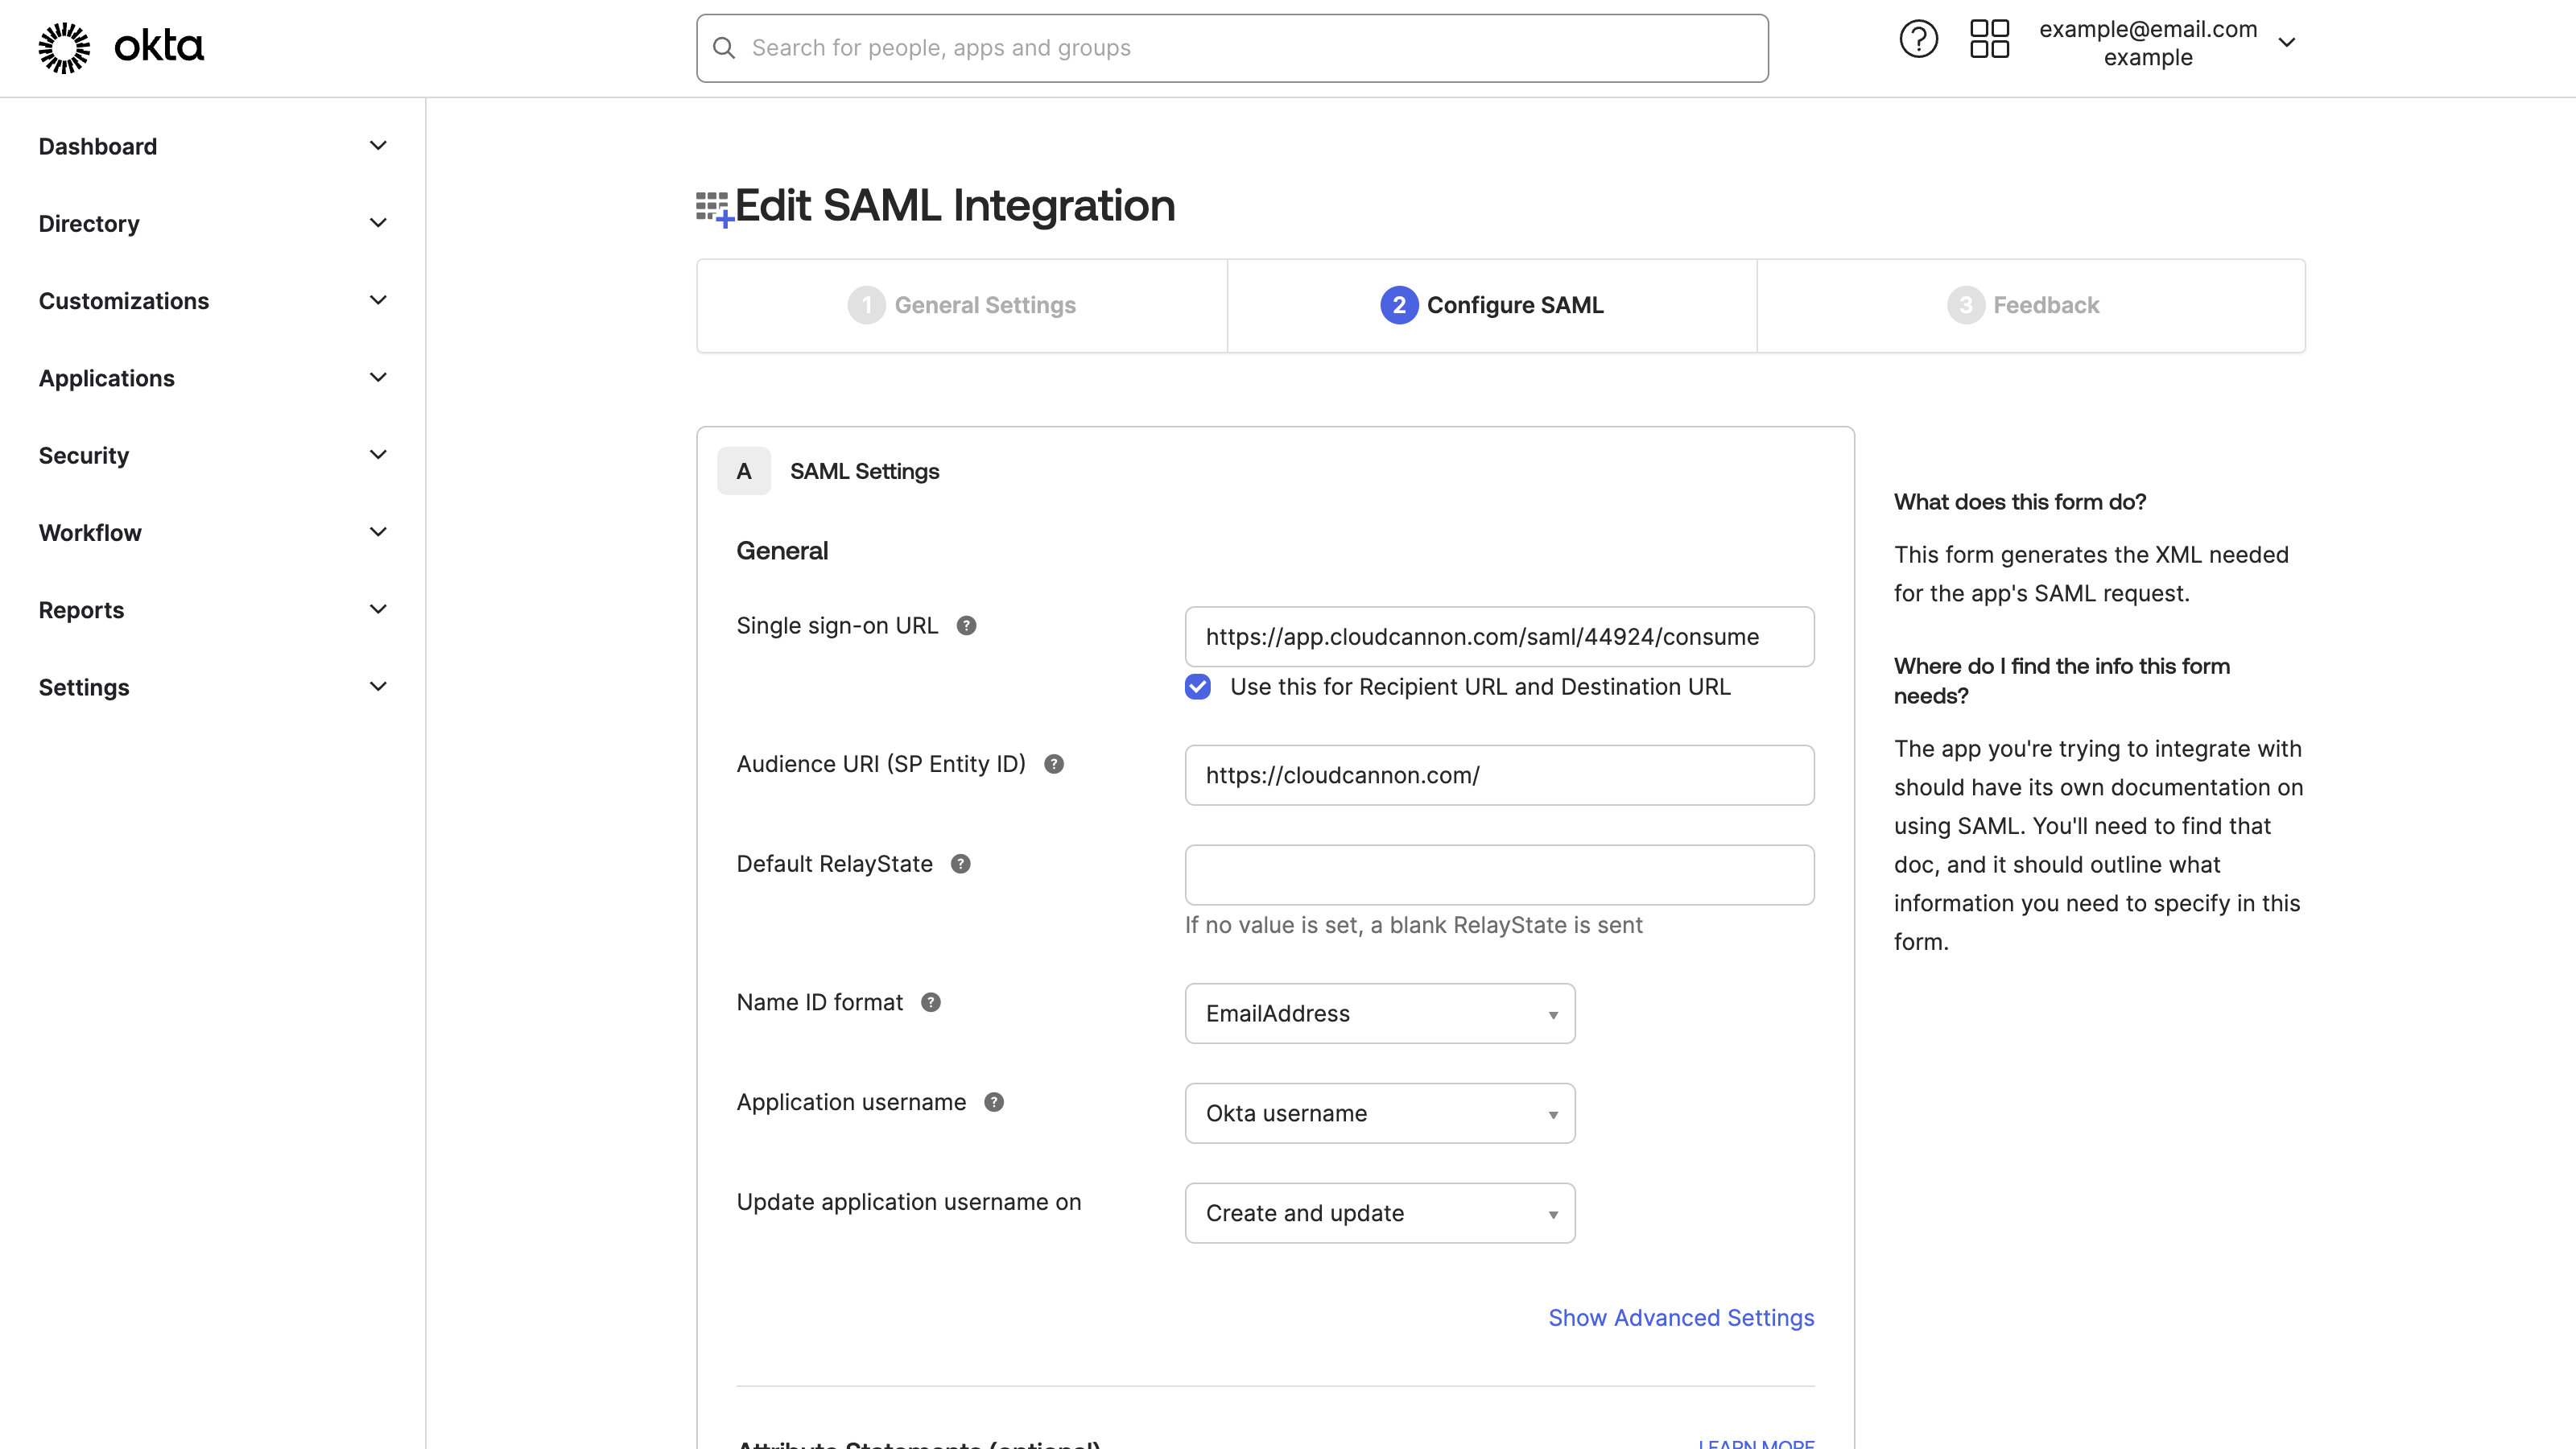
Click the Next button. Okta will open the Configure SAML tab.
To set up SAML 2.0, Okta needs the following details from CloudCannon:
- The Single sign-on URL, which CloudCannon calls the SSO URL.
- The Audience URI (SP Entity ID), which CloudCannon calls the Entity ID (Issuer).
We can copy these details from the Single Sign-On page.

The SSO URL on the Single Sign-On page should look like https://app.cloudcannon.com/saml/xxxxx/consume, except the x characters will be your CloudCannon Organization ID. Copy the SSO URL from CloudCannon into Okta's Single sign-on URL text field. Leave the Use this for Recipient URL and Destination URL checkbox ticked.
The Service Provider is CloudCannon, so the Entity ID must always begin with https://cloudcannon.com/. If you have multiple SAML connections, you can add a suffix to the Entity ID (Issuer), but you don't need one for most uses. Enter https://cloudcannon.com/, followed by the optional suffix, in the Audience URI (SP Entity ID) text field.
Finally, we need to select the Name ID format, which Okta will use to generate the Name ID Format string for CloudCannon. Select the EmailAddress option from the Name ID format dropdown in Okta.
The rest of the fields on the Configure SAML tab are not required for basic SSO/SAML, but you can fill them in now if you need them for your workflow.
Click the Next button. Okta will open the Feedback tab.
We don't need to add any details on the Feedback tab, as Okta only uses this information to improve their service rather than to set up an app integration. Click the Finish button. Okta will generate an XML metadata file using the information we just provided.
In the next step of this guide, we will cover downloading the XML metadata from Okta and adding it to CloudCannon.