Welcome to the end of the guide! We’ve covered everything you need to know to get started — but it doesn’t end there! Here are some optional steps for you to explore.
Hosting#
CloudCannon is an all-in-one Content Management System with hosting included. Every site has its own Testing Domain and is hosted on a super-fast Content Delivery Network (CDN) supported by Cloudflare. For a production site, you can point your Custom Domain at your Site or use CloudCannon DNS to automate the setup.
All sites receive an SSL certificate, can easily scale to handle any amount of traffic, and offer custom routing, form submissions, and various authentication options.
Branding#
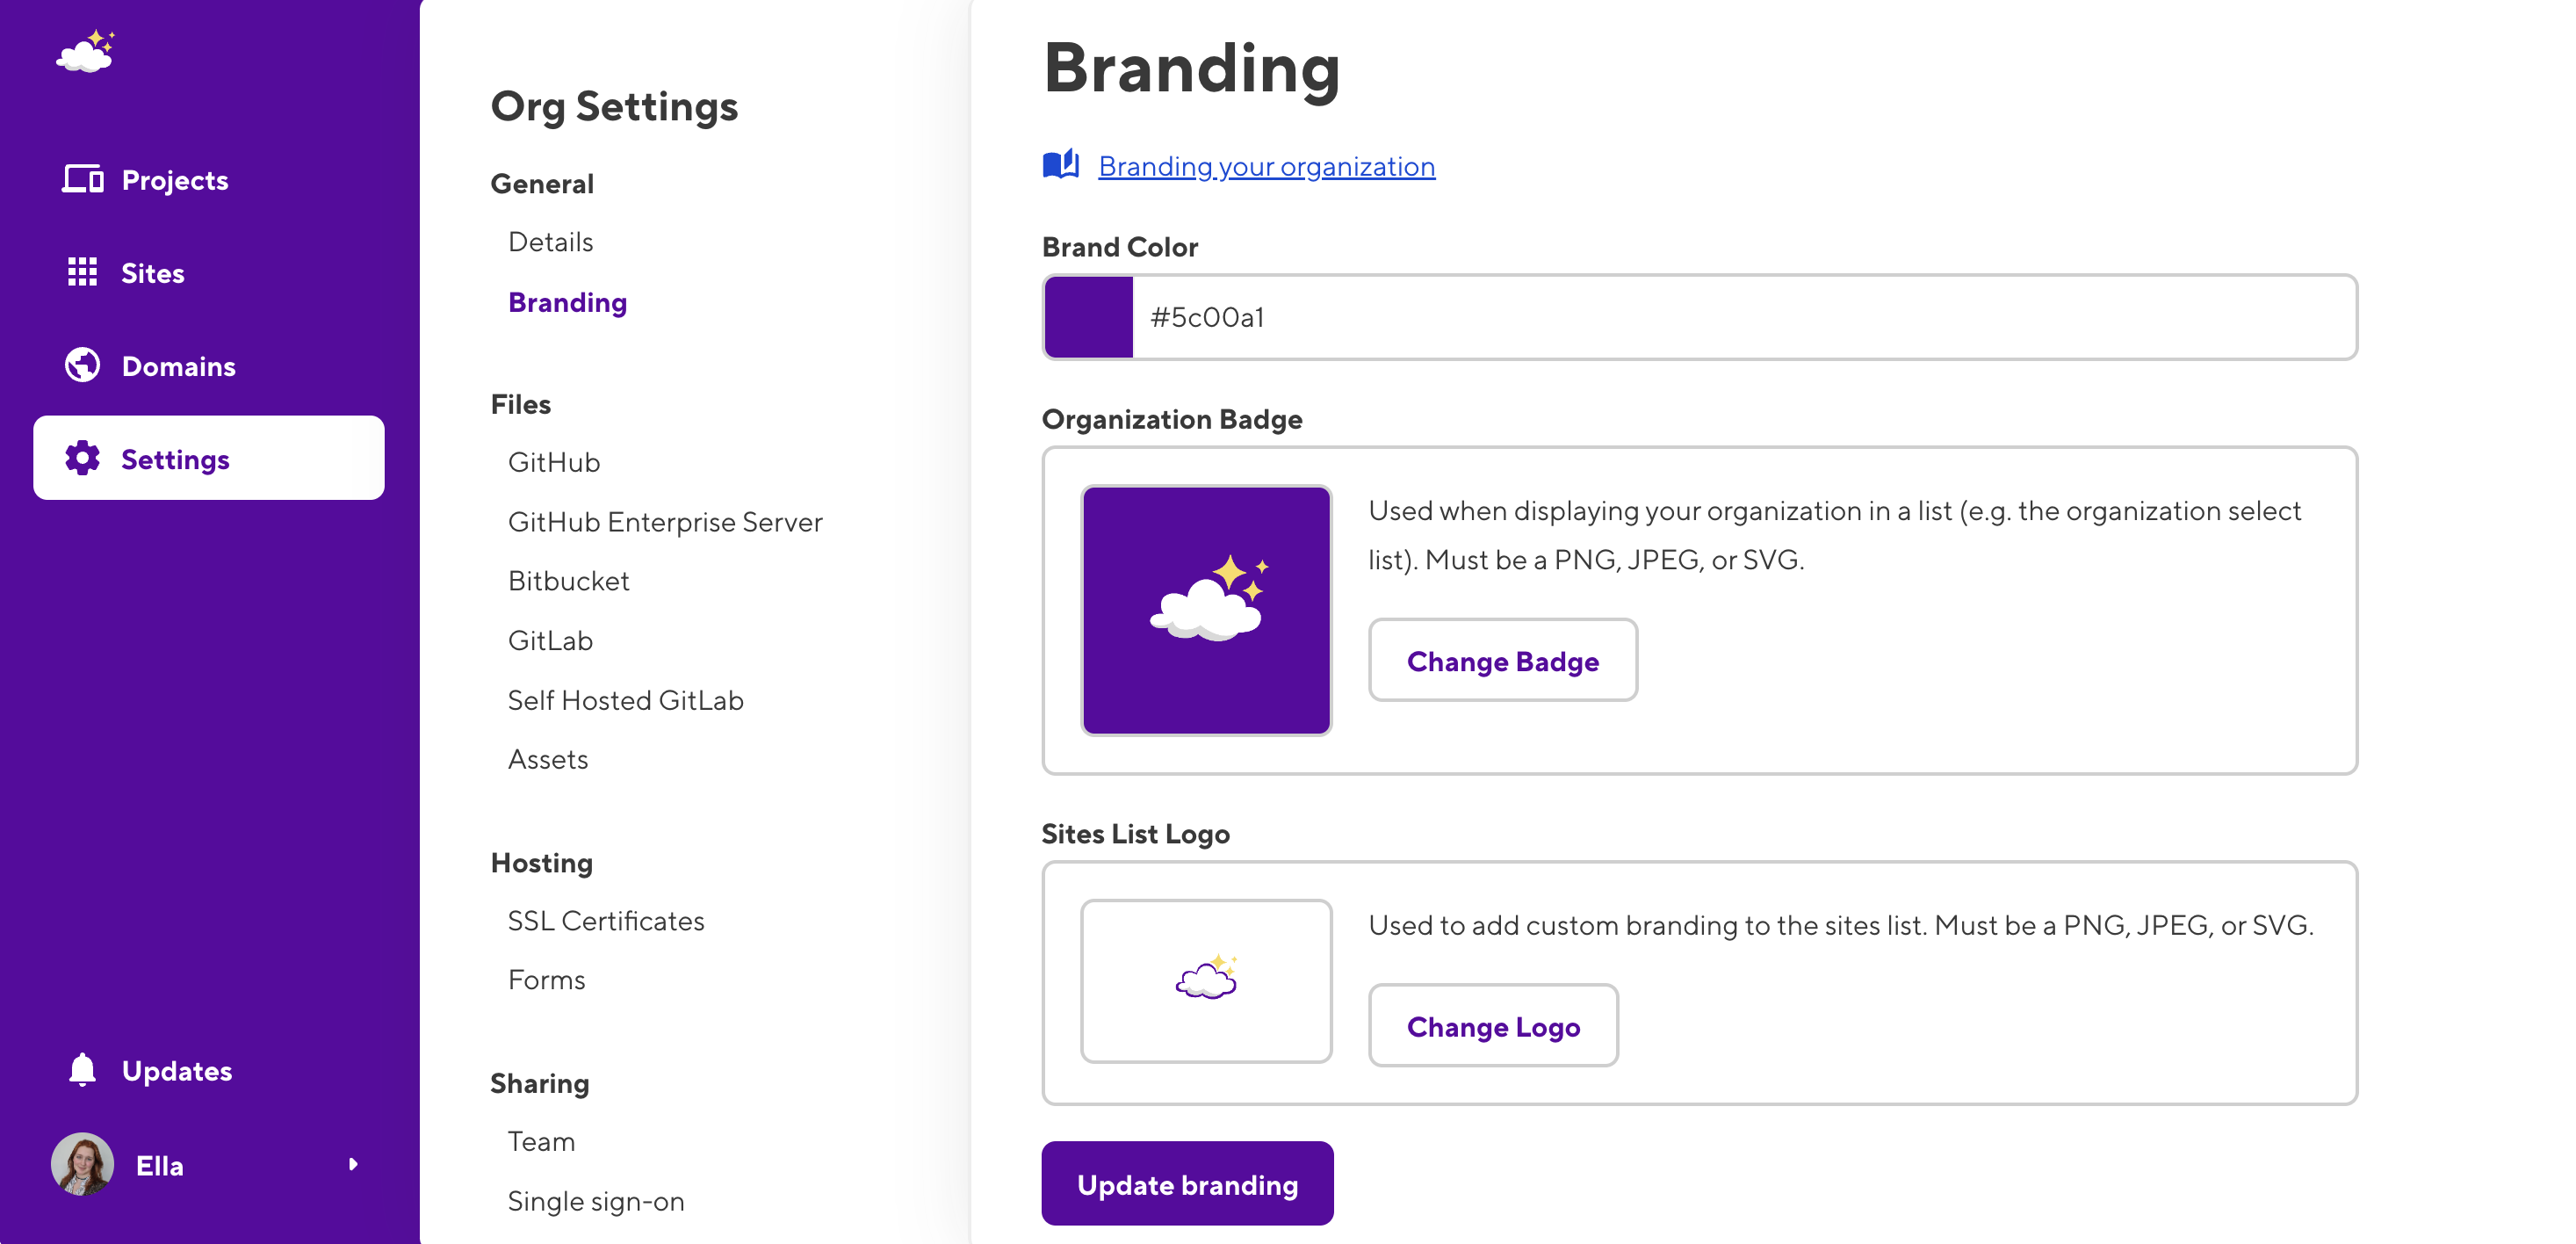
Adding your brand to CloudCannon is a great way to make the app look and feel like your organization.
You can set your primary color — this is mainly used in the side nav and buttons. Your logo is used in two places: a badge in the top left corner with your brand's primary color behind it and on the top of the Home, Project, Sites, and Domains pages with a white background behind it.

Access your branding by navigating to the Branding tab, under Org Settings.
Snippets#
CloudCannon supports embedding rich Snippets in Markdown files when using the Content Editor. Snippets appear as blocks in your rich text view, and once configured, the Snippets icon in your WYSIWYG toolbar will provide a modal menu for your content team to select from.
To get started with Snippets, read our Custom MDX Components guide or reach out to our support team.
Enjoy your CloudCannon experience!#
That should give you a great overview of how to make the most of CloudCannon for your Next.js site. If you encounter any difficulties or need assistance with setting something up on CloudCannon, please don’t hesitate to reach out to our support team. We’re always here to help!