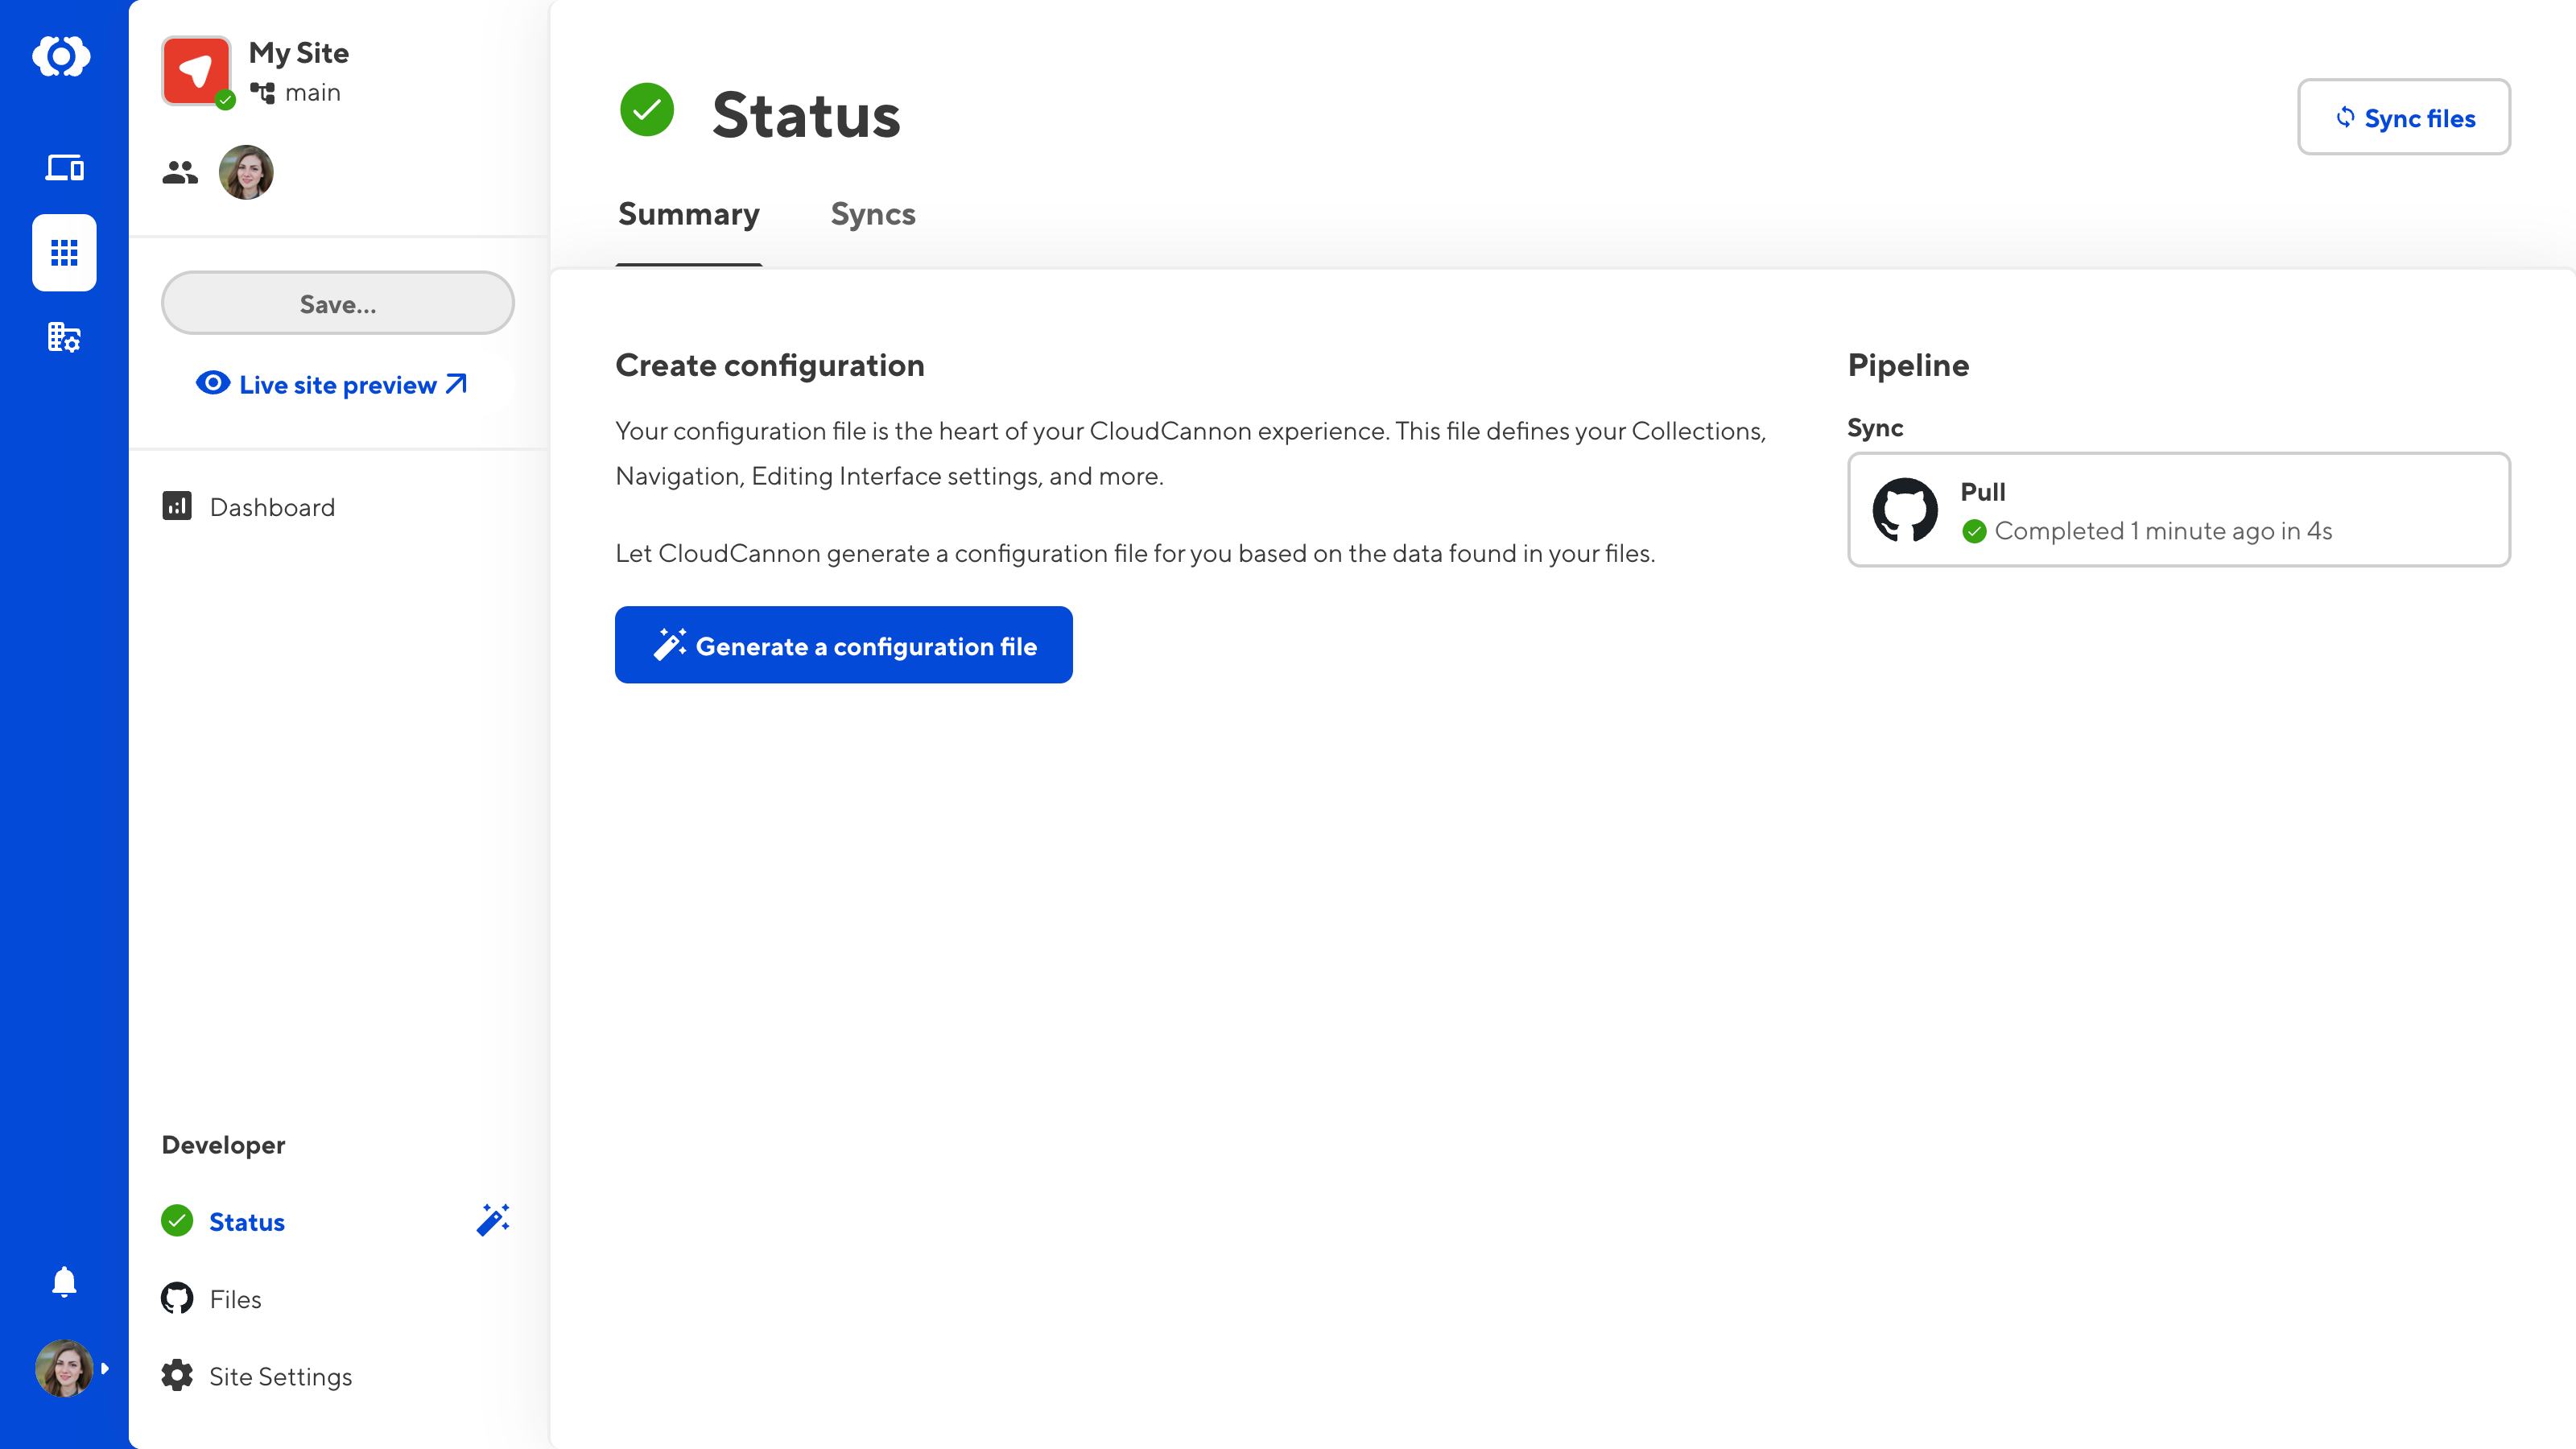
Once syncing is complete, CloudCannon will open your Site's Status page.
The Status page will be your home during Site set-up, informing you of your next steps. Even after you finish your Site set-up, the Status page will alert you if there are any errors in your Site configuration and suggest how to improve your experience.
The next step is to create your CloudCannon configuration file, which is the heart of your CloudCannon experience. As the name implies, the CloudCannon configuration file contains all the CloudCannon configuration for your Site. This includes the appearance and functionality of your app navigation, files, inputs, structures, and schemas.
For now, you only need to select your Static Site Generator (SSG) and define your collections.
- Static Site Generator (SSG) — A tool used to generate a static HTML website from your files. CloudCannon uses your SSG to suggest configuration and build options for your Site.
- Collection — A group of related files with a similar format (e.g., a folder of pages, blog posts, or data files). In CloudCannon, your collections appear in the Site Navigation for easy access.
Click the Generate a configuration file button to create your CloudCannon configuration file. The CloudCannon configuration file can be JSON or YAML. In this guide, we'll generate the cloudcannon.config.yml file.

CloudCannon uses the information found in your files to suggest configuration for your Site. Please review this carefully.
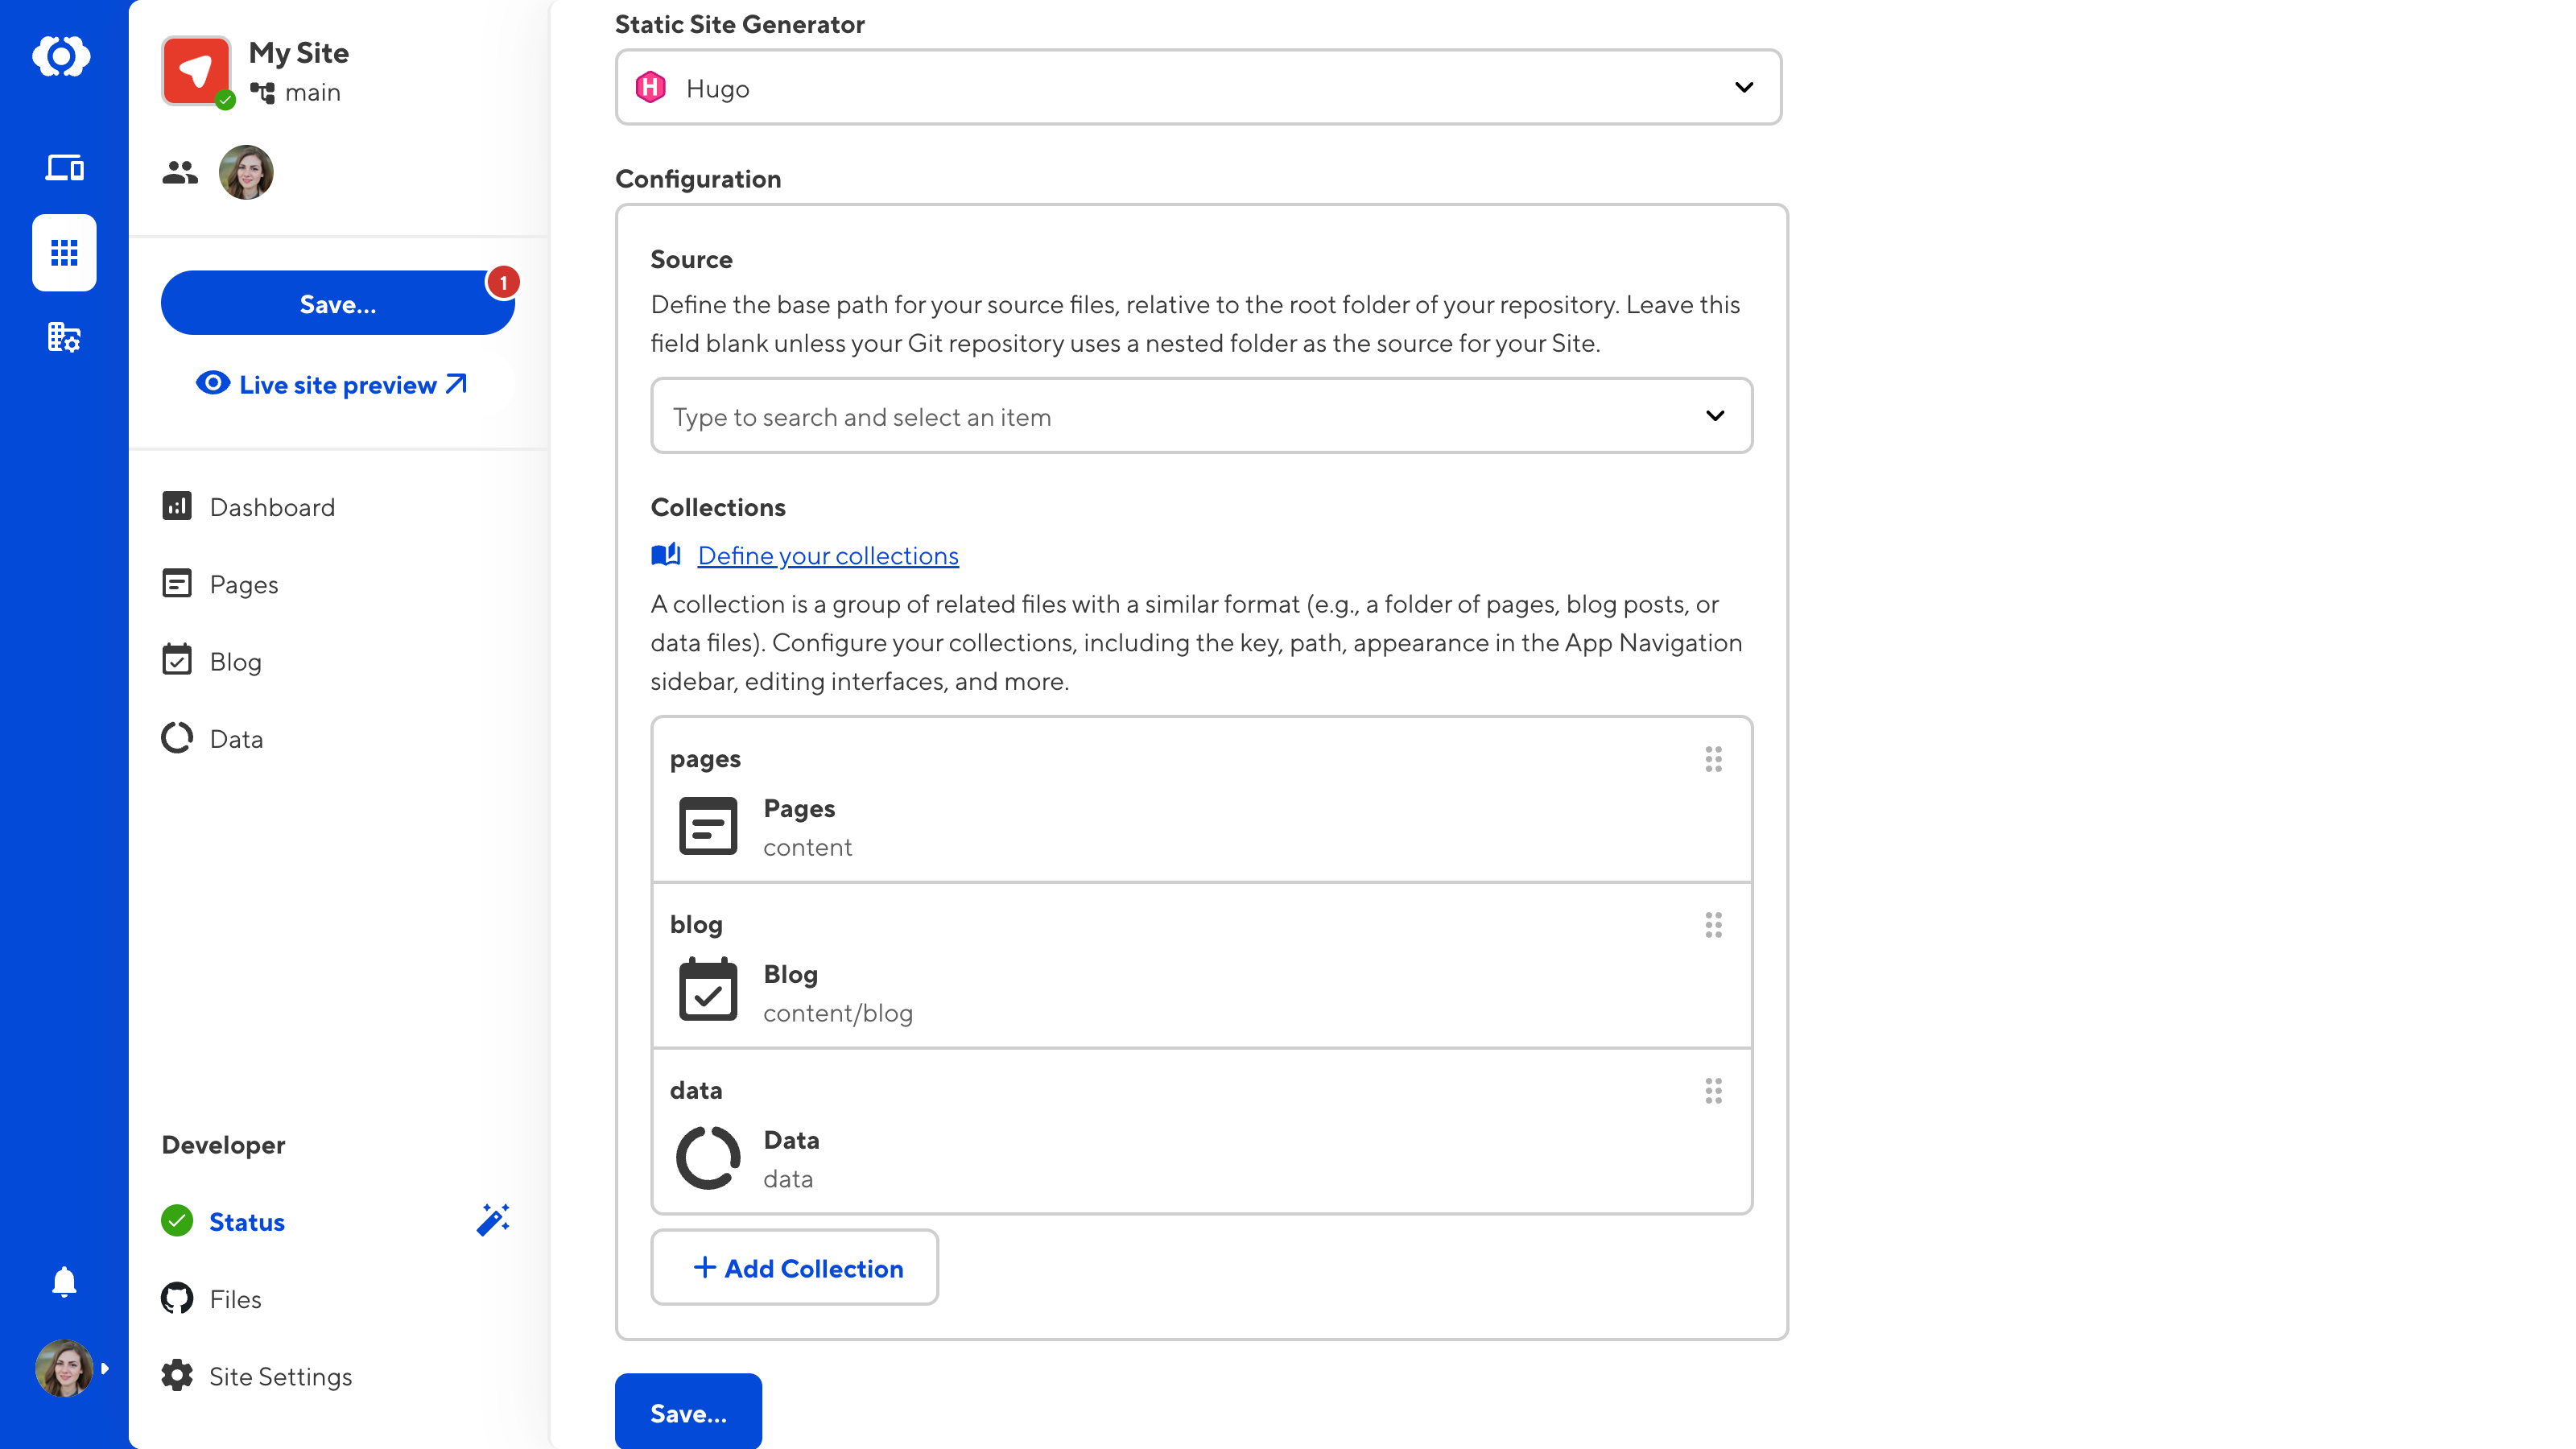
Select which SSG your Site uses with the Static Site Generator dropdown. In this case, you should select Gatsby.
To define your collections, CloudCannon needs to know where to find your files. Use the Source dropdown to ensure the path for your source is correct. Usually, this is the root of your repository, so you can leave this field empty. However, if your Git repository uses a nested folder as the source for your Site, you must select the correct base path.
Review the Collections suggested by CloudCannon in the Collections array. By default, CloudCannon will sort your Collections in the following order: the Pages Collection, all output Collections in alphabetical order, then all non-output Collections in alphabetical order.
You can reorder, rename, add, delete, and clone each collection using the Context Menu in the top right of each collection card or click the + Add collection button to add a new collection. You can further configure the key, path, and appearance in the App Navigation sidebar, editing interfaces, and more by clicking on a collection card.

If you update your SSG or source path, CloudCannon will prompt you to regenerate your configuration file. These values are the foundation of your configuration file and affect many areas of your Site, including collection configuration.
We recommend regenerating your configuration file before you move on to customizing your collection configuration.
During the initial Site set-up, the most important thing to ensure is that your SSG and source path are correct and that each of your Collections is present and contains the correct files. You can return to your CloudCannon configuration file later to customize your experience.
Once you are happy with your initial configuration file, click the Save button and confirm your changes in the Review changes modal.
CloudCannon will commit your configuration file to the root level of your Git repository.